“It’s been a busy and productive year and as it draws to a close I have one more review on the EK-XTop Revo D5 Pump Top to share before taking a short, but well deserved break. Thanks for your loyal support and we hope to see everyone again next year after a safe and merry festive season!” – fast_fate, December 2015
Today we’ll be checking out the new stand alone D5 pump top from EKWB. The EK-XTOP Revo D5 is the 4th generation of D5 pump tops from EK. The previous generations (XTOP v2. And CSQ) have both been top performers so the Revo will have it’s work cut out to match the output we saw from it’s predecessors.
The Revo D5 pump top is a pretty basic piece of kit so the review will feature lots of photos, a step by step assembly guide, our performance test results and comparisons followed by a summary.
While not sponsoring the Revo D5 pump top for review, EK have been fantastic with their support for the ER team this year, so here’s a shout out with Happy Holiday wishes from the ER team to everyone at EKWB!
My pre-ordered unit took forever and an age to arrive at my local retailer, so apologies for the delay in getting some data out for you guys, but this was beyond my control.
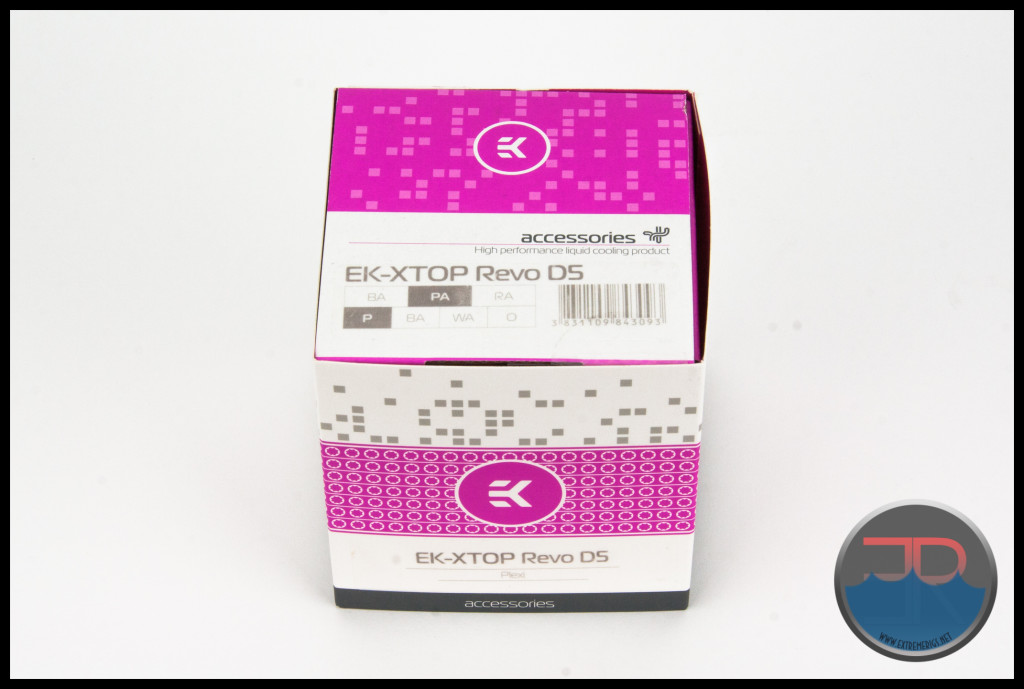
The Revo top comes in bright pink packaging which features a band of cogs which at first glance doesn’t make much sense. As we’ll see shortly though, a cog is perhaps the most recognizable feature of the Revo pump top kit.
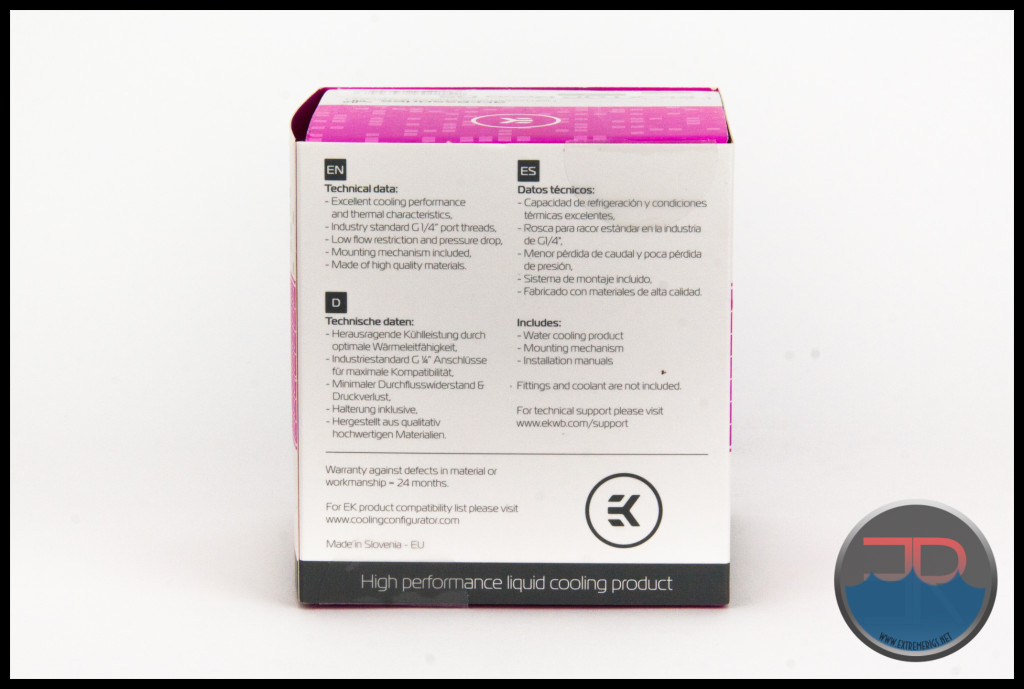
The outer sleeve has some technical data and what the package includes.
The outer retail sleeve is thin and flimsy while the packaging box is a lot more sturdy and protective.
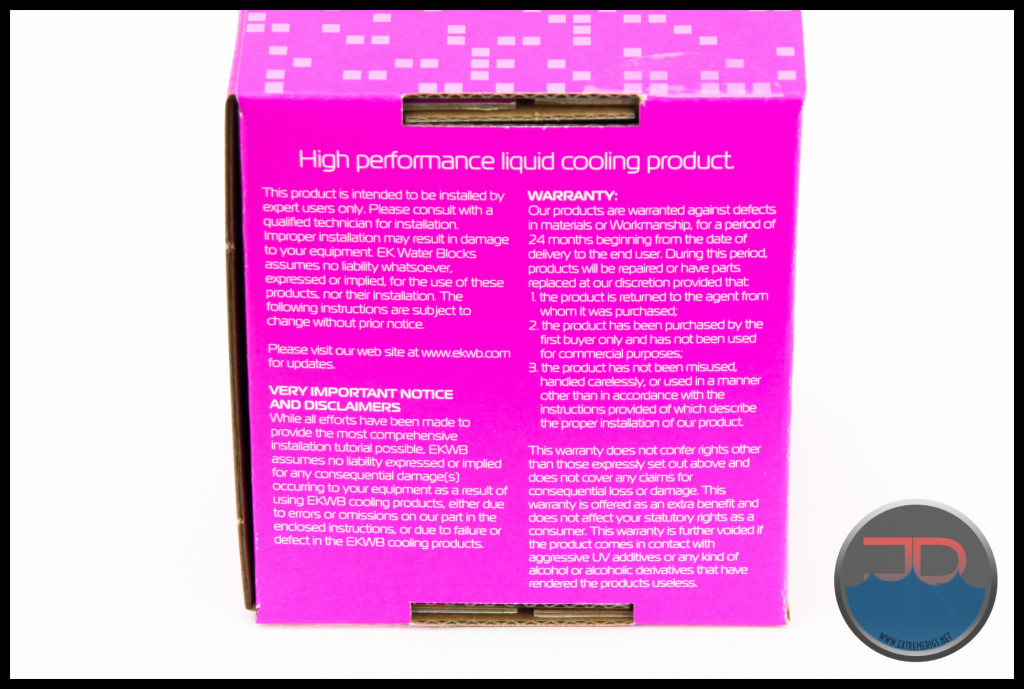
On the inner box we find some warnings and warranty details (which as it turned out came in handy)
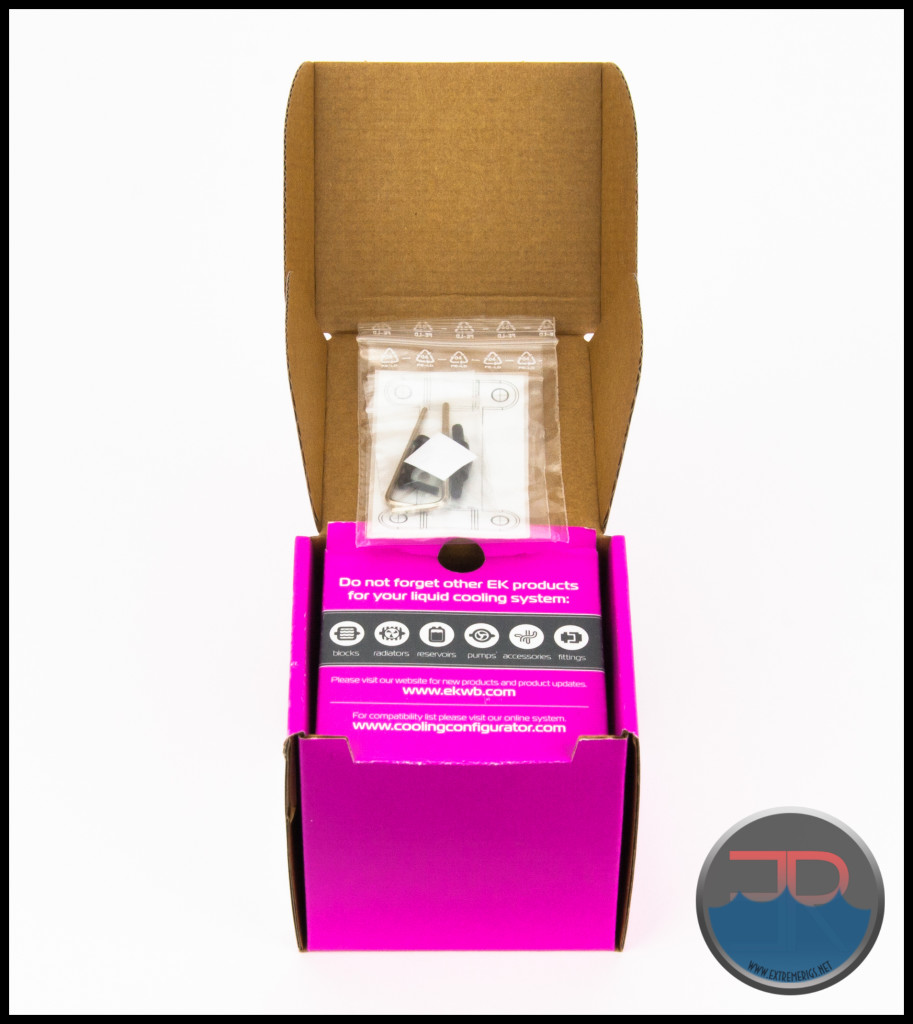
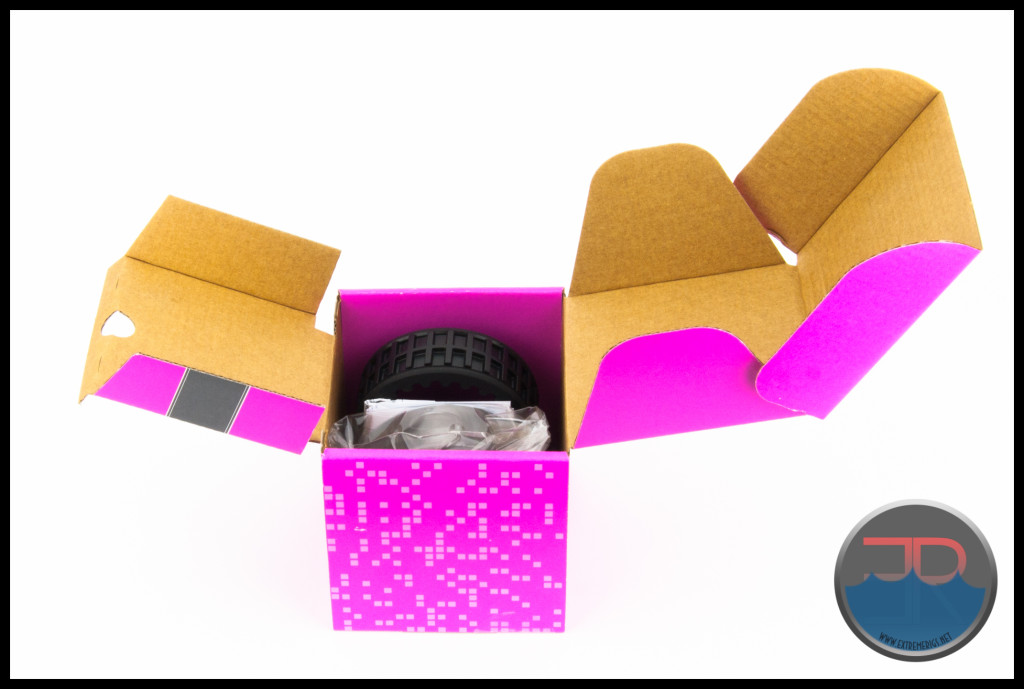
Now we’re getting to the good stuff:
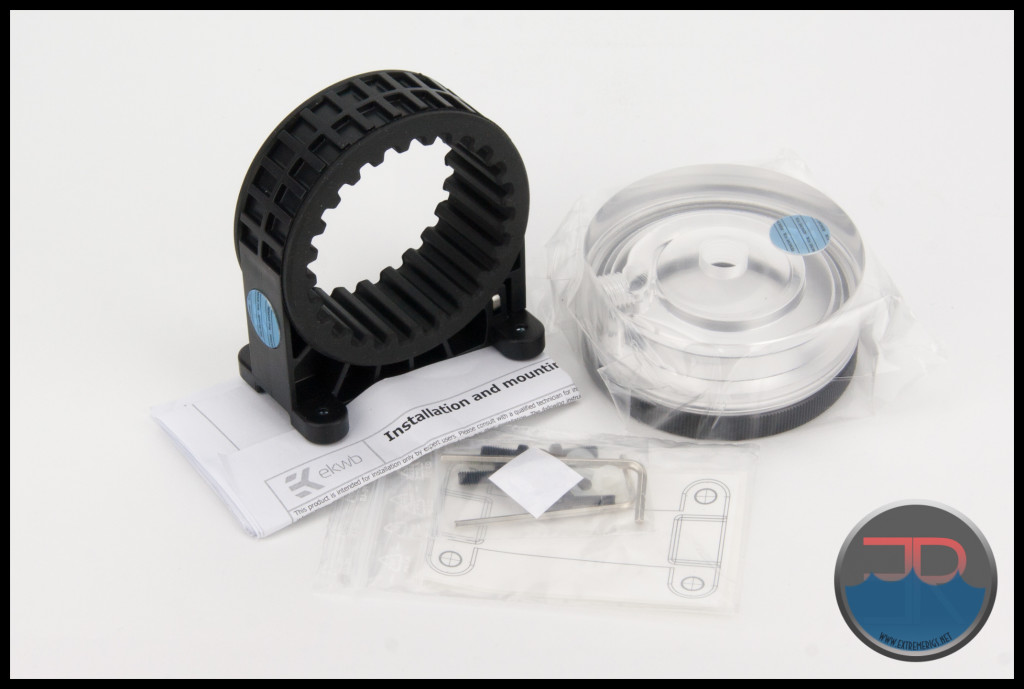
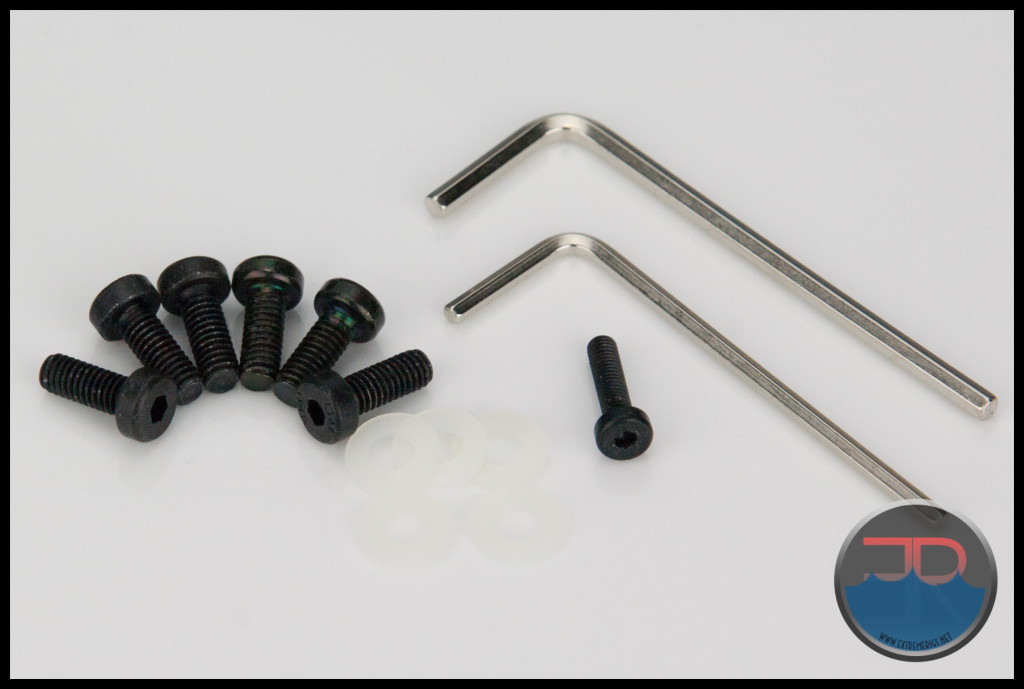
Screws, washers, allen keys and a sticker template for marking out the mounting hole locations – all very nice thank you very much.
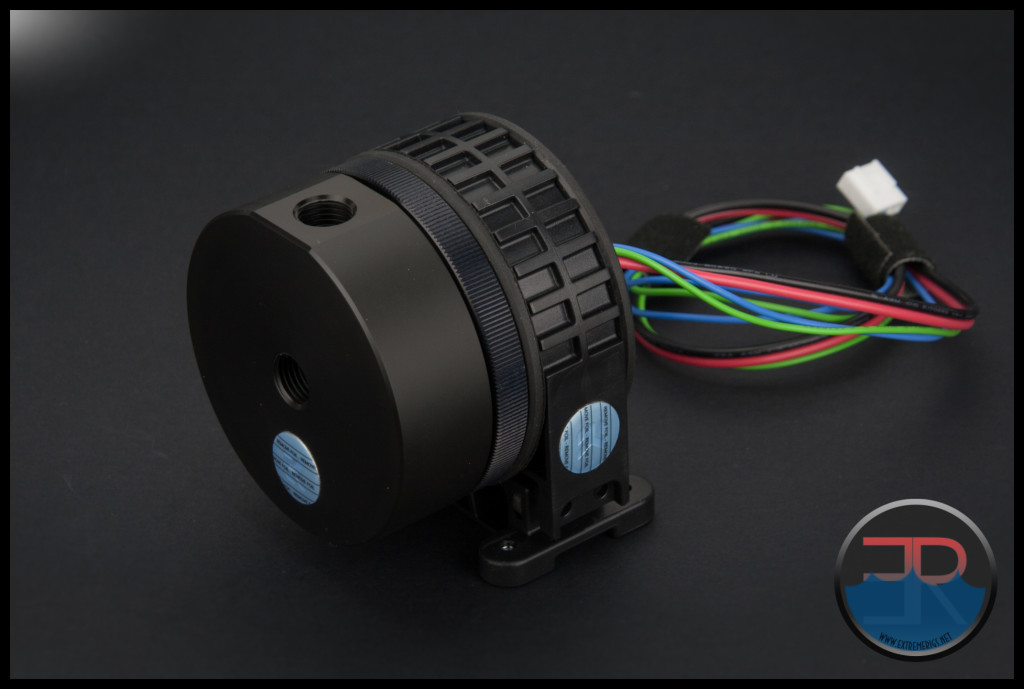
And here we have the complete kit – Revo D5 Top (Plexi / Acrylic) with mounting assembly and instruction sheet:
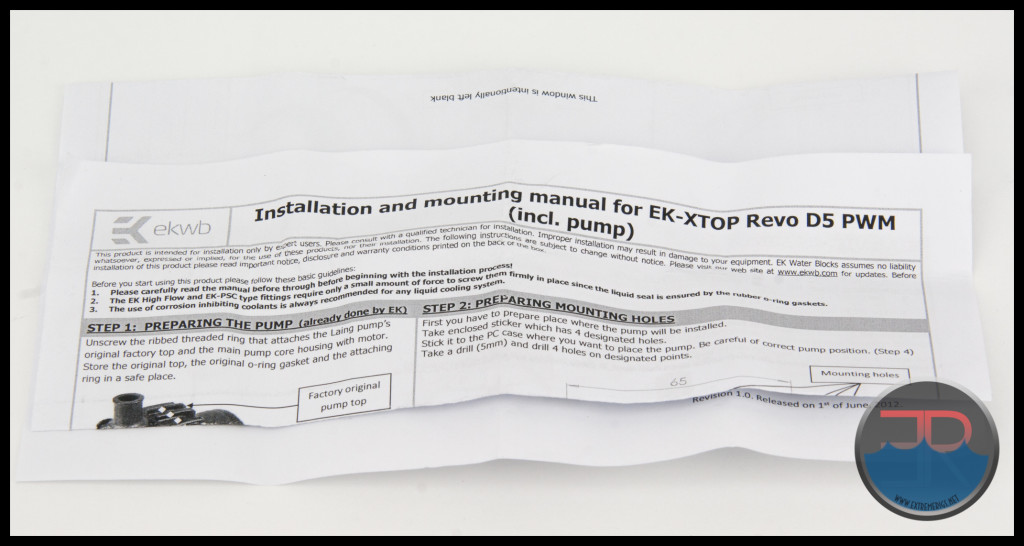
The instruction sheet is detailed enough yet has easy to follow instructions. The stand alone top does not come with the PWM pump that is shown in these photos:
Let’s take a closer look at each of the parts.
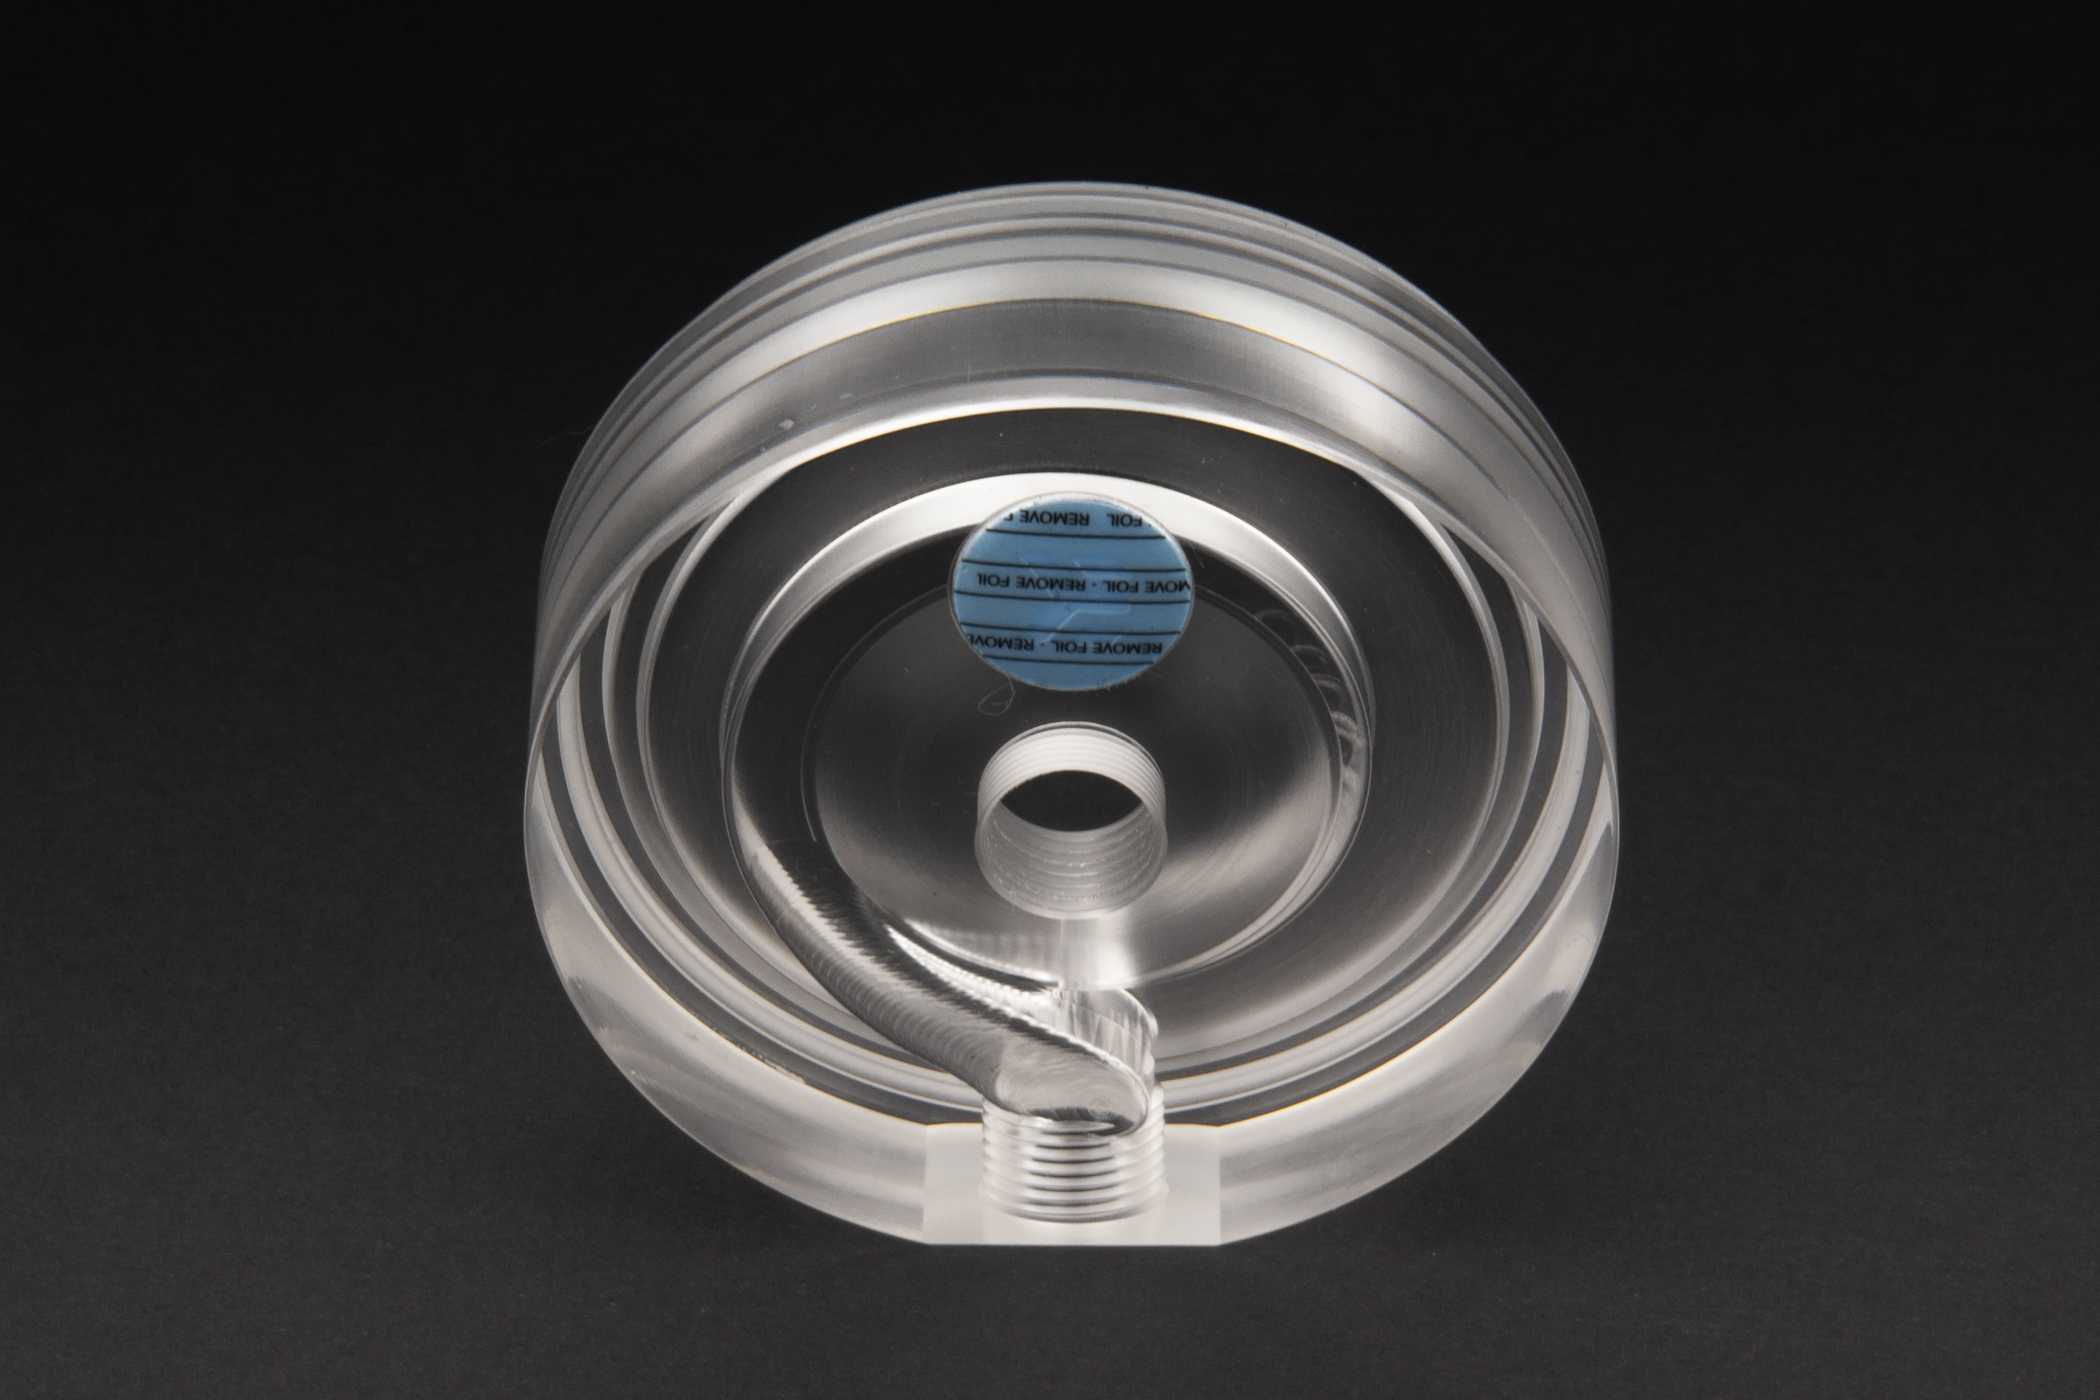
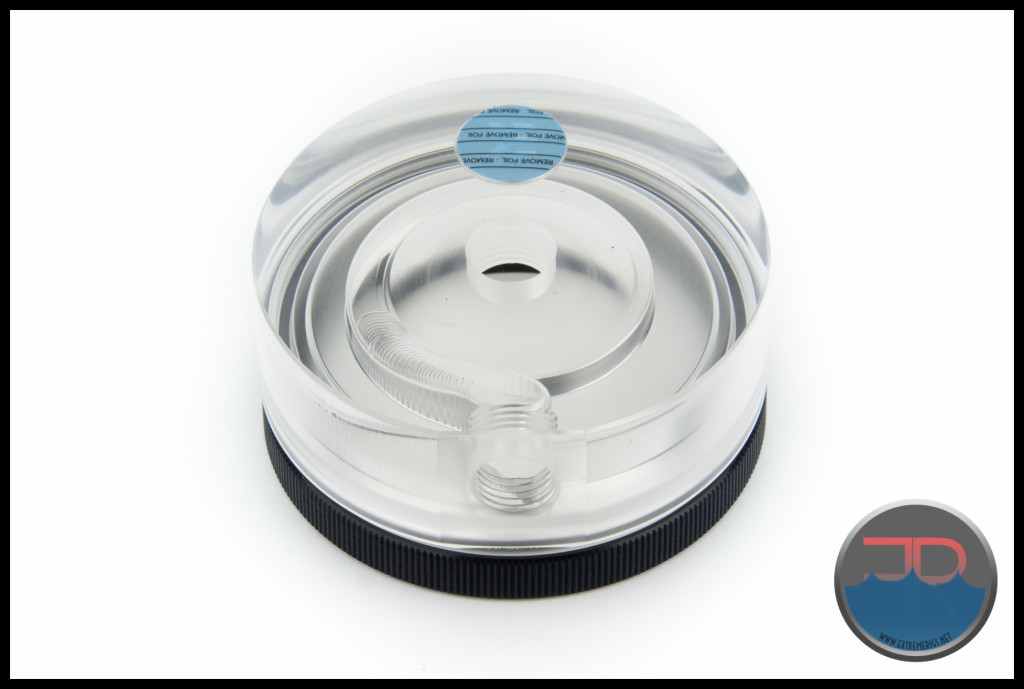
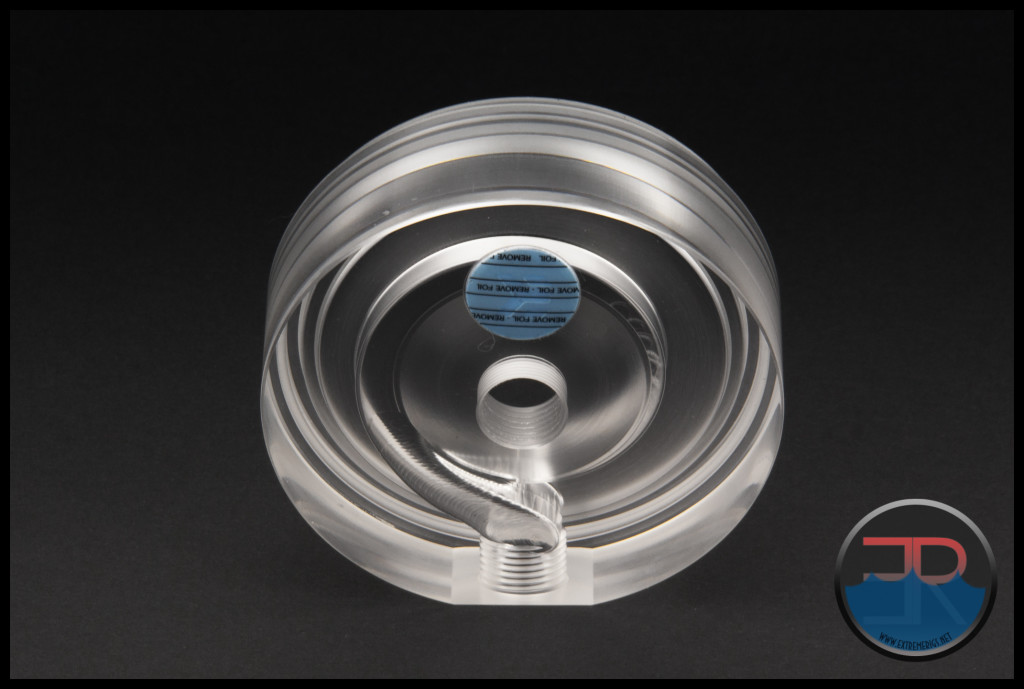
Firstly the pump top, also known as the volute if we were inspired to get more technical about it:
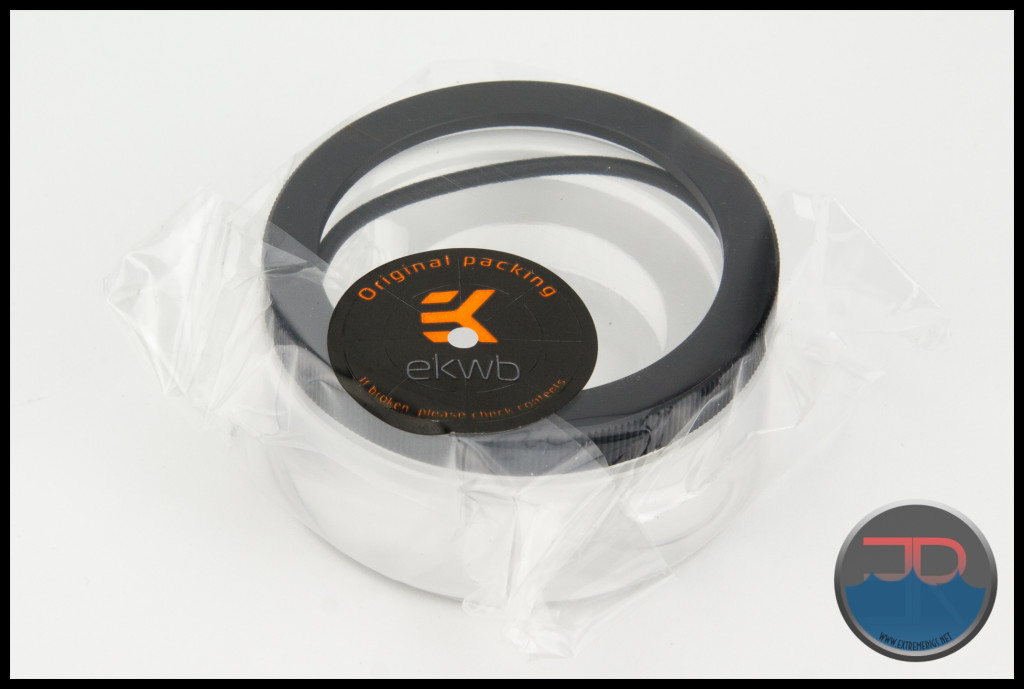
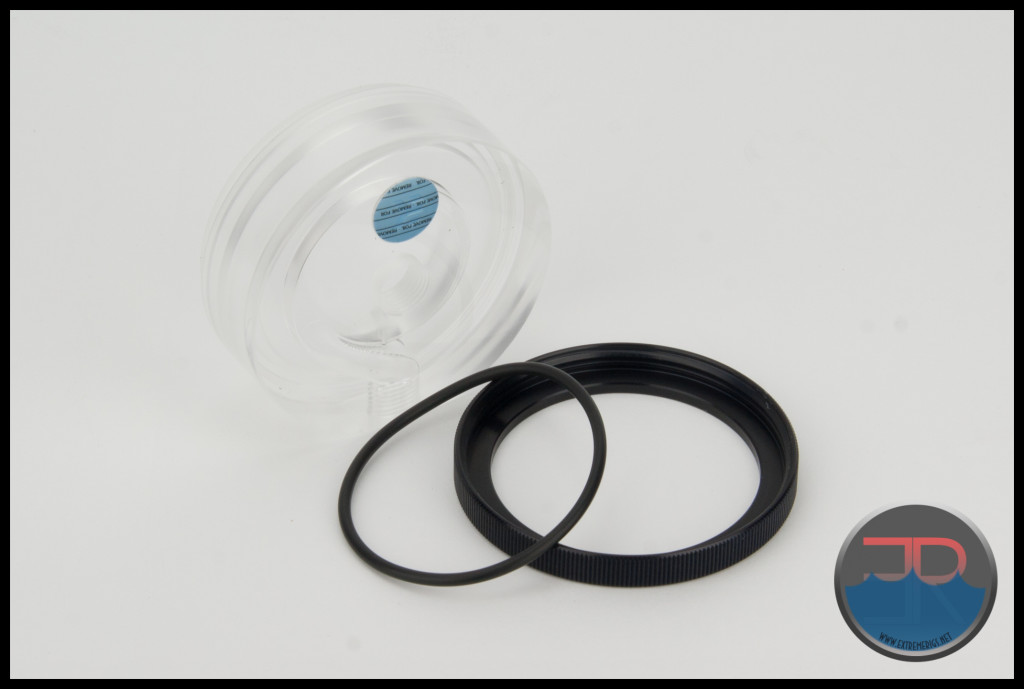
It took me a few photos to work out a dark background would have been better. The important thing in the following pic is that the O-ring seal for the pump is provided and is in the sealed bag along with the top and locking collar (nut):
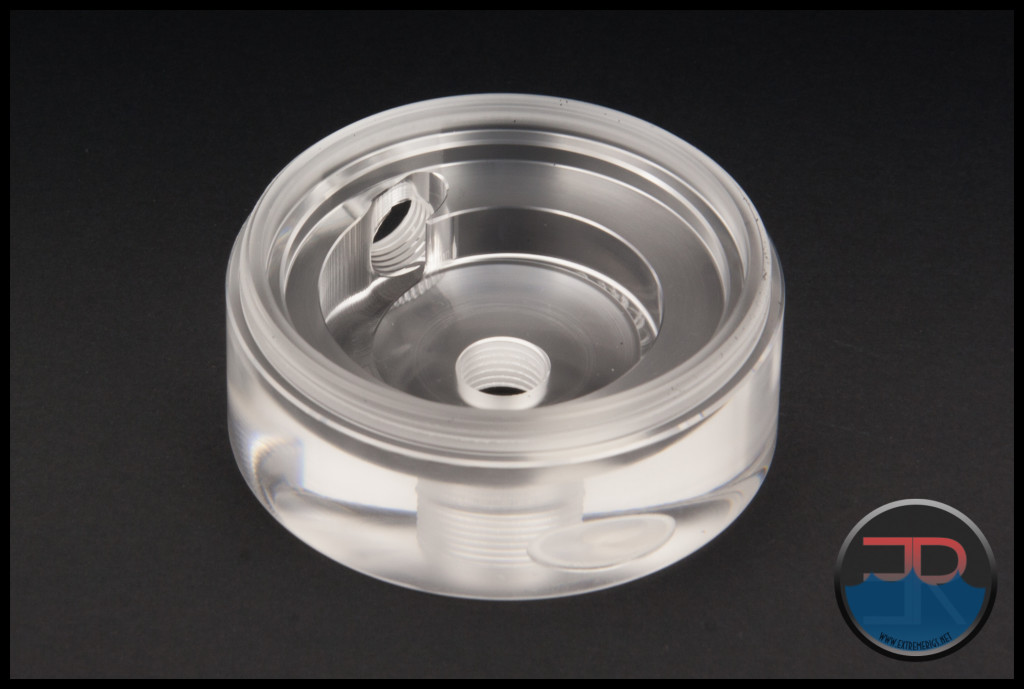
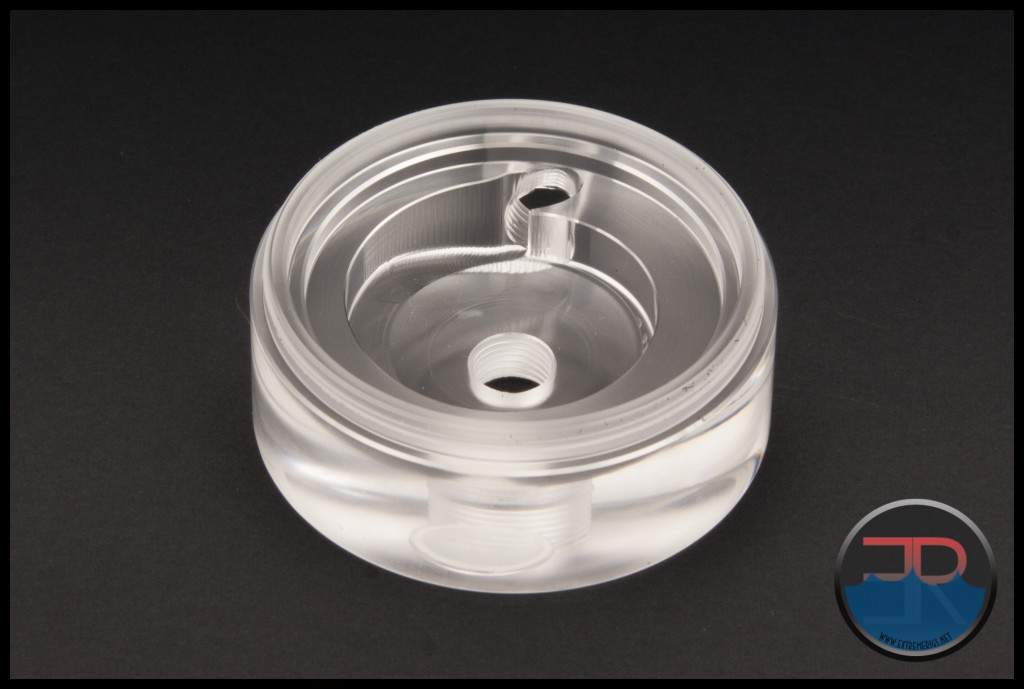
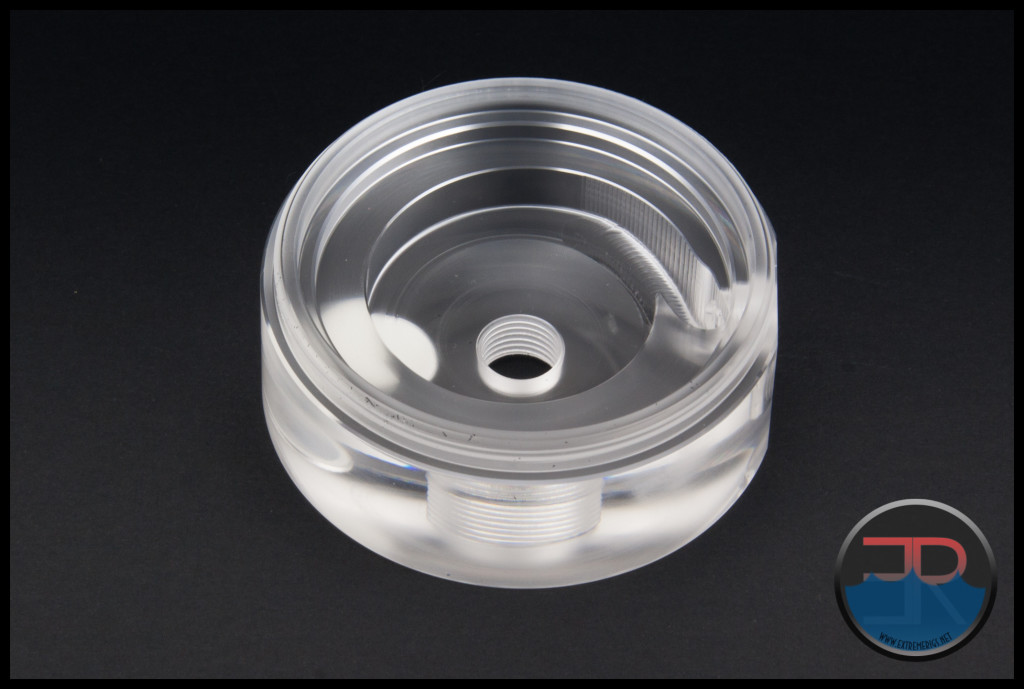
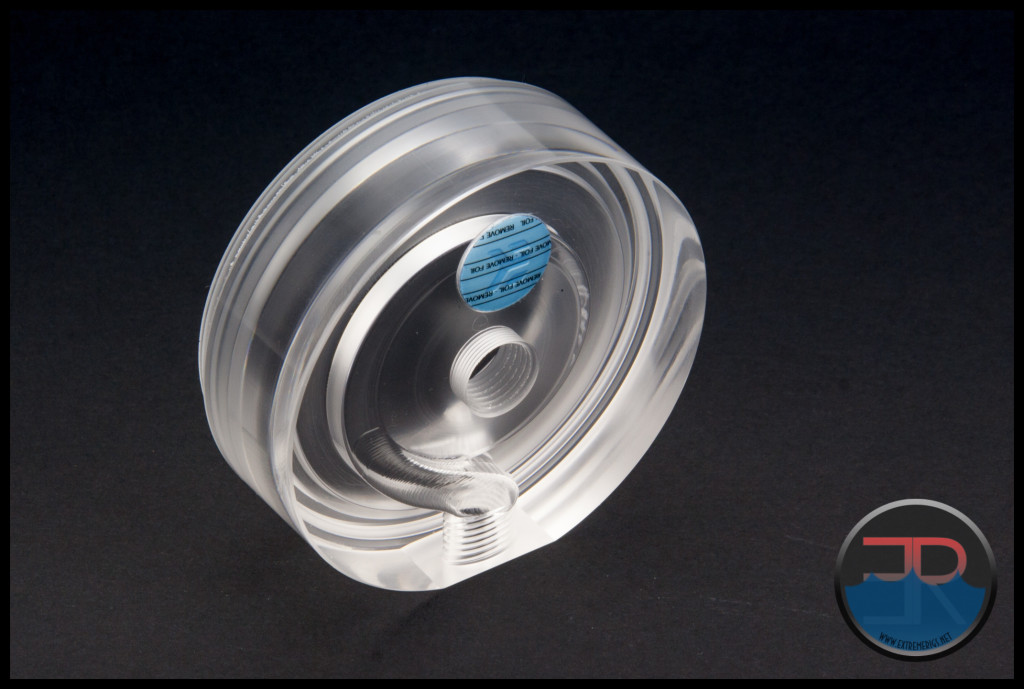
This top is the only round D5 top that we can recall ever seeing:
The blue sticker is merely a peel off protection layer for the EK branding logo.
The machining is smooth everywhere except where the exit port tapers in to the match the rest of the pump output area.
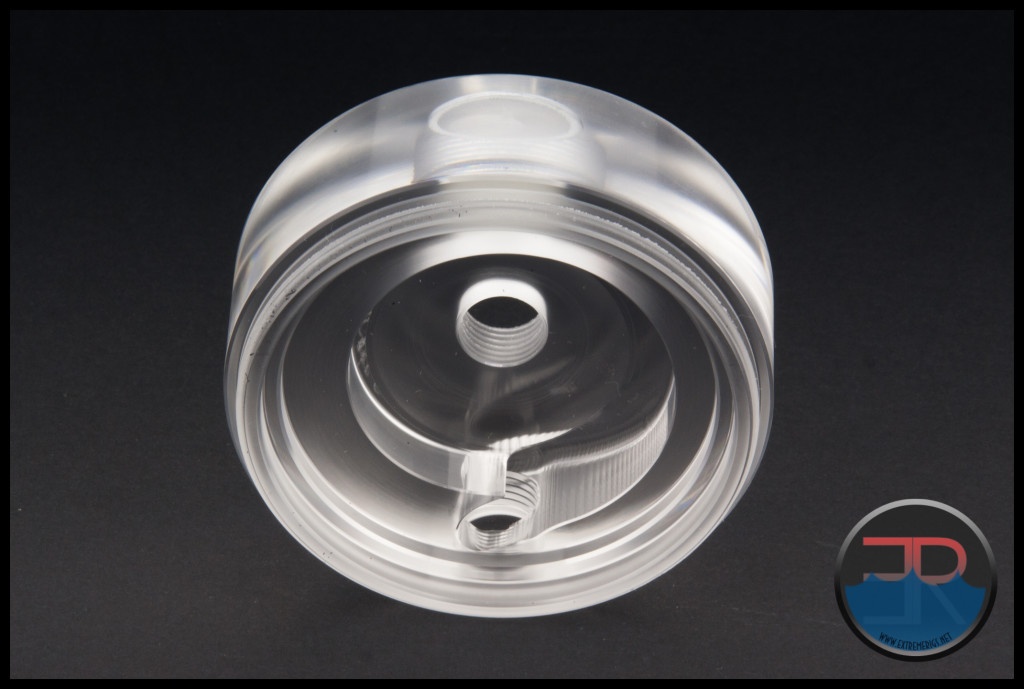 In previous D5 tops from EK the exit port has been offset to one side of the top which meant a straight flow exiting from the top. As the Revo pump top has the outlet port cantered a gentle 45° bend has been machined feeding the fluid to the outlet port. It will be interesting to see how much (if any) this curve effects the pump’s output when we do our performance testing.
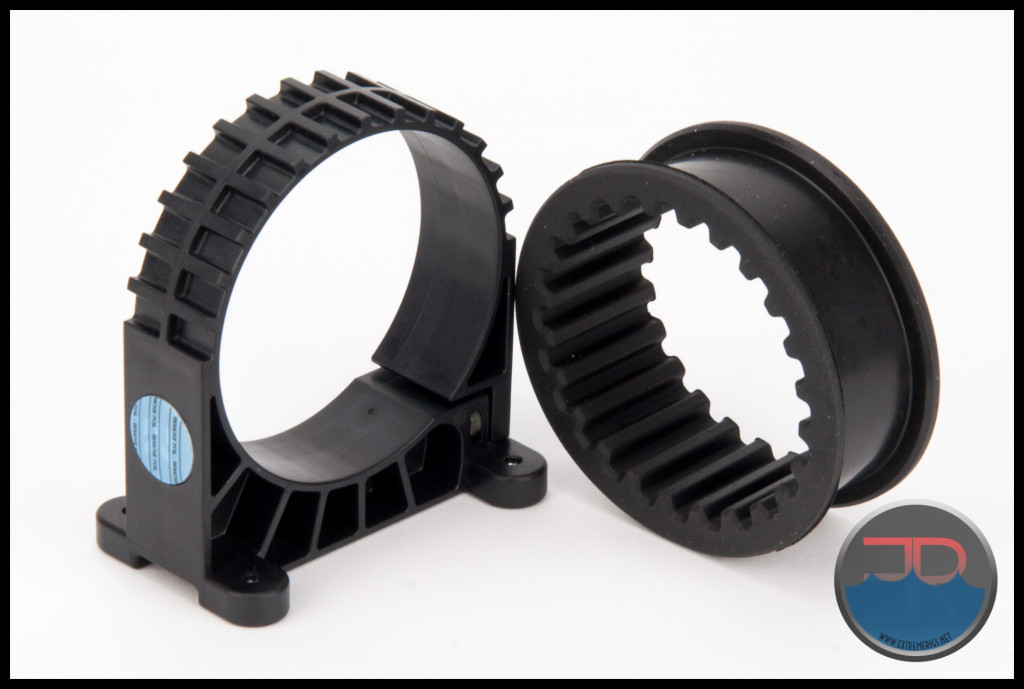
 Now let’s take a look at the mounting bracket which includes the vibration damping ring, aka “the cog”.
The cog is pre-installed onto the mounting bracket and there is no reason to take it out (photos excepted) as assembly is done with the cog in place.
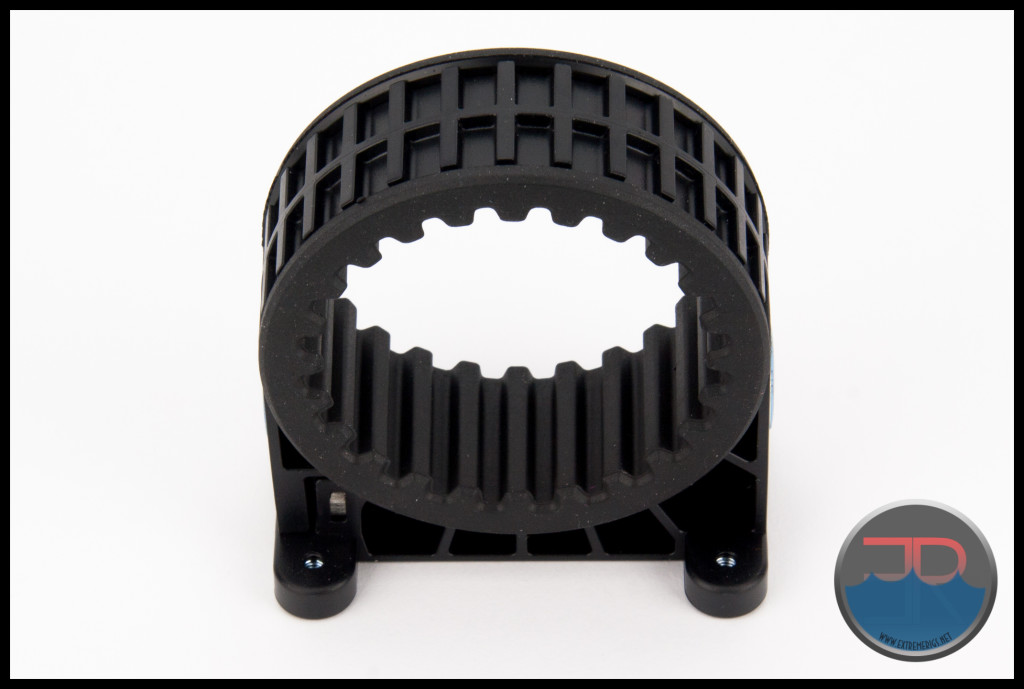
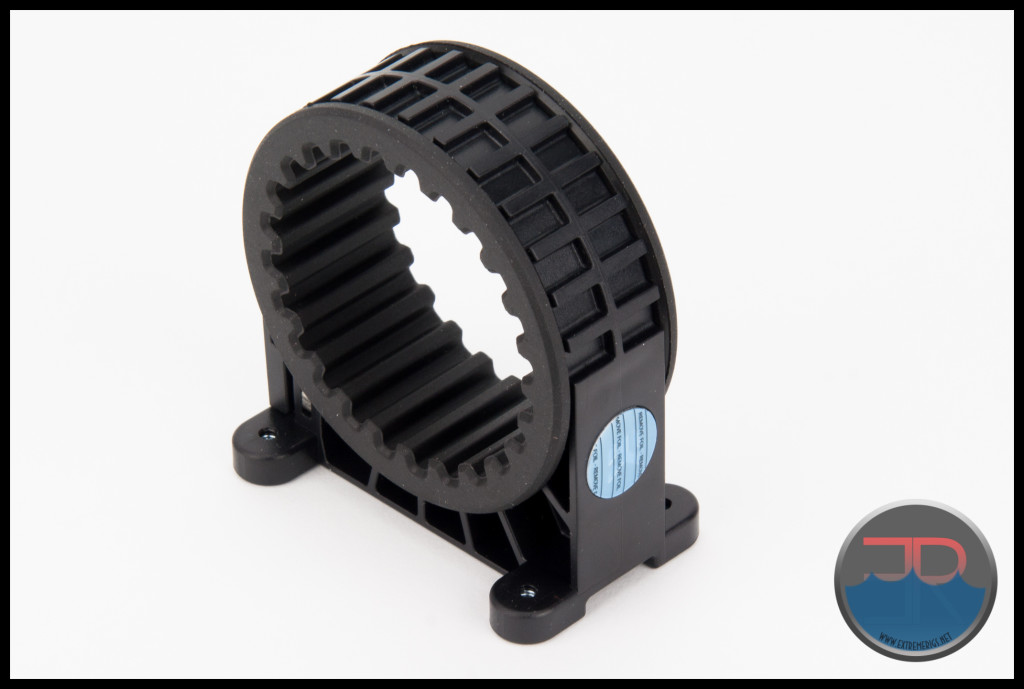
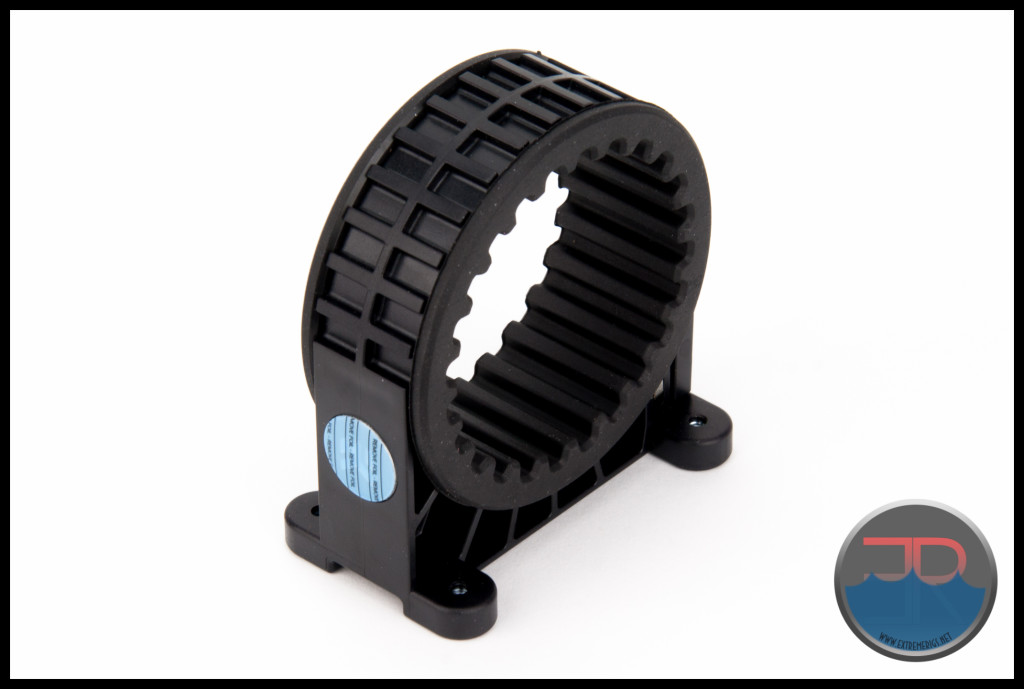
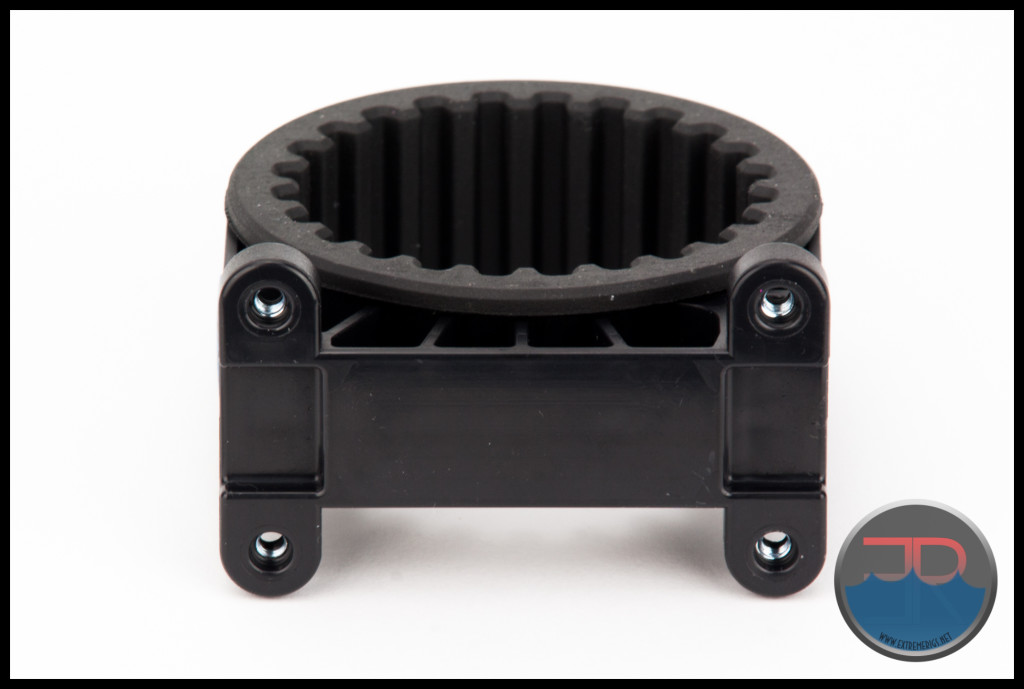
The mounting bracket has M4 nuts set into the base to enable screwing directly into using the supplied M4 screws:
 There is also the baggie of assorted hardware, 2 bags in 1 actually:
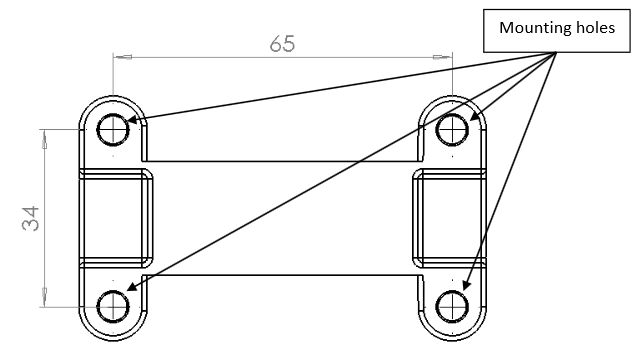
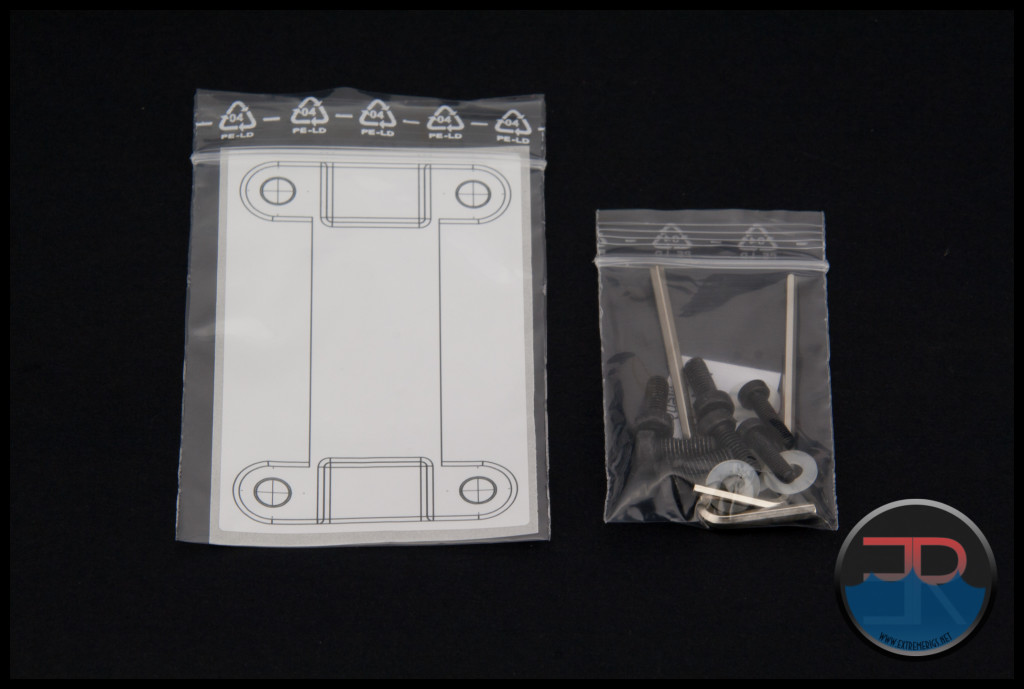 The sticky backed mounting template is a fantastic inclusion and will be very useful for those needing to drill holes in their case to mount the completed pump assembly:
 There are 2 size screws, each with their own sized allen key.
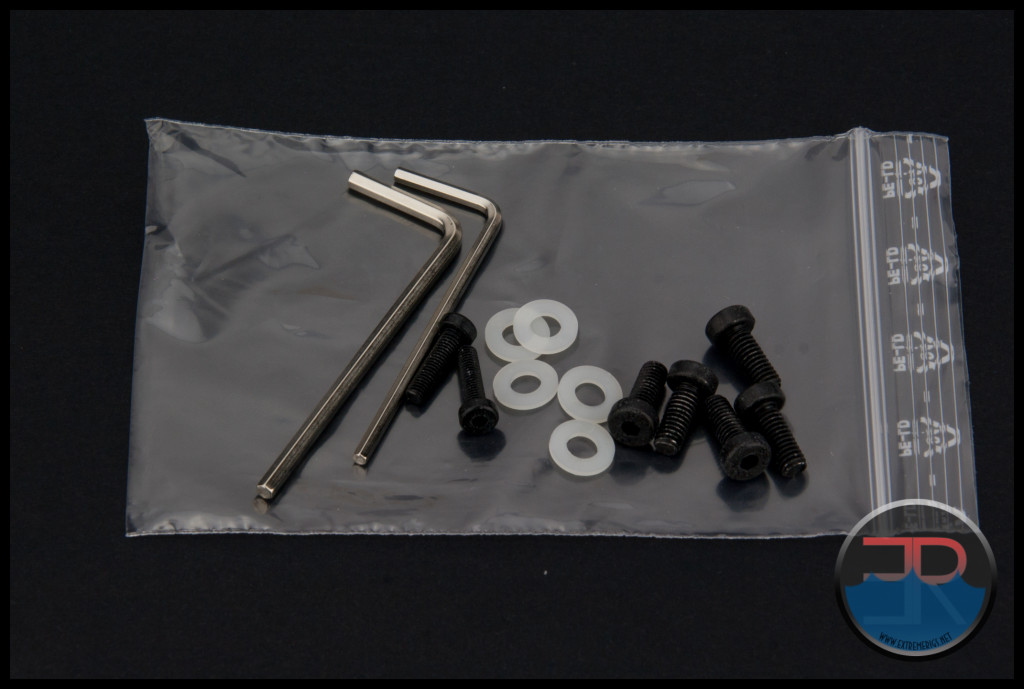 The plexi top package picture above was complete, but the Acetel version was wrongly packed as it provided only 1 of the M3 screws required for tightening the pump holder, yet had 2 spares for the mounting bracket:
So we have all the pieces let’s see how difficult installing a pump into the Revo D5 pump top is…







Nice work as usual. Lots of great detail.
I’m starting to get used to being disappointed with new gen EK gear. I guess at least it still outperforms the stock top still unlike some other brands. I have been buying square Xtops while they are still available. Got a white one, just need a clear to finish off the collection.
I am not a fan of screw on pump clamps. I know it is fine and simply mimics the stock type but I much prefer the fool proof security of the bolted down clamp. The new mounting system for the pump body with the rubber insert is a genuine step forward but the rest feels like steps back to me.
agree 100% with the look of the mount, smooth would have been better, and better still would have been = or better performance without just a focus on looks.
I agree 100%, too. Minimal performance hit for a different look. No thanks. I want performance gain. Doesn’t that sell?
Can you test the Dual D5 Revo vs the Dual D5 CSQ?
It has been requested from EK, hopefully they approve.
I also would like to see a review of the Dual D5 Revo. (I have the previous EK Dual D5 series pump head unit which performs excellently and is installed in my Mercury S5. But I am designing an SMA8-A build in which I am considering to use the new dual pump head.)
Comments are closed.