


Introduction
Today we will be reviewing the XPSC Raystorm Pro CPU water block. First off a big thank you to XSPC for sending the sample to review.

This is an update to XSPC’s popular Raystorm block which has been a stalwart of the community for about five years now. While the original Raystorm was a fantastic block back in 2011/2012 there have been significant gains in performance with newer designs over the years. It’s no surprise then that XSPC have released a new design. The old Raystorm will continue to be sold at a $50 price point in comparison to the $67 for the Pro.
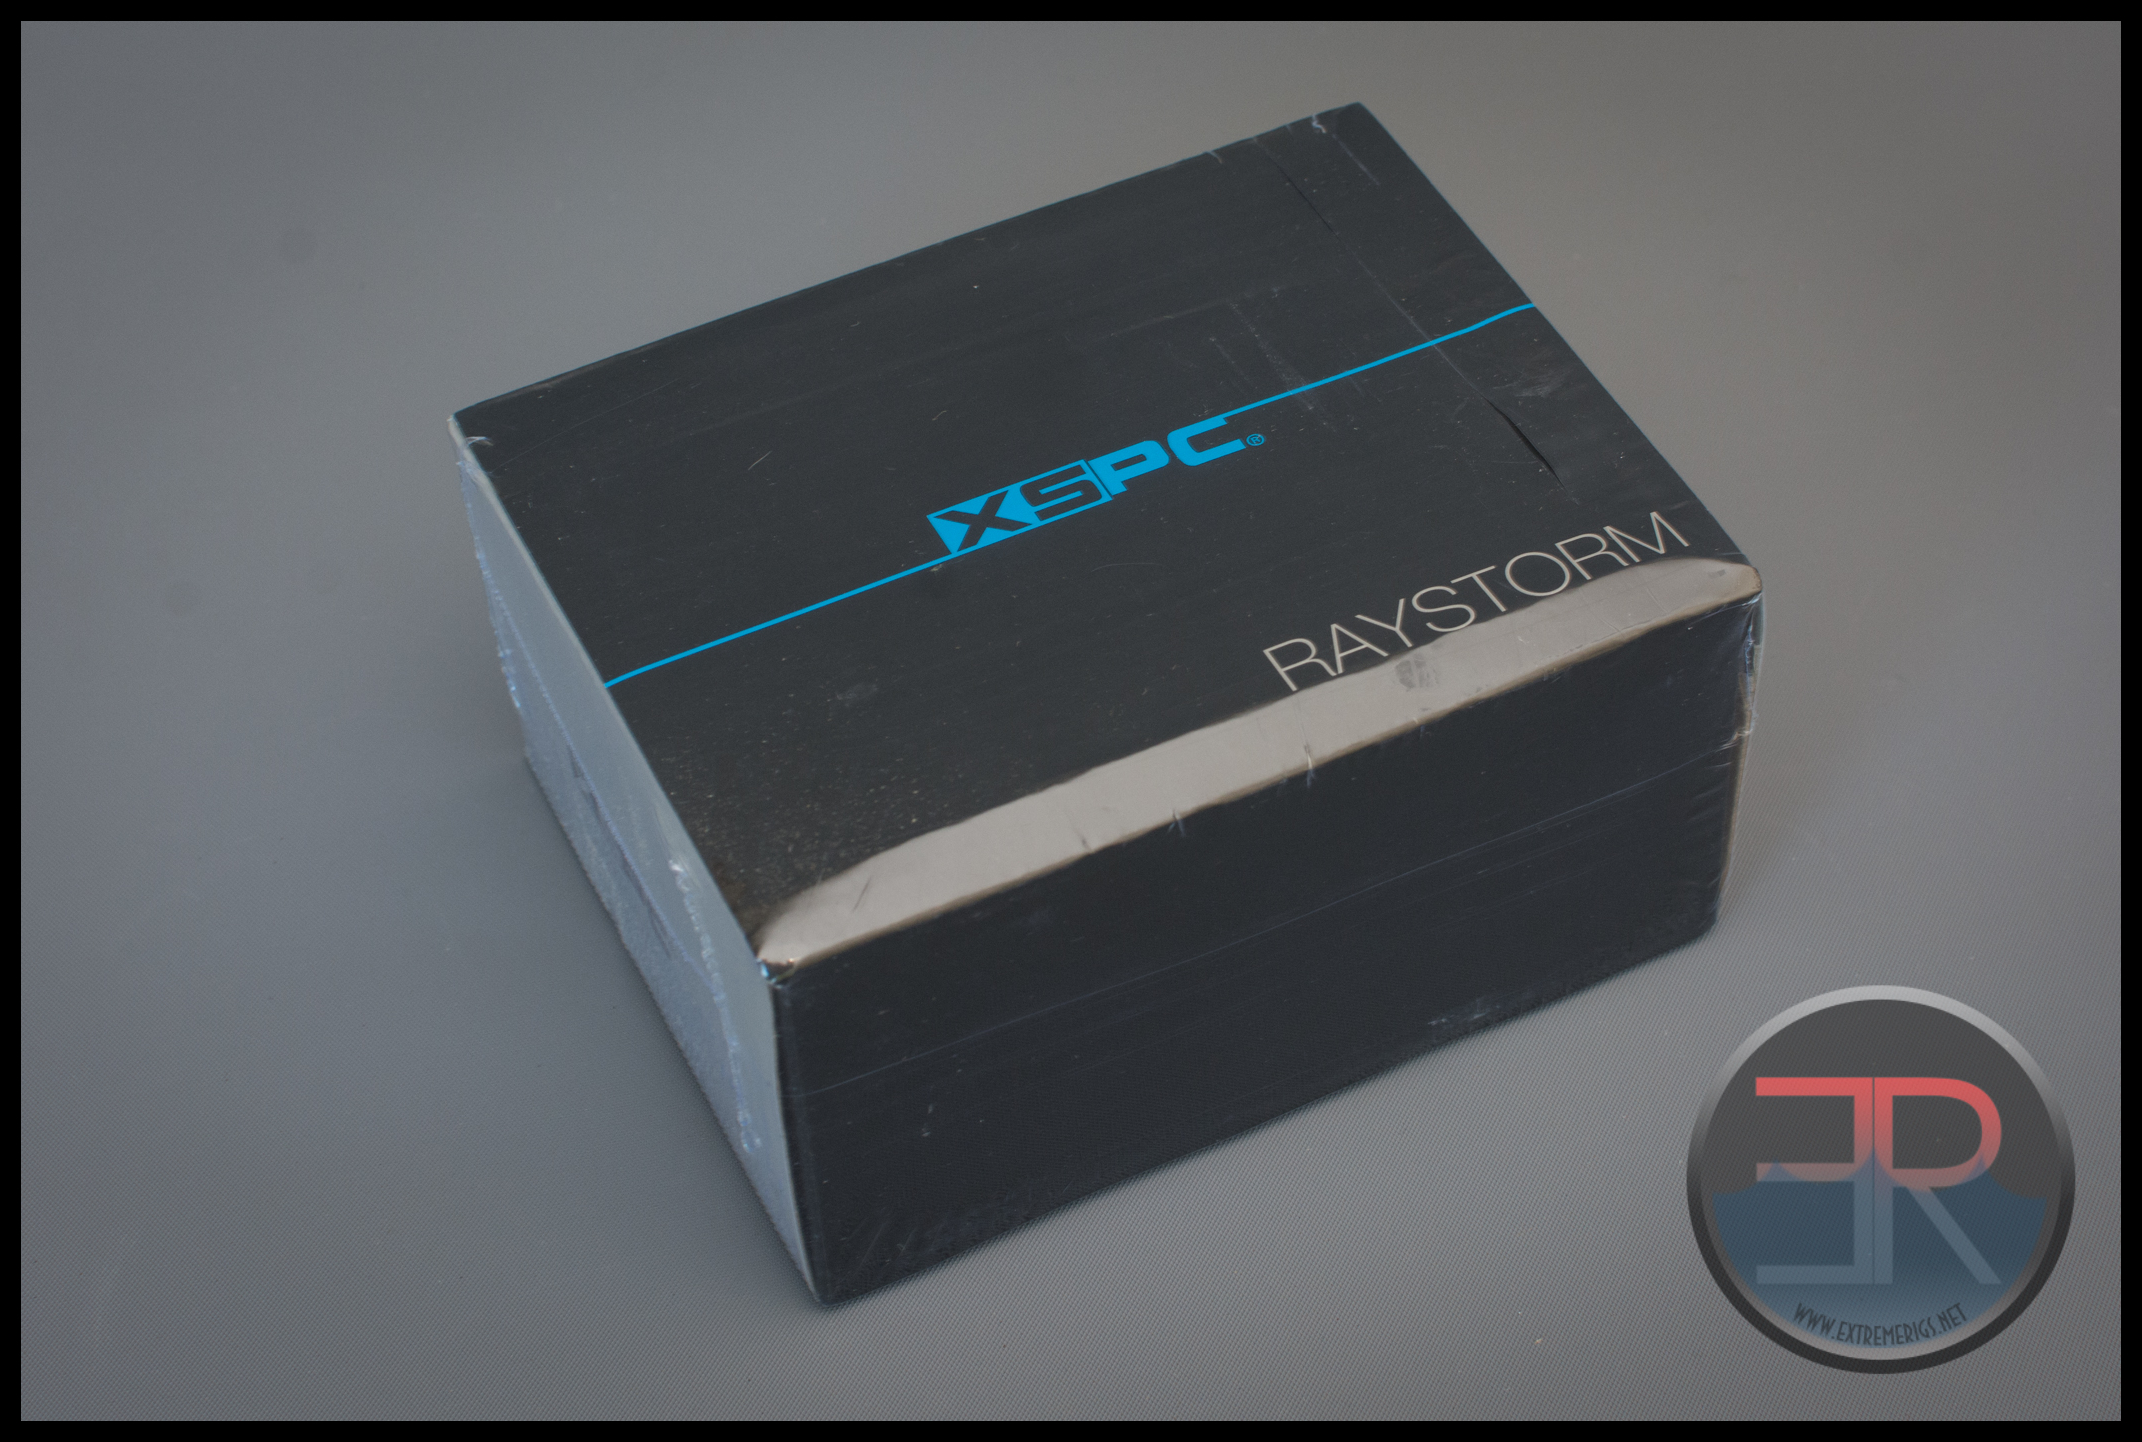
The box is as usual sealed with cellophane so that you know it’s untouched:
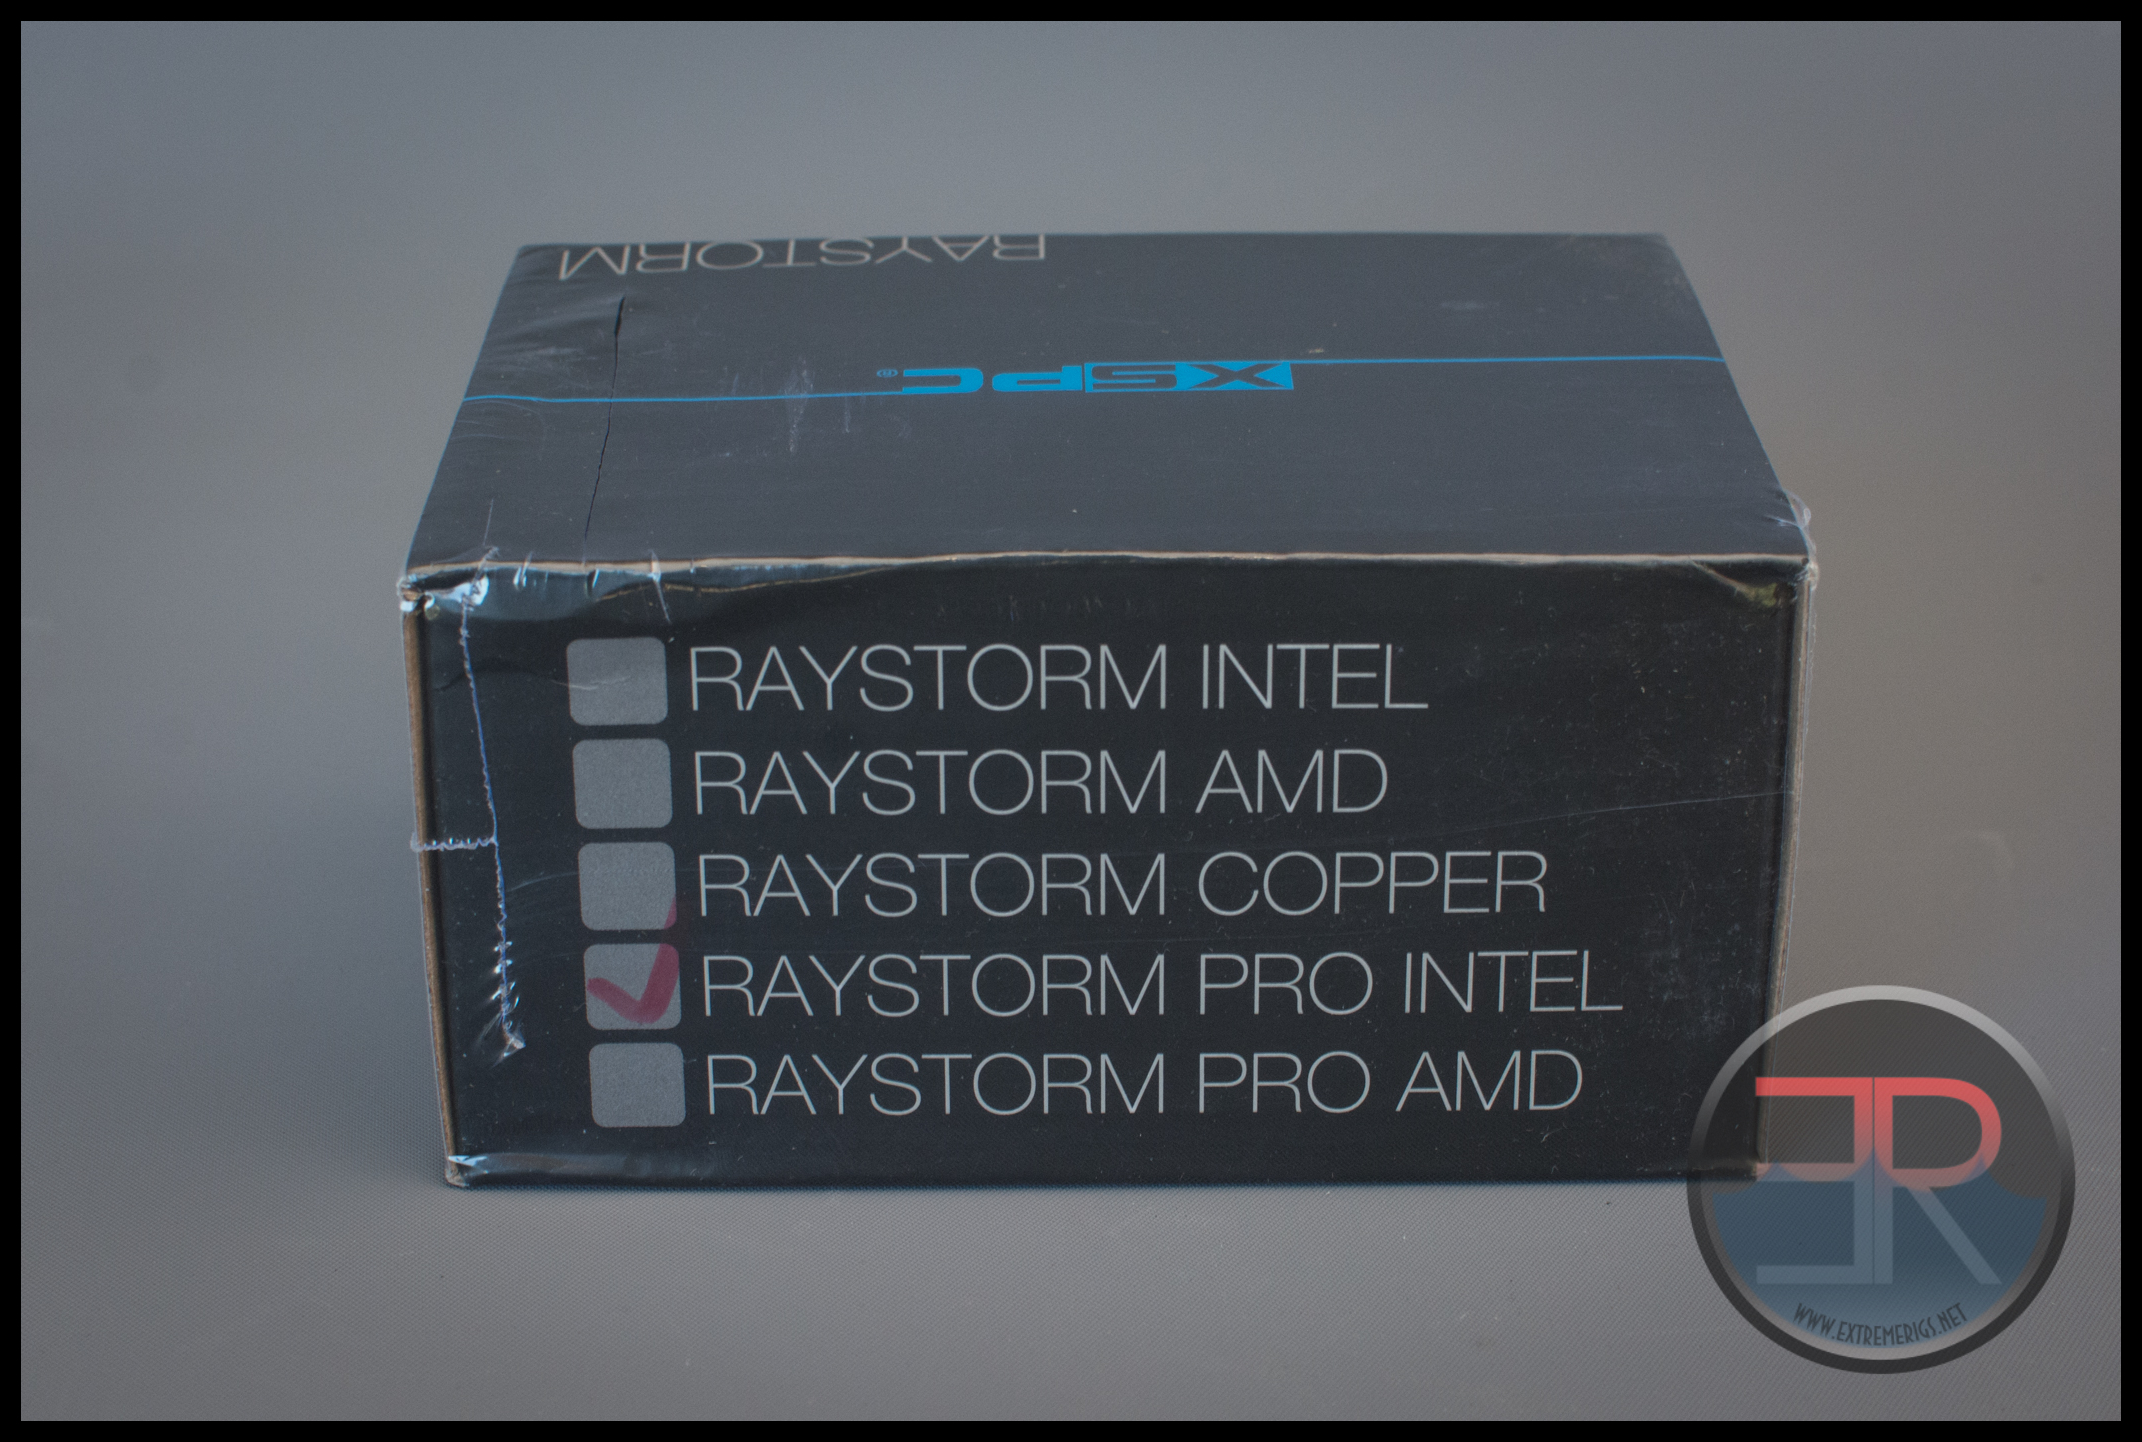
The box is the same as used for the vanilla Raystorm so there is handy identifier on the back to make sure you get the right one without having to open the box.
Alright, let’s get it unwrapped:
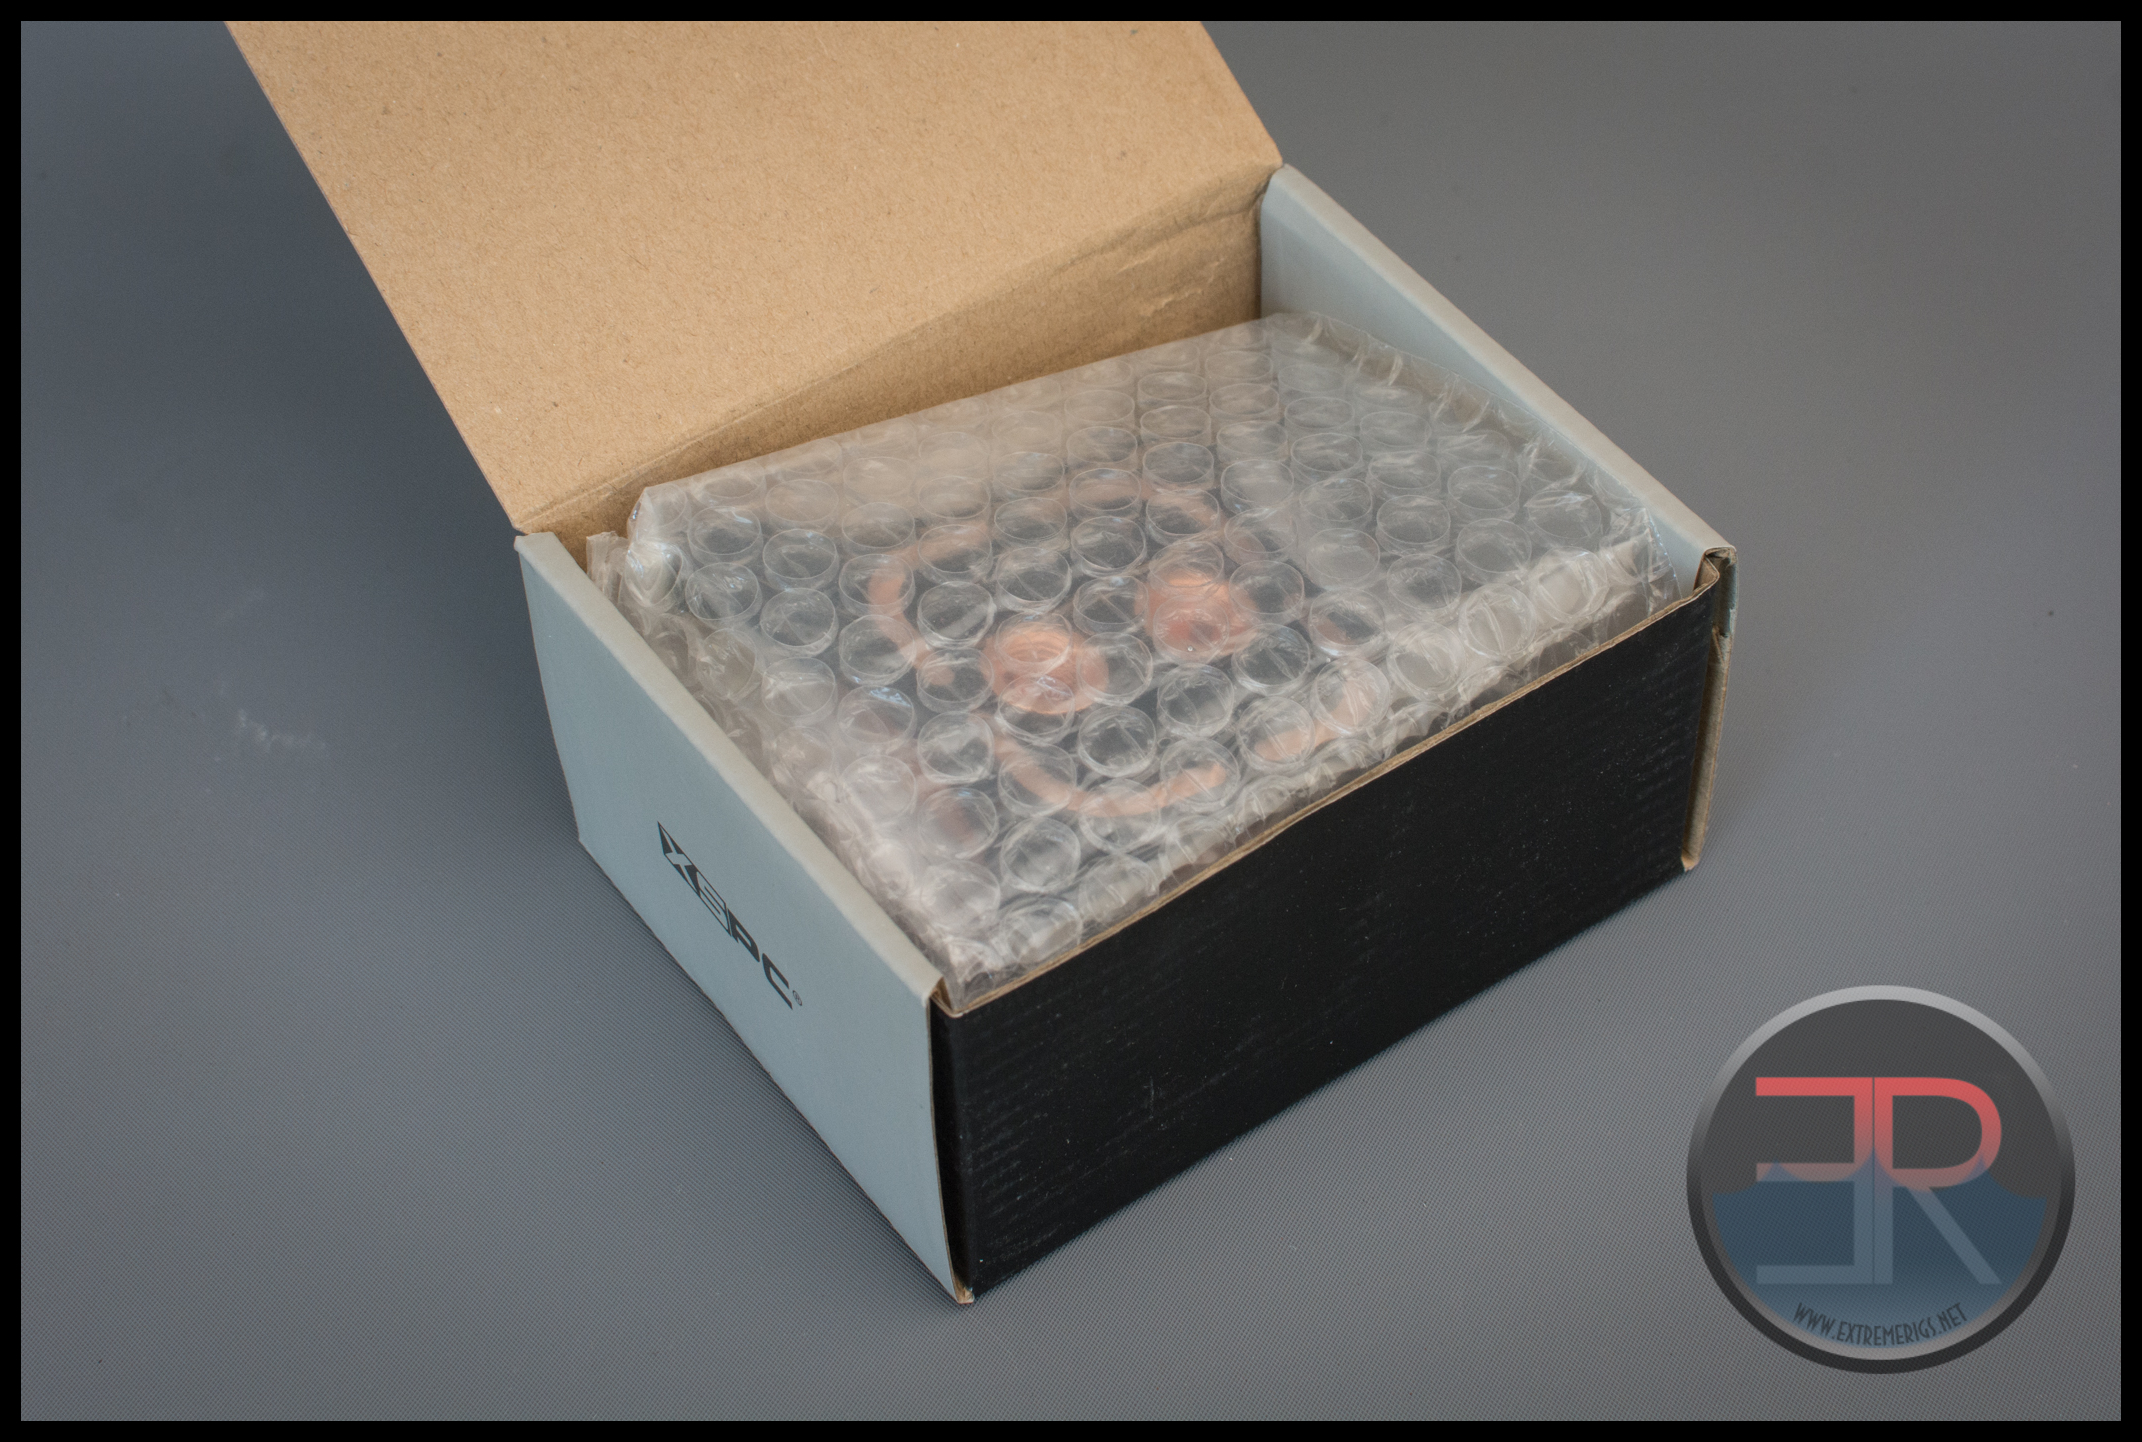
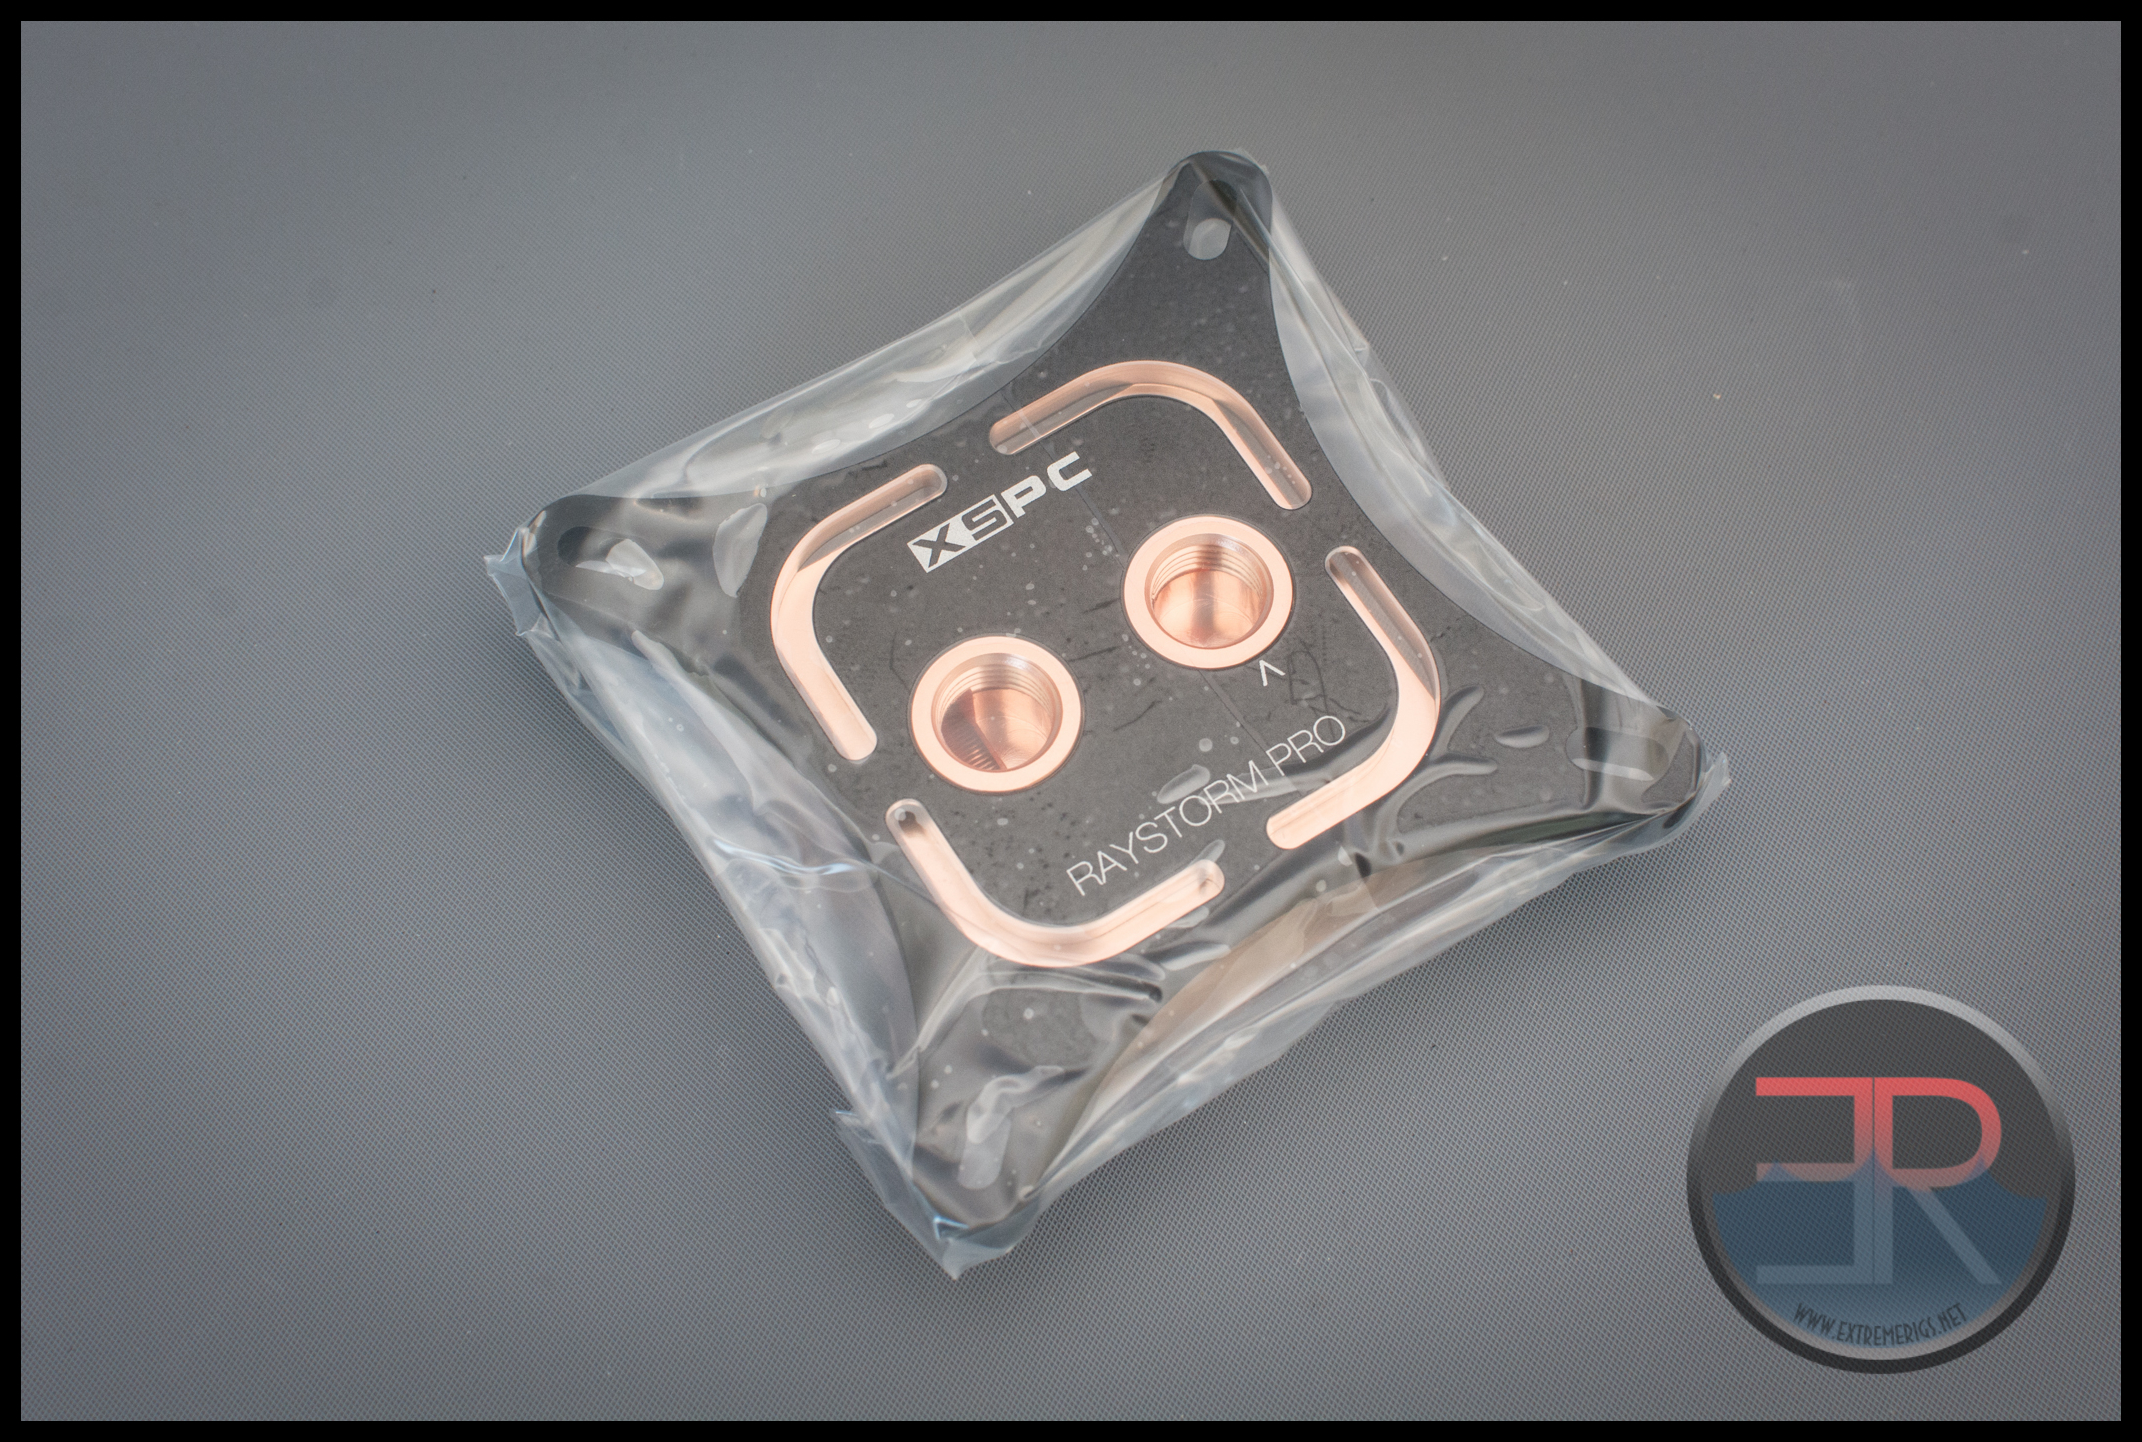
The CPU block is wrapped in two layers of protection – the first is a bubble wrap bag:
The second is a plastic wrapper to keep out any dust or moisture:
Let’s first take a look at what else is in the box:
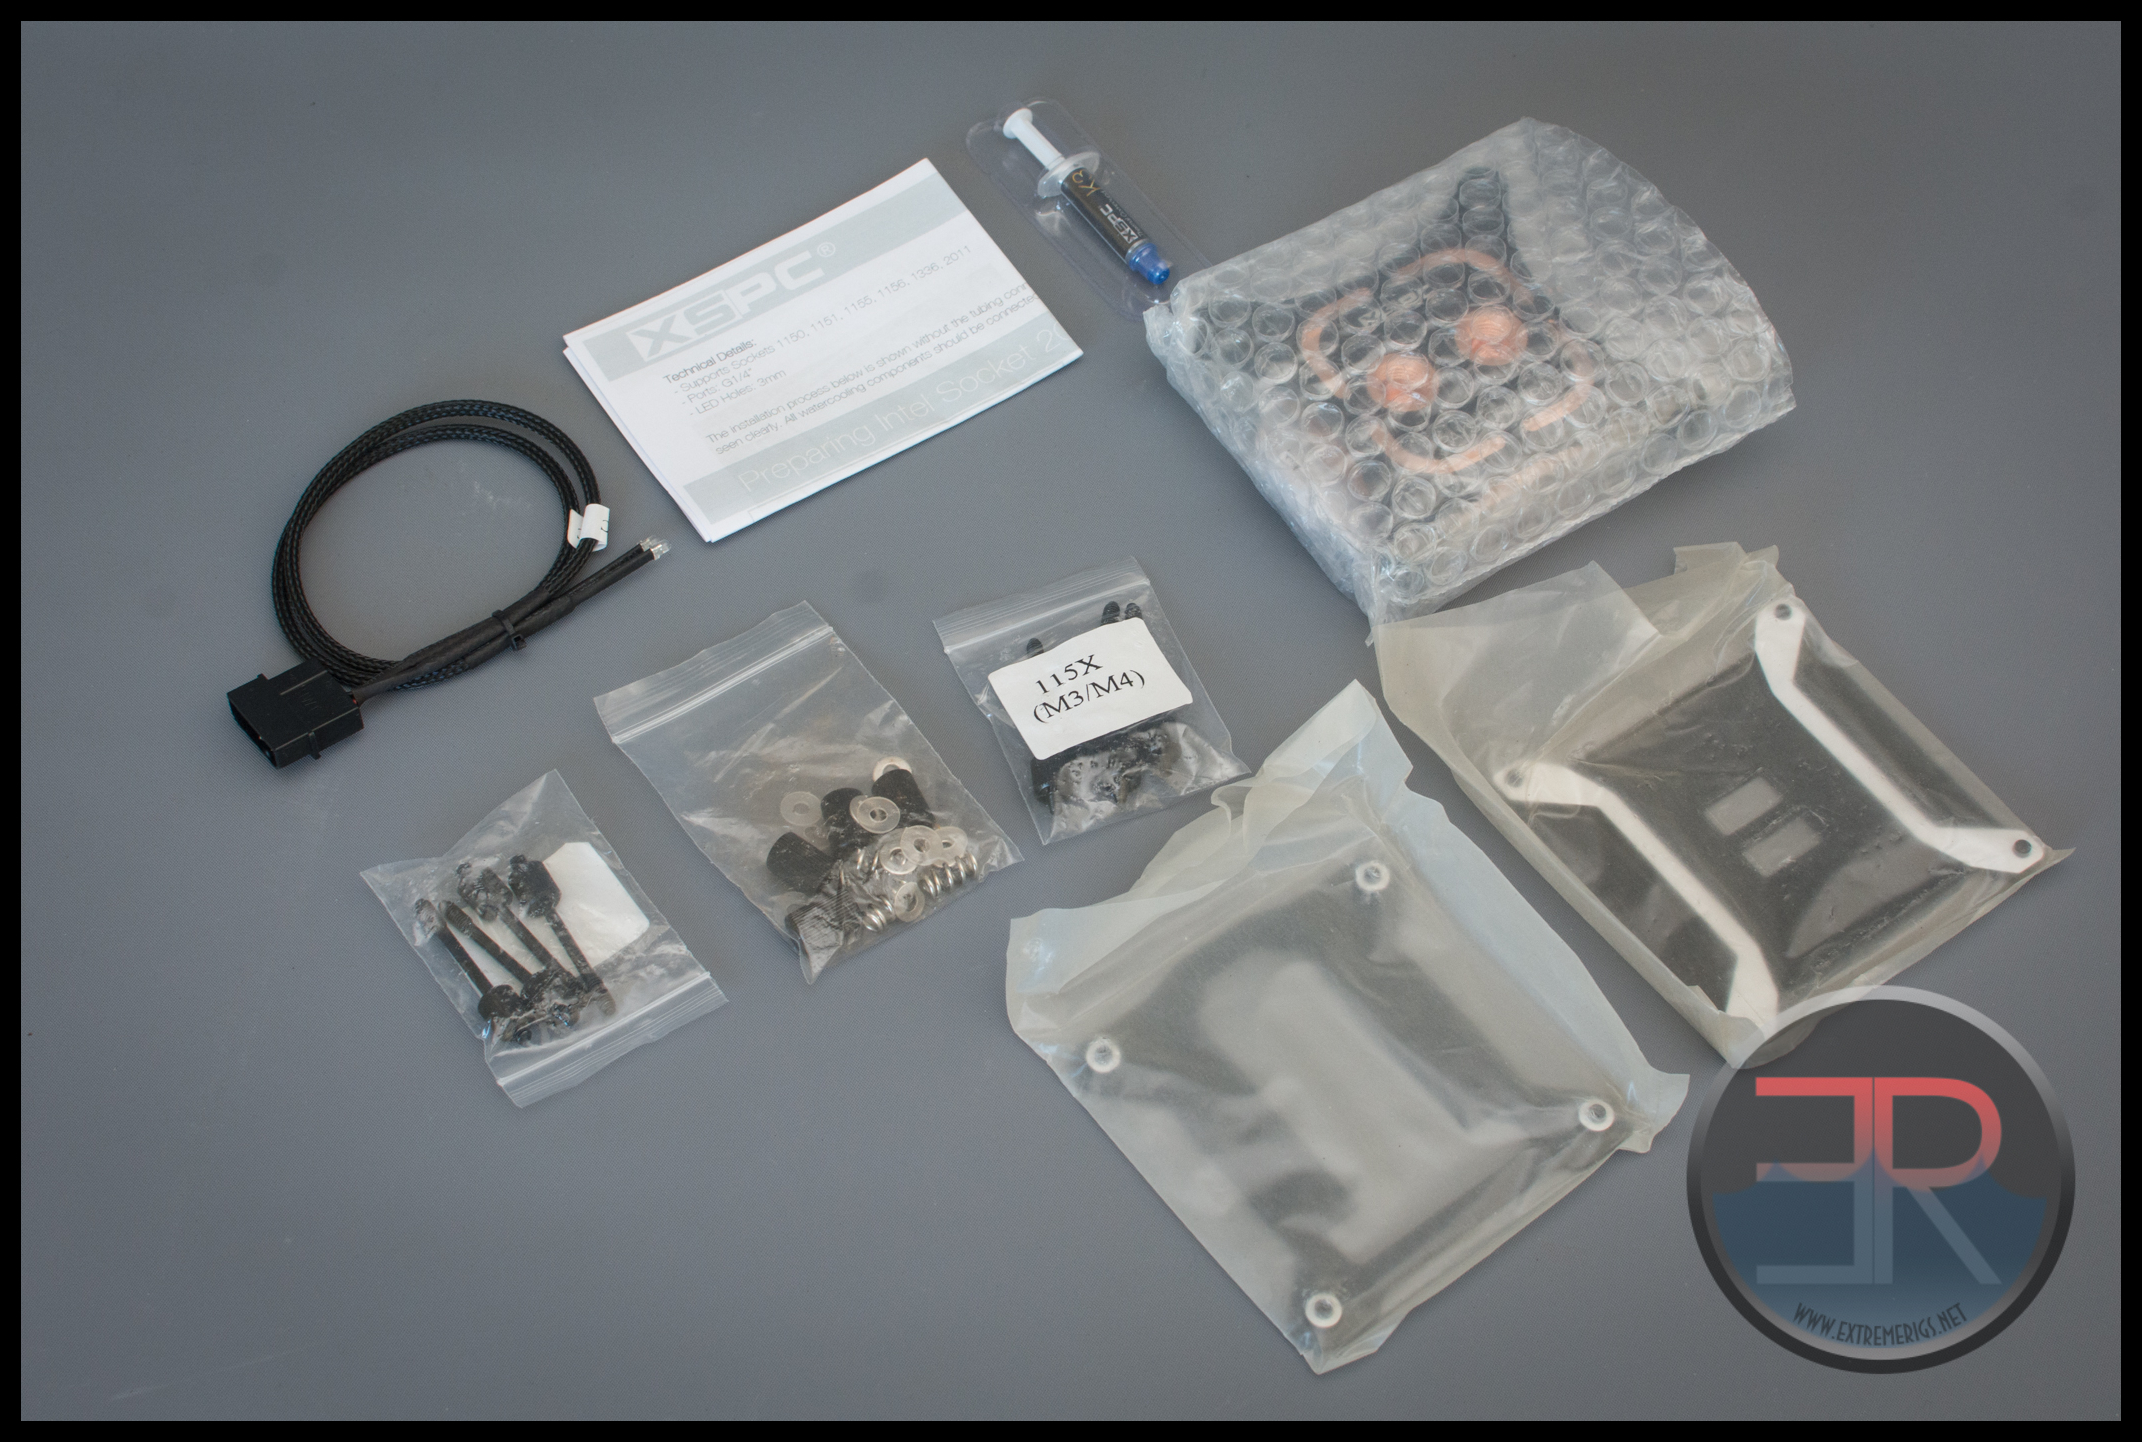
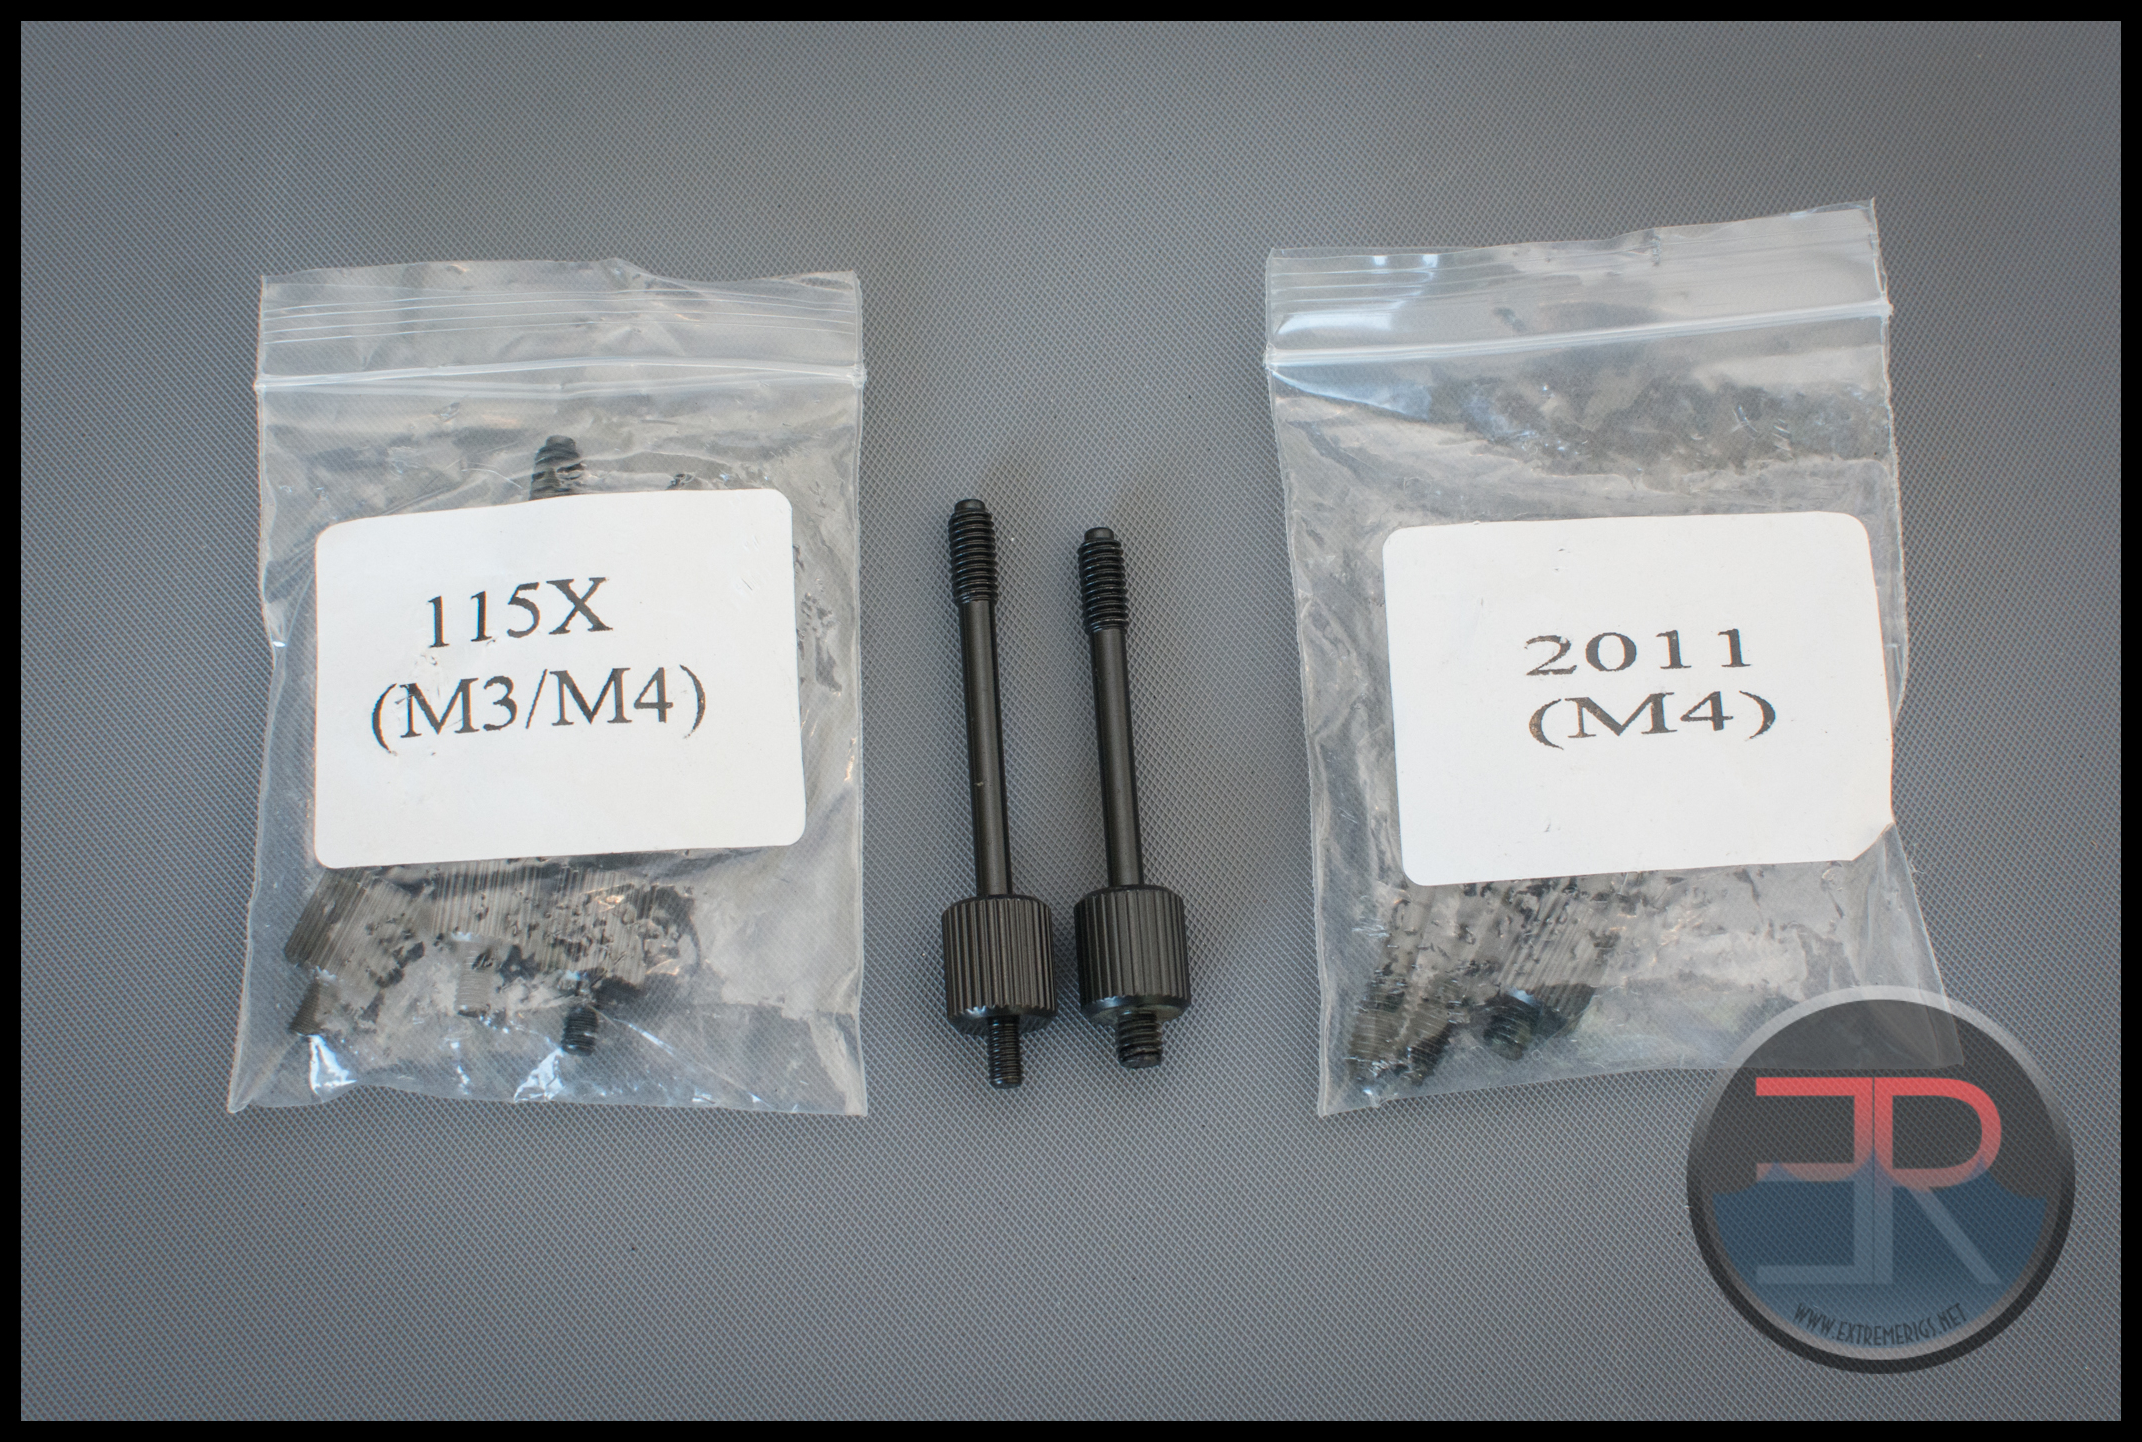
Lots of things – let’s divide it up – firstly the backplates:
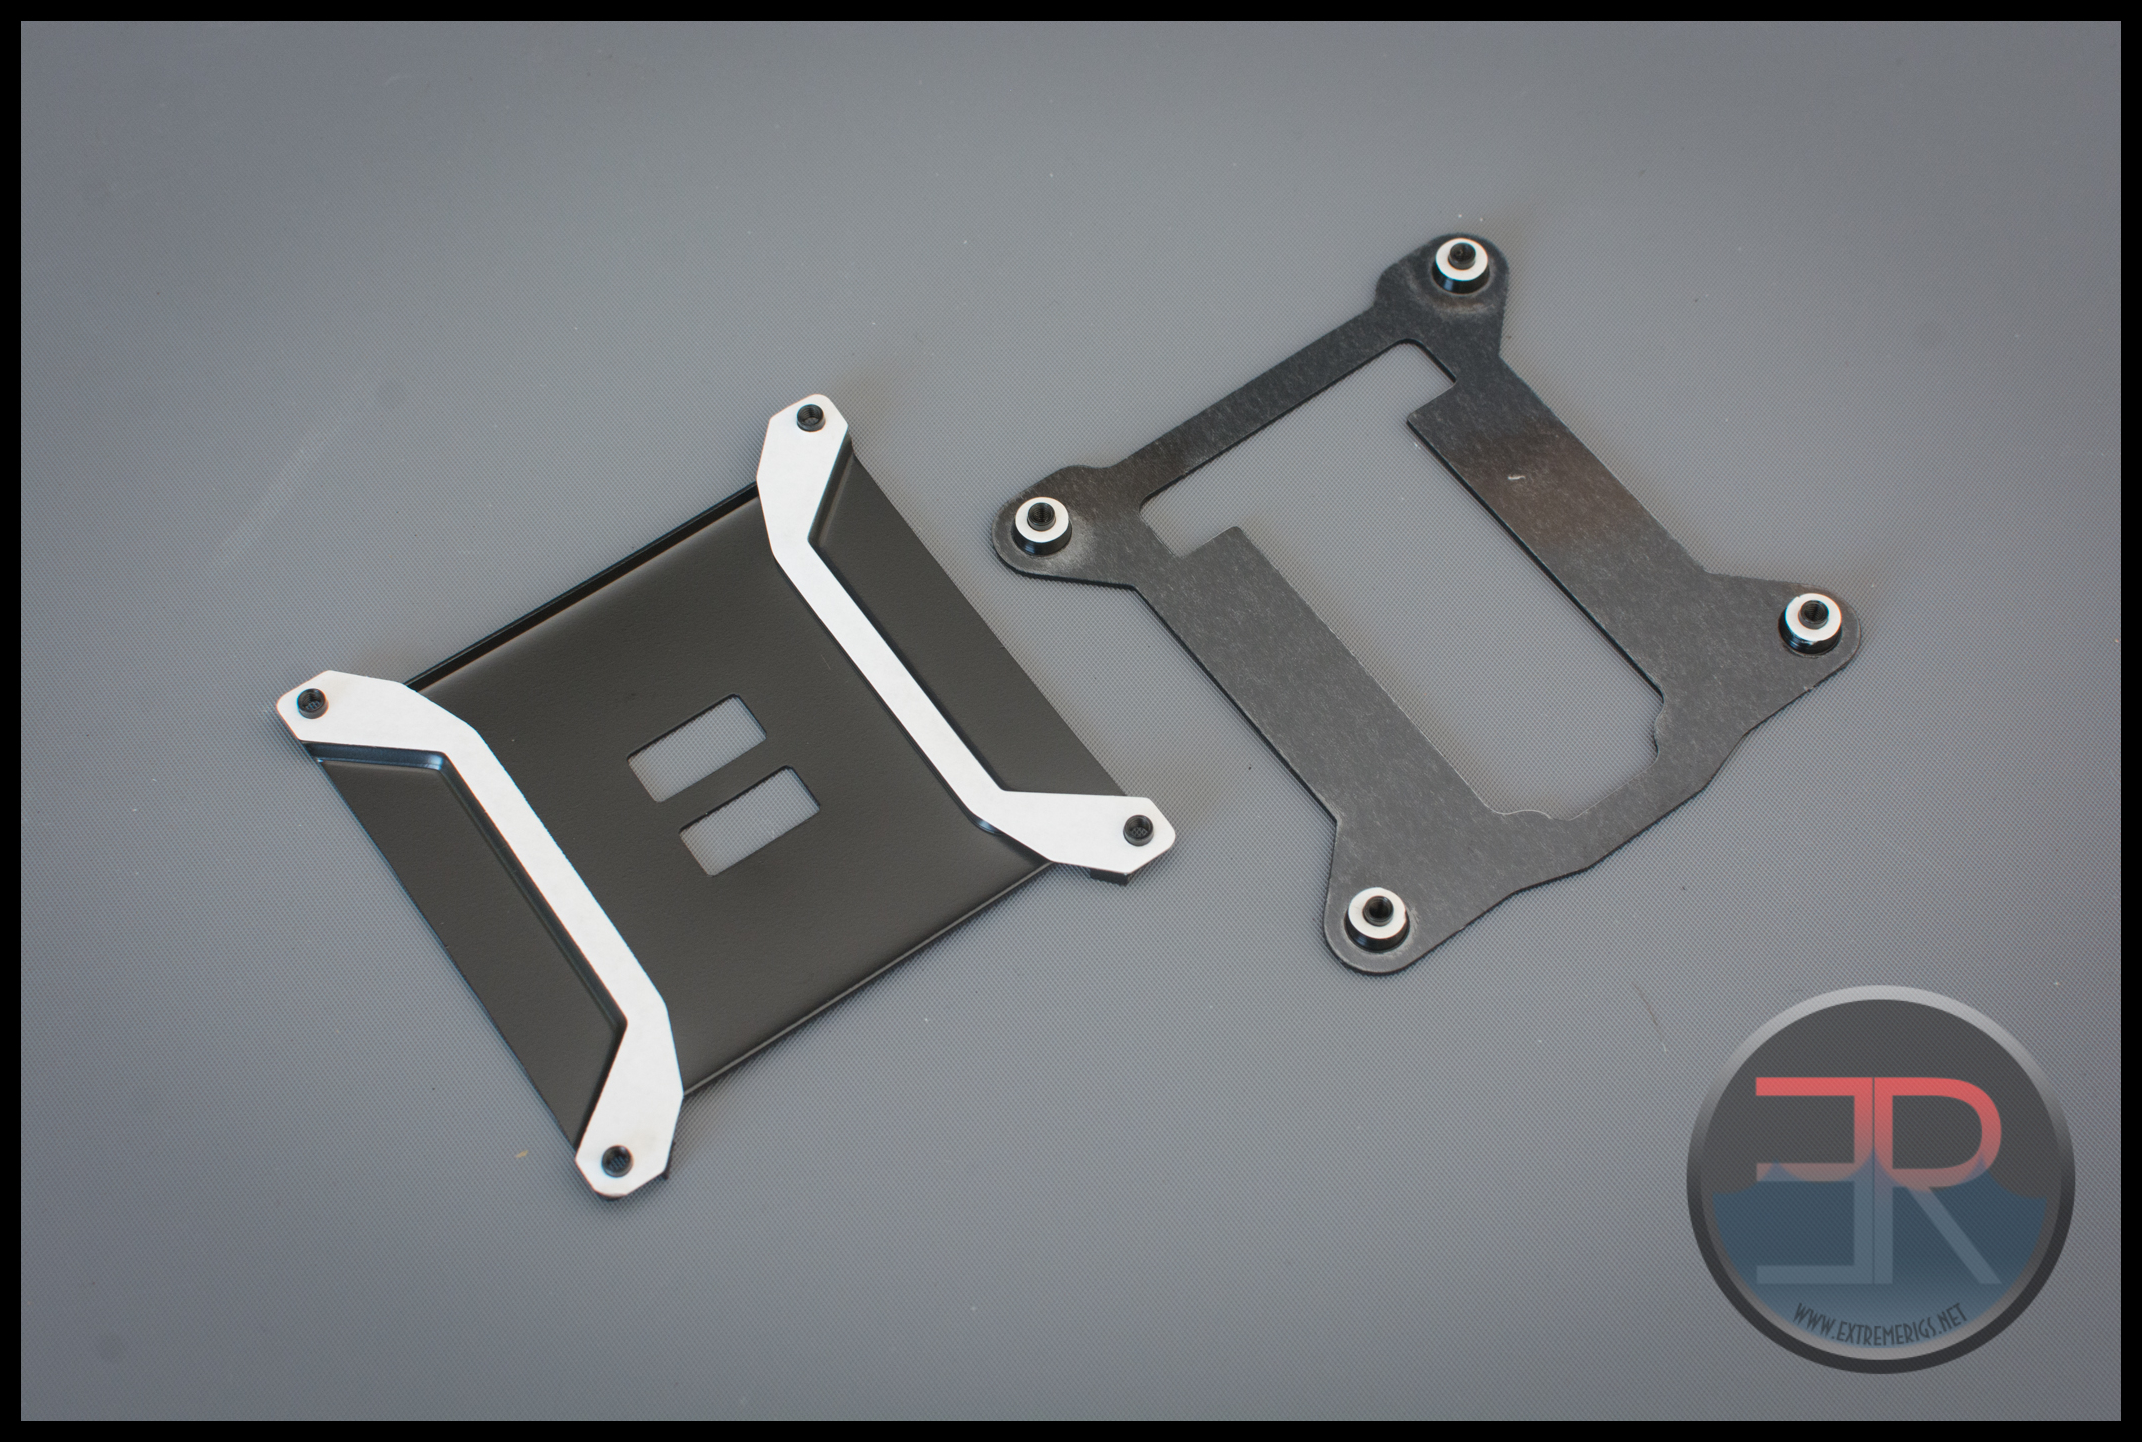
There are two backplates – both are for intel sockets – 115X and 1366. There is no AMD support with this version of the Raystorm Pro – instead a separate AMD version is available. Of course for Intel sockets 2011 and 2011-3 the backplate is built into the motherboard, so there is no need to include one.
There are two sets of mount screws and one set of thumb nuts, washers and springs:
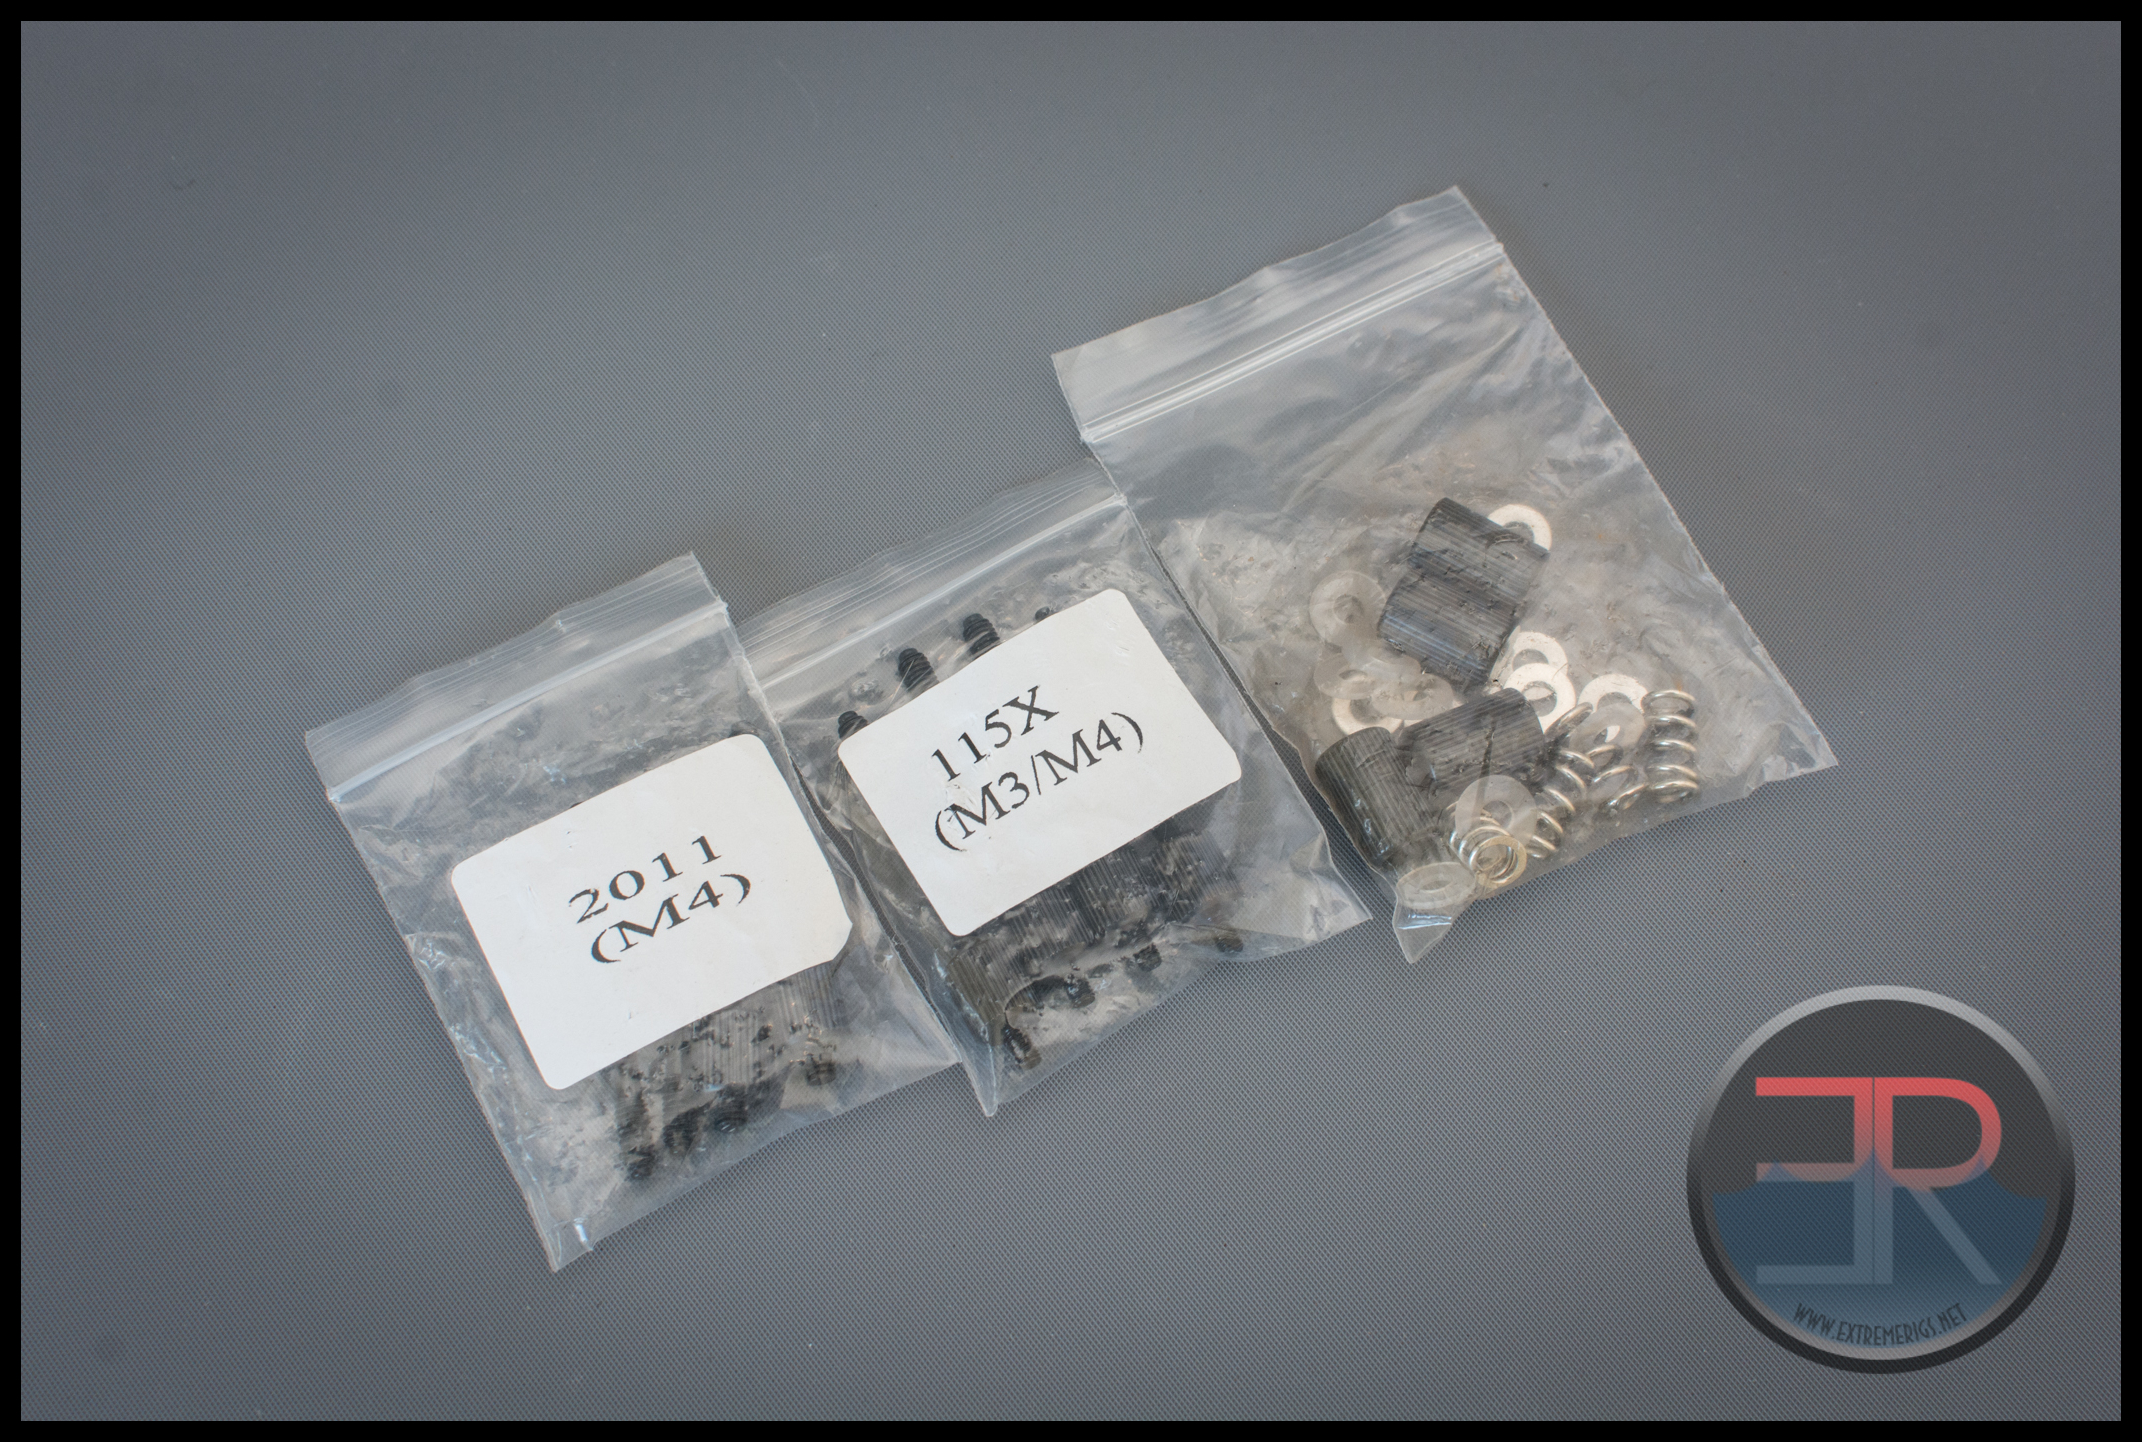
The thumbscrews are very similar, the only difference is the total length and the length of thread which is adjusted because of the 2011 socket. The end result does apparantly end up giving socket 2011 more pressure than socket 115x which is a good thing.
Two full sets of washers are included so you have plenty of spares. We do wish the washers were black like the rest of the mounting hardware. There are no spare thumb nuts, screws or springs:
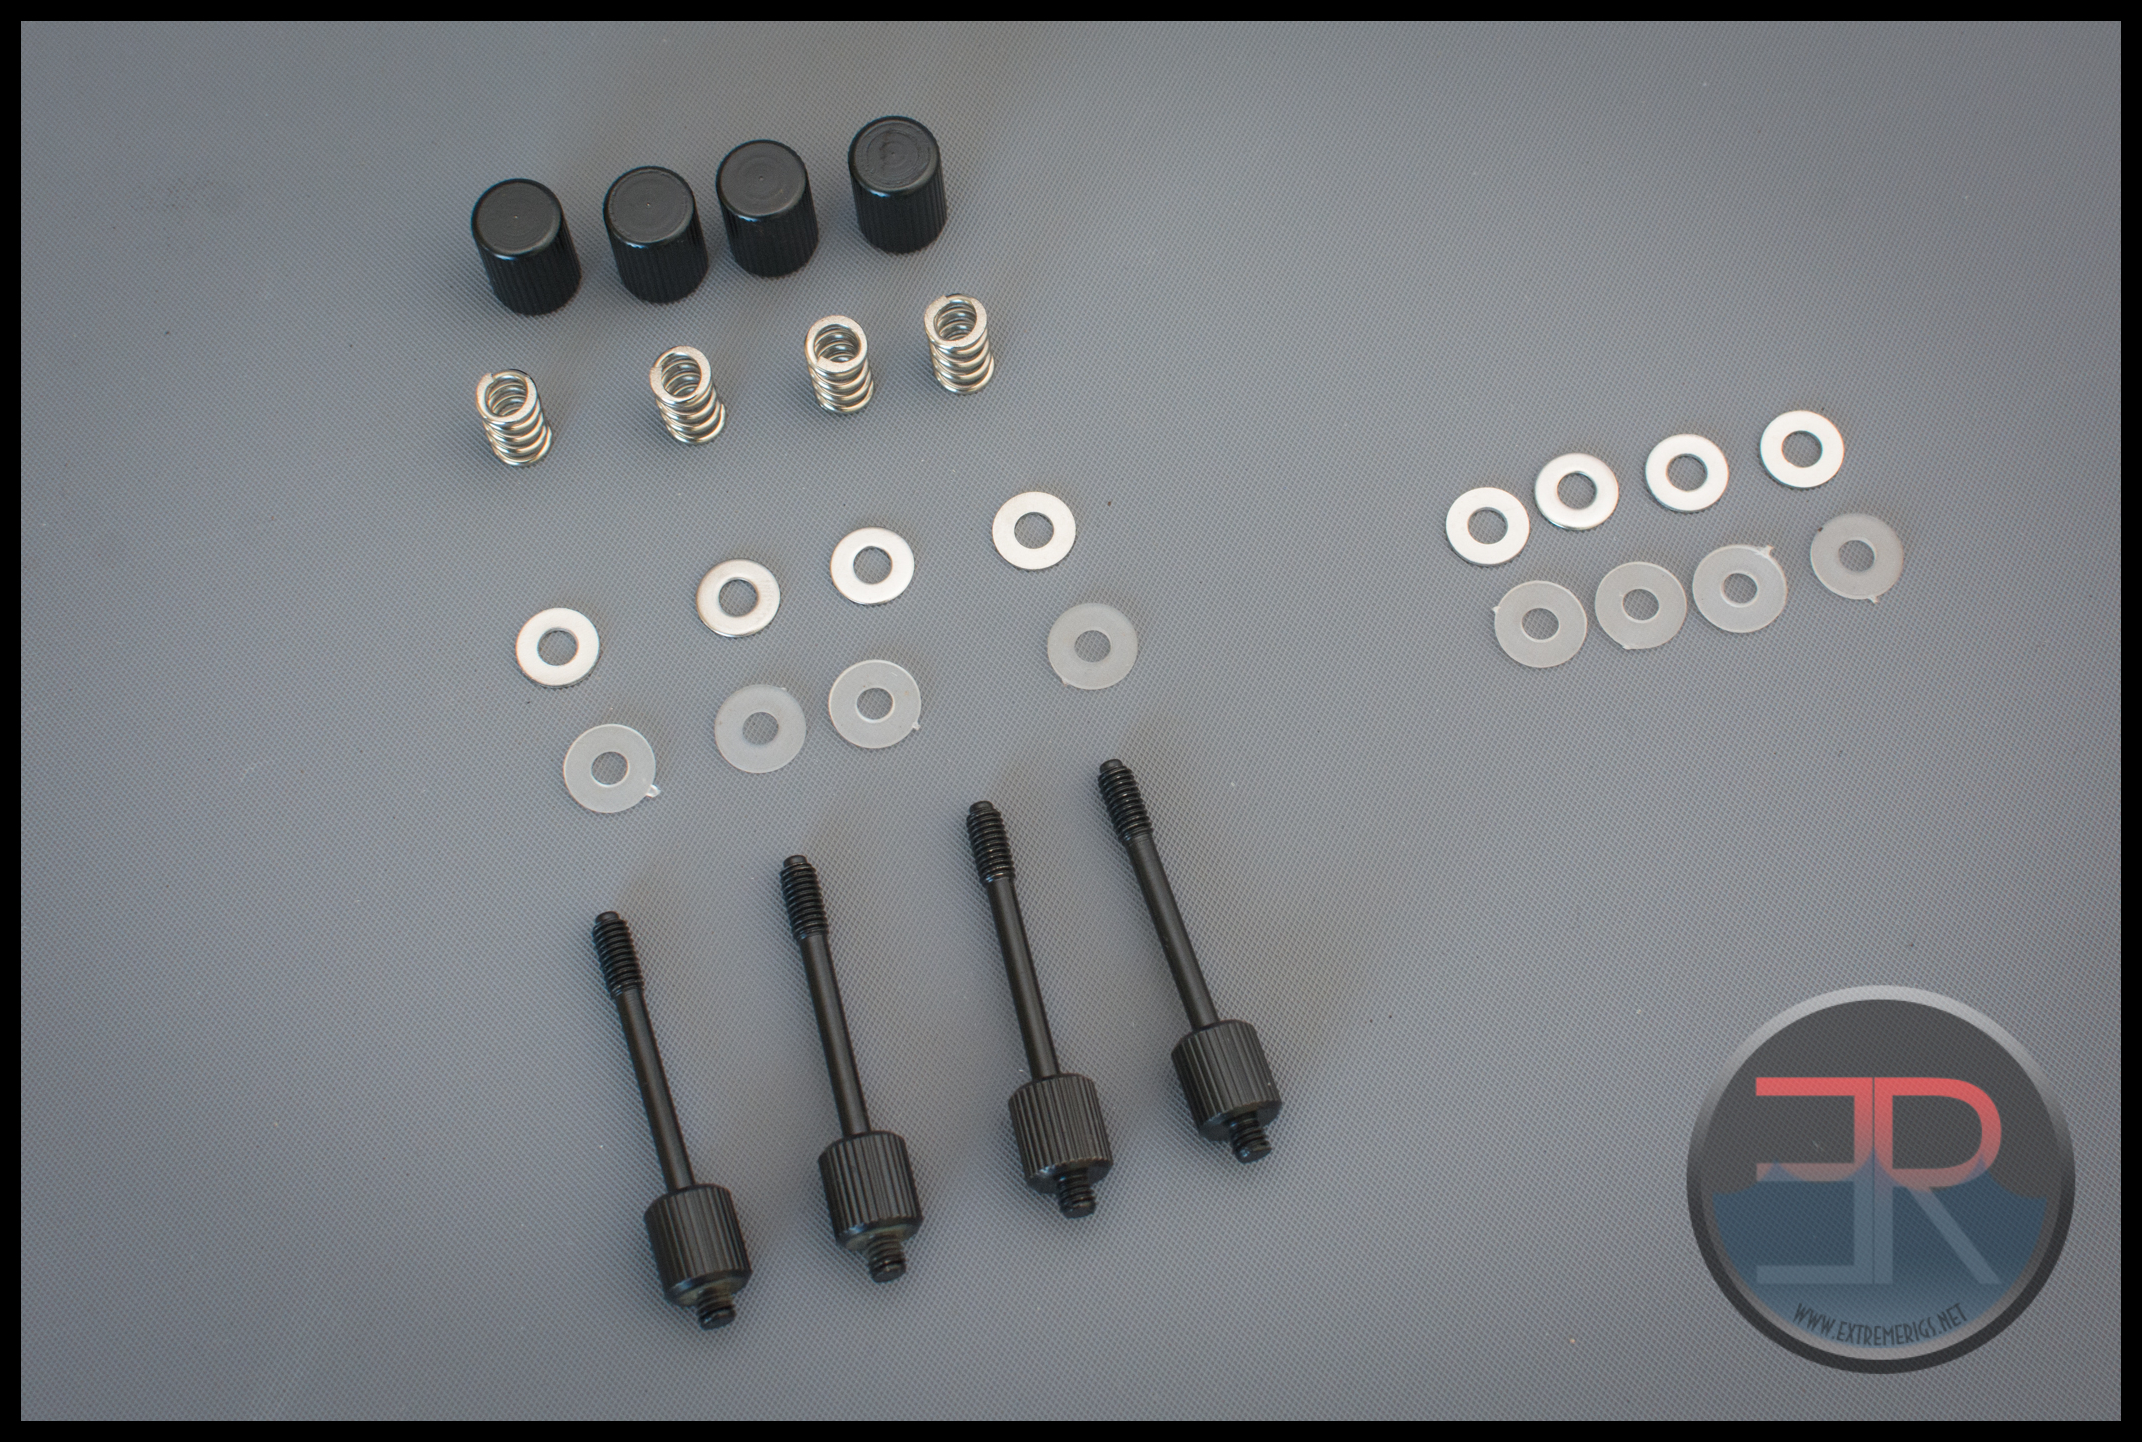
XSPC also include a tube of their own TIM – for our testing however we use our standard MX2 TIM for ease of thermal testing. Also included is a sleeved dual LED – this was all standard for the old raystorm so it’s not a surprise. However it’s worth noting that even other manufacturer’s like EK who include holes for LEDs on the Supremacy blocks do not include an LED in the package. The only other manufacturer including LEDs are Swiftech who build them into the body of their Apogee XL.

Having the LEDs is great even if they have to be installed by the user. We do however wish the molex power terminal was swapped for a 3 pin fan header. Even better it would be nice to make the LED’s RGB controllable and have a standard 4 pin RGB header to connect to a controller (some ROG motherboards now have this controller built in to the board).
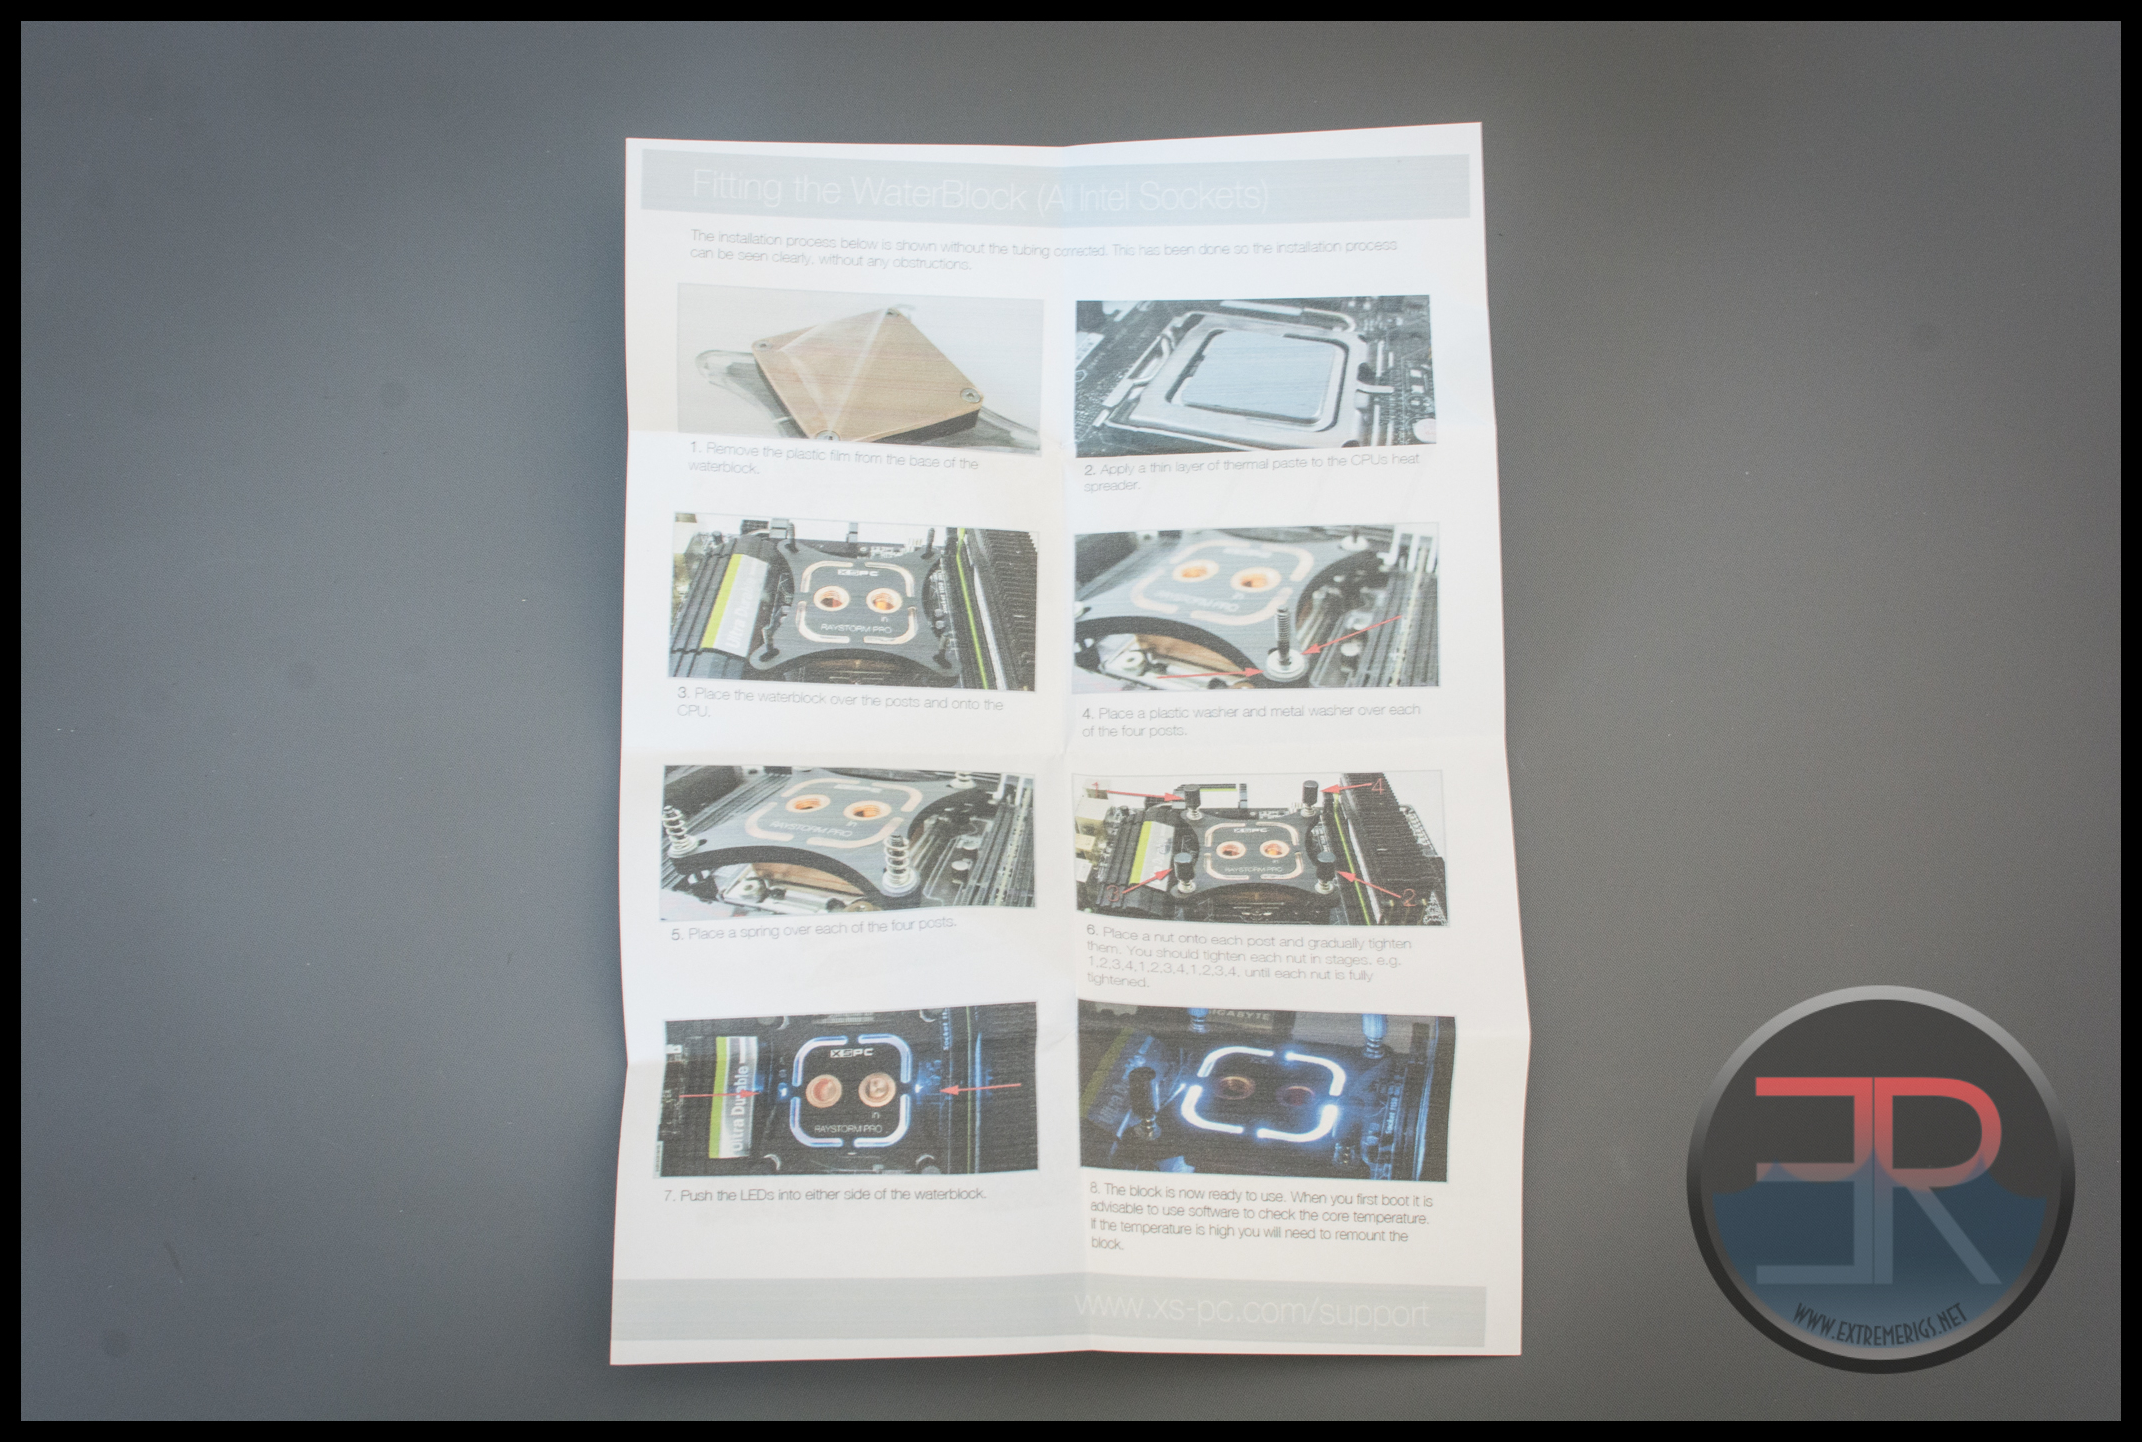
Lastly there are some instructions:

If the 2 sided piece of paper looks faded, well that’s because it’s a pretty poor photocopy. Disappointing but not problematic.
Ok enough focus on the accessories – let’s take a look at the block itself
Block Internals
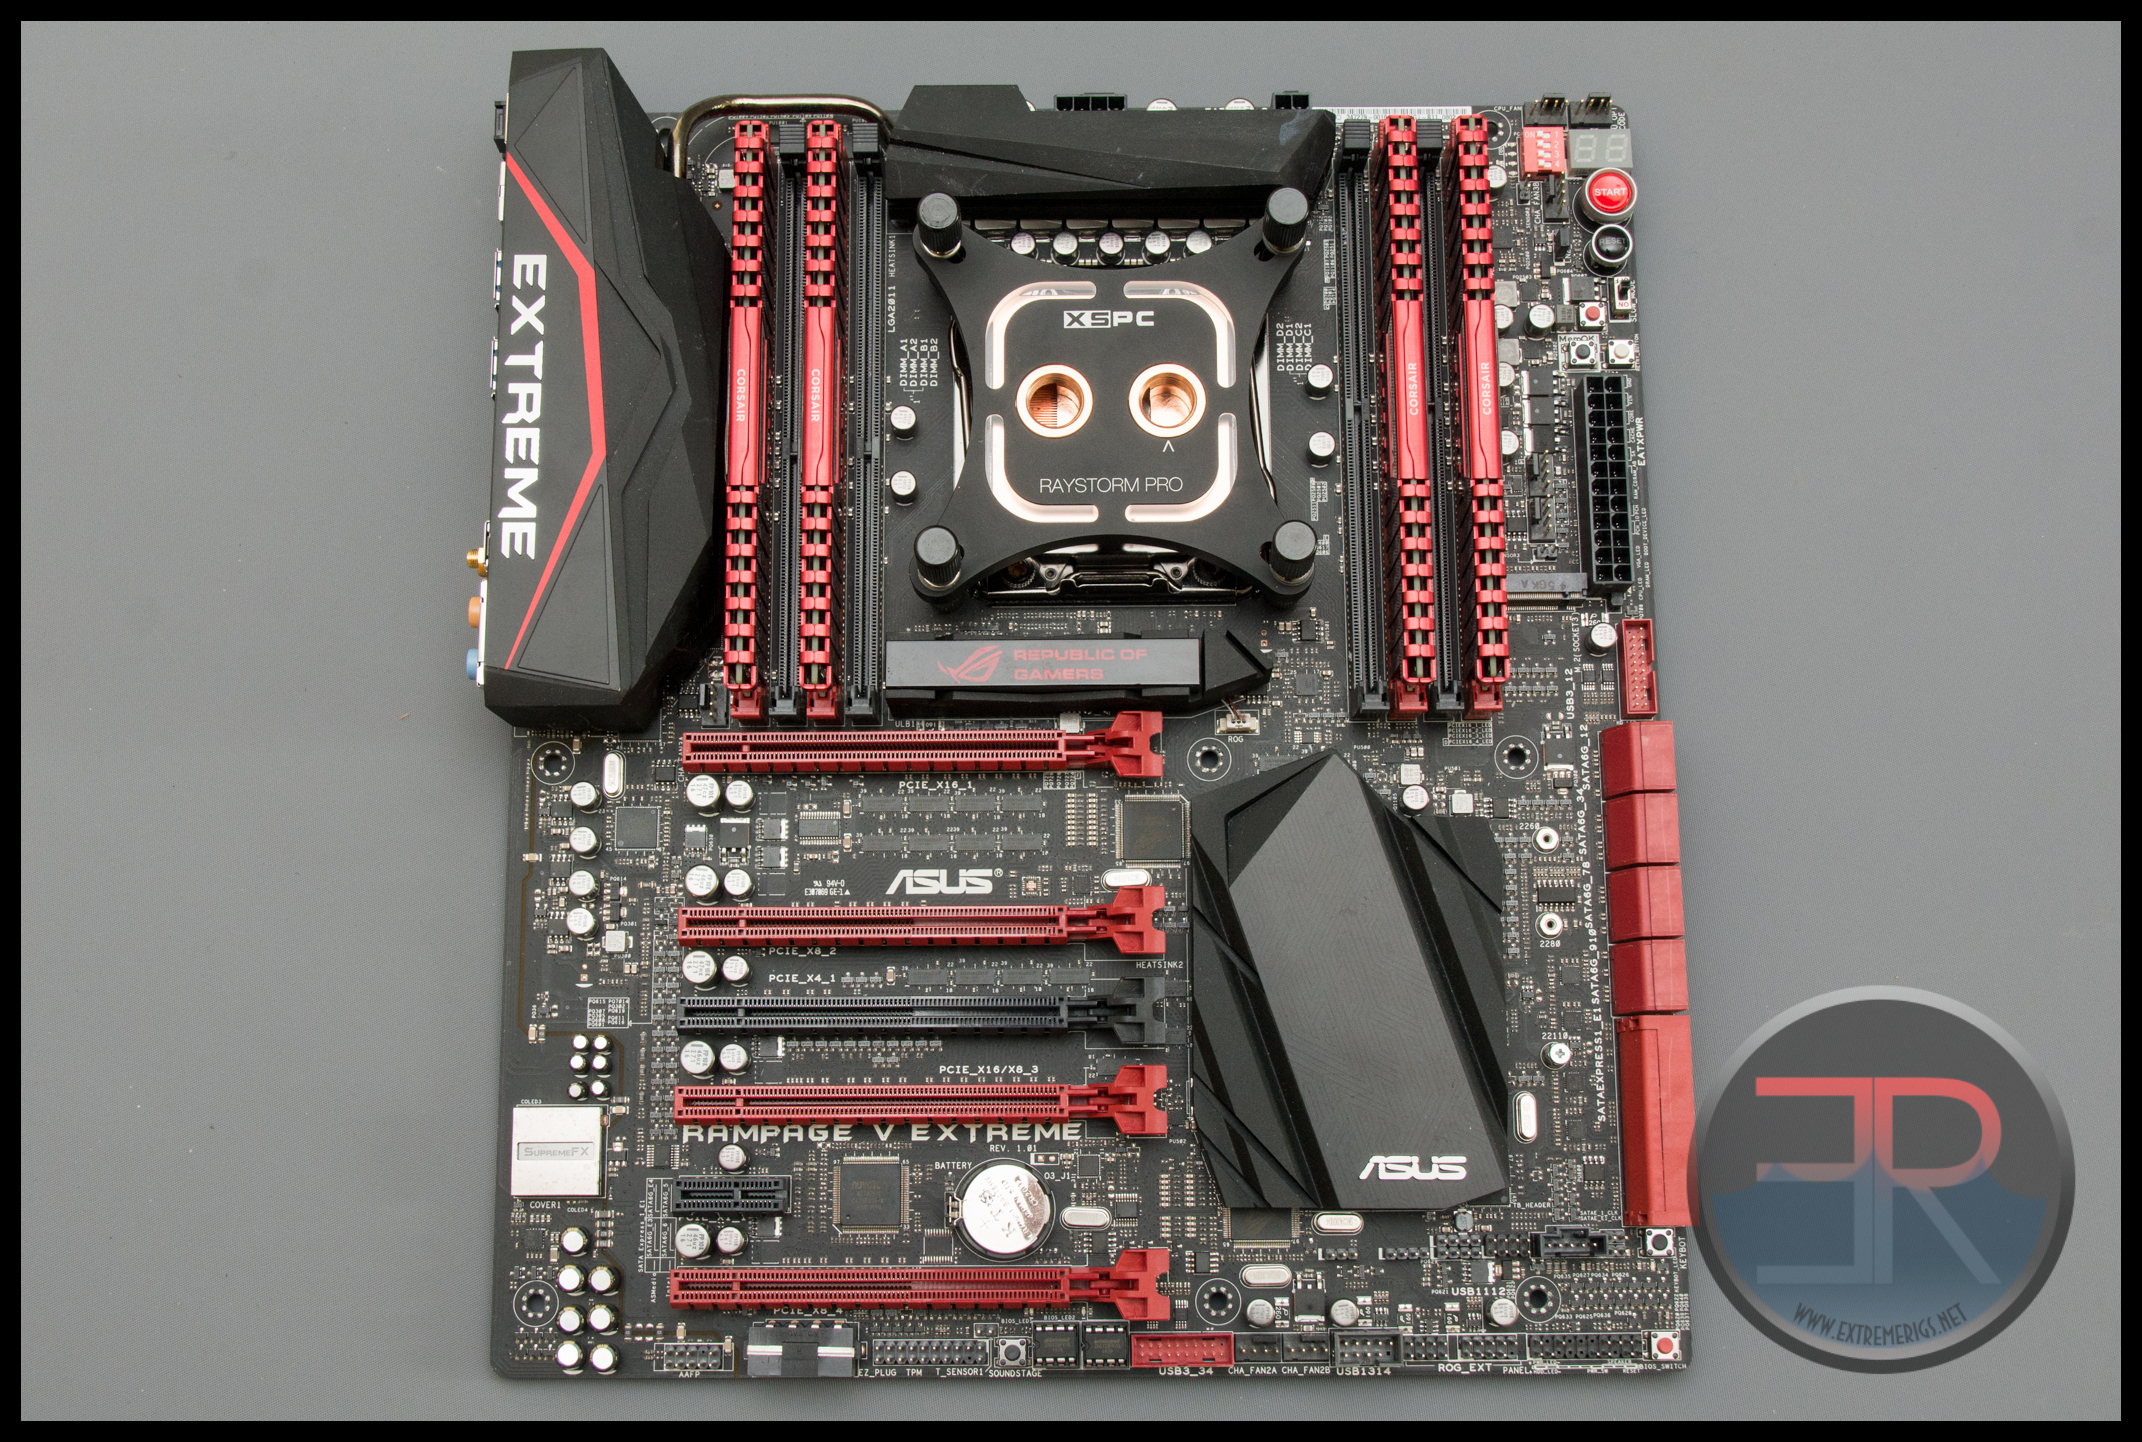
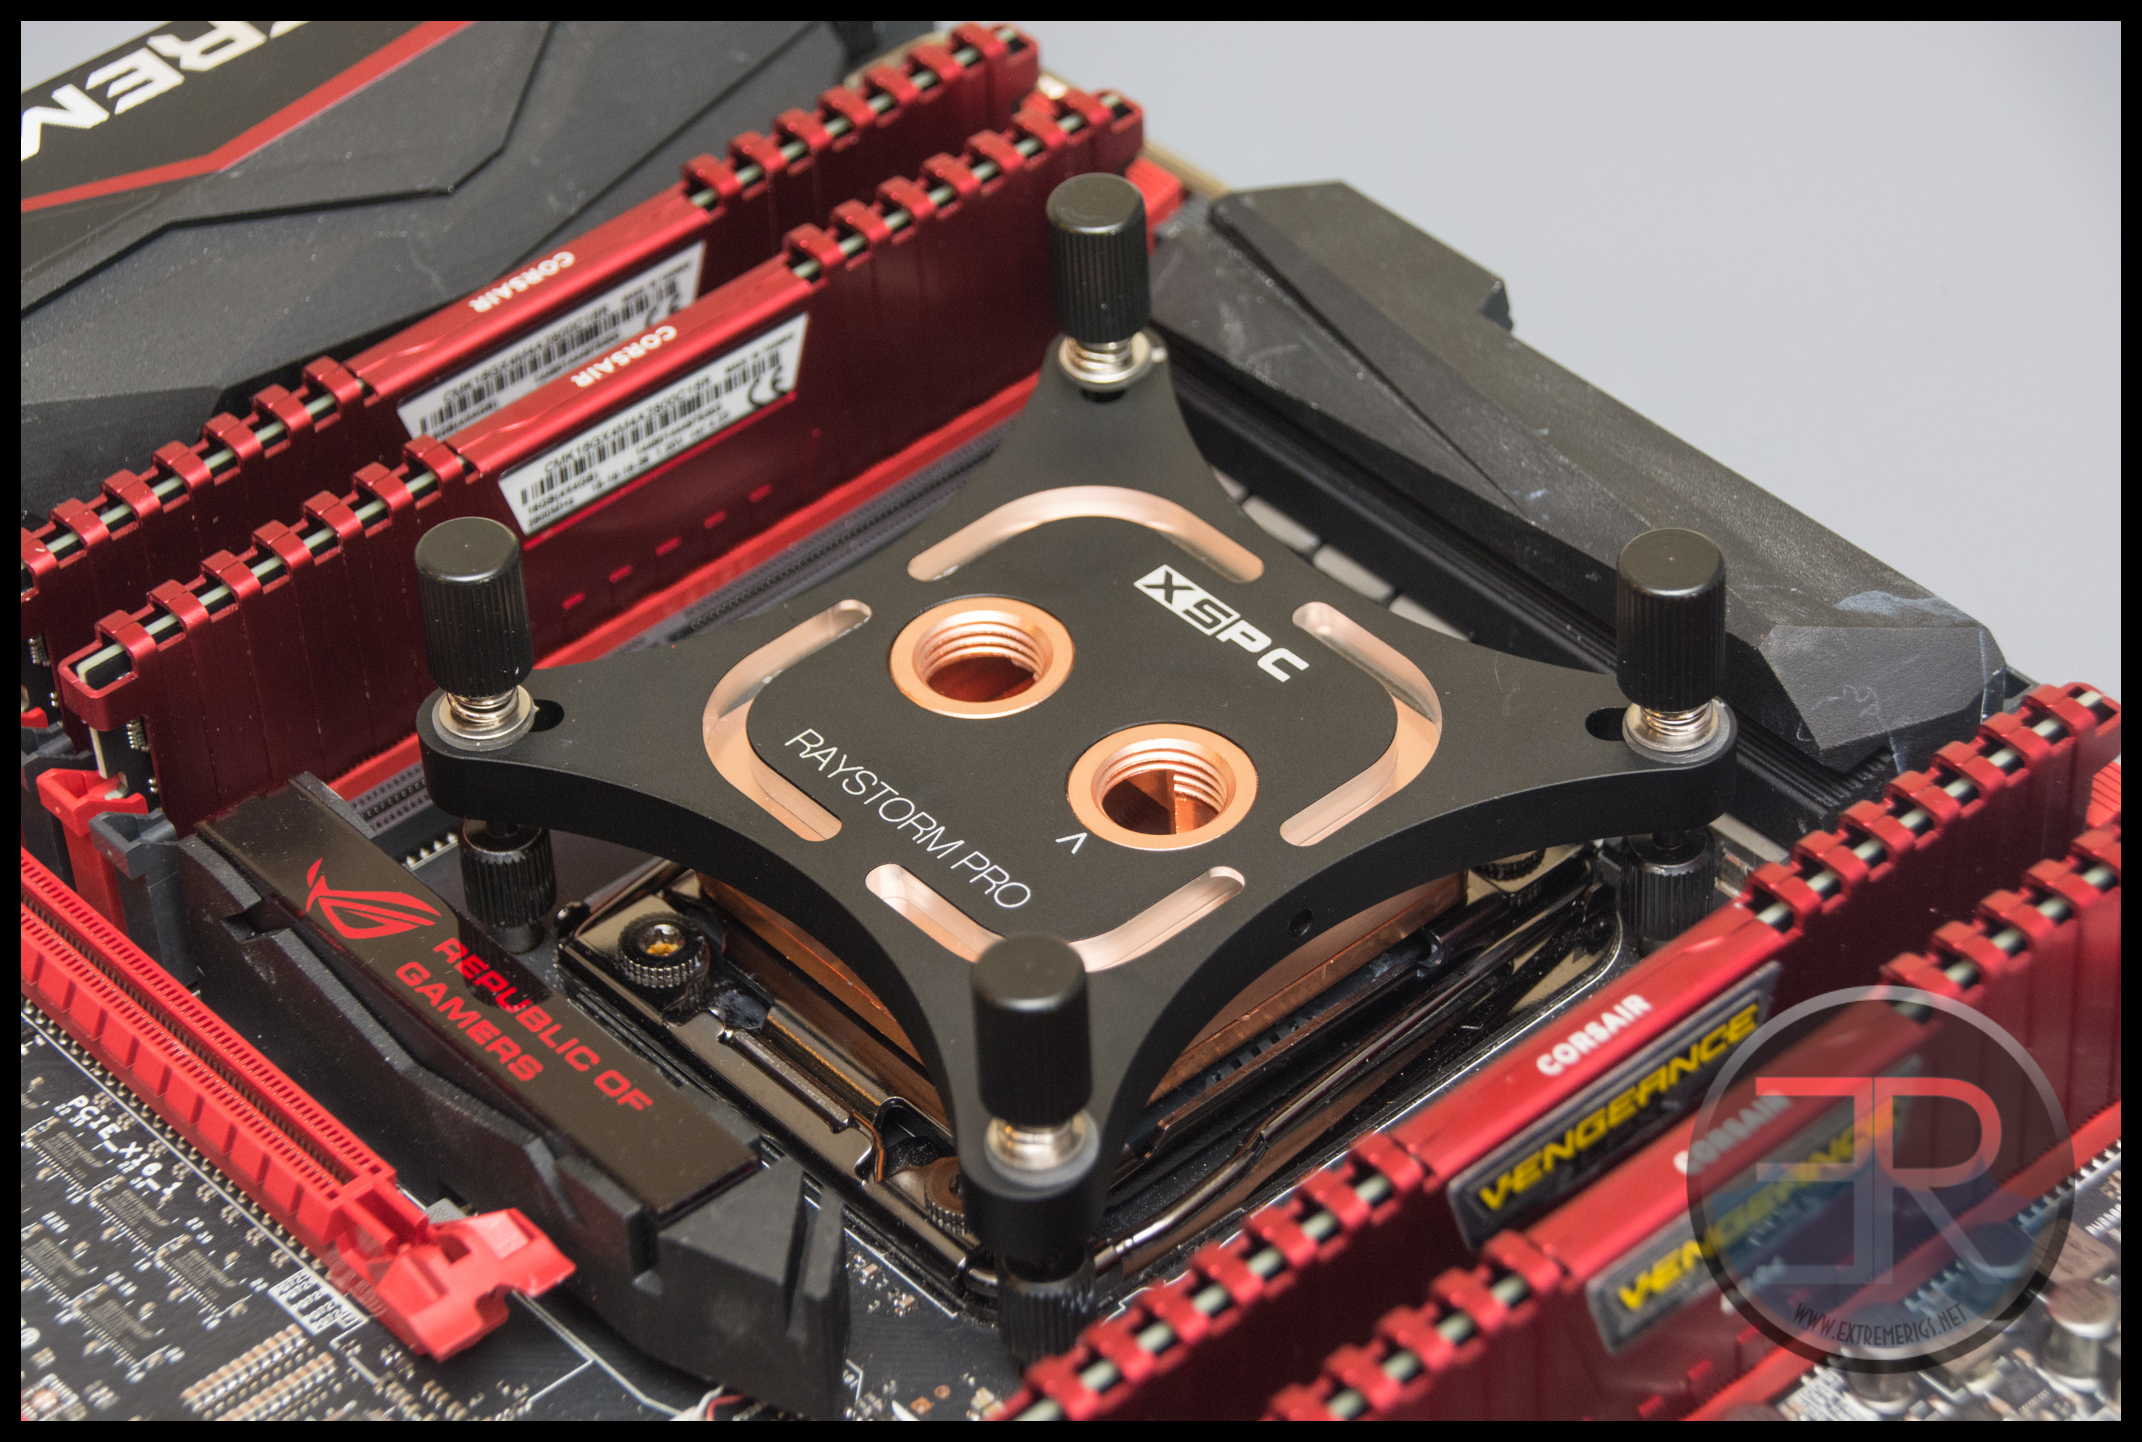
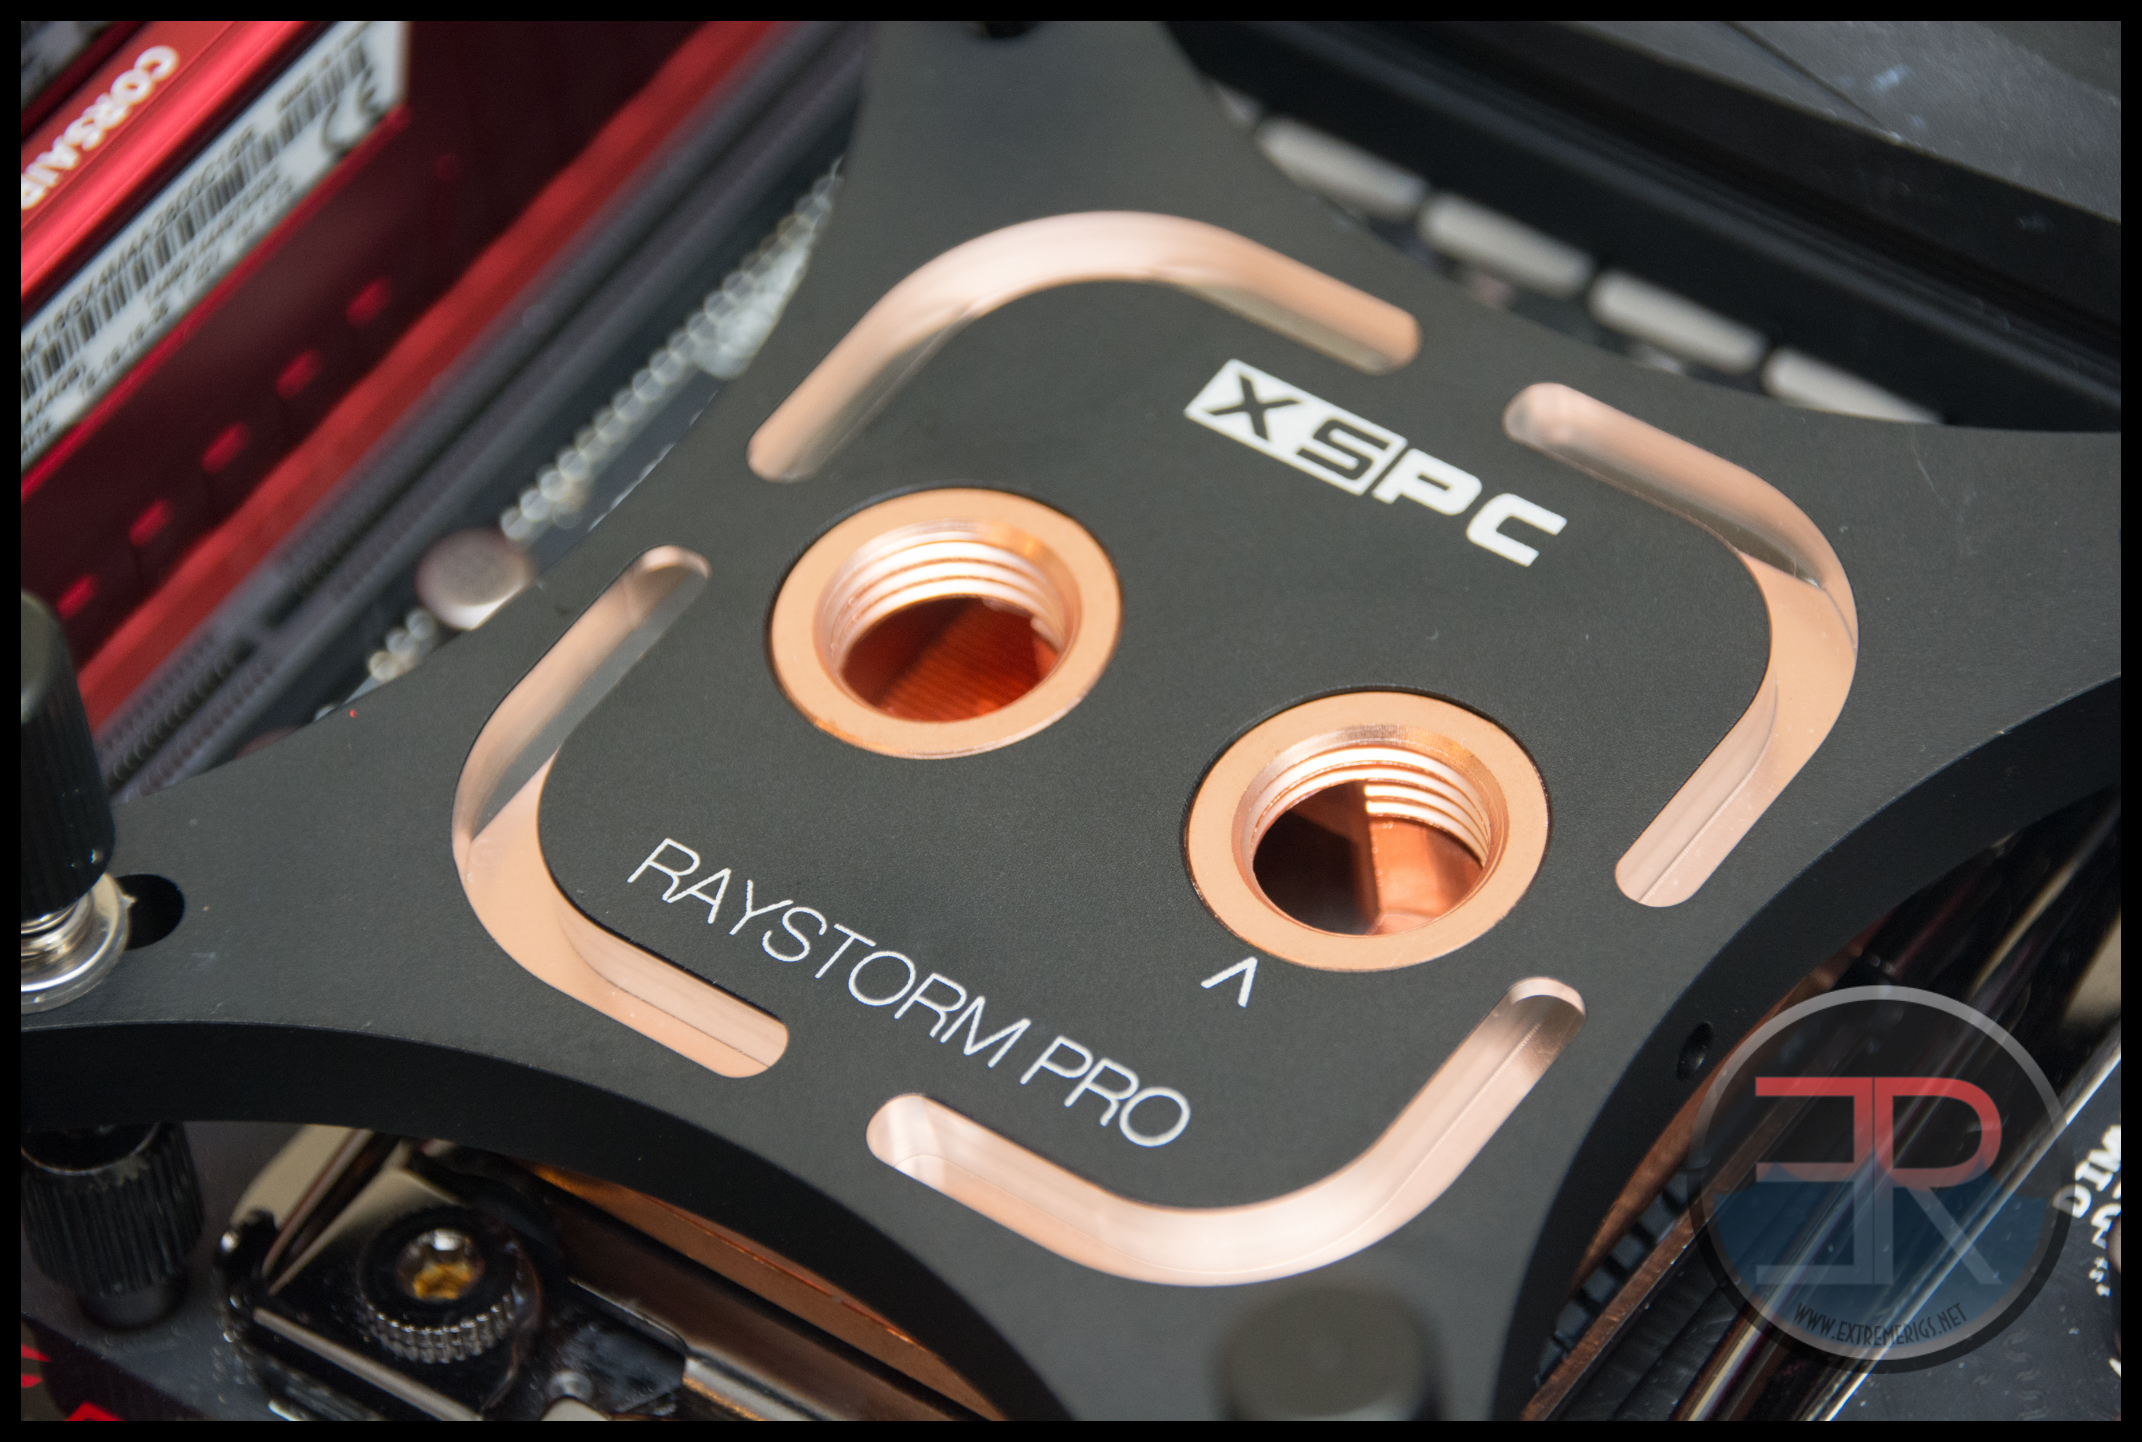
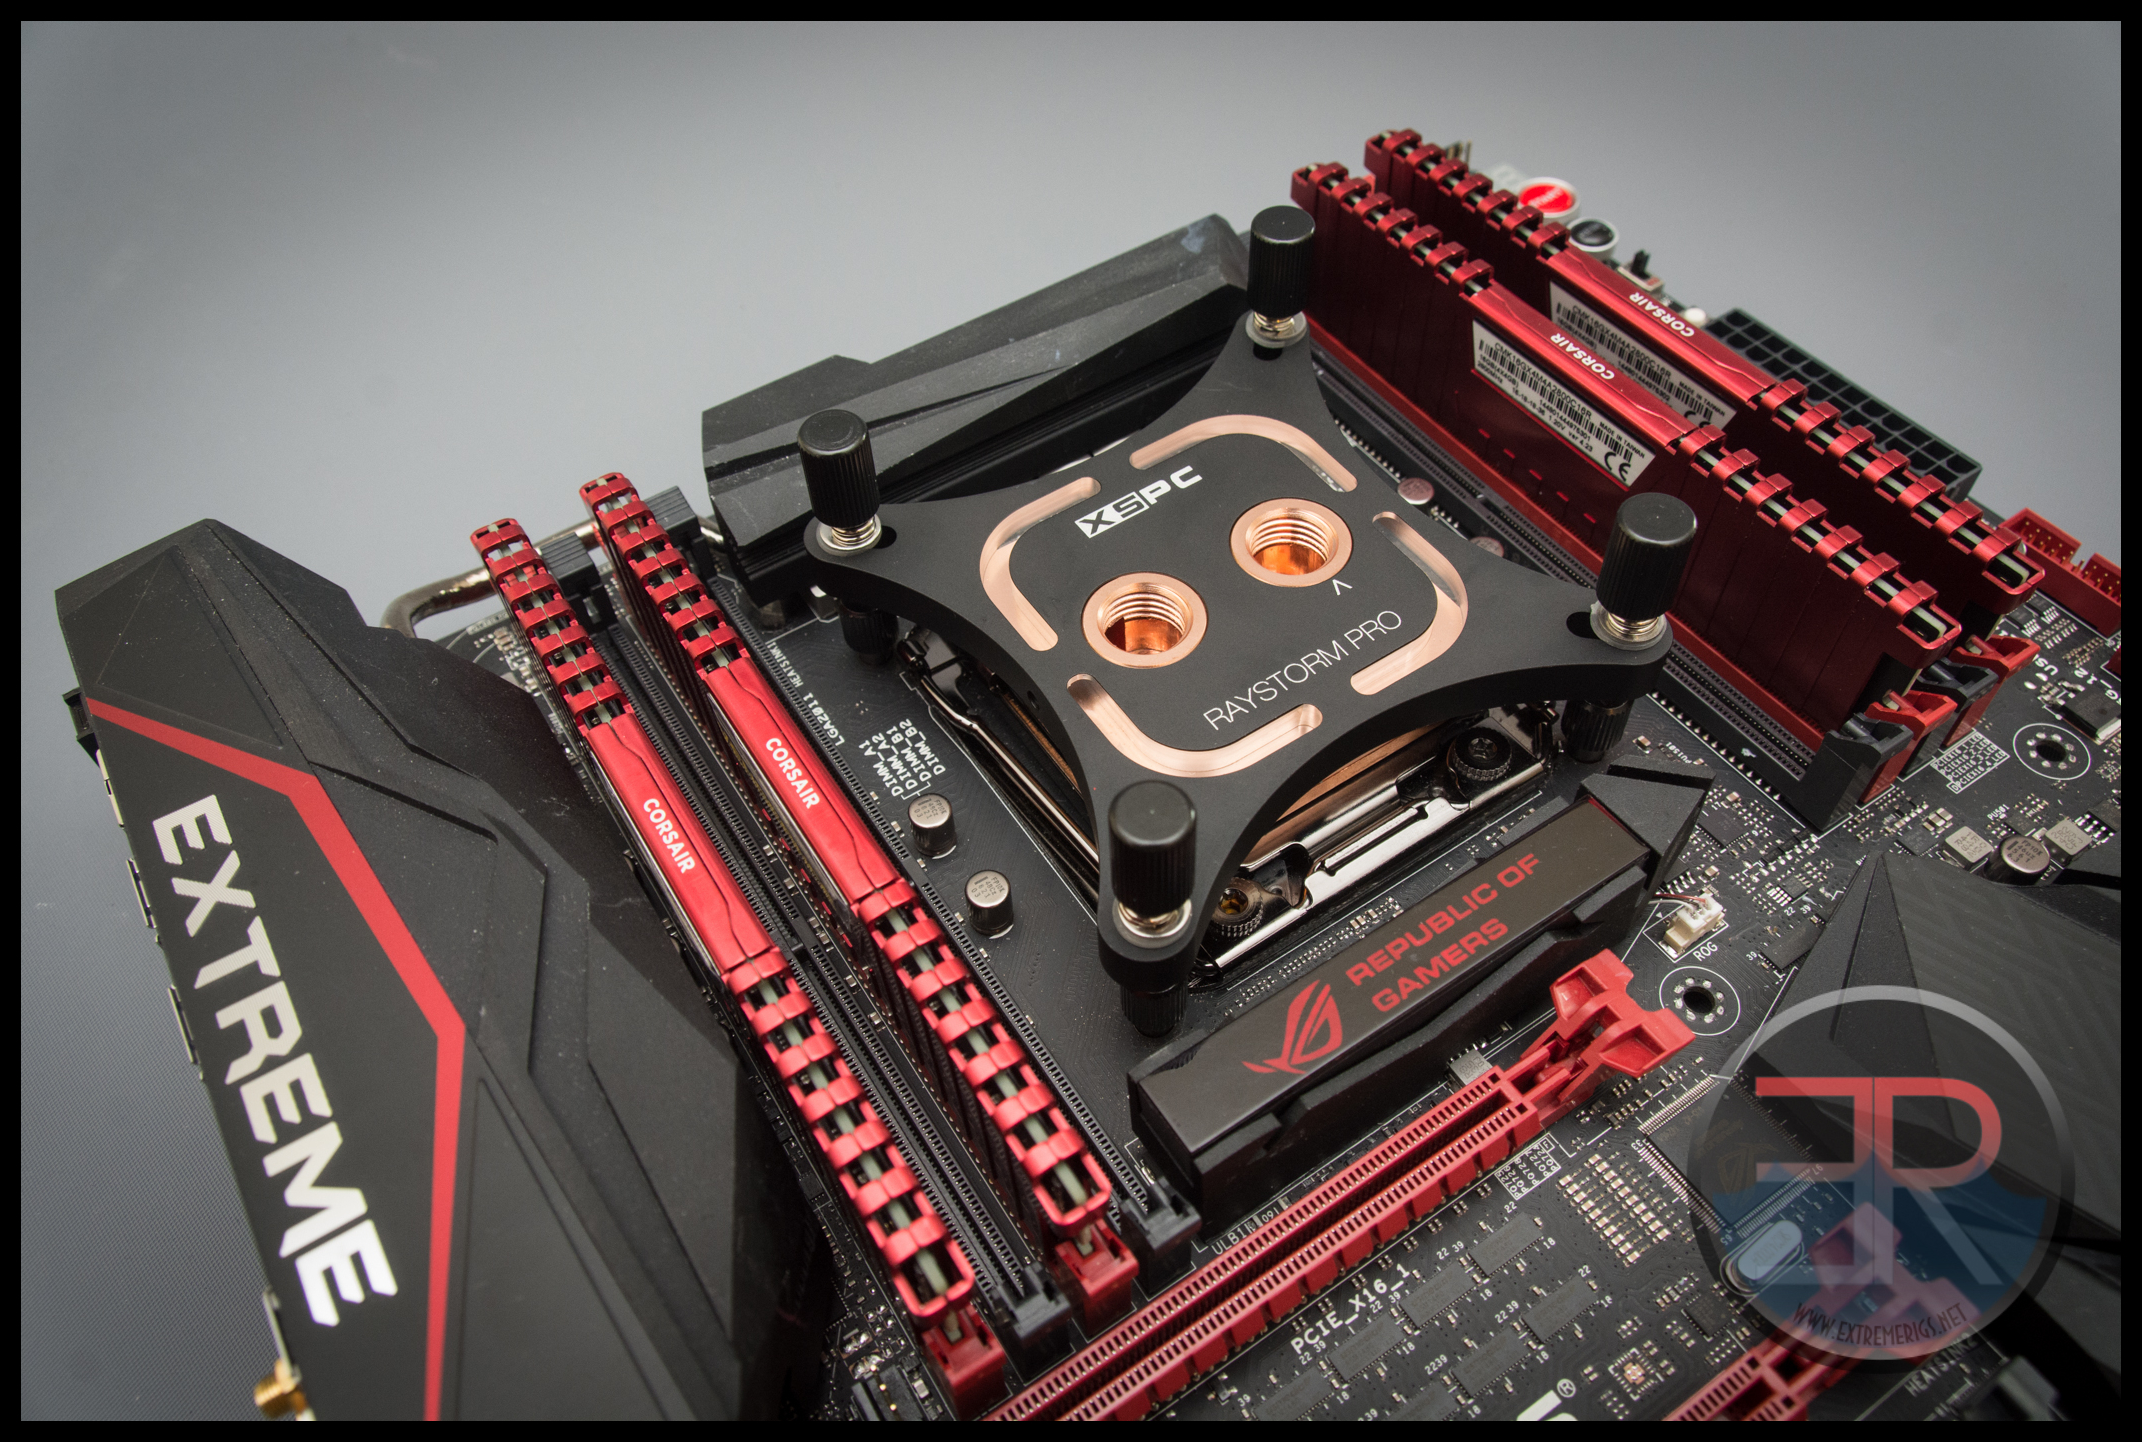
The Raystorm Pro maintains XSPC’s aesthetic but yet manages to give a “fresh updated look” vs the original:
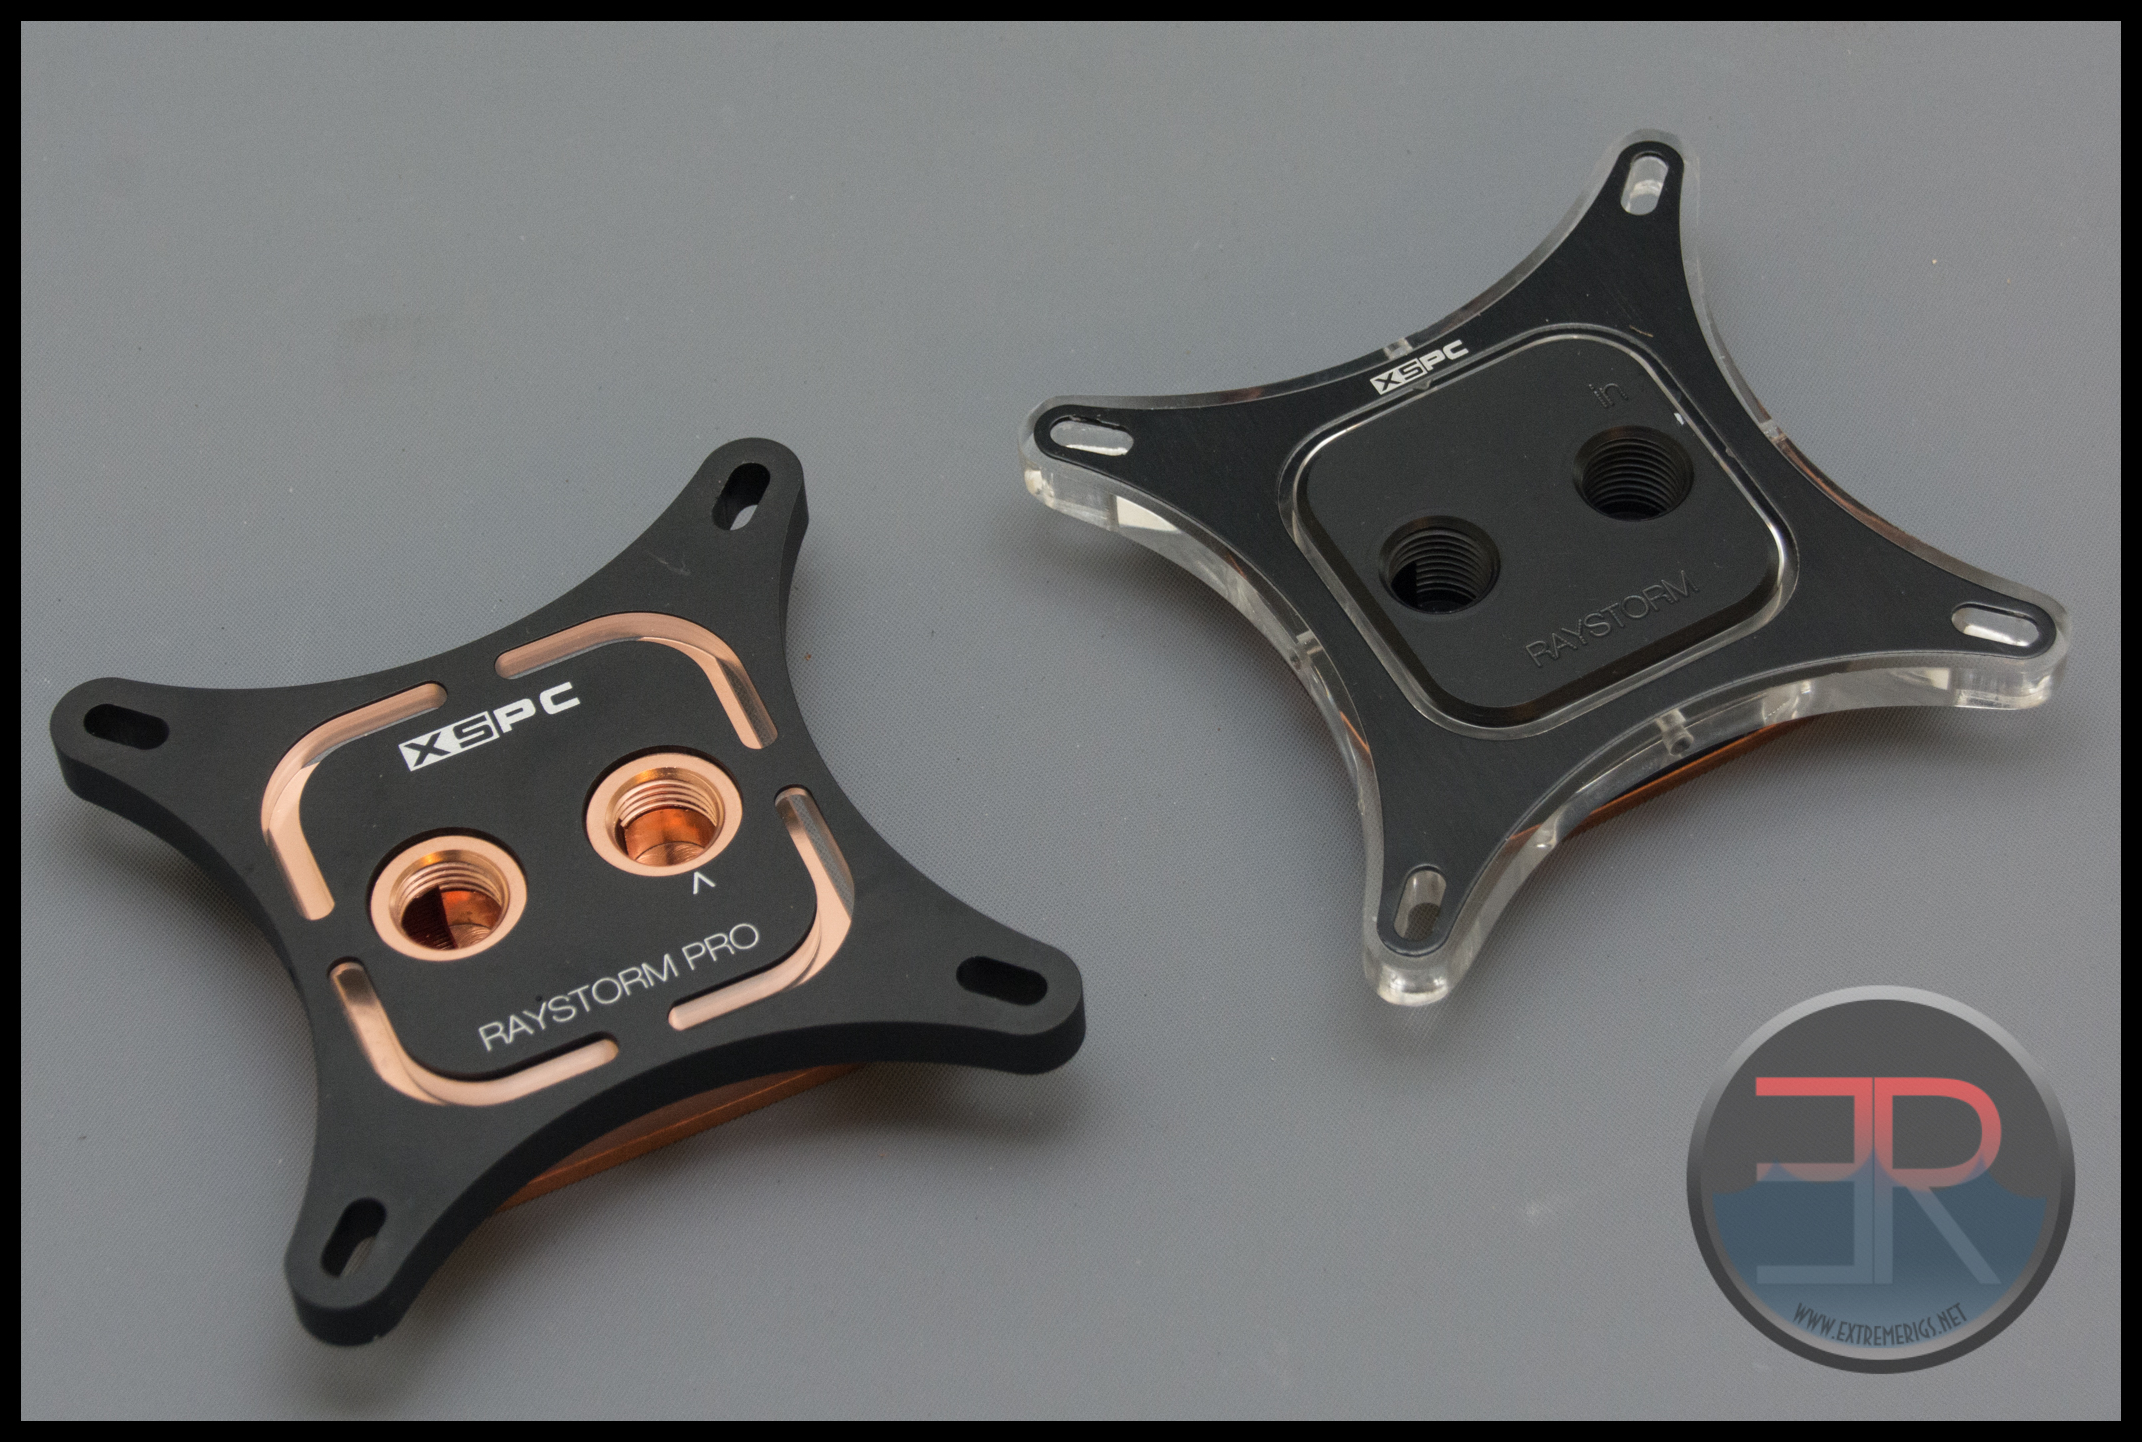
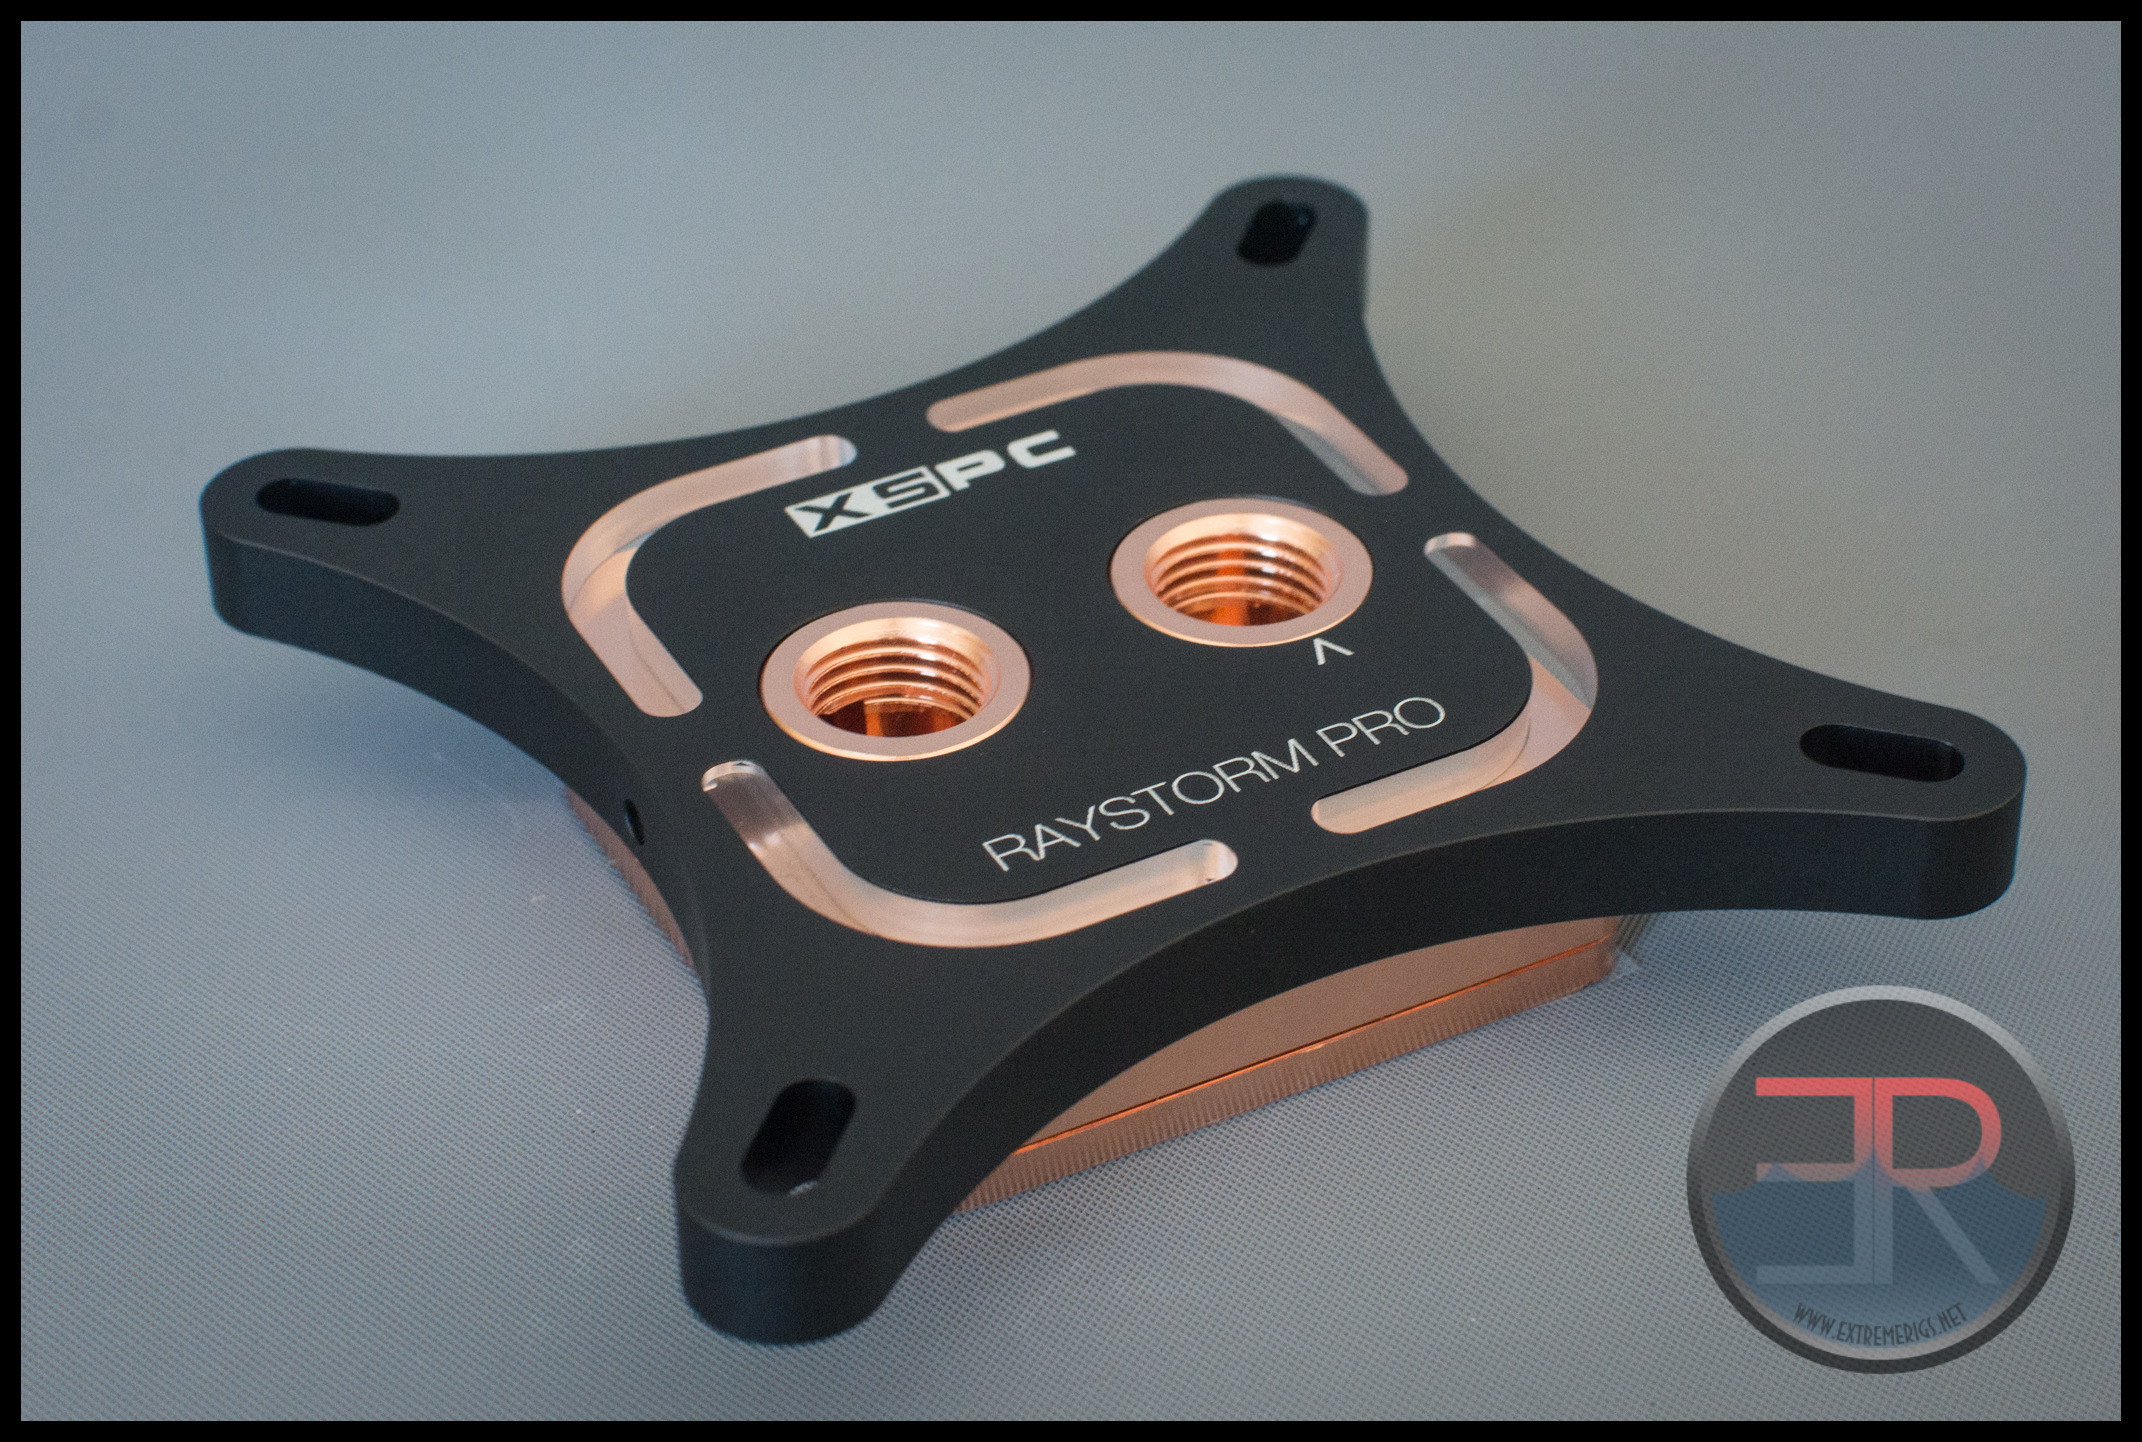
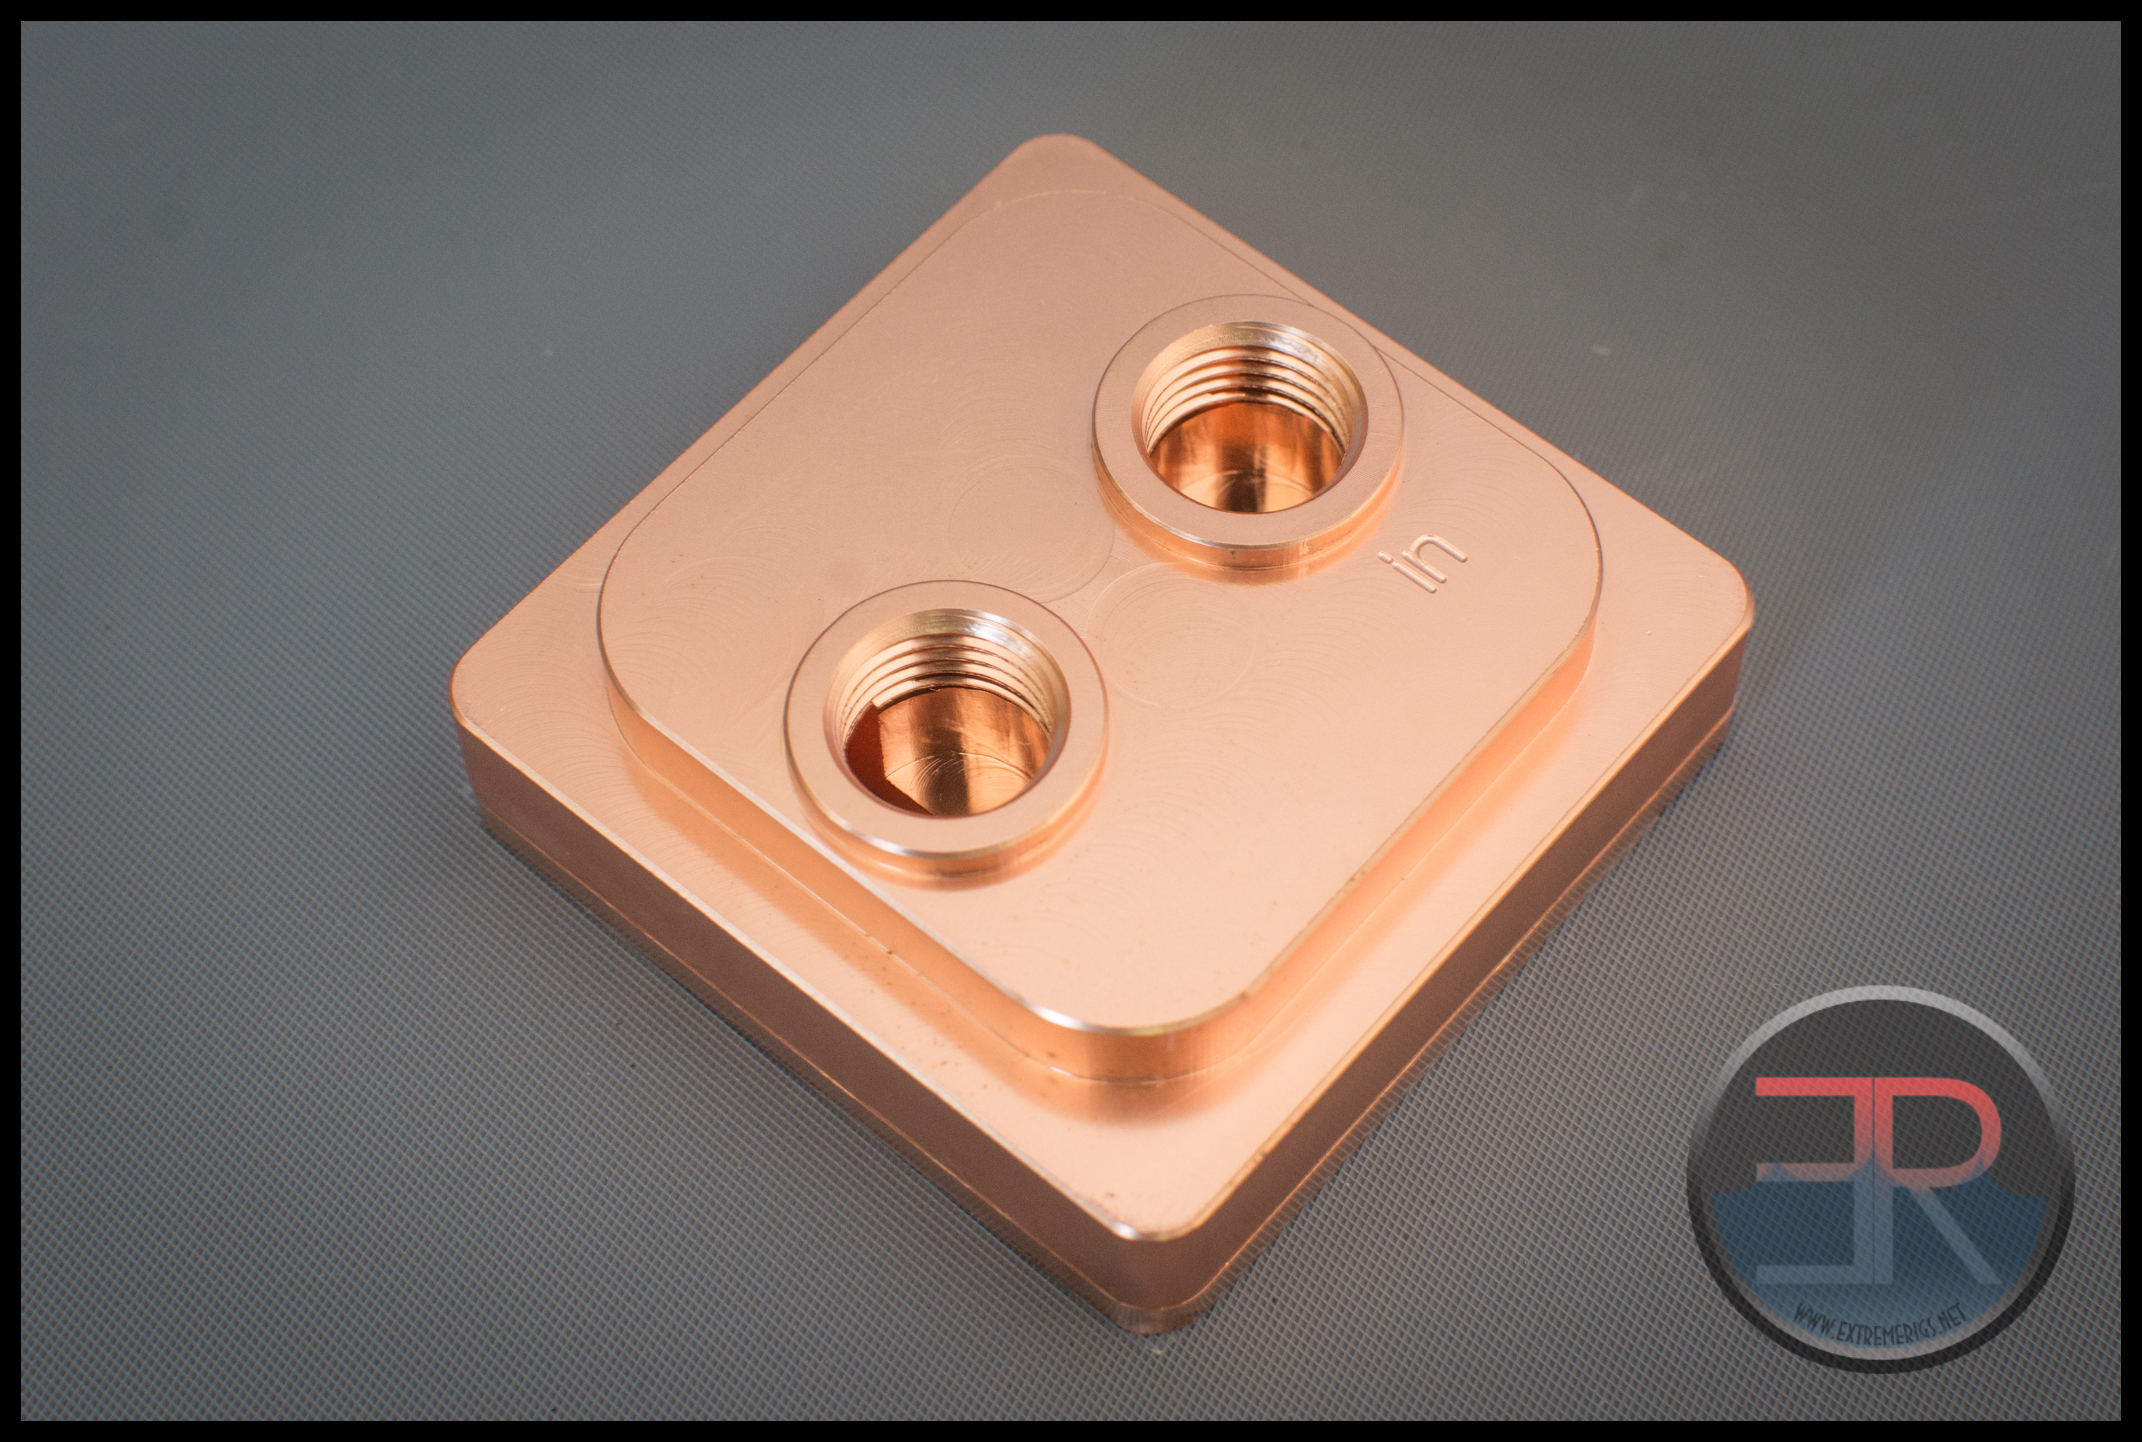
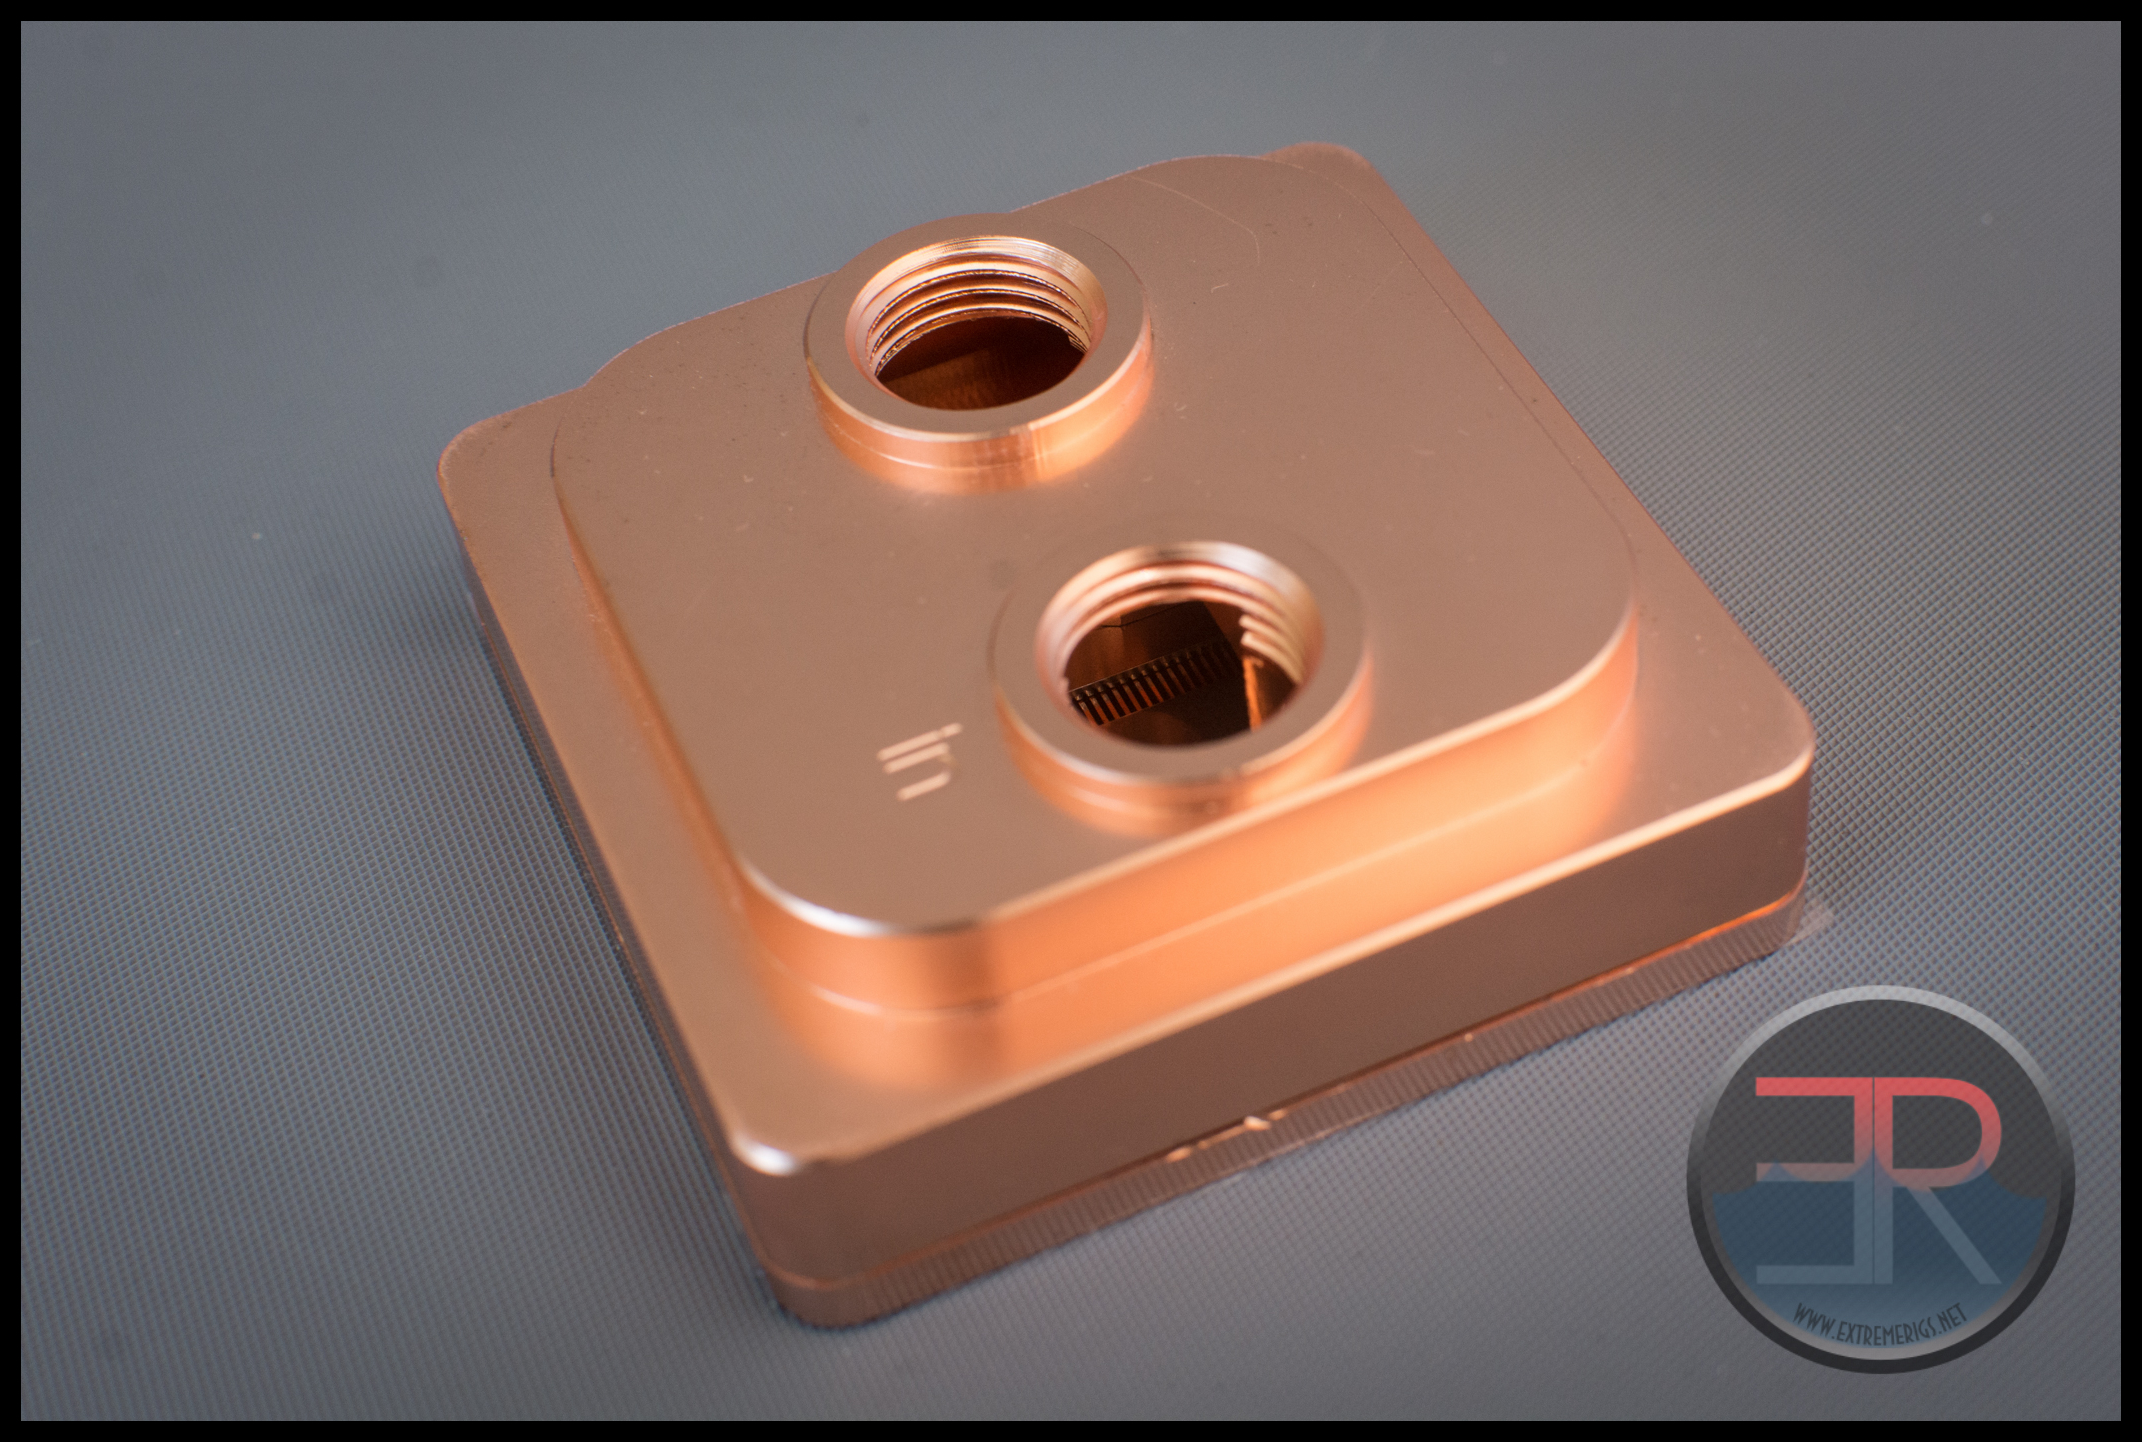
The mount now appears more integrated and flows with the design better. It’s also metal which we prefer over the old standard plastic mount which could bend under extreme pressure. Even the top of the block is now copper vs acetal meaning that fitting threads are far less likely to be stripped:
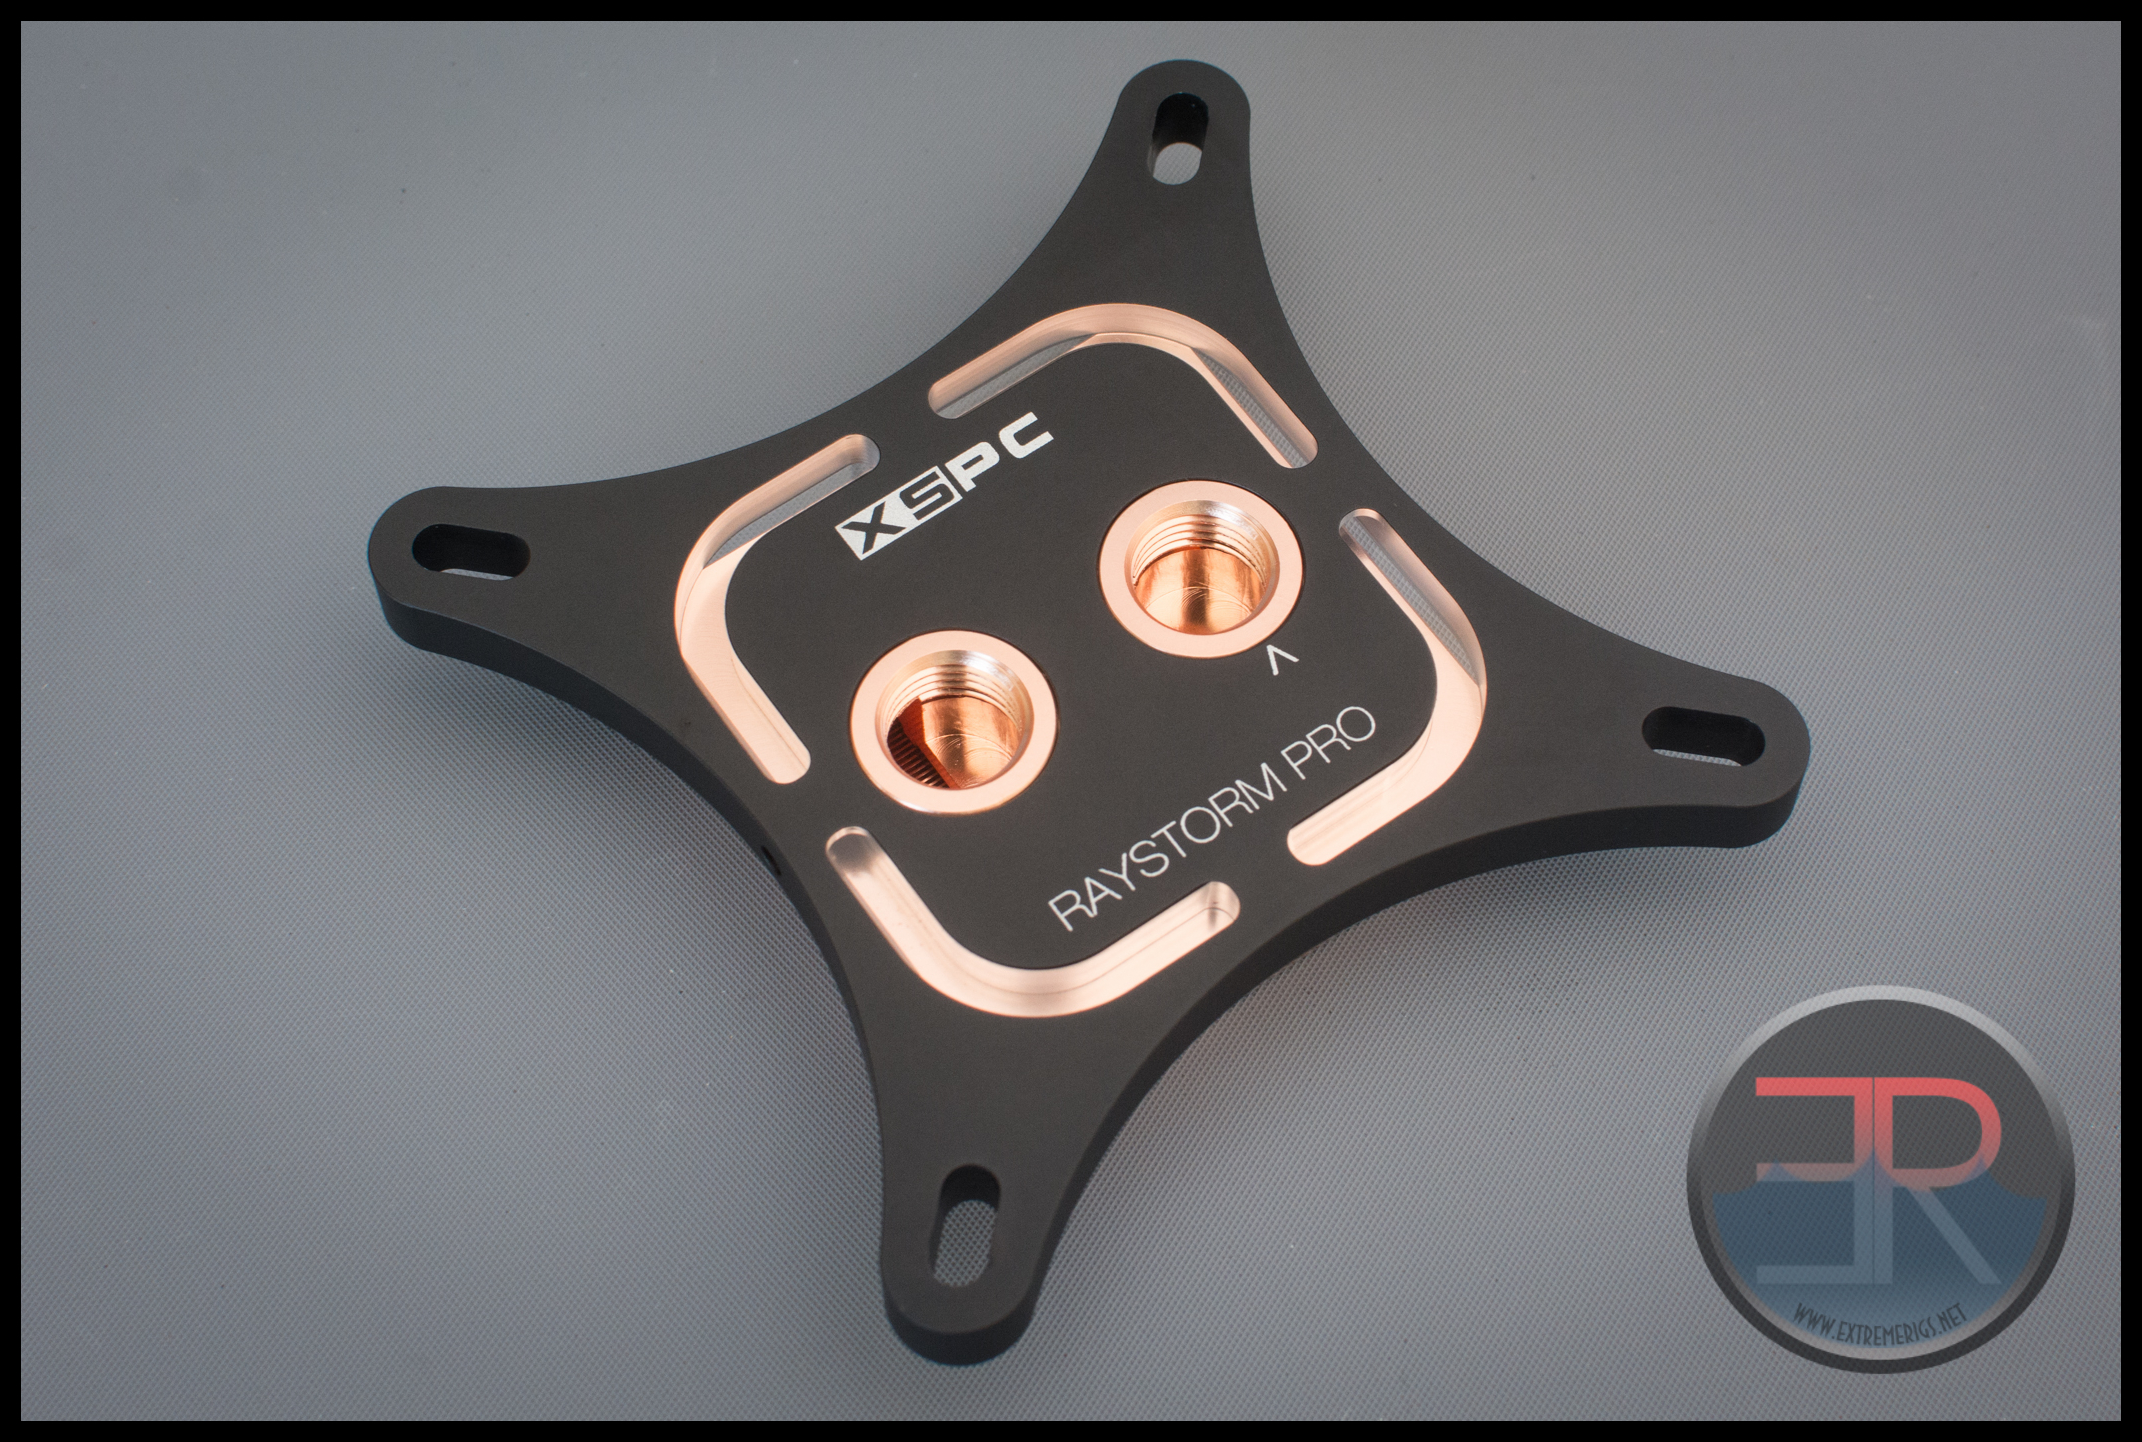
The only plastic is now the four “windows” that get lit up by LEDs. Overall we love the upgrade in style points and we love that XSPC were able to keep their existing design language so that this will match their existing GPU/motherboard and RAM blocks:
Overall this is the classiest and most high quality block we’ve seen from XSPC.
As usual even when the plastic wrapper is removed there is an additional plastic layer protecting the base – this must be removed before use:

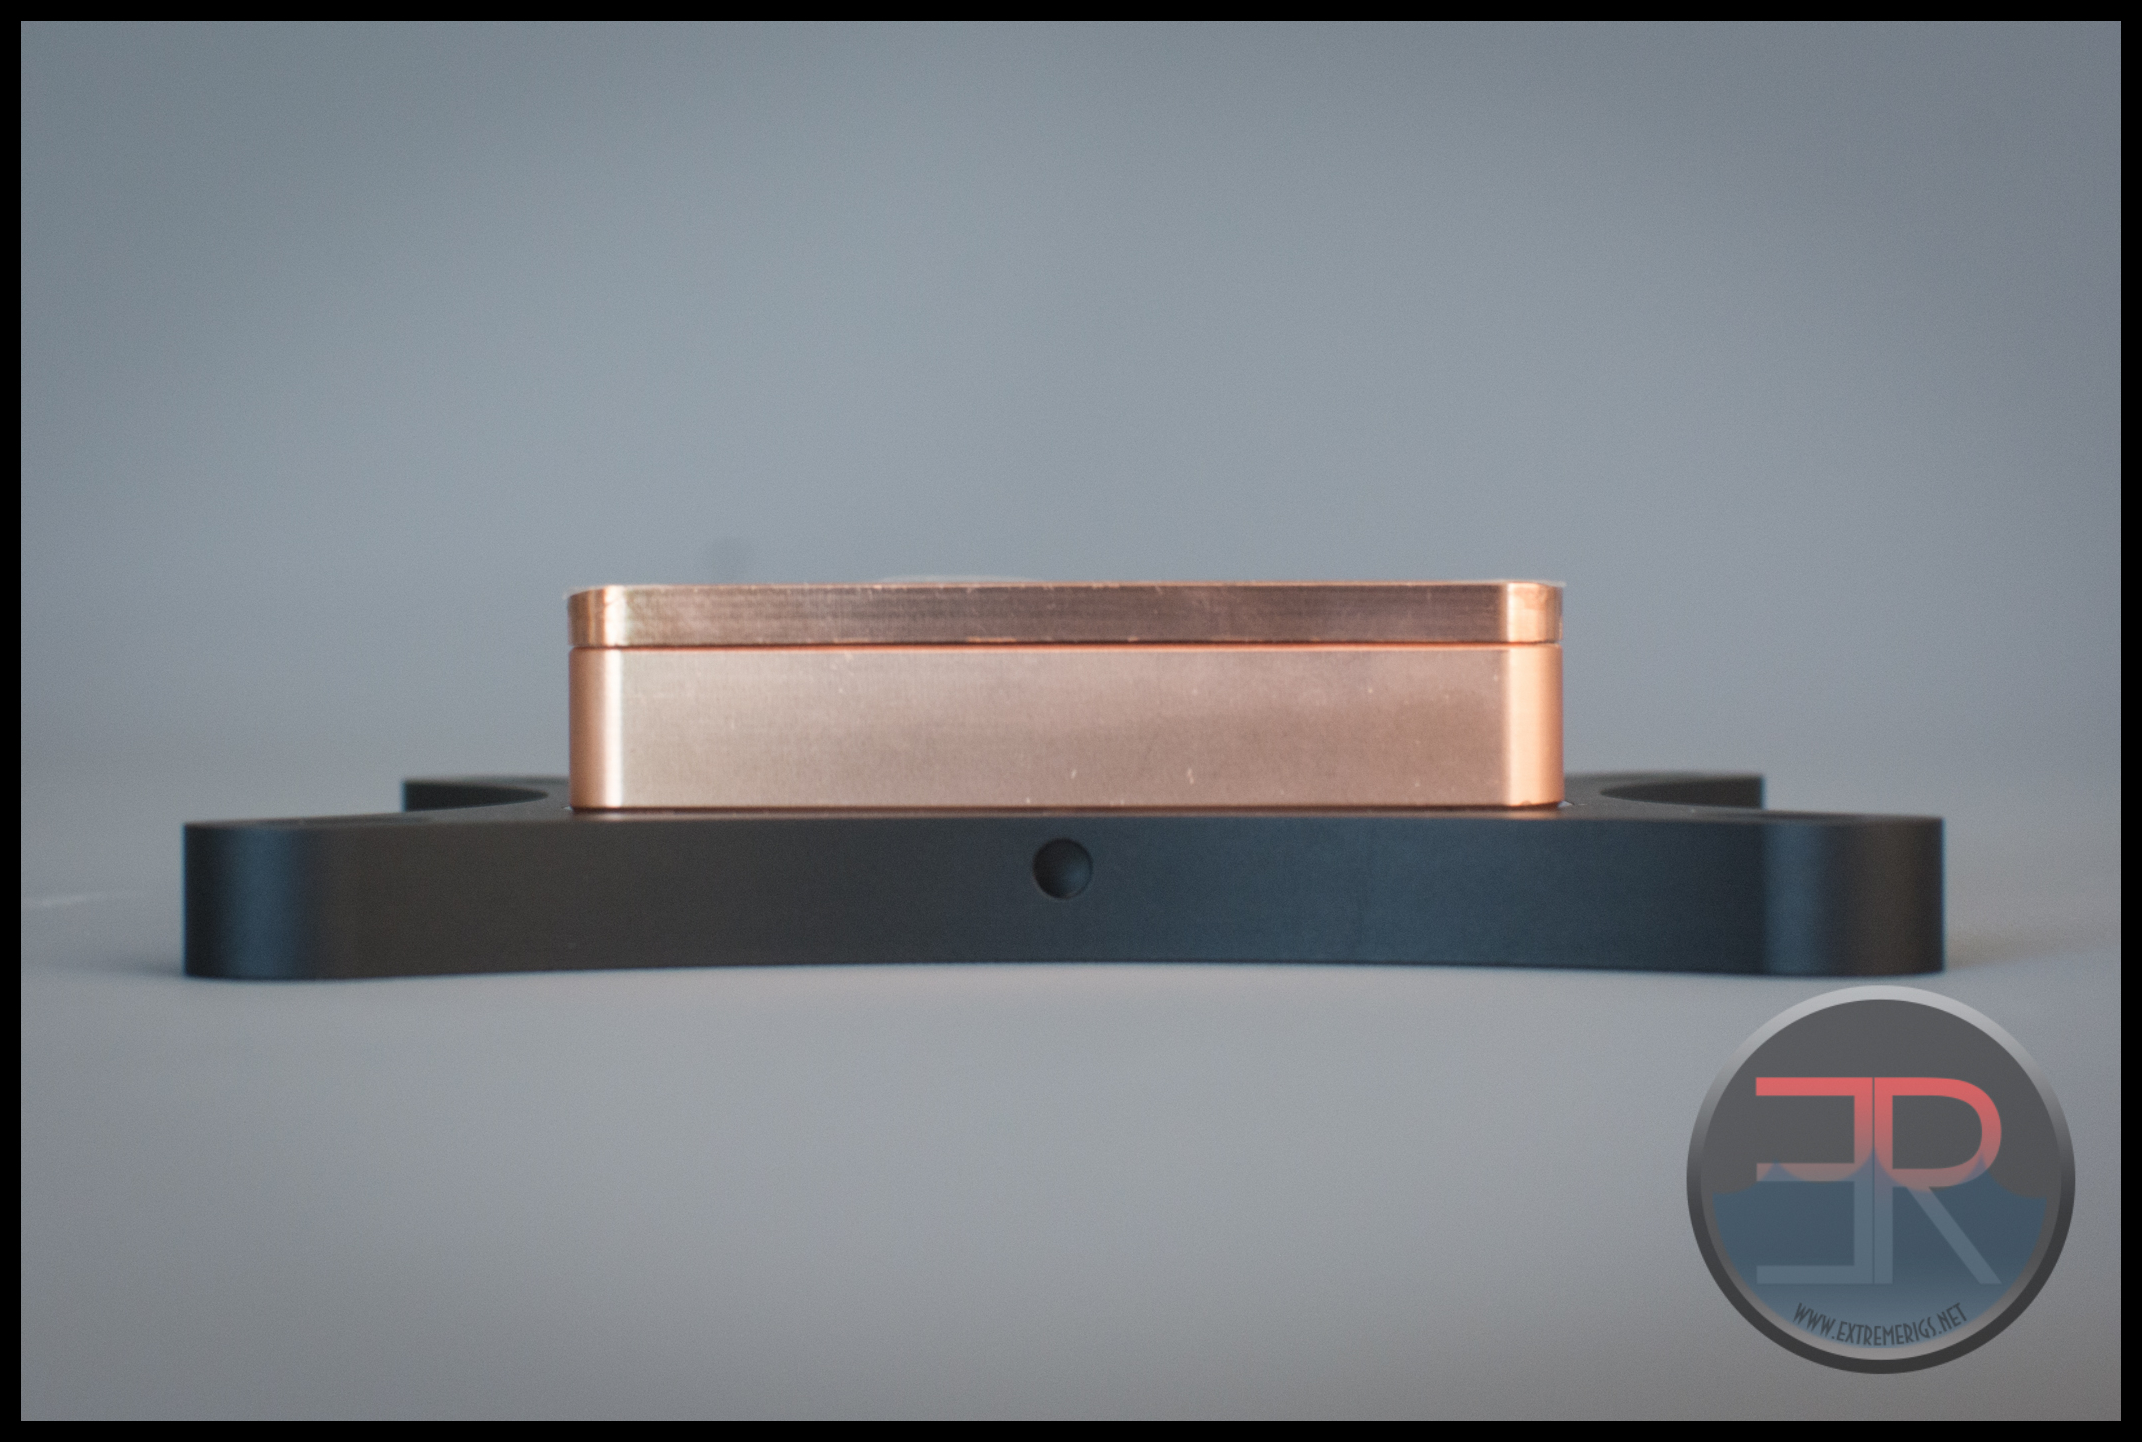
The block is bowed slightly as you would expect:

Just like the original raystorm the mount bracket simply lifts off – sadly it is not attached to the block. This is not a problem at all, simply a trivial annoyance that it’s loose during mounting. Of course once fittings are added they may be wide enough to keep it in place, but we’d still prefer it to be physically attached to the block at all times.
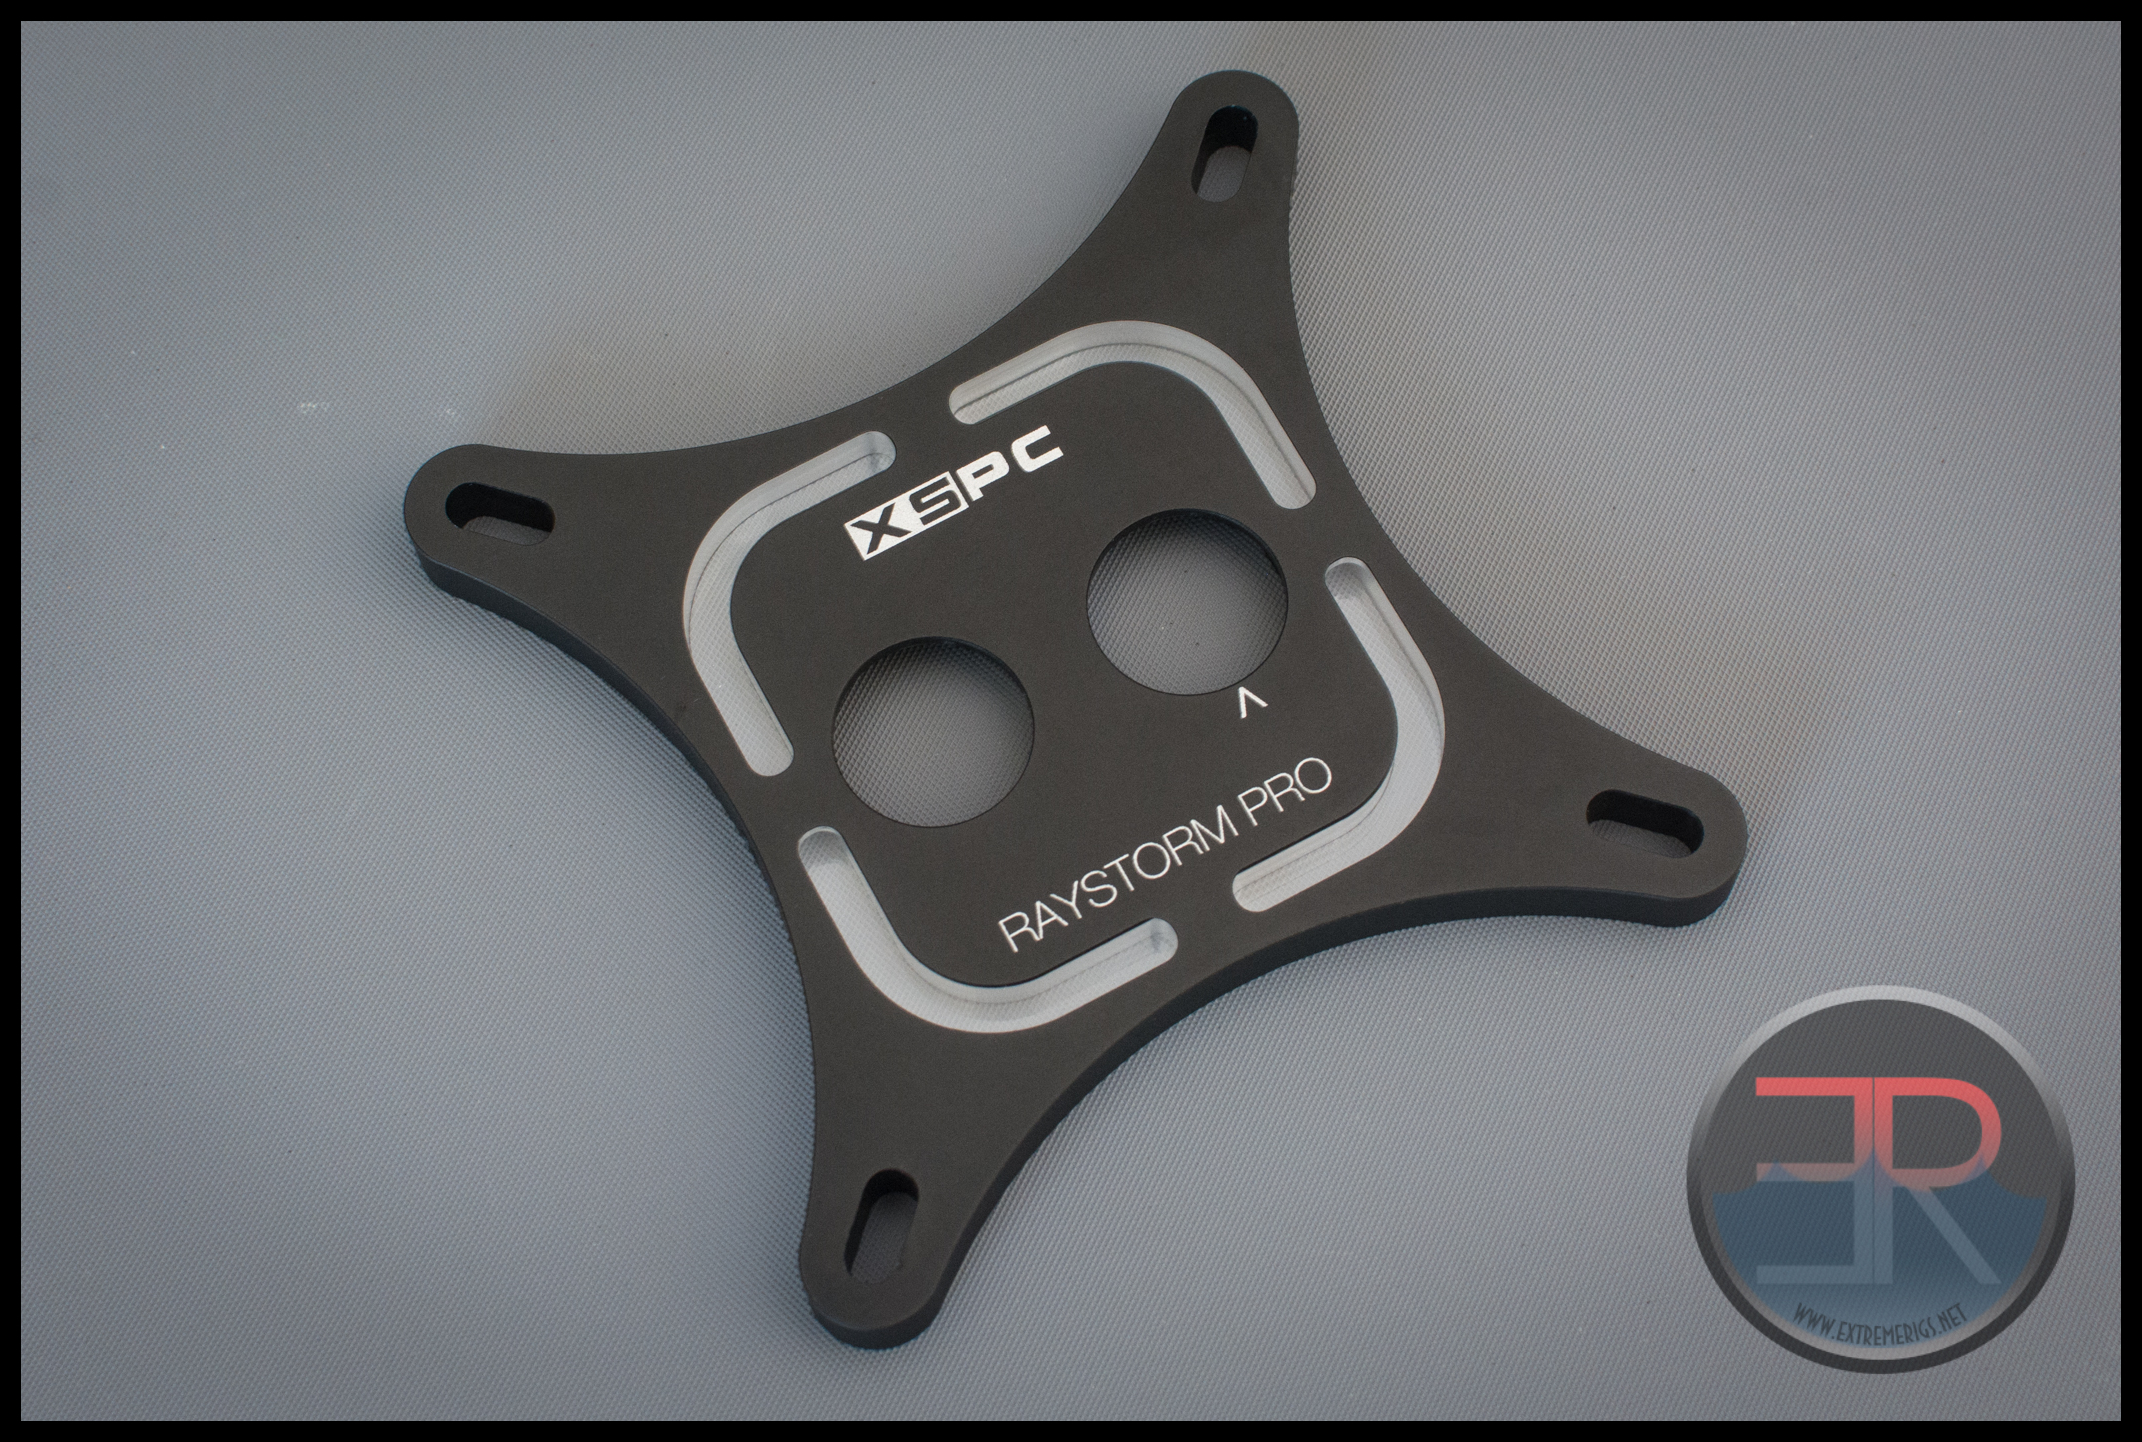
The underside shows that the LEDs must be fitted on two opposite sides to get the full lighting effect. This may restrict the orientation possibilities of the block depending on how much clearance is around it.

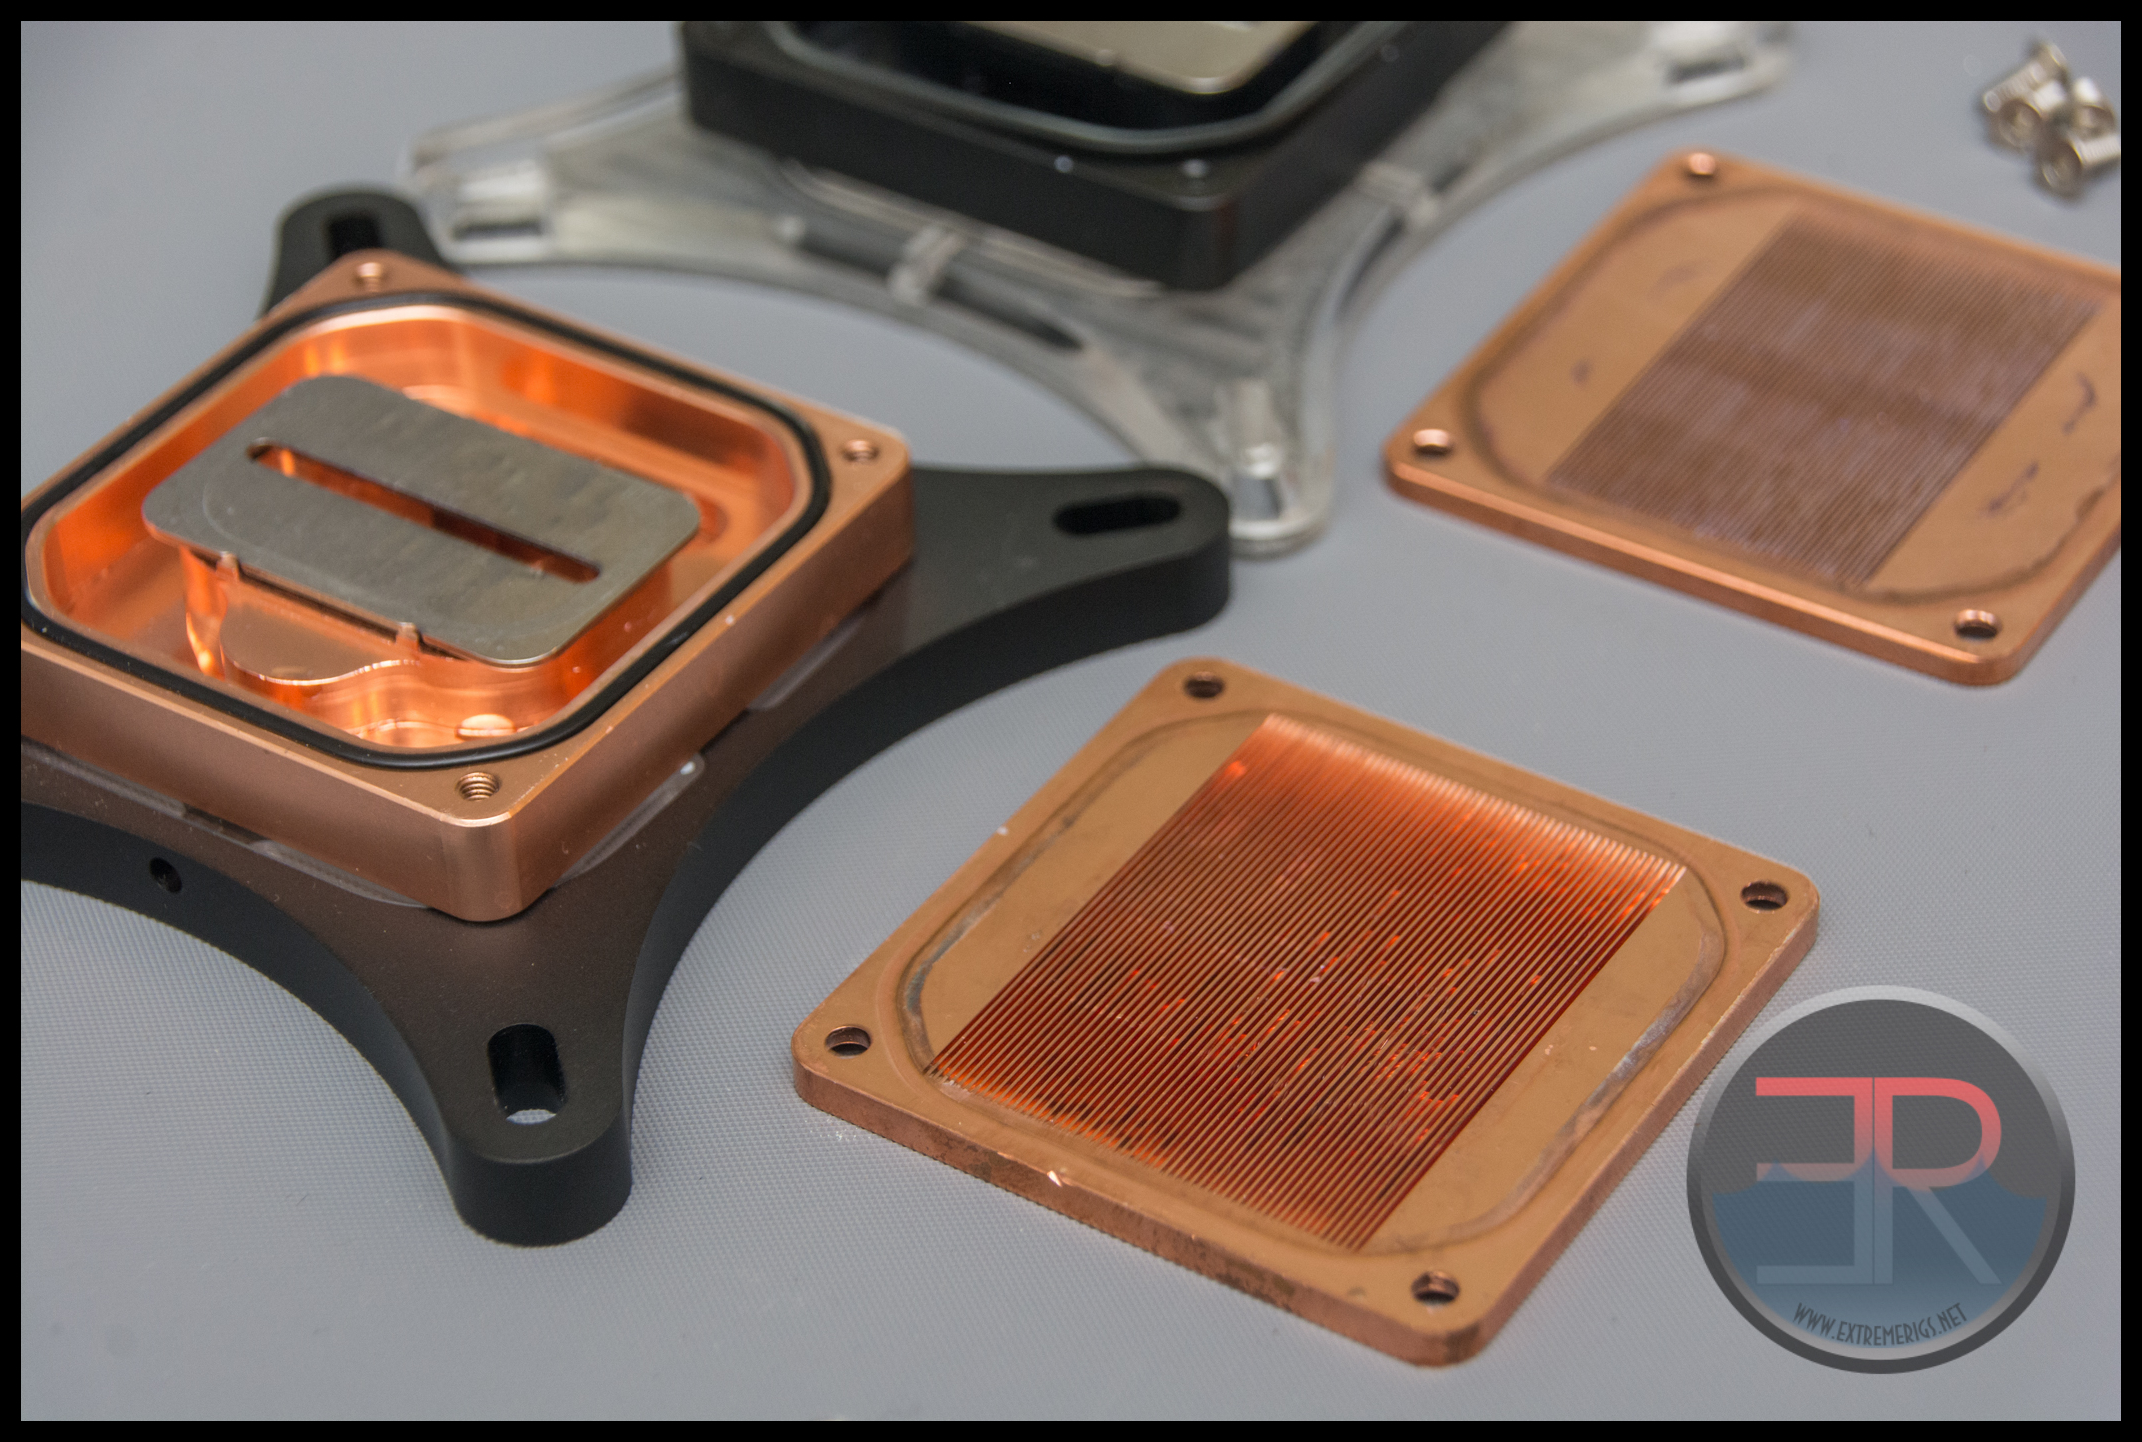
The remaining copper core has a hidden marker for the input port so that you don’t attempt to put it back together backwards:
Full metal tops to blocks can provide a minor performance bump when they don’t affect the resulting bow. However to do so they need airflow – this copper top however is shielded from airflow by the mounting bracket. There might therefore be a very slight performance gain to be had on loops with high coolant deltas or high airflow by applying TIM in between this copper top and the mounting bracket.
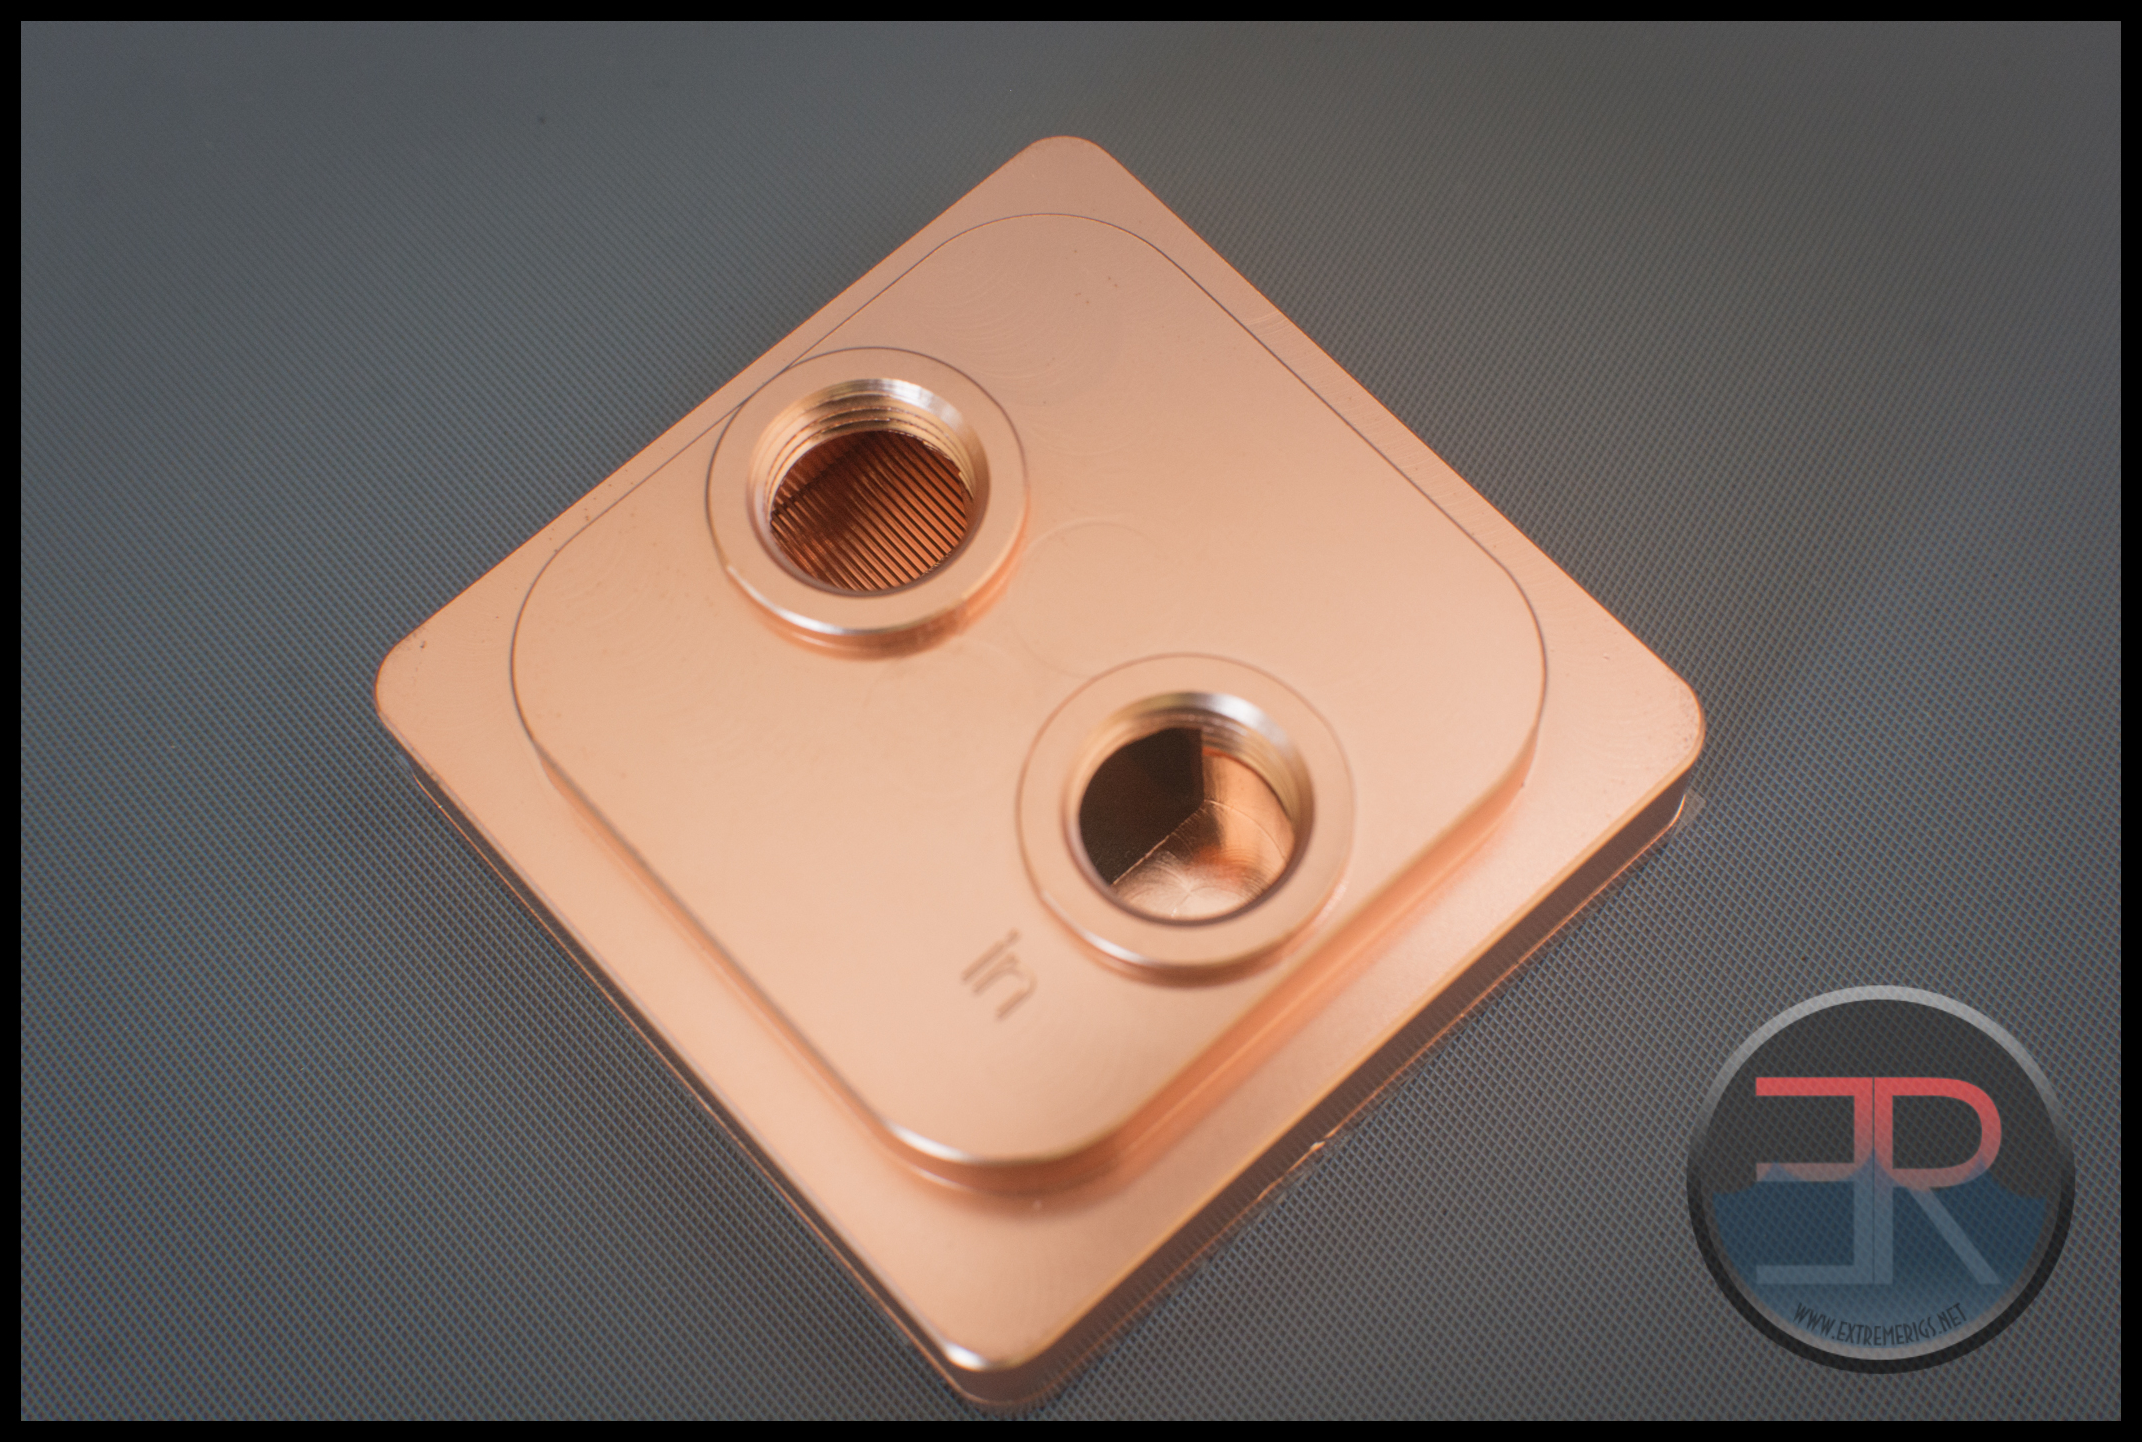
Observant readers may notice something a little funky with the screw threads:
Like some other blocks and the older raystorm block before the fitting threads are not fully threaded all the way down. On the input port – only about 2 threads are complete which result in an increased likelihood of stripping. As mentioned before though the use of copper vs acetal is an improvement versus the old design. However we’d still like to see another full thread or two. The slight impact on flow is worth the peace of mind.
After testing the block was opened and compared to the original raystorm (right):
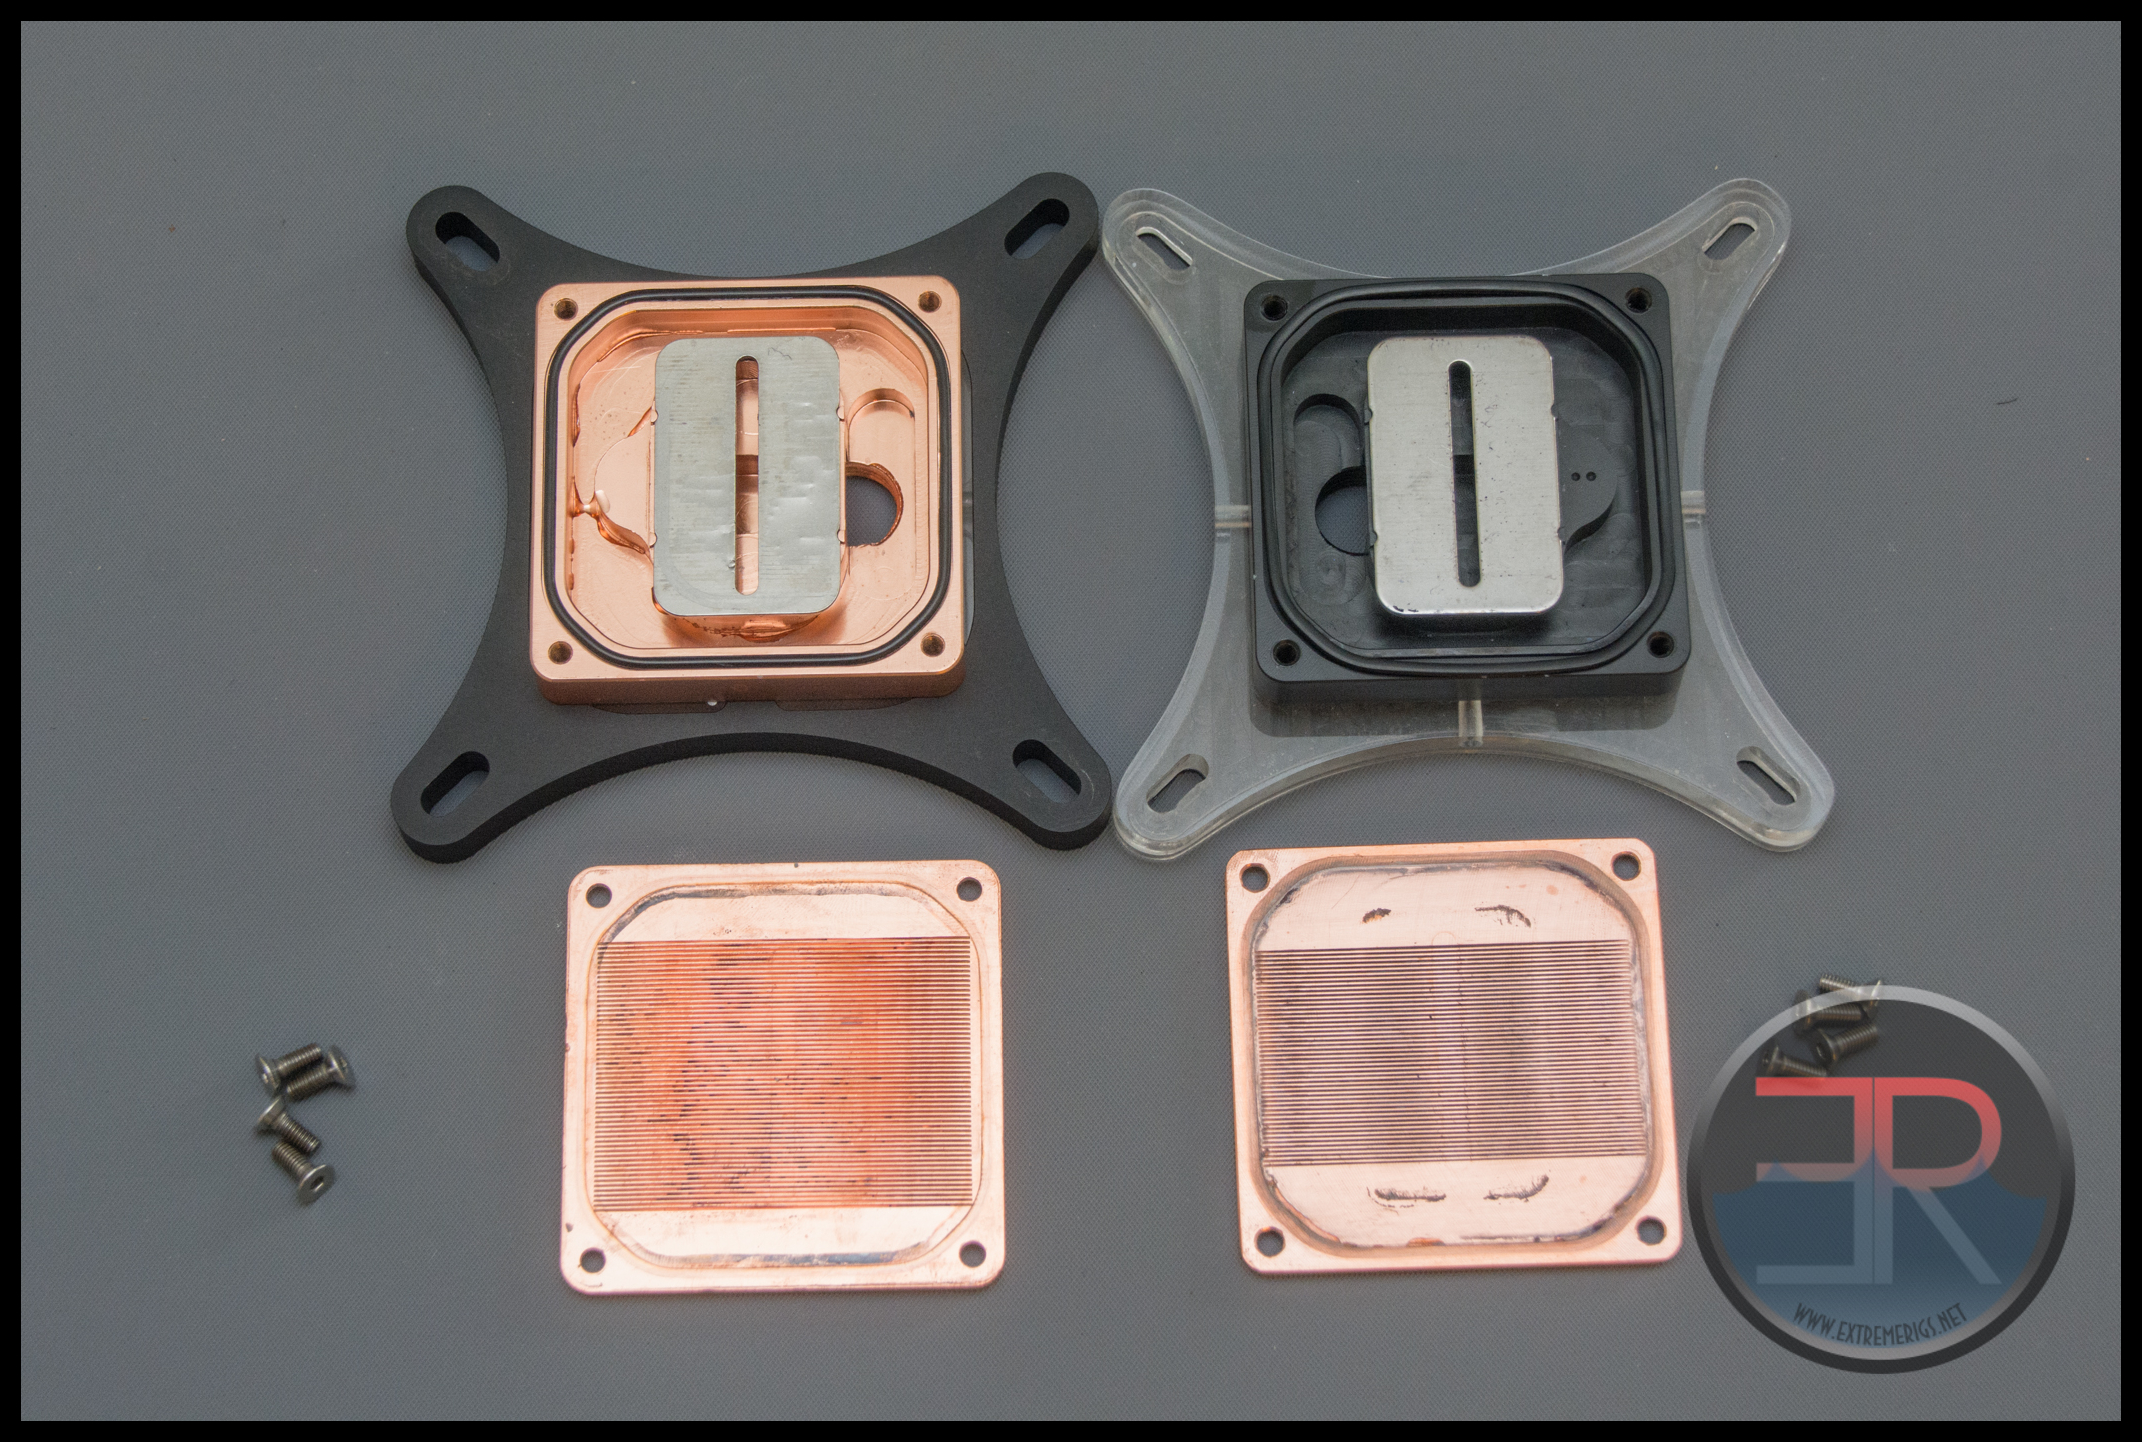
As can be seen the block internals are almost identical. A stainless steel jetplate is still used to provide localized flow increases as well as bow. The copper base channel area machining has changed. It would be interesting how much of any performance gain is from the block itself versus the change in mount.
Well enough talk about what performance *might* be, let’s take a look at what it is!
Performance
For this review we built up a brand new test bench for the most accurate testing we could do on X99. For details see the following posts – CPU Block Testing Methodology & CPU Block Testing Part 2. Now at this point it should be mentioned that 75% of the way through testing that the motherboard was fried. After 2 sets of 3 mounts of a block, the blocks gets opened for cleaning and resealed. An unnamed block had a slightly damaged o-ring from the resealing that leaked. Of course this was my fault for not leak testing before powering on. Sometimes I do things so many times that I get cocky and cut corners to save time. But cutting corners will eventually bite you. Therefore some of the blocks (marked with asterisks) only had 3 mounts of each orientation vs the desired 6 mounts of each orientation.
Just to recap on orientation – we call a block mounted using a “regular” orientation when the manufacturer’s logo is horizontal in a normal tower case:
“Goofy” on the otherhand is when the logo is rotated 90 degrees:
So let’s first take a look at the average results of all the blocks tested in both orientations:
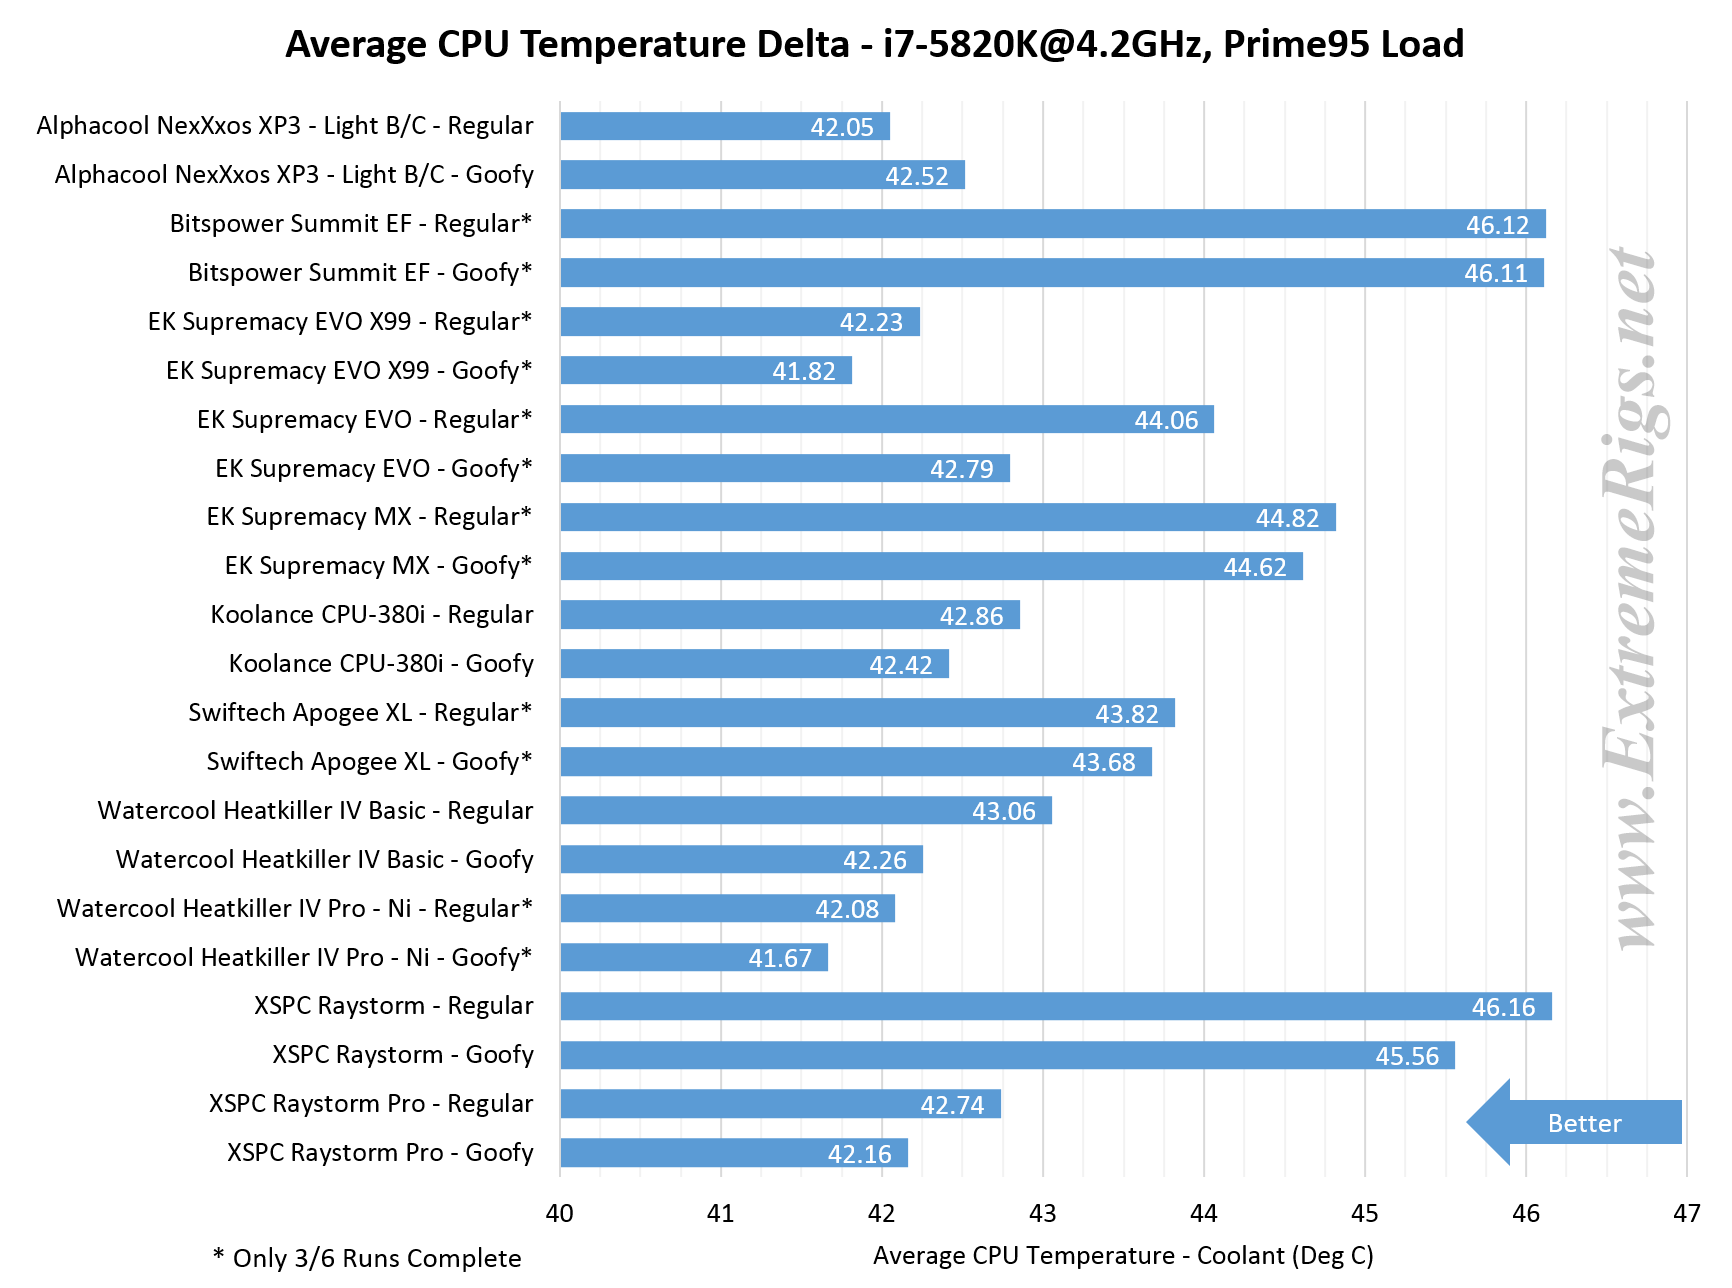
It’s a bit hard to see what’s going on. However in general, the difference between orientations is typically about 0.5C on a 5820K. Let’s focus on the best performing orientation and order the blocks by their performance:
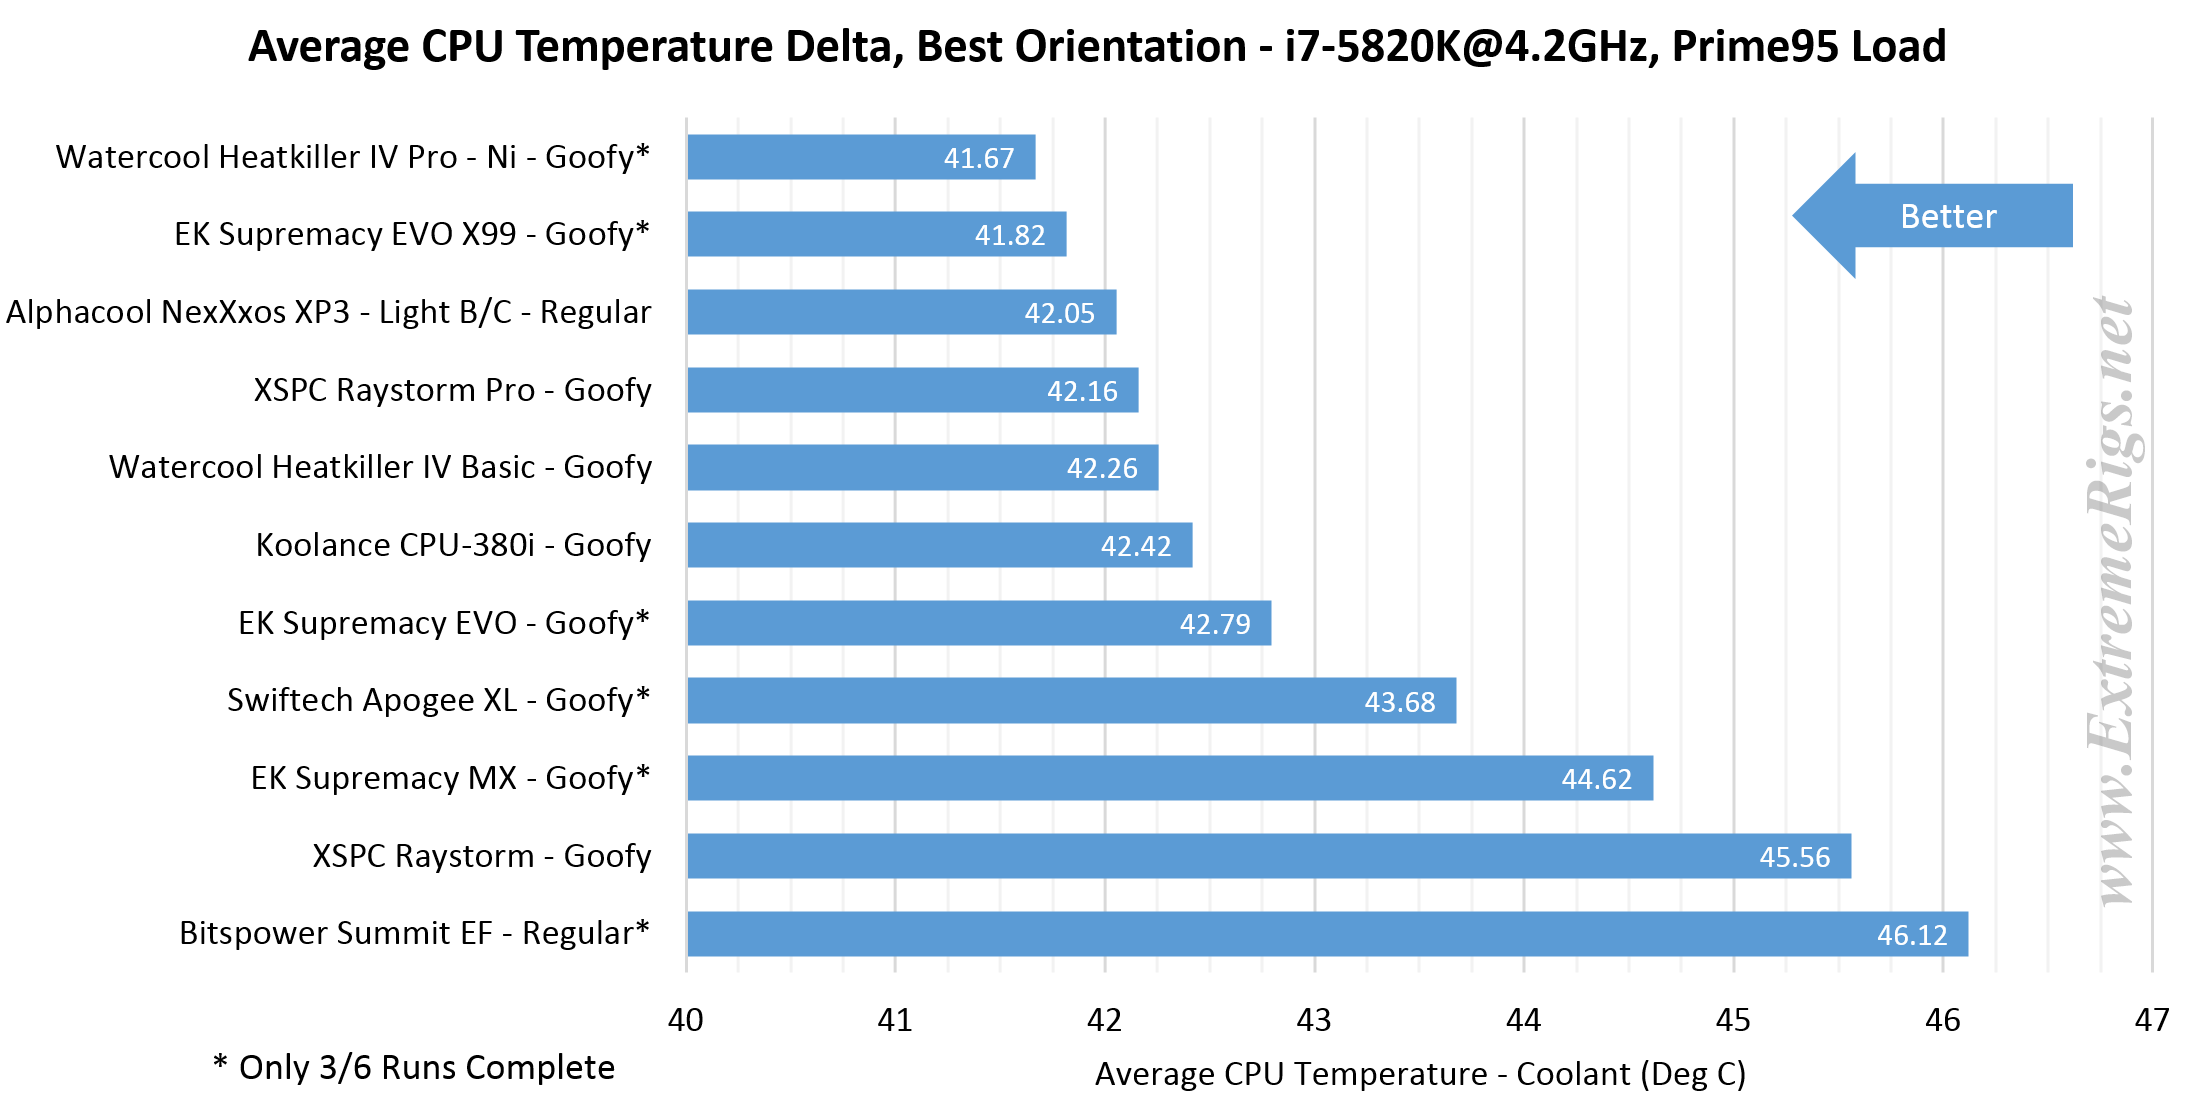
This is now a lot clearer. It can be seen that the old raystorm was falling significantly behind the newer cpu block designs. The Raystorm Pro on the other hand is within 0.5C of the top performing result. The improvement is about 3.4C. This is significant and far more than I expected.
But before we get carried away with these numbers let’s talk about measurement error. From our “pre testing” we saw that each mount’s data point had about +/- 0.17C of error. However what’s the real error of an averaged result once you factor in 3 or 6 mounts? To be truly accurate you need an impractical number of mounts. Therefore an easier way of visualizing the data is to use confidence intervals. The following plot shows the range of a possible mount’s performance with 95% confidence. With some cpu blocks only getting 3 mounts their spread is a bit wider than it would be with 6 mounts:
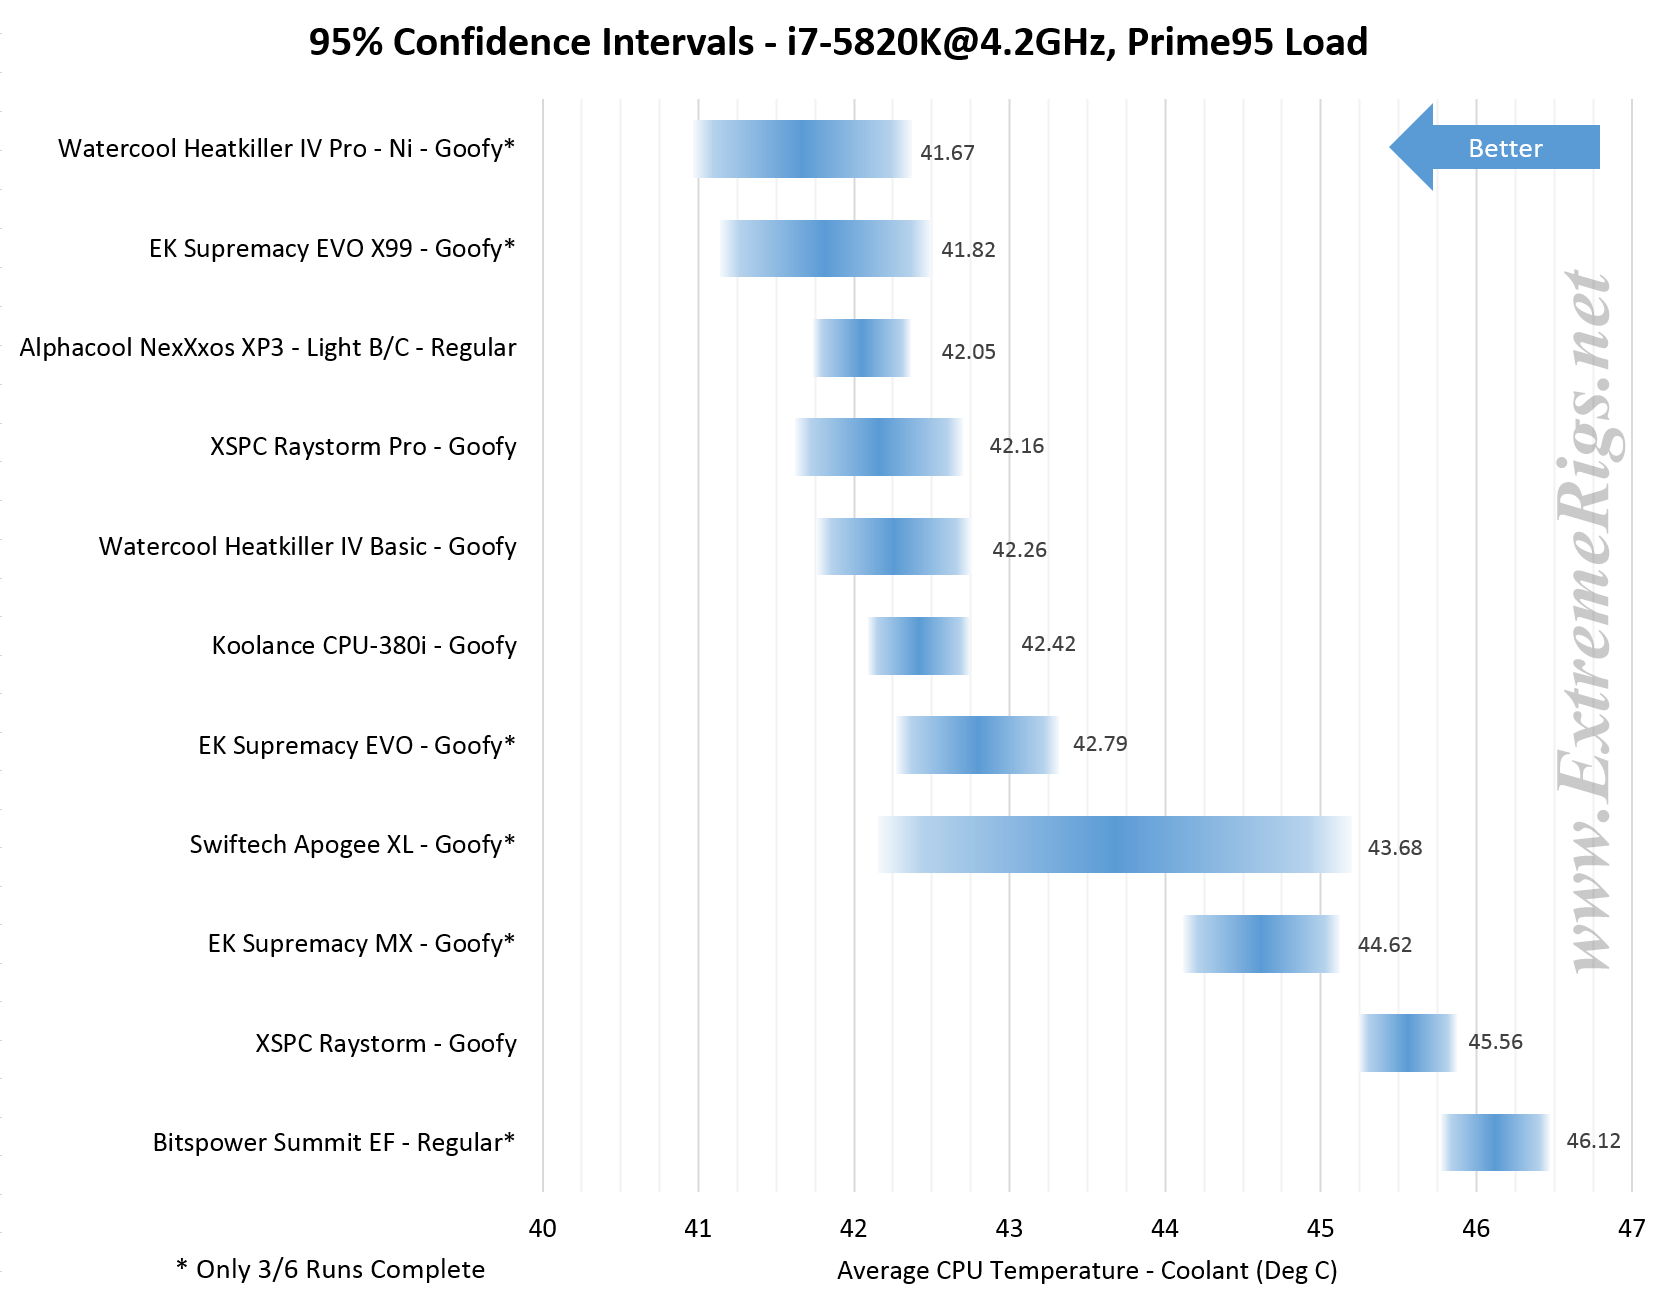
This gives a good indication of how much error we have in the system no matter how well we measure a particular mount.
So we had claimed that the Raystorm Pro measures on average 0.5C behind the Heatkiller IV. However we can see that there is a large amount of overlap in the confidence intervals. This means that essentially the performance is so close that some non trivial percentage of the time that a Raystorm Pro mount may outperform the Heatkiller IV. Therefore it’s somewhat unfair to say definitively that the Heatkiller IV is significantly better than the Raystorm Pro. They are both great performing blocks.
Let’s also take a look at the improved mount:
The thumb nuts are easy to use as they are quite tall. They tighten down well with enough thread to give a variety of mounting pressure. If anything we’d like a little bit more mounting pressure on X99. Compared to the EVO X99 for example which has extreme mounting pressure then the Pro feels like it’s giving up some performance by having less stiff springs. XSPC have commented that the pressure is the maximum allowed by Intel’s specifications – with X99 having a slightly higher pressure than 115X. This is good as we already know Skylake CPU’s can bend. X99 on the other hand is a bit more robust and we strongly suspect other manufacturer’s are allowing us to use a far greater amount of pressure than Intel recommend to extract better performance. It’d be great if there were some optional stiffer X99 springs to eek out a little bit more performance if possible. XSPC have commented that stacking multiple washers would allow a slight increase in mount pressure also.
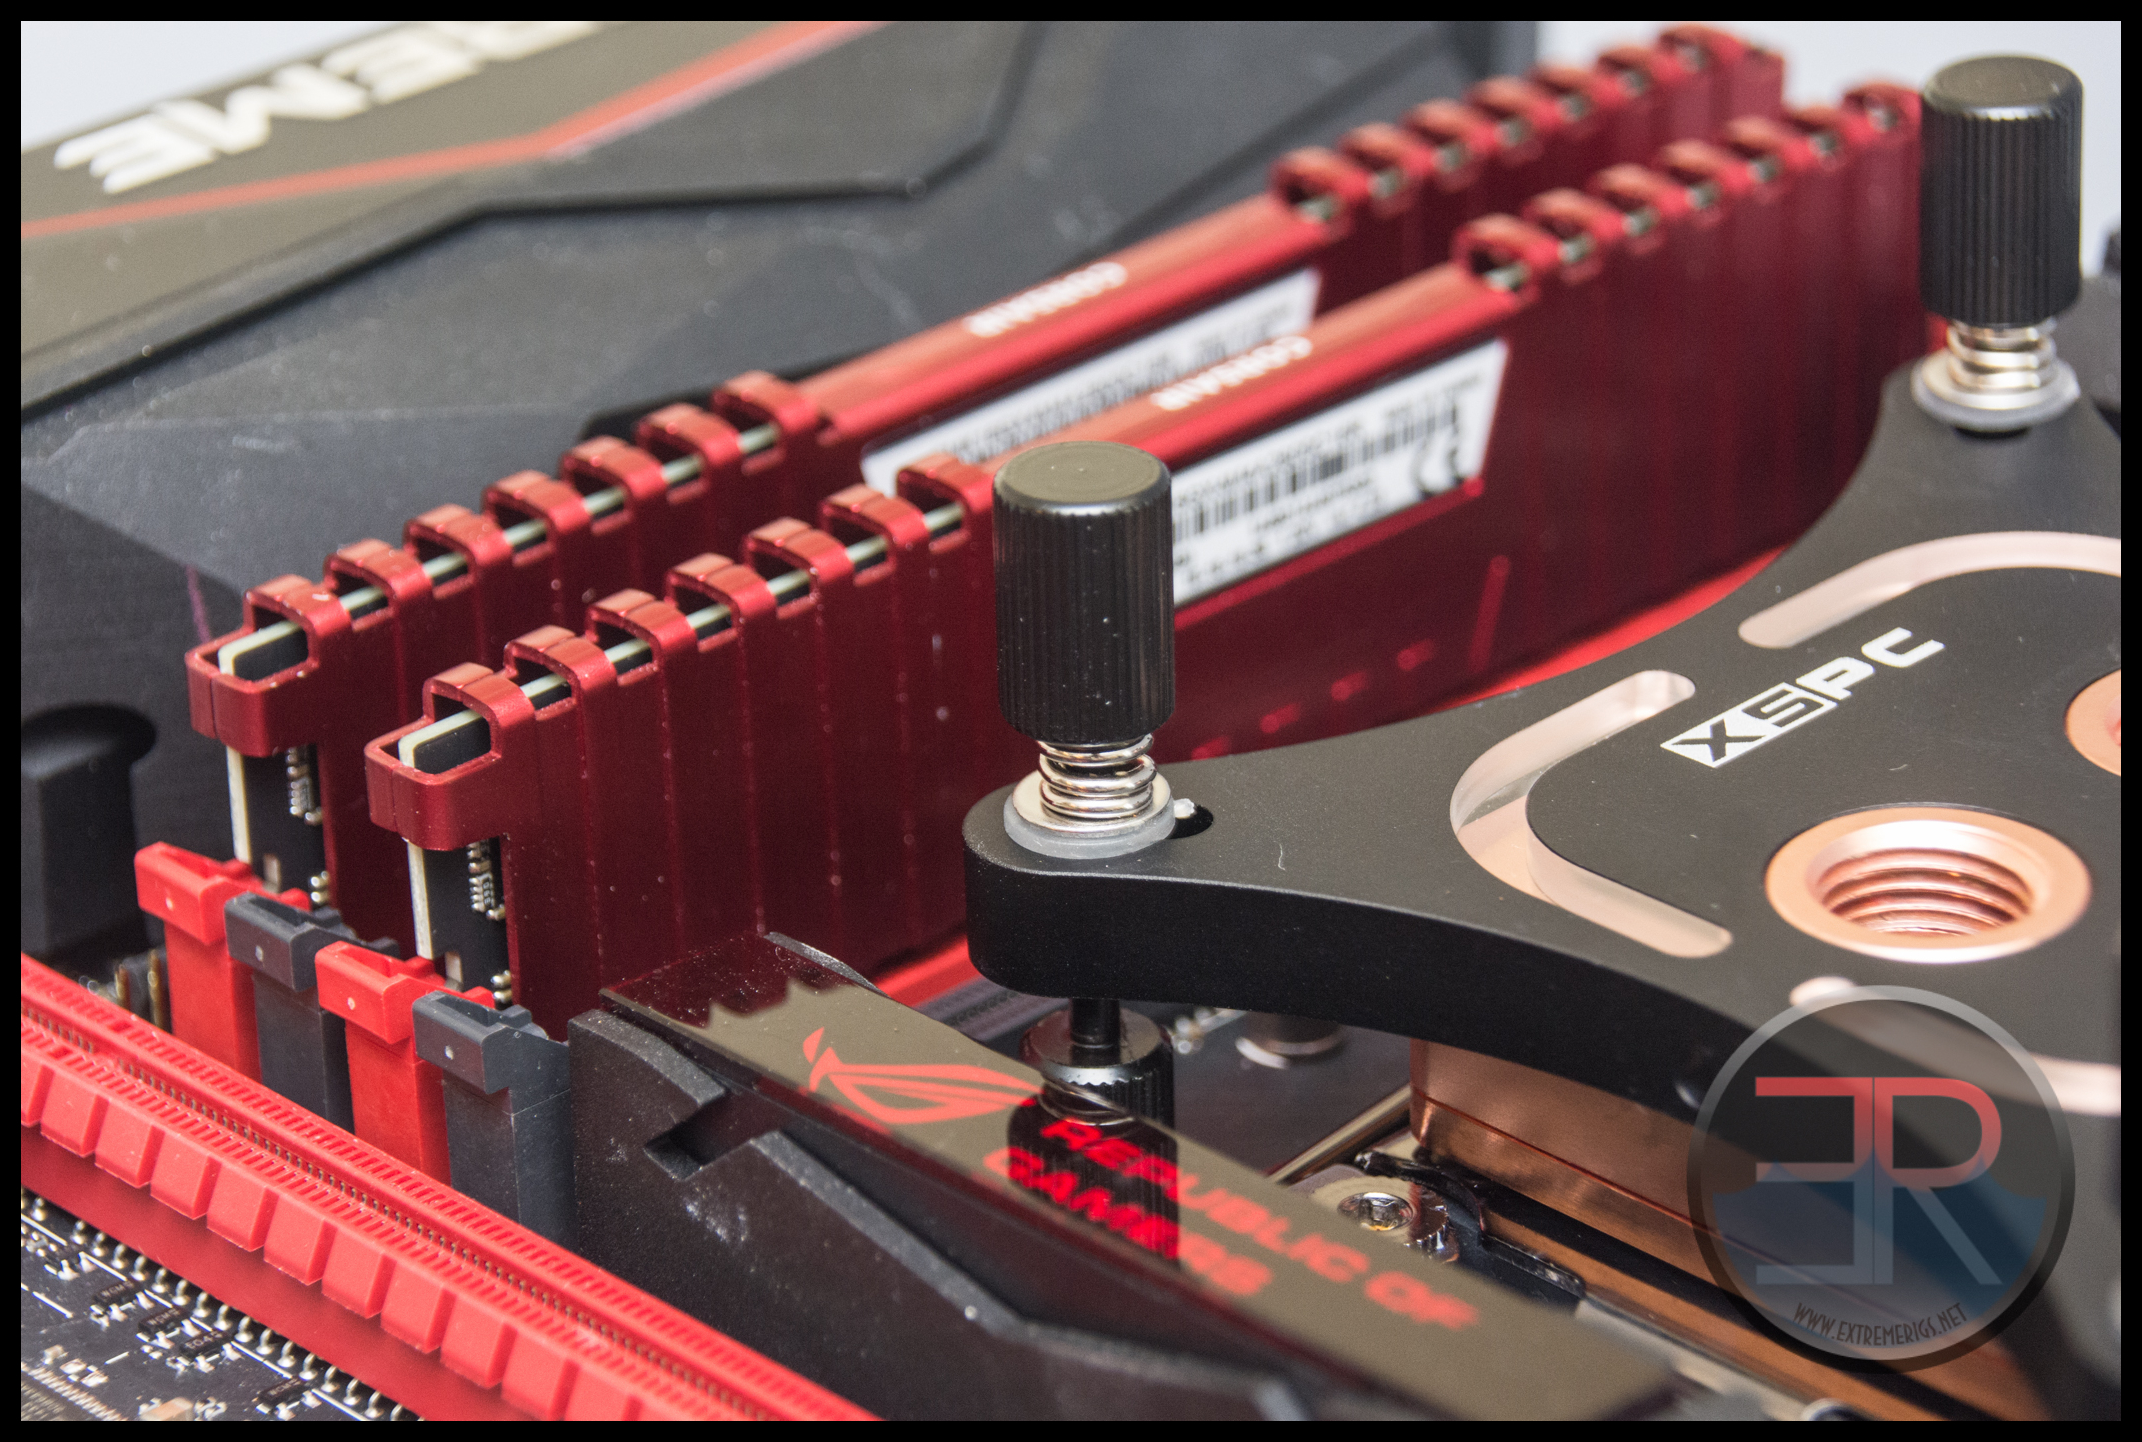
A shorter thumb nut coupled with a black washer/spring combo would look even sleeker. This however is still a huge improvement over the old raystorm thumb nuts which were really only a temporary solution for socket 2011 that lasted for many years.
Let’s now take a look at the price and features vs the competition:

* Although the Heatkiller IV blocks can mount to socket 115x with the included hardware, they do not include an optional backplate that provides increased rigidity. We would highly recommend the backplate which costs an extra ~$10.
The Raystorm Pro comes in priced at an aggressive $67, while the old Raystorm is now $50. This difference is not surprising as it upgrades two previous plastic pieces (the top and mounting bracket) with metal pieces. It also retains the same amount of compatibility as the old design. Of course performance is increased too.
If we compare the Raystorm Pro to the Heatkiller IV Pro which heads the performance tables then it should be noted that for $18 less you get an 115X backplate, TIM and LEDs. In turn you only give up a slight performance difference.
In terms of value it is only beaten on price by the HK4 Basic, and the Supremacy MX. The HK4 basic comes without the optional 115X backplate, TIM and LEDs again, while the MX is a few degrees behind on performance.
Summary
XSPC Raystorm Pro Review Summary
So the Raystorm Pro performs very well and is in the same ballpark as the very best blocks. A 3.4C increase over the old raystorm design is a huge victory for XSPC and well worth the additional $17 in cost alone. In addition the aesthetics and mount system have also been upgraded and the resulting package is very compelling. While the Watercool Heatkiller 4 Basic can compete on price it lacks features, and while EK’s Supremacy MX competes on features it lacks the same performance.
Overall the Raystorm Pro provides excellent performance and features while maintaining great value. It’s truly a great all-round performance package. For these reasons it wins the coveted and rarely awarded Extreme Rigs gold award.
Where to buy: PPCS – Intel Version – $67, AMD Version – $67


Hi,
first, thanks for the great review and tests you made. I´ve got one question because i dont understand really what to do.
What you mean with regular and goofy? The Innerplate (silver) turning? Or do you mean the whole CPU cooler turn about 90 degrees?
Hope you could help me.
Regards Chris
Hi Chris – normally I mean the entire block rotating 90 degrees. In the case of XSPC the outer aluminum bracket orientation doesn’t matter. So yes if you want you can just rotate the inner copper block where all the cooling is done. It’s all about lining up the microchannels of the block and the bow of the block in the best possible way with the CPU.
So it’s a microchannel… will this mean that we’re restricted in some way on where the I/O tubings will end up at?
Not sure exactly what you mean. The micro channels and jetplate in the block are fairly typical for any modern cpu block, as are the port locations?
So goofy is better with this block on x99?
Thanks
Comments are closed.