EK-FC980 GTX Review – EK’s Full Cover GTX 980 Water Block
In this review we’ll be taking a look at EK Water Block‘s after market watercooling block for NVidia’s GTX 980 reference card. This is part of our GTX 980 water block round up. As always a big thanks to EK for supporting ExtremeRigs with a test sample:
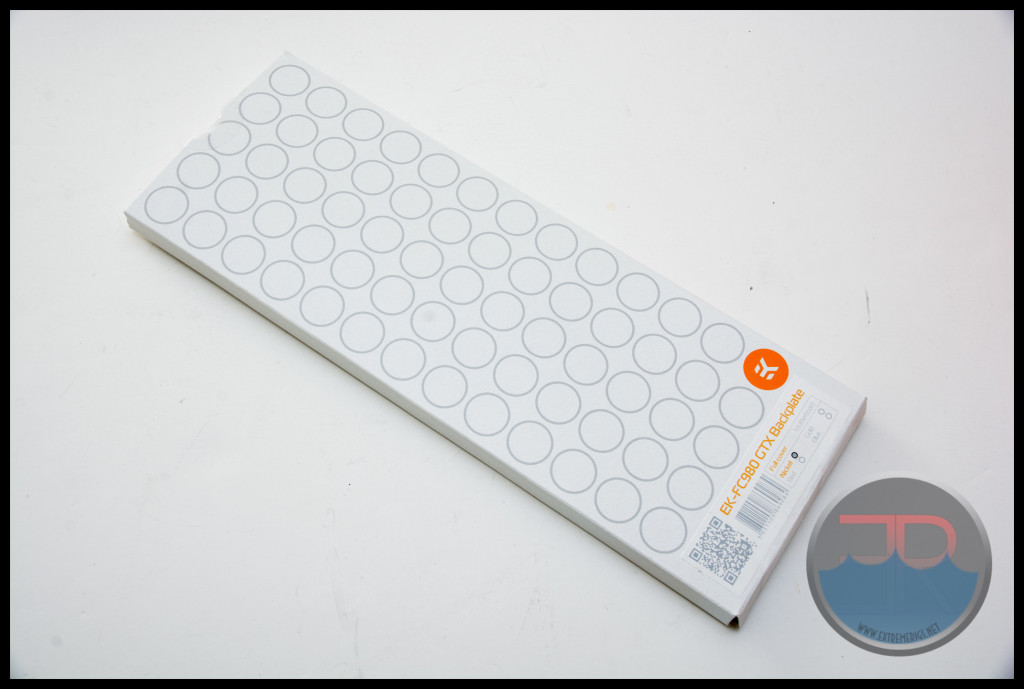
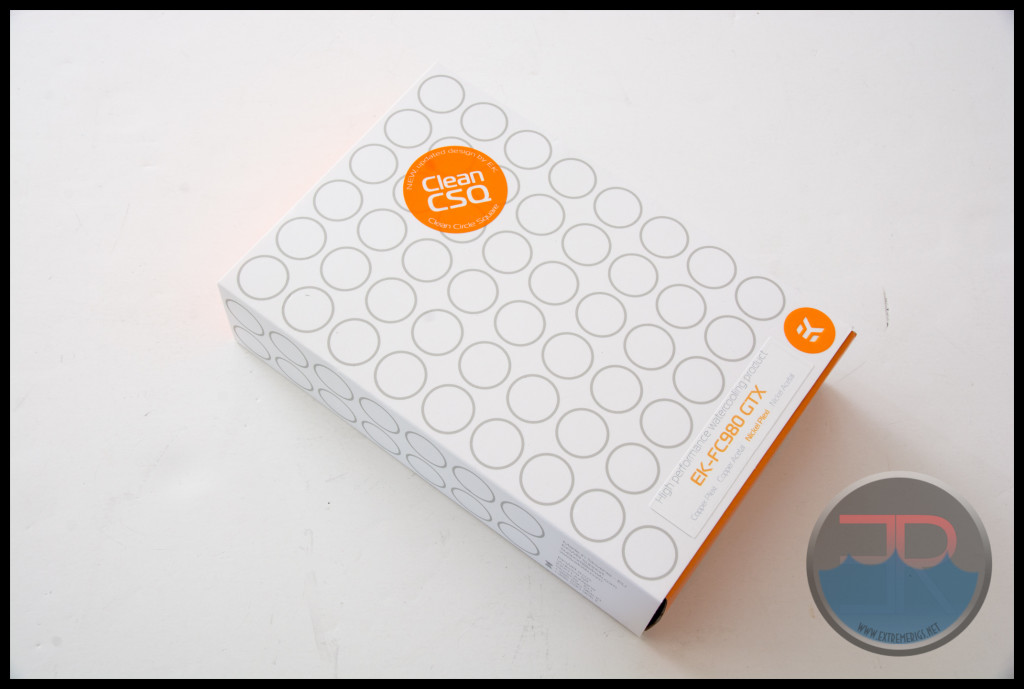
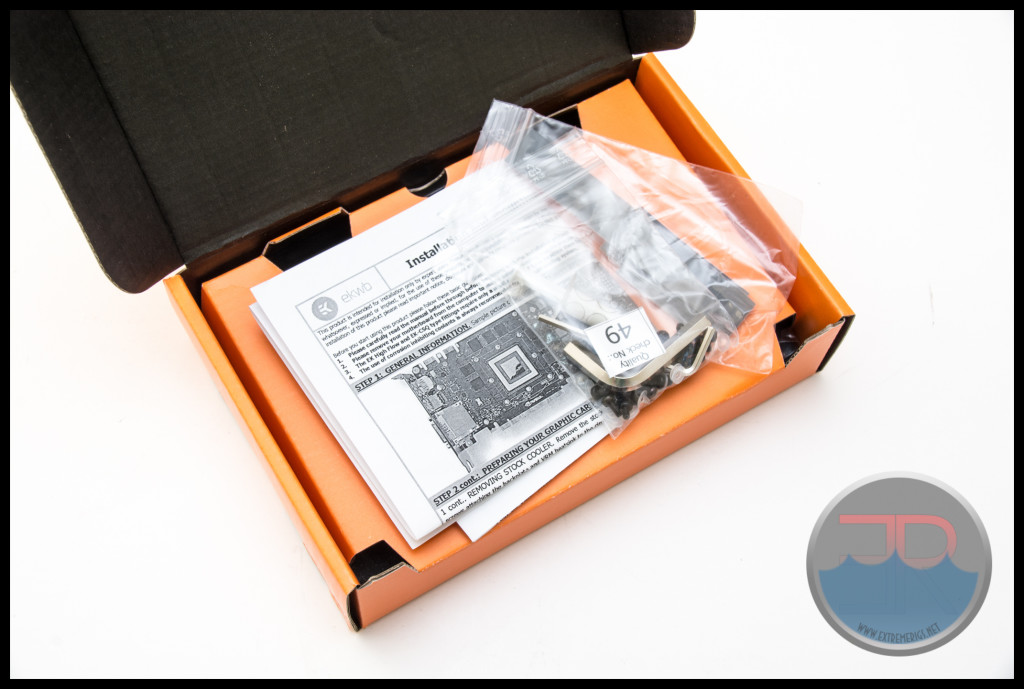
EK’s packaging for the GTX980 is their usual white circles with orange accents. It looks great and does a good job at protecting the block. The accessories are separated from the block in order to protect it from damage and scratches:
Included in the box are accessories:
– Detailed Instructions
– Thermal pads in two different thicknesses
– Screws, washers and nuts
– Stop fittings
– Allen keys for screws and stop fittings
– Thermal Interface Material (“TIM” aka thermal goop)
The backplate now also comes in a matching style box which is an upgrade from the prior bubble wrap only packaging of earlier designs:
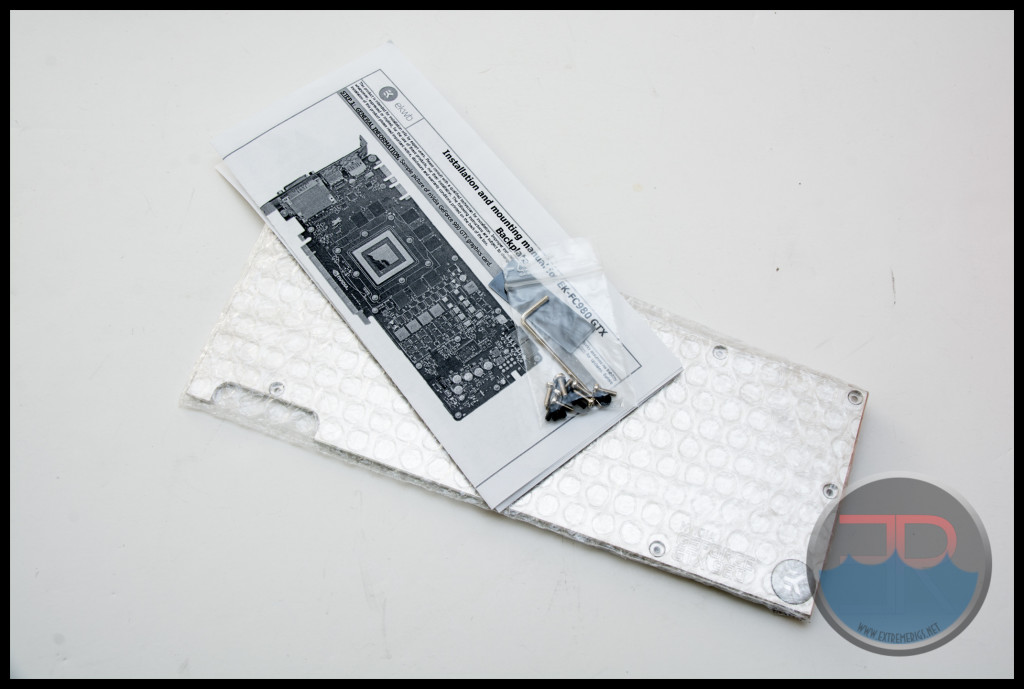
 As the backplate is optional it also comes with screws, instructions and thermal pads of it’s own:
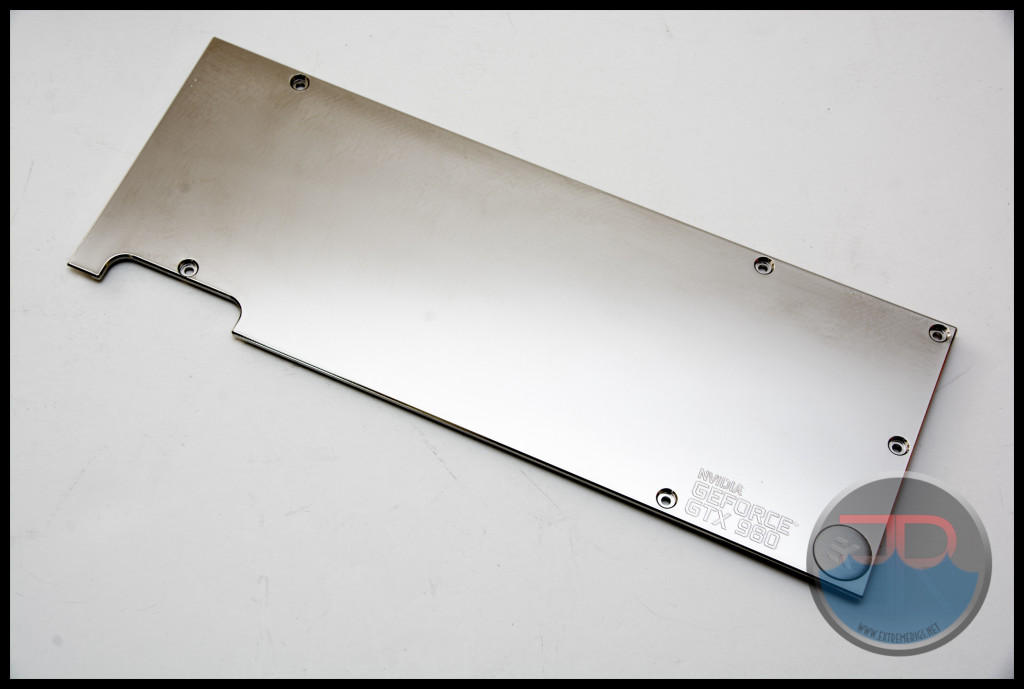
 The backplates come in a few different colors and this is the “nickel” finish:
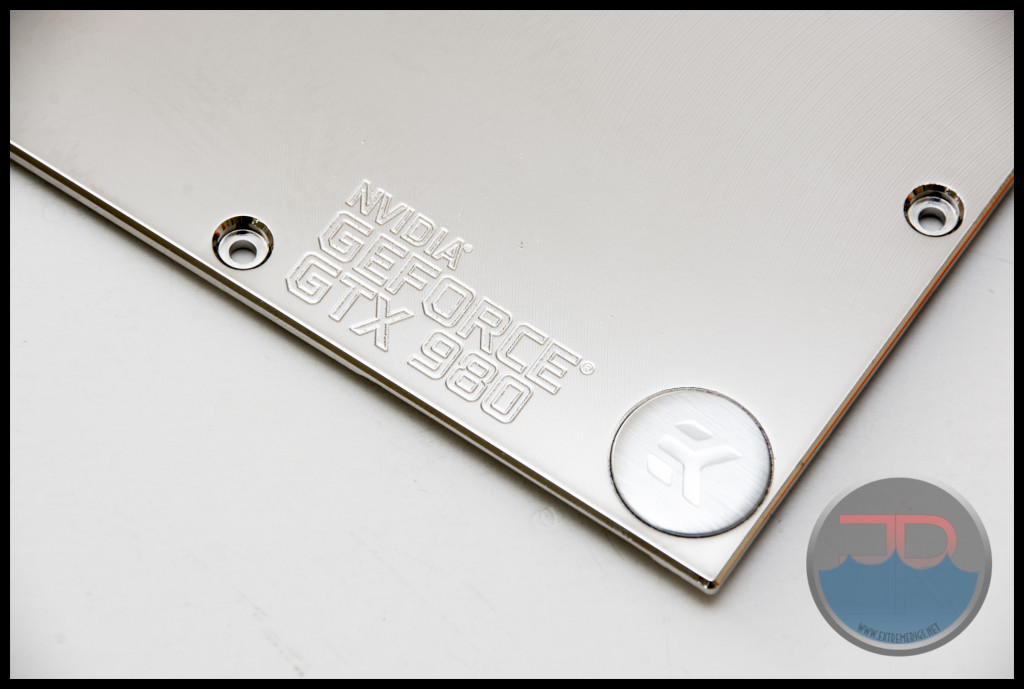
 The corner of the block carries the EK logo and the GPU information:
The block itself is protected by a plastic bag sealed with an EK sticker: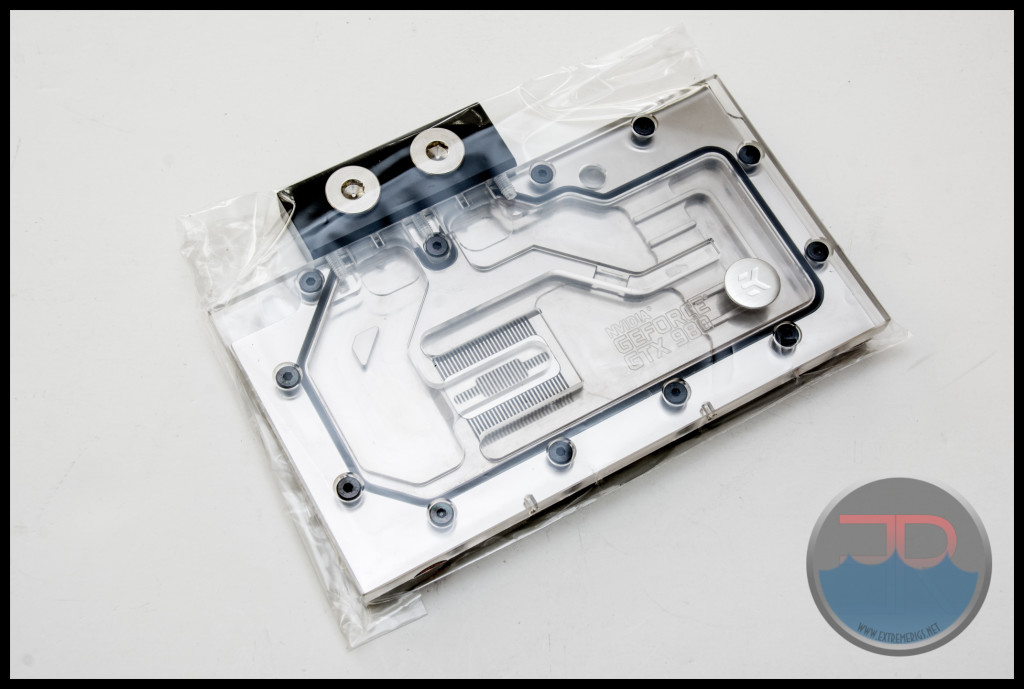
There are a few different varieties as usual from EK, while this is the “Nickel/Plexi Clean CSQ” version there are also the following other varieties of reference GTX 980 block using the same internal design:
Copper/Plexi CSQ Clean
Nickel/Plexi CSQ (XL)
Copper/Acetal CSQ Clean (XL)
Nickel/Acetal CSQ Clean (XL)
As always Nickel just means nickel plated copper. There should be no thermal performance gain by using either version.
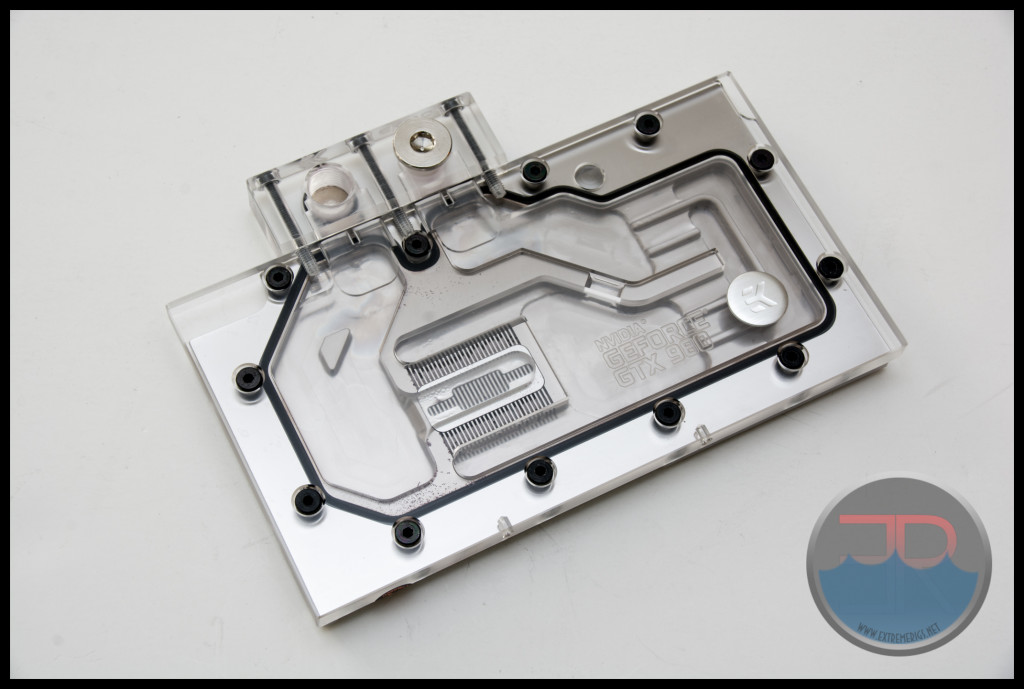
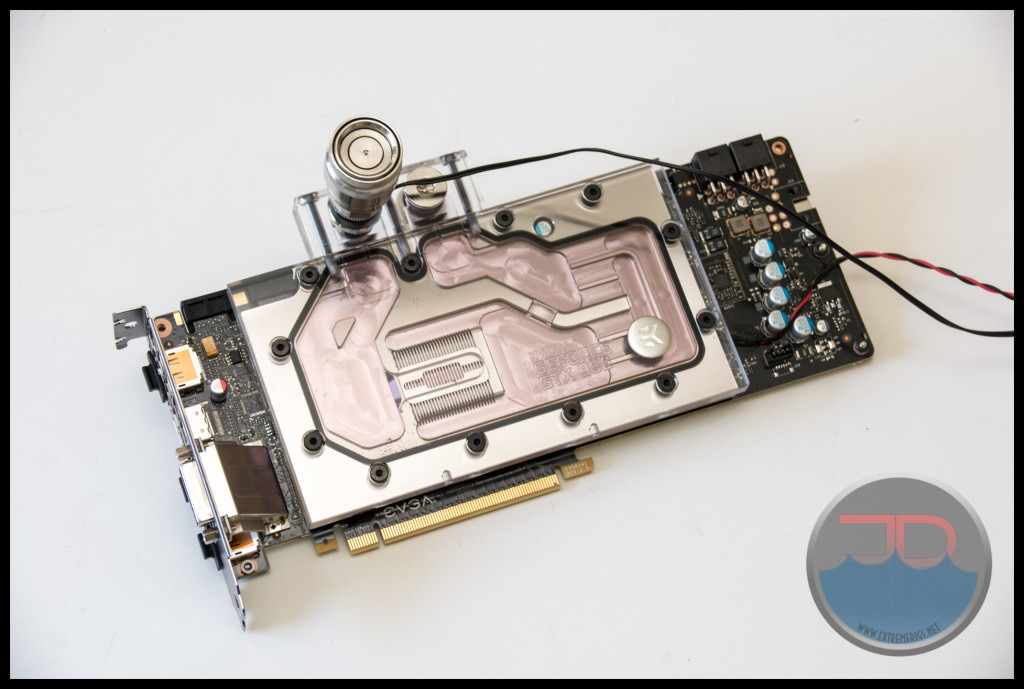
As can be seen EK have finally brought the use of center inlet jetplates to their full cover blocks. EK first used this design on their CPU blocks years ago and it finally made the transition to GPUs with the Thermosphere universal GPU block.
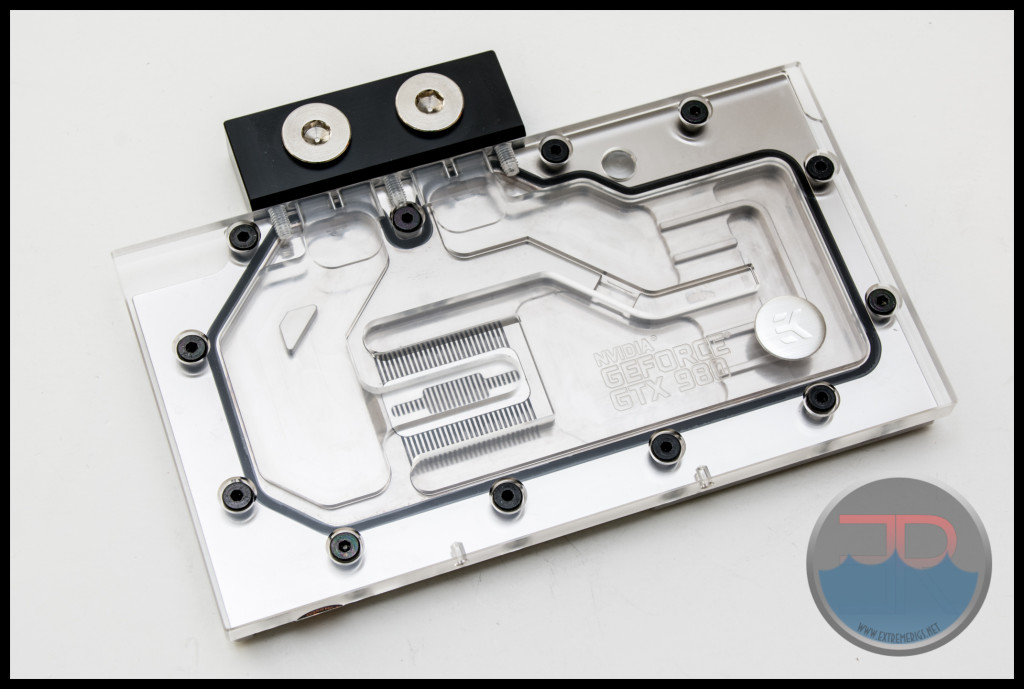
Of note is also the acetal bridge. While this is standard and has been for a while, EK have semi-recently launched clear terminals bridges instead. We would love for the clear terminal to come as standard on the plexi blocks. You can however buy one:
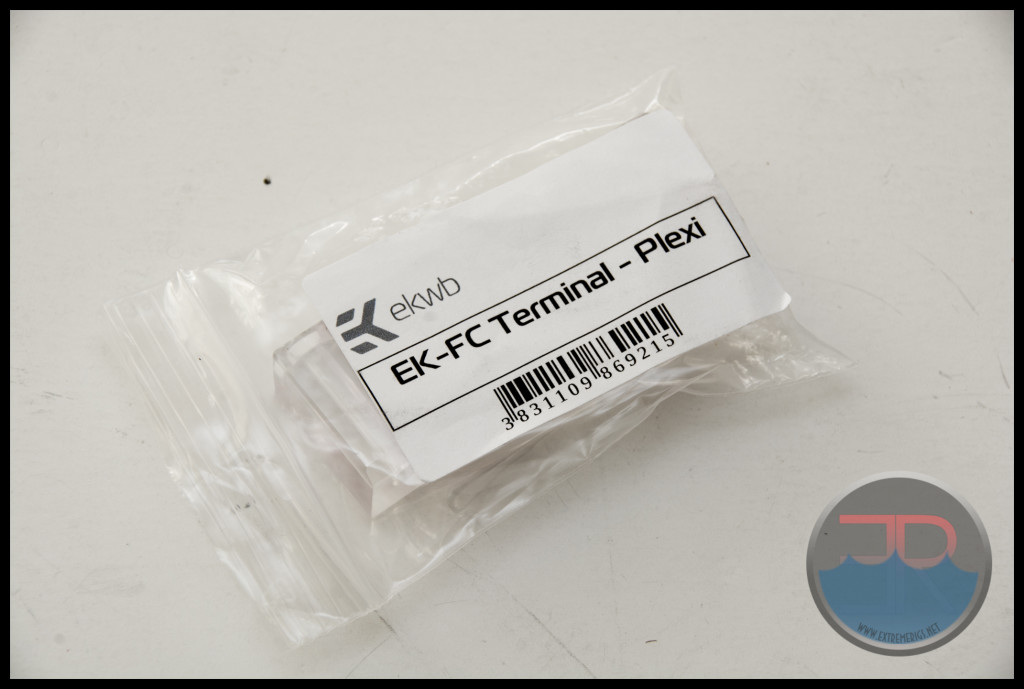 It comes with o-rings, but not screws:
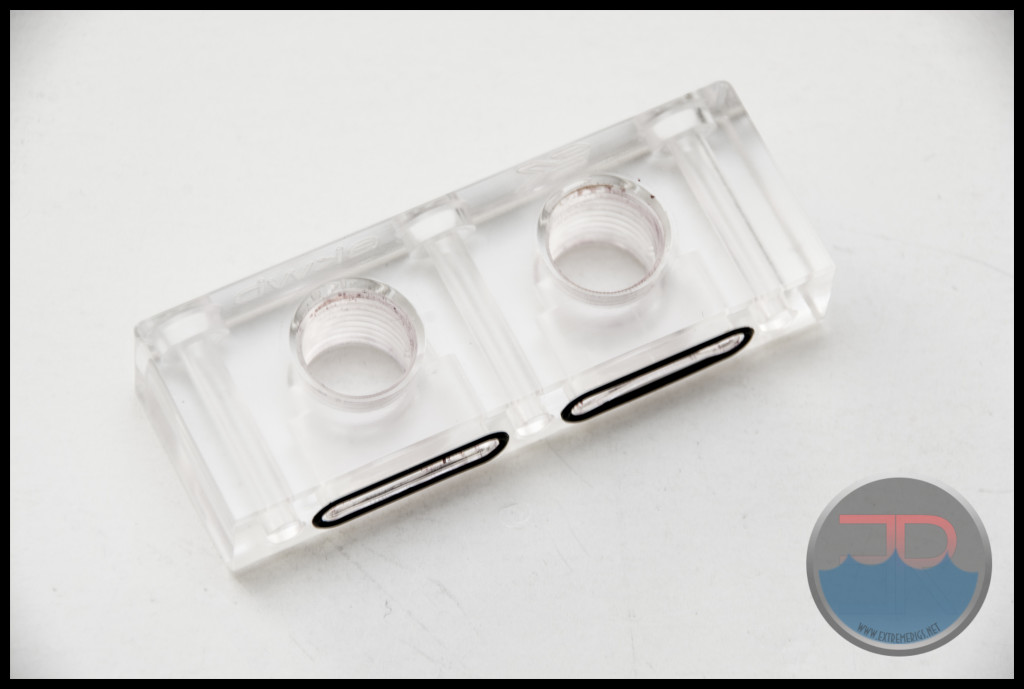 The look is much better – particularly if you are going to combine with the nickel backplate:
 The thermal pads are fairly quick to apply as they simply target the VRMs and memory chips:
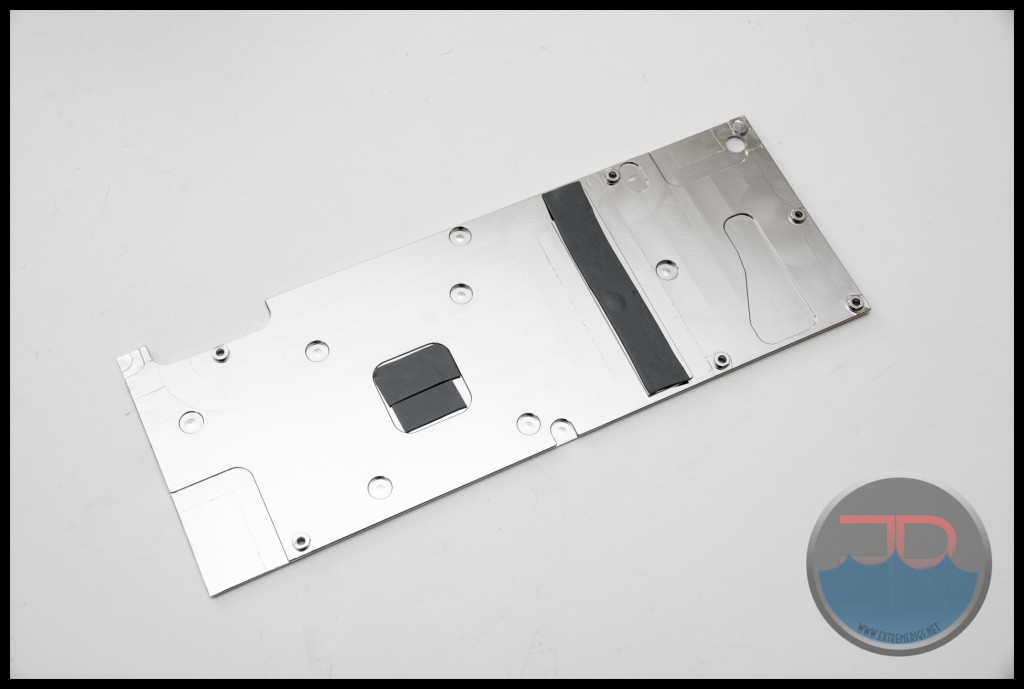
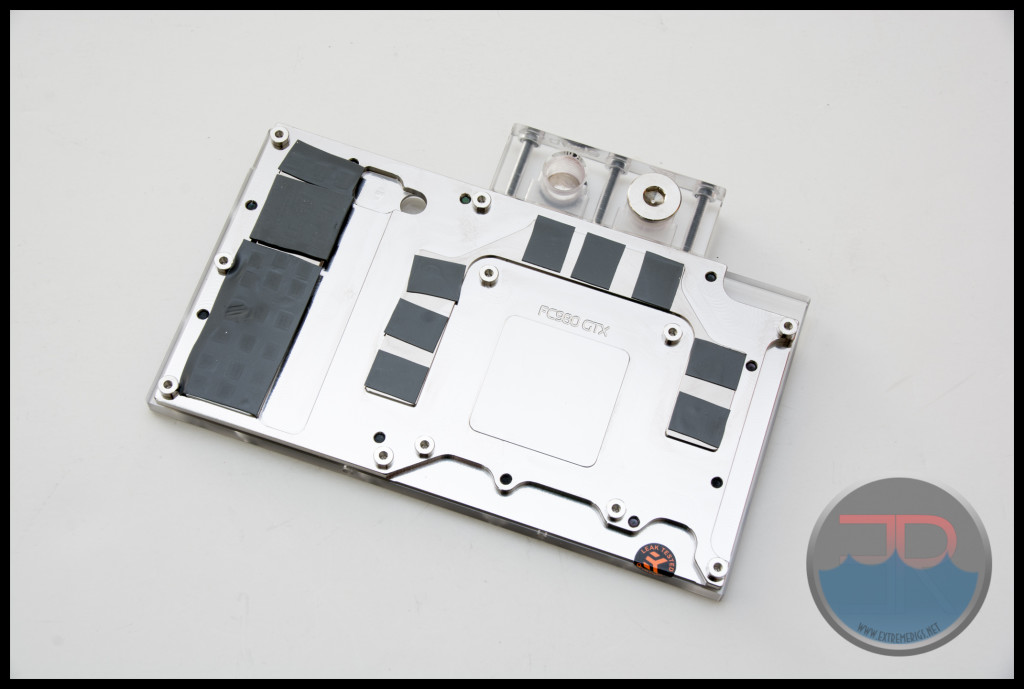 The backplate targets only the core and the VRMs:
 One of the nice things about the EK backplate is that only the minimum number of screws propagate through the backplate – this gives a far cleaner look than some of the competition:
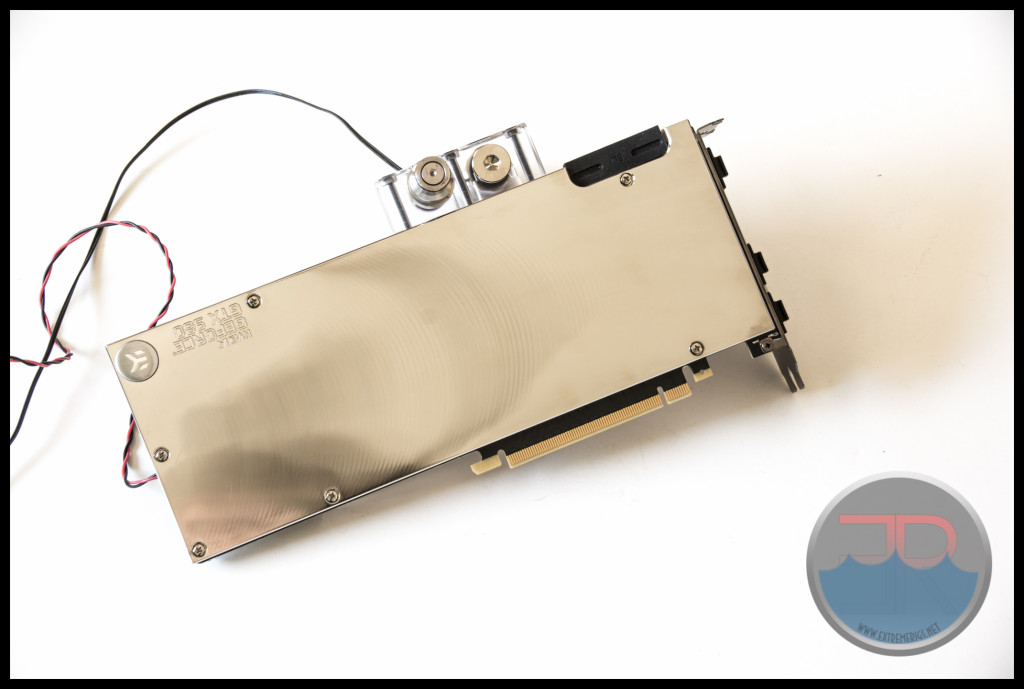 The rest of the screws are hidden underneath. The chrome backplate also came with color matched screws. However instead of two lengths of screws being supplied as the instructions indicated, all screws provided were of the longer length meaning that the supplied chrome screws did not give a good mount. The black screws provided with the block however did give a good mount.
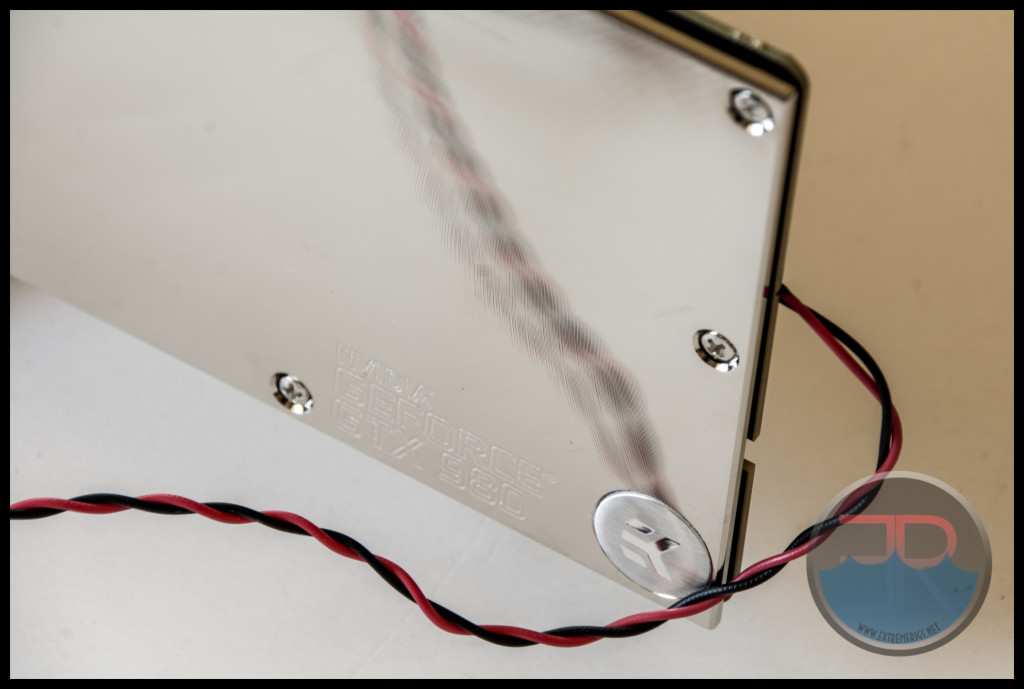 We were also sad to see that these were not counter sunk allen key head screws like previous generation backplates which gave a very minimal and clean look. On the plus side philips head screws are much less likely to strip.
This version of the block does not cover the entire PCB, however some of the other versions do:
Unlike the R9-290x block there is no need for a stainless steel plate to enable a “hop” over the chokes. The plexi is therefore quick and simple to remove with the supplied allen key: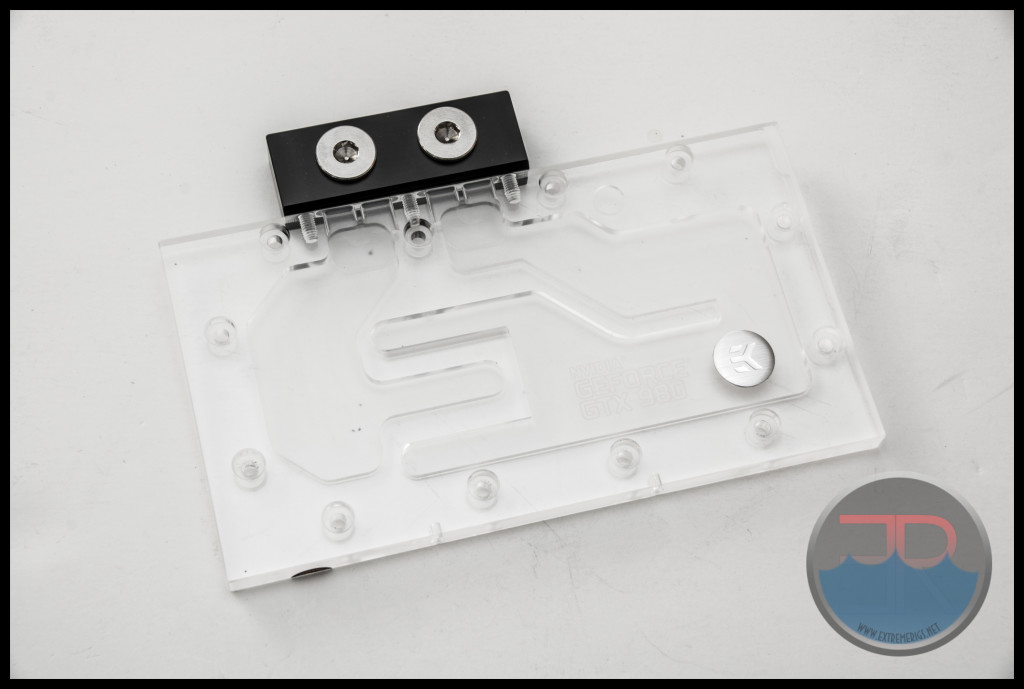
The plexi is machined to increase flow and provide the inlet for the jetplate. The internals are as you would expect:
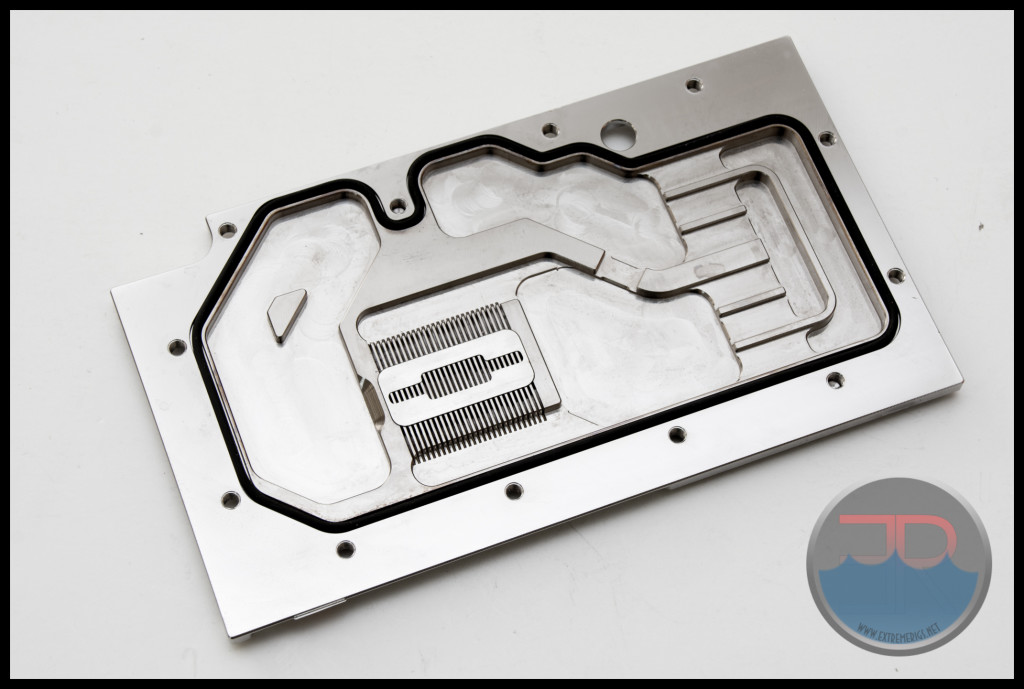 The VRM section is more heavily machined than we’ve seen before. The jetplate is stainless steel and sits in a slight recession in the cooling engine:
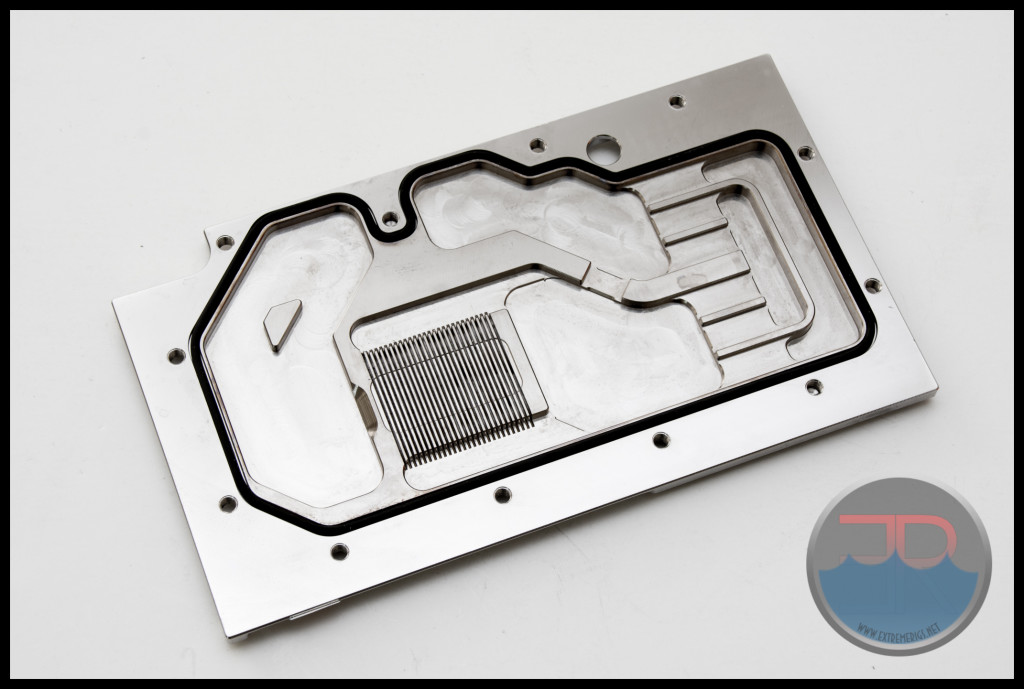 Close up of the cooling engine:
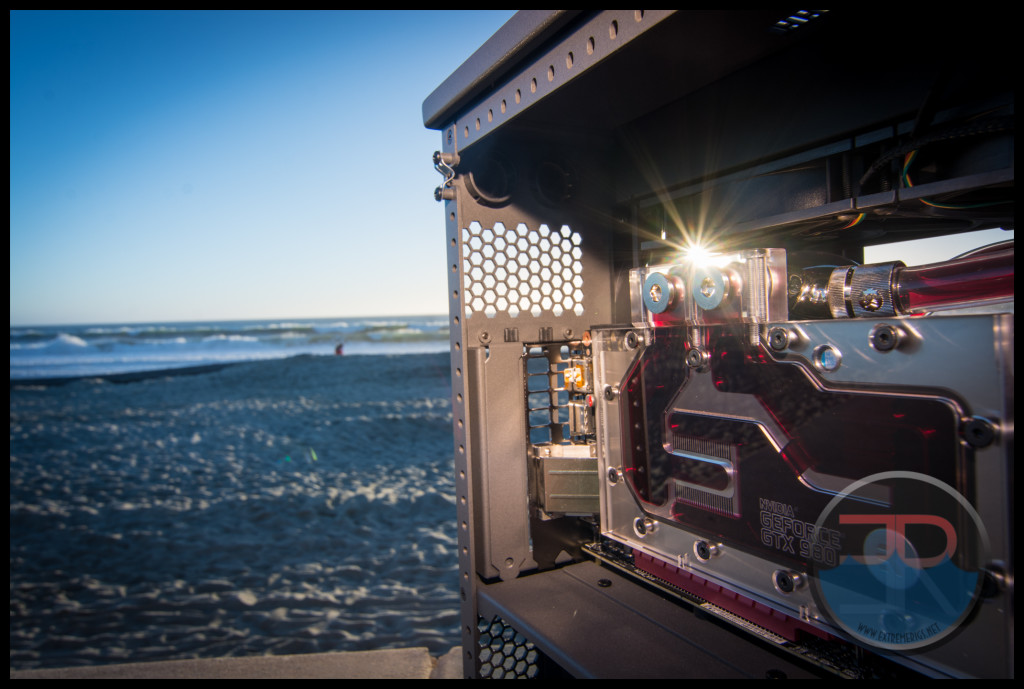
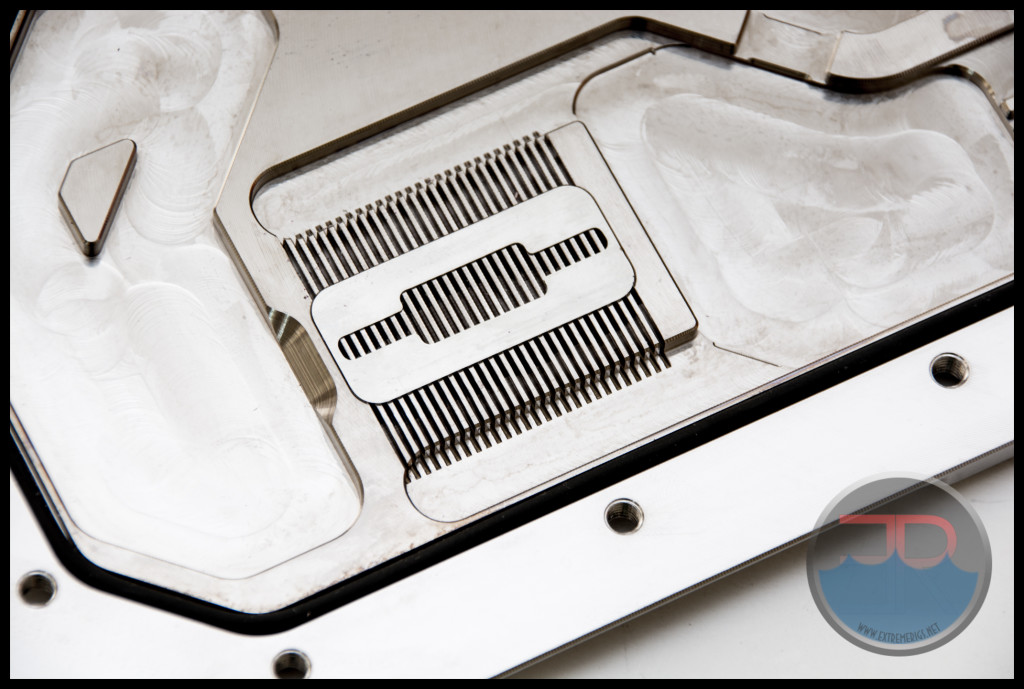 As you can see the machining marks are fairly obvious if you look for them. Once colored coolant is added though the block looks amazing:
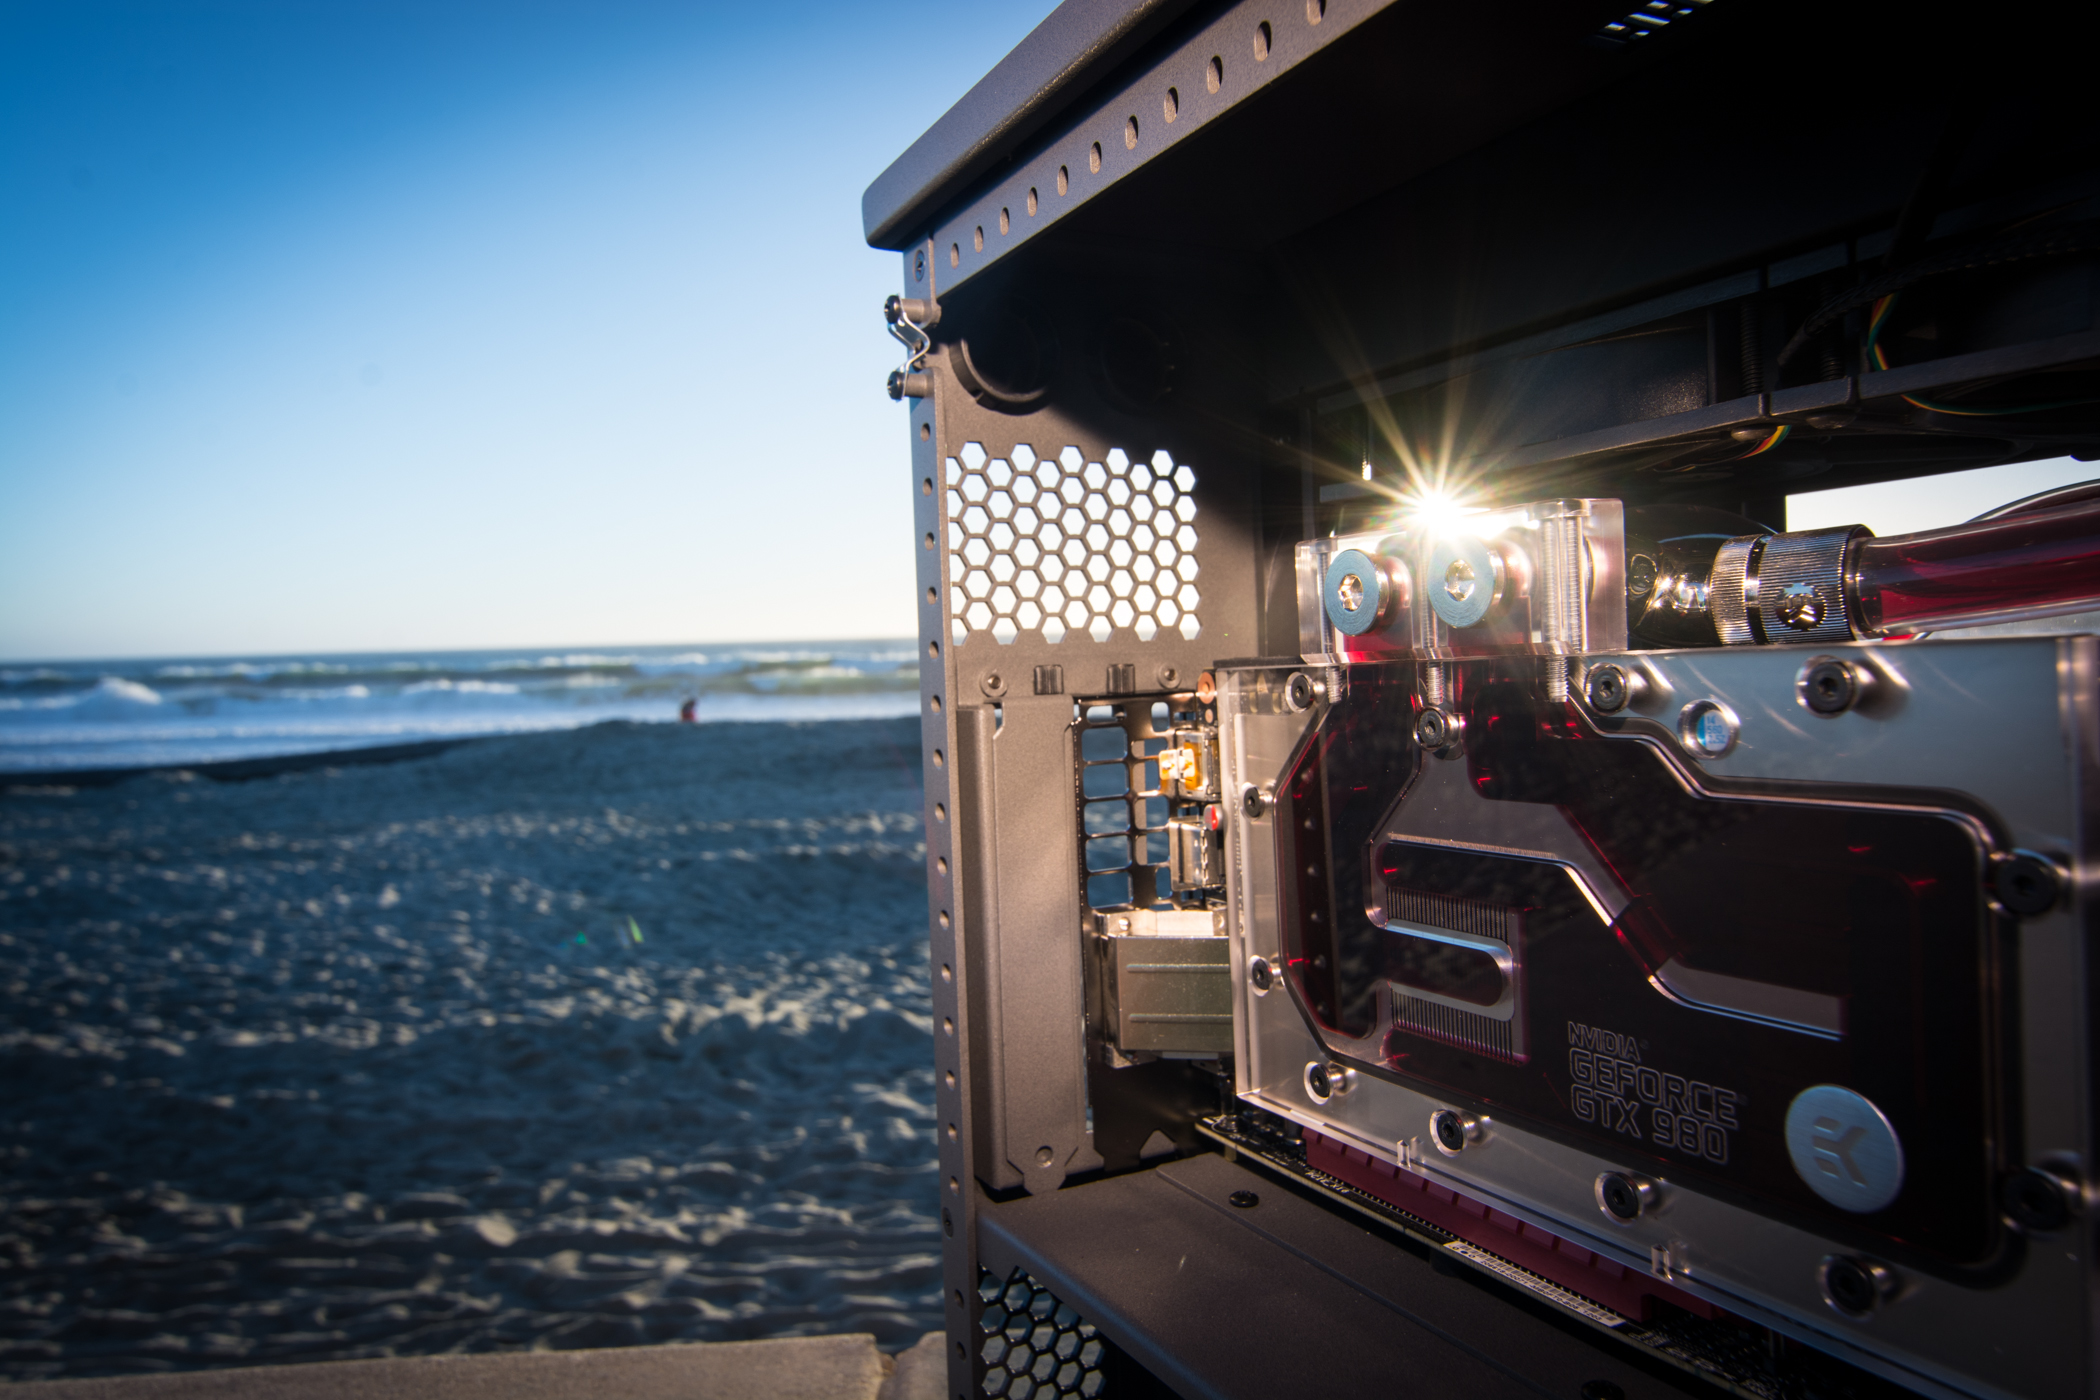
Onwards to testing!




Nice work as usual Stren. I wonder if you could perhaps test the impact of flow direction on the EK block seeing as GPU’s are often subject to differing flow with multiple blocks and the centre impingement is new for full cover GPU blocks?
[…] of course have been busy also releasing a Titan block: This features the same core design as the 980 block which won the gold in our 980 roundup. As usual there are a ton of different versions. EK also […]
I really wanna ask if this is actually needed because adding this gpu in your loop will cost more or less 200$. Does the watercooling make any significant improvement (to this particular card)?
Comments are closed.