As the power supply is already mounted and the drives are pre wired the first thing to do is to mount your motherboard:
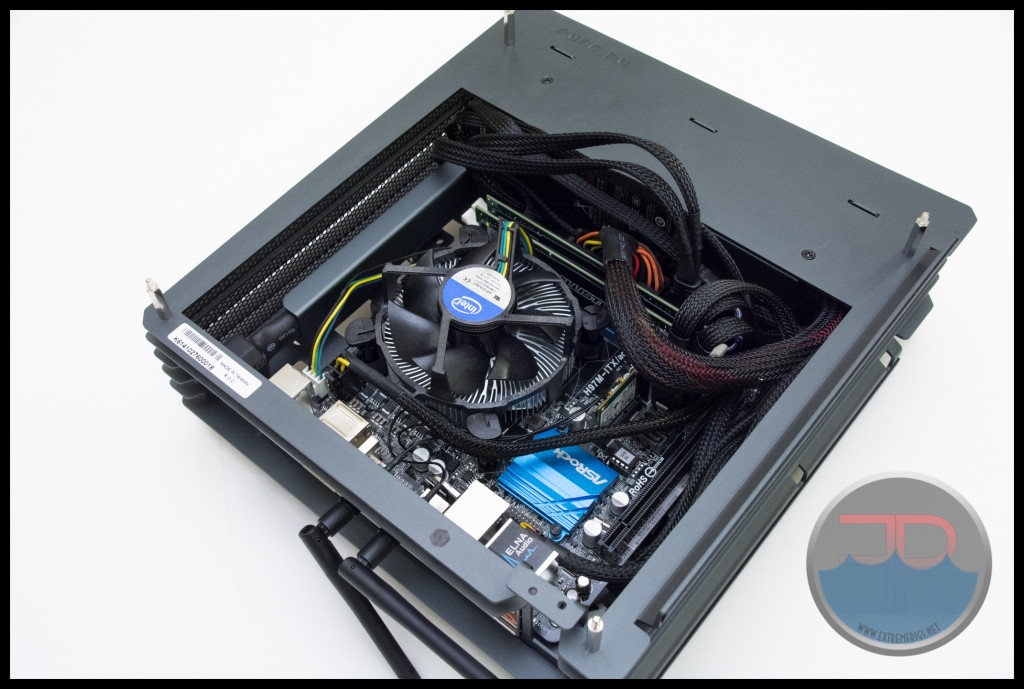 The fit on the motherboard is tight, and there is little room around the board for the cables. In addition the 4 pin EPS cable is quite short and almost didn’t reach to the socket on the motherboard.
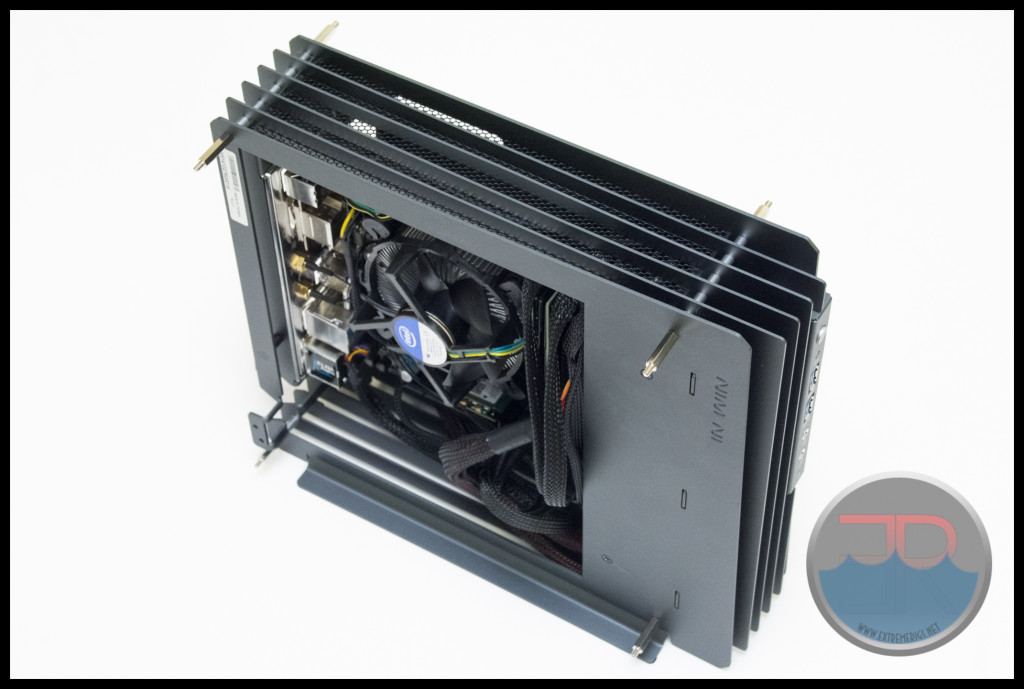 While the standard Intel socket 1150 air cooler does fit there is room for something a little taller if desired. Indeed while the instructions claimed that the CPU power should be limited to 65W we were able to run an 84W 4770K with a mild overclock and run prime on all threads without any crashes. The limit of course was the Intel stock cooler which simply could not keep the CPU cool when fully loaded. It’s also worth noting that the PSU was surprisingly quiet. We could not hear it over the CPU fan.
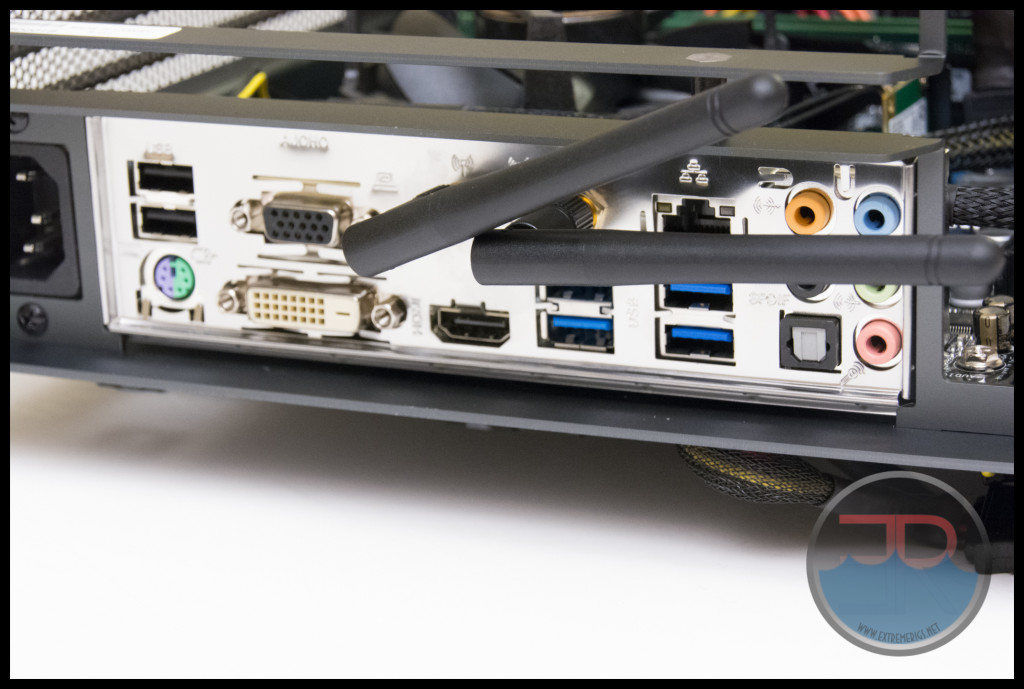 The hardest part of the install was simply because the IO cover is not gripped all the way round, so without the motherboard in place it tends to fall out of place. In otherwords you have to hold it in place while manoeuvring the motherboard into place. It’s something you quickly forget about but at the time it’s annoying given that it was not necessary to remove this much metal.
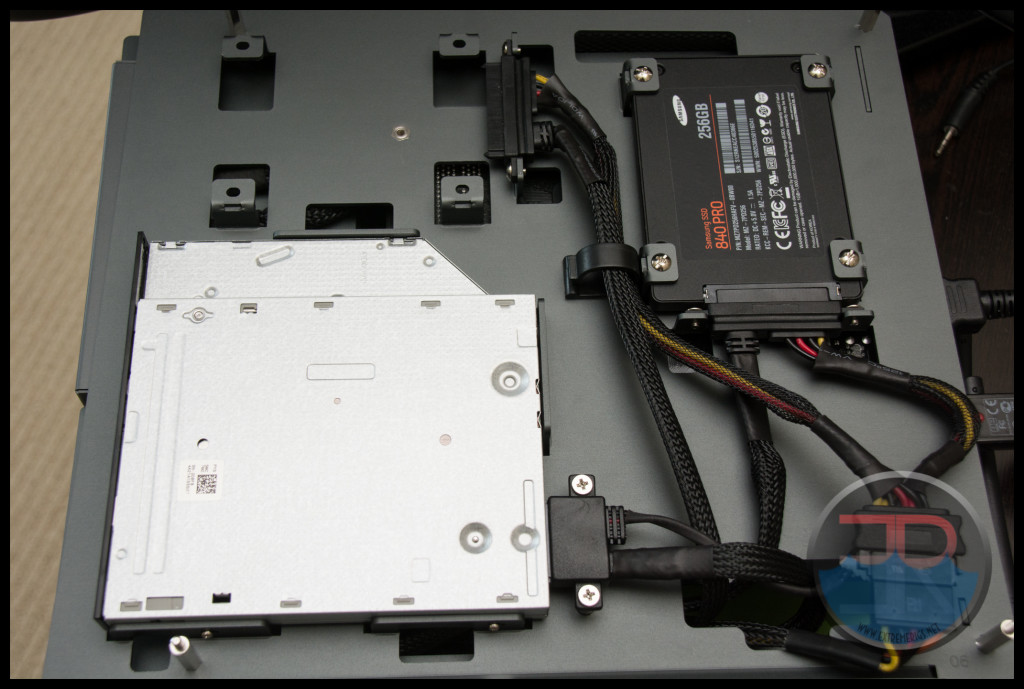 On the drive side we mounted a slim ODD and a SSD. While we used a normal sized SSDs there is clearance for something fatter like a regular laptop size mechanical 2.5″ HDD. My only disappointment was that the ODD was only secured on one side with two screws:
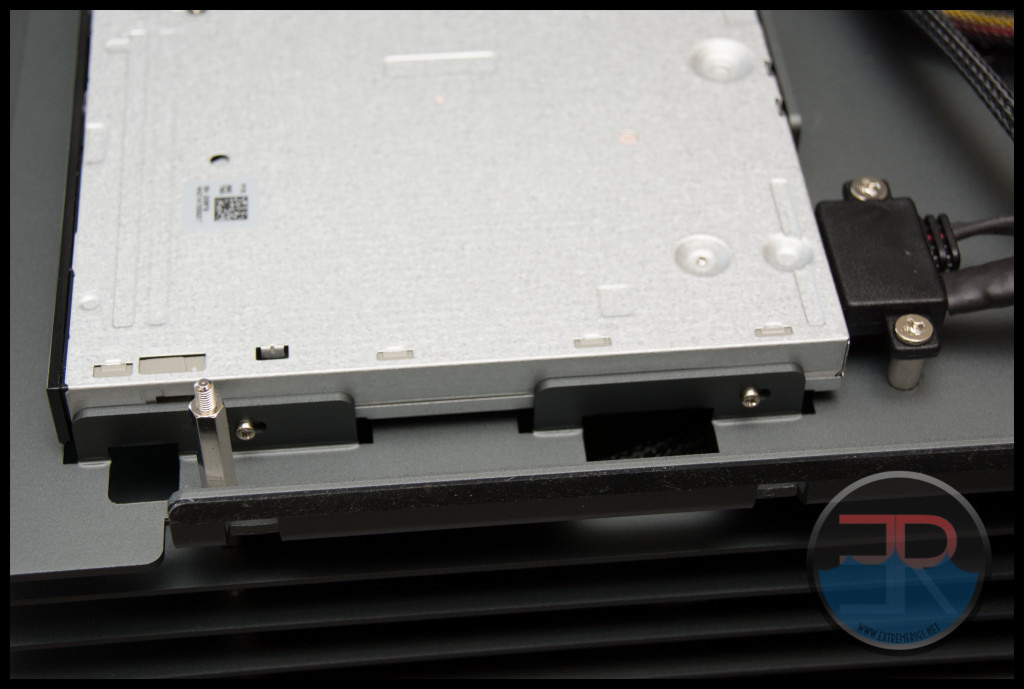 Therefore the other side of it feels a bit wobbly. The other downside is how exposed the drive is to viewing from outside the case. The exposed bare steel cheapens the look and it would have been nice to shield this sight.
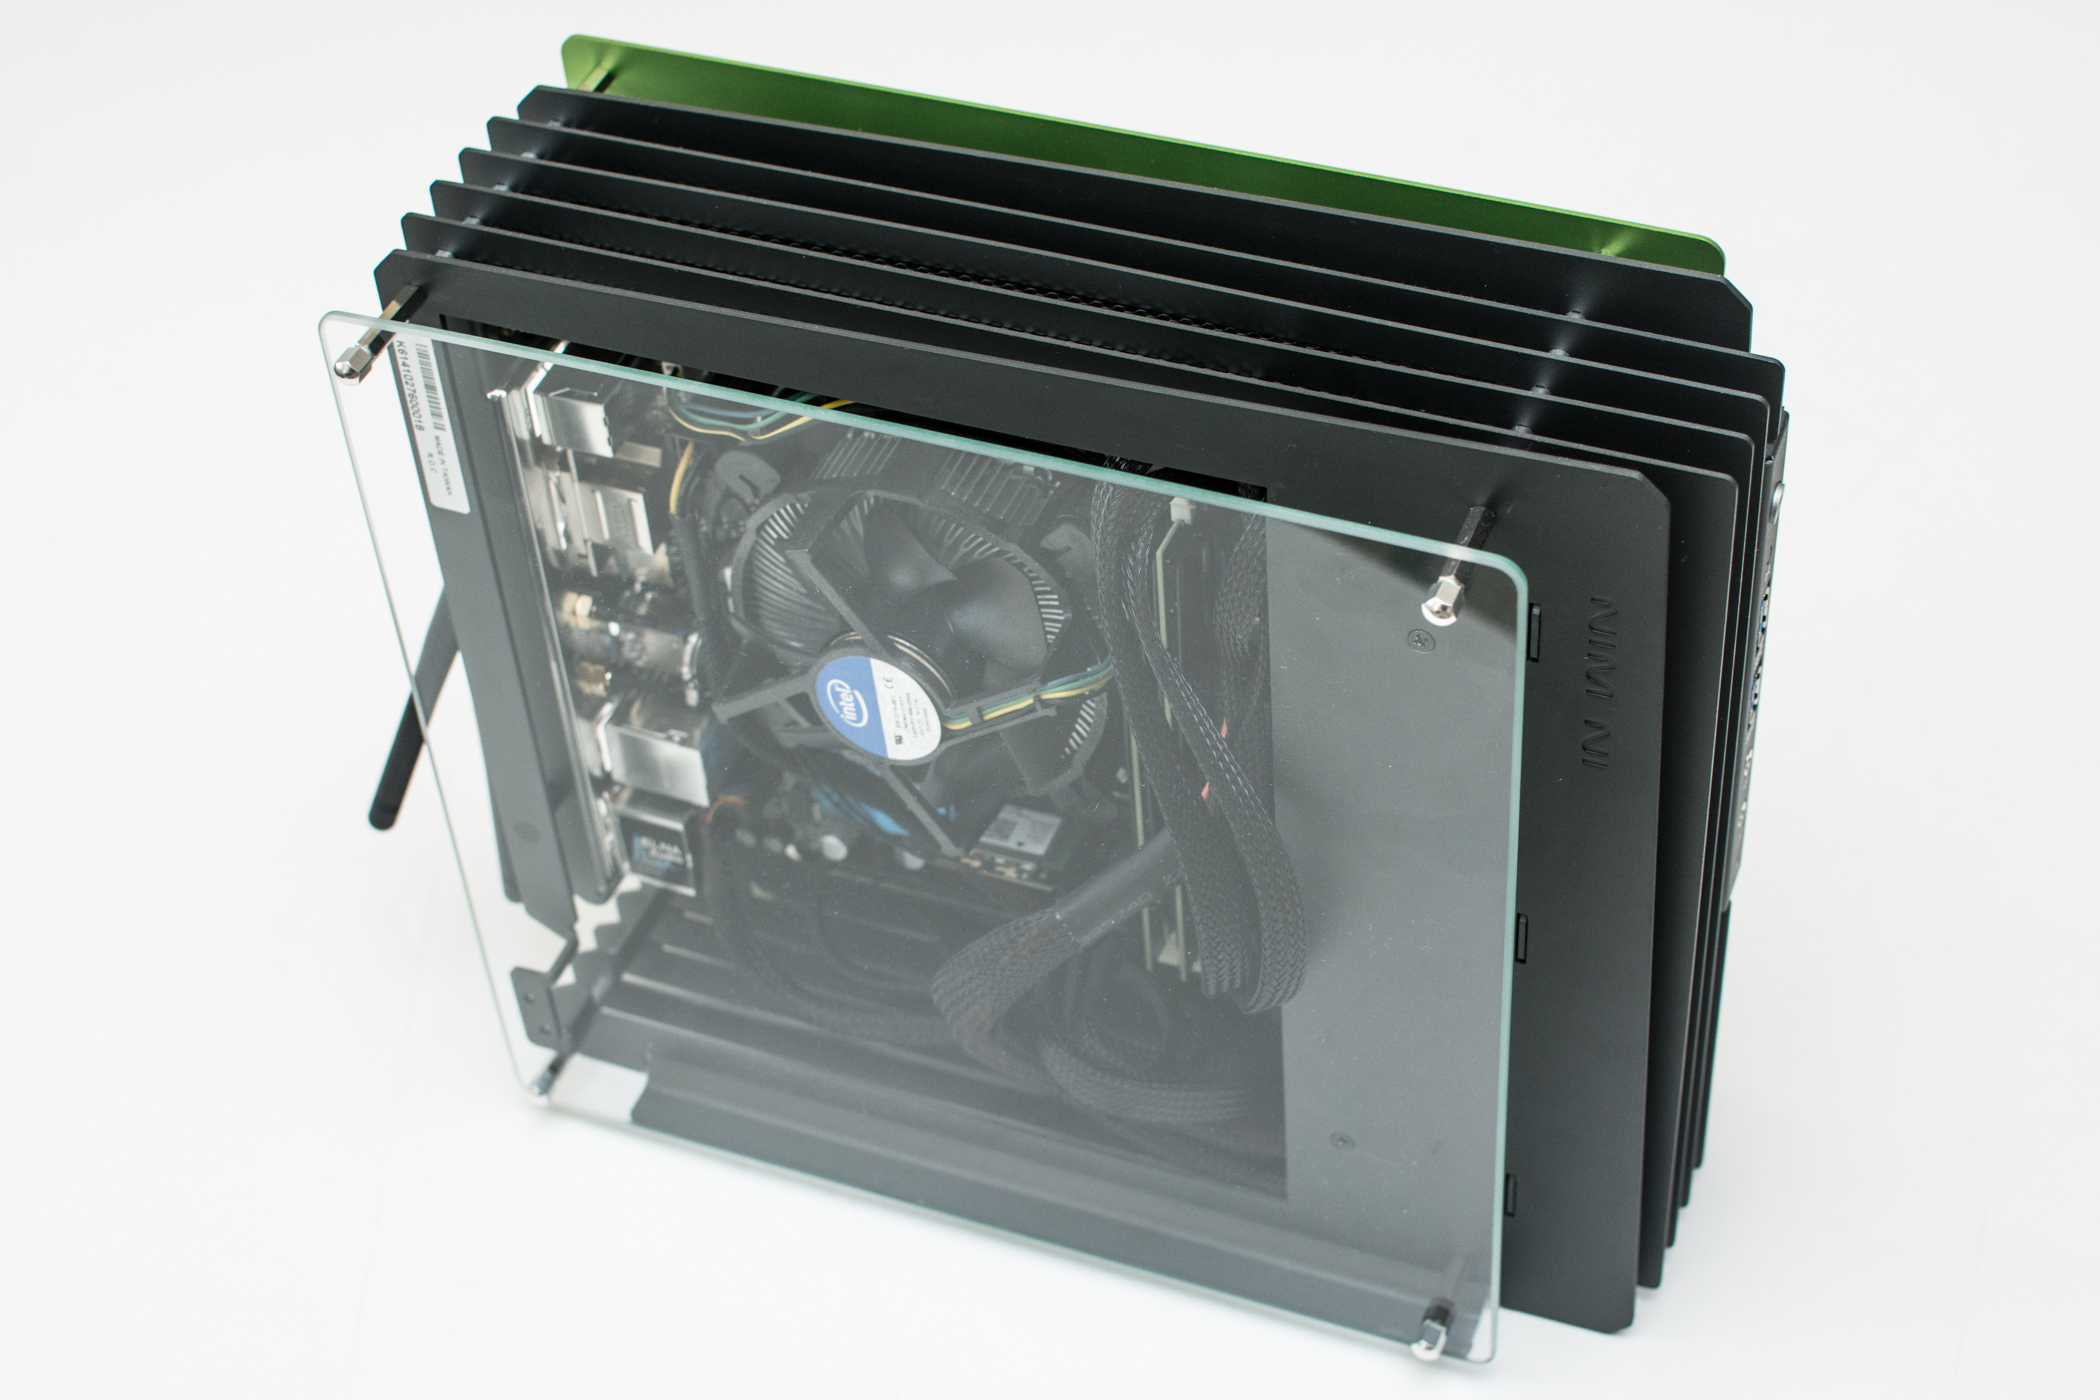
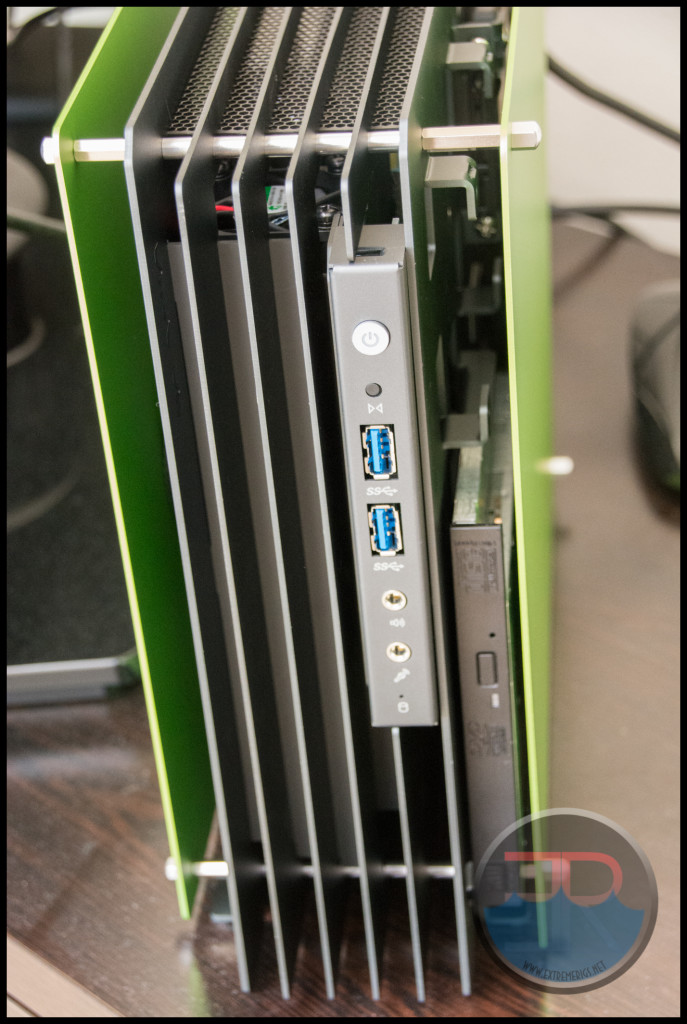 Lastly let’s see how it looks with the glass:
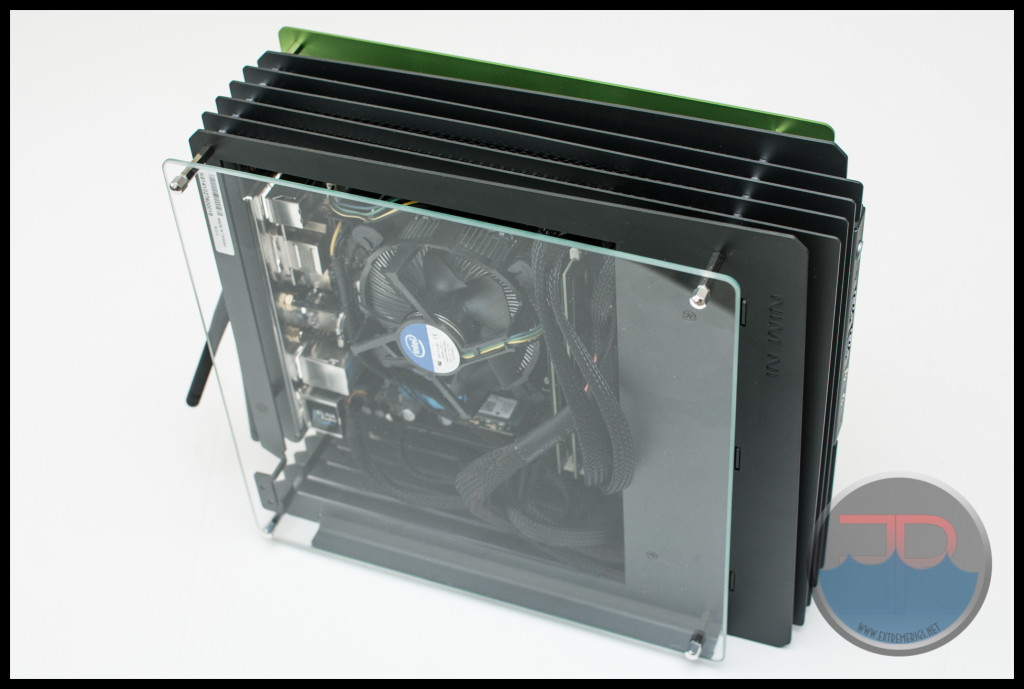 While it doesn’t look bad, the green panel in the back now looks a little random, and the lack of space to hide the multicolored cables makes it a bit unsightly!
Onwards to the summary!


