


Mounting
Let’s start with the socket 2011 mounting process. First you will need to fit the screw into the socket on the board:
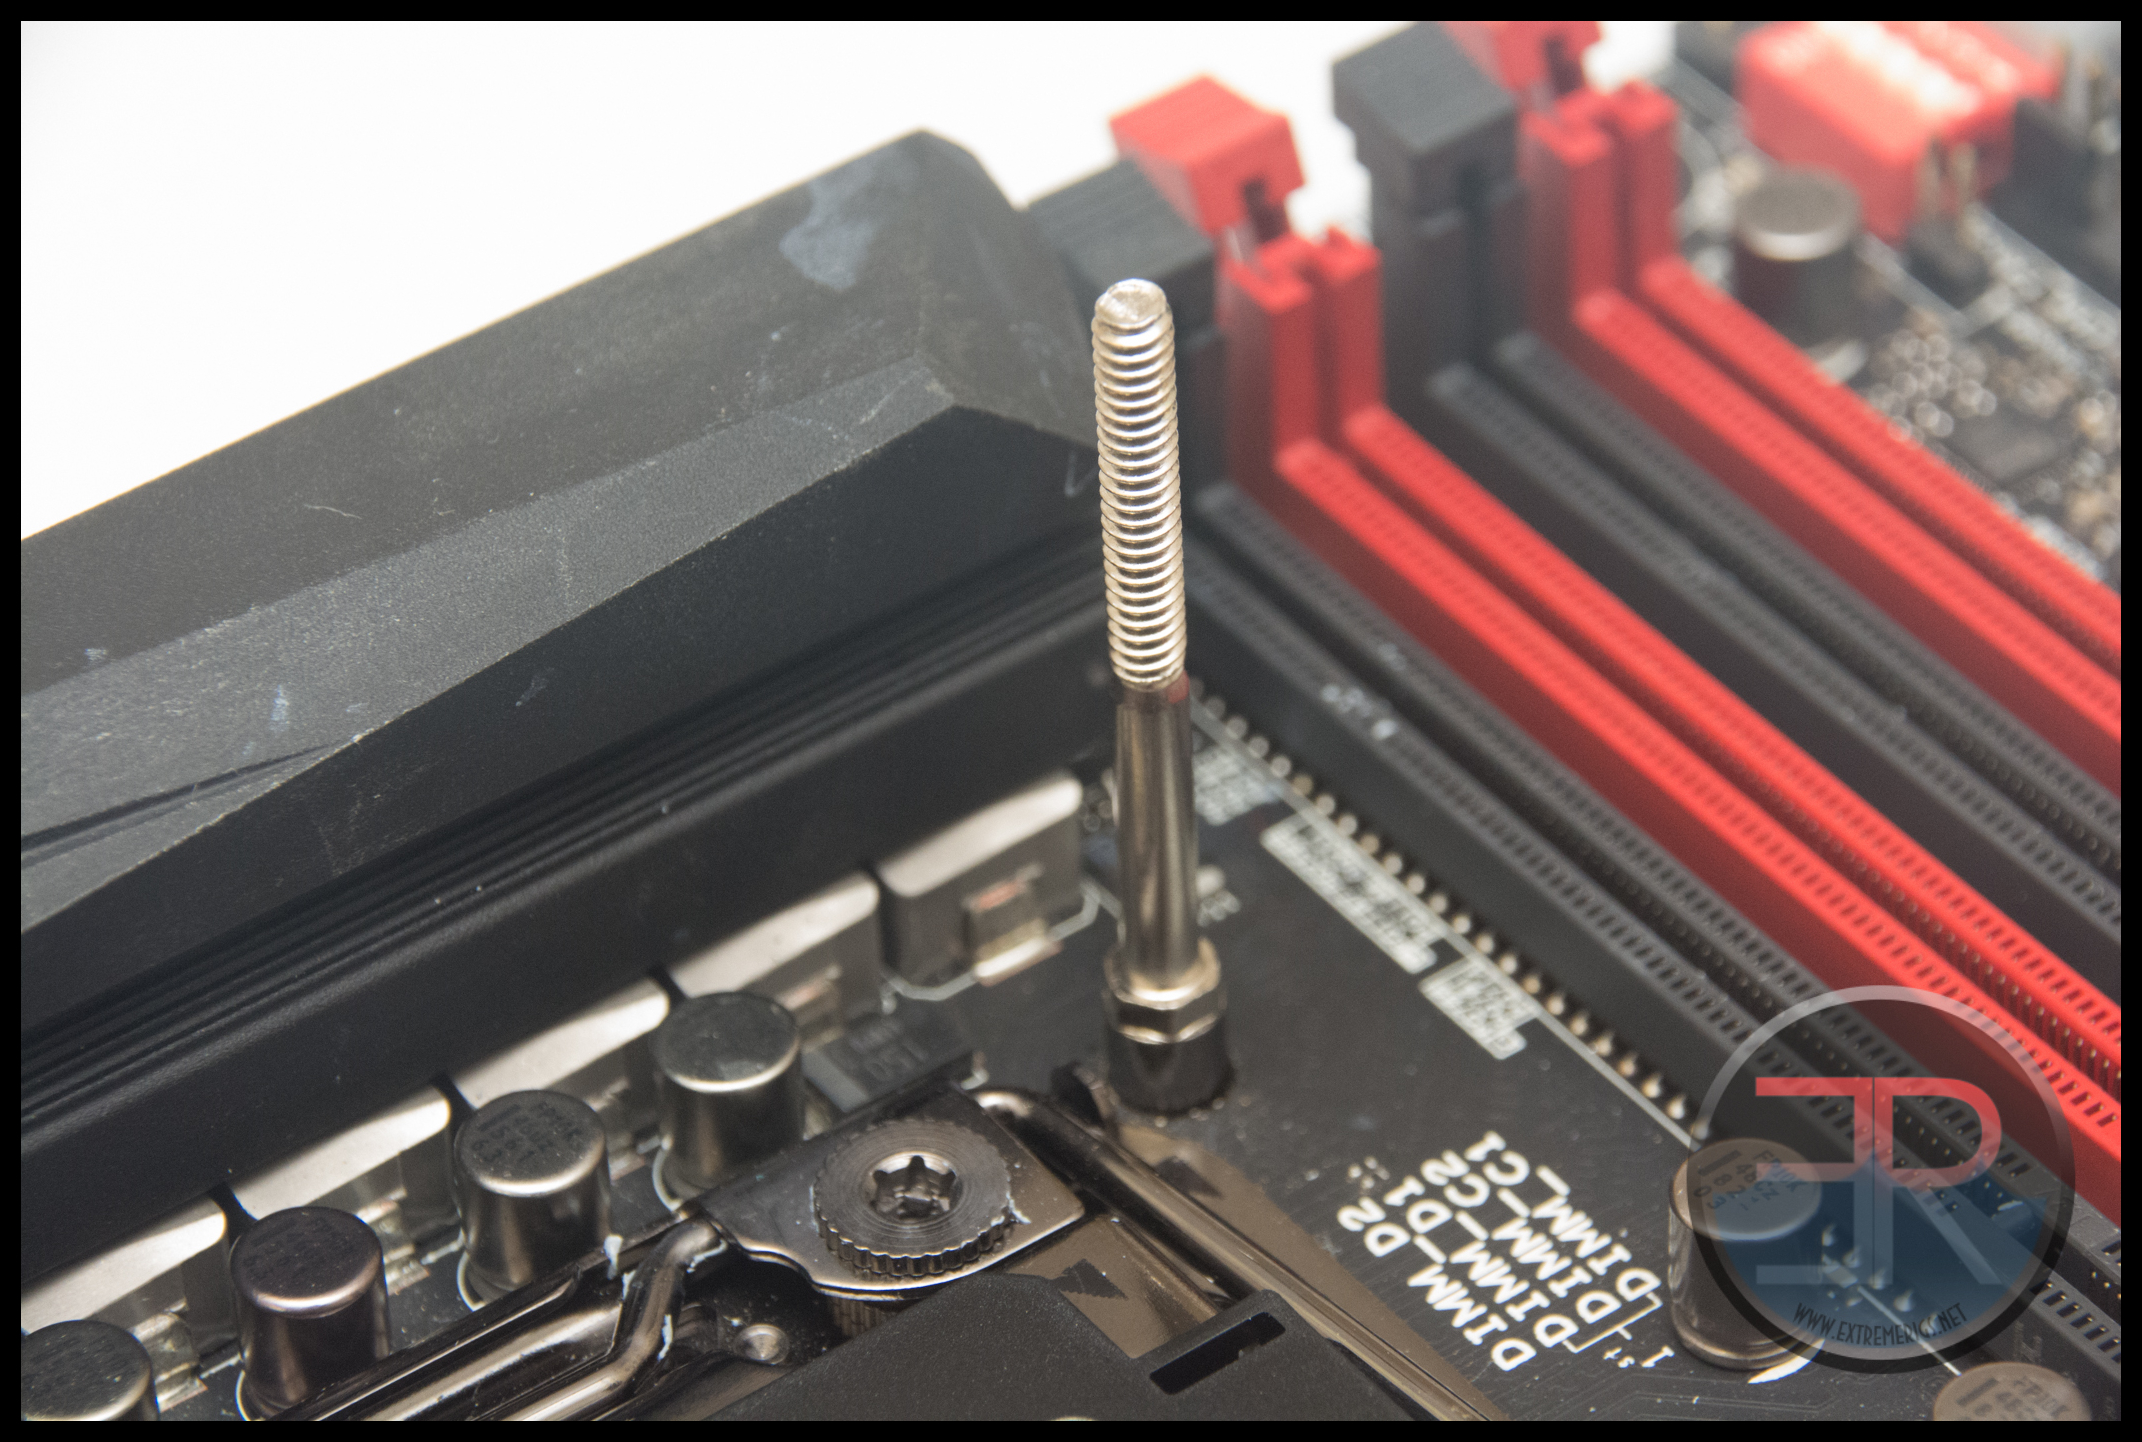
These can be tightened with a wrench if needed, but it is not necessary. Then the block can be placed on top of the CPU. Remember to remove the plastic wrapped on the base and also add TIM. X99 needs a surprising amount of TIM and while you don’t need the TIM spread to completely cover the IHS it usually does give very slightly better results if it does cover the IHS completely.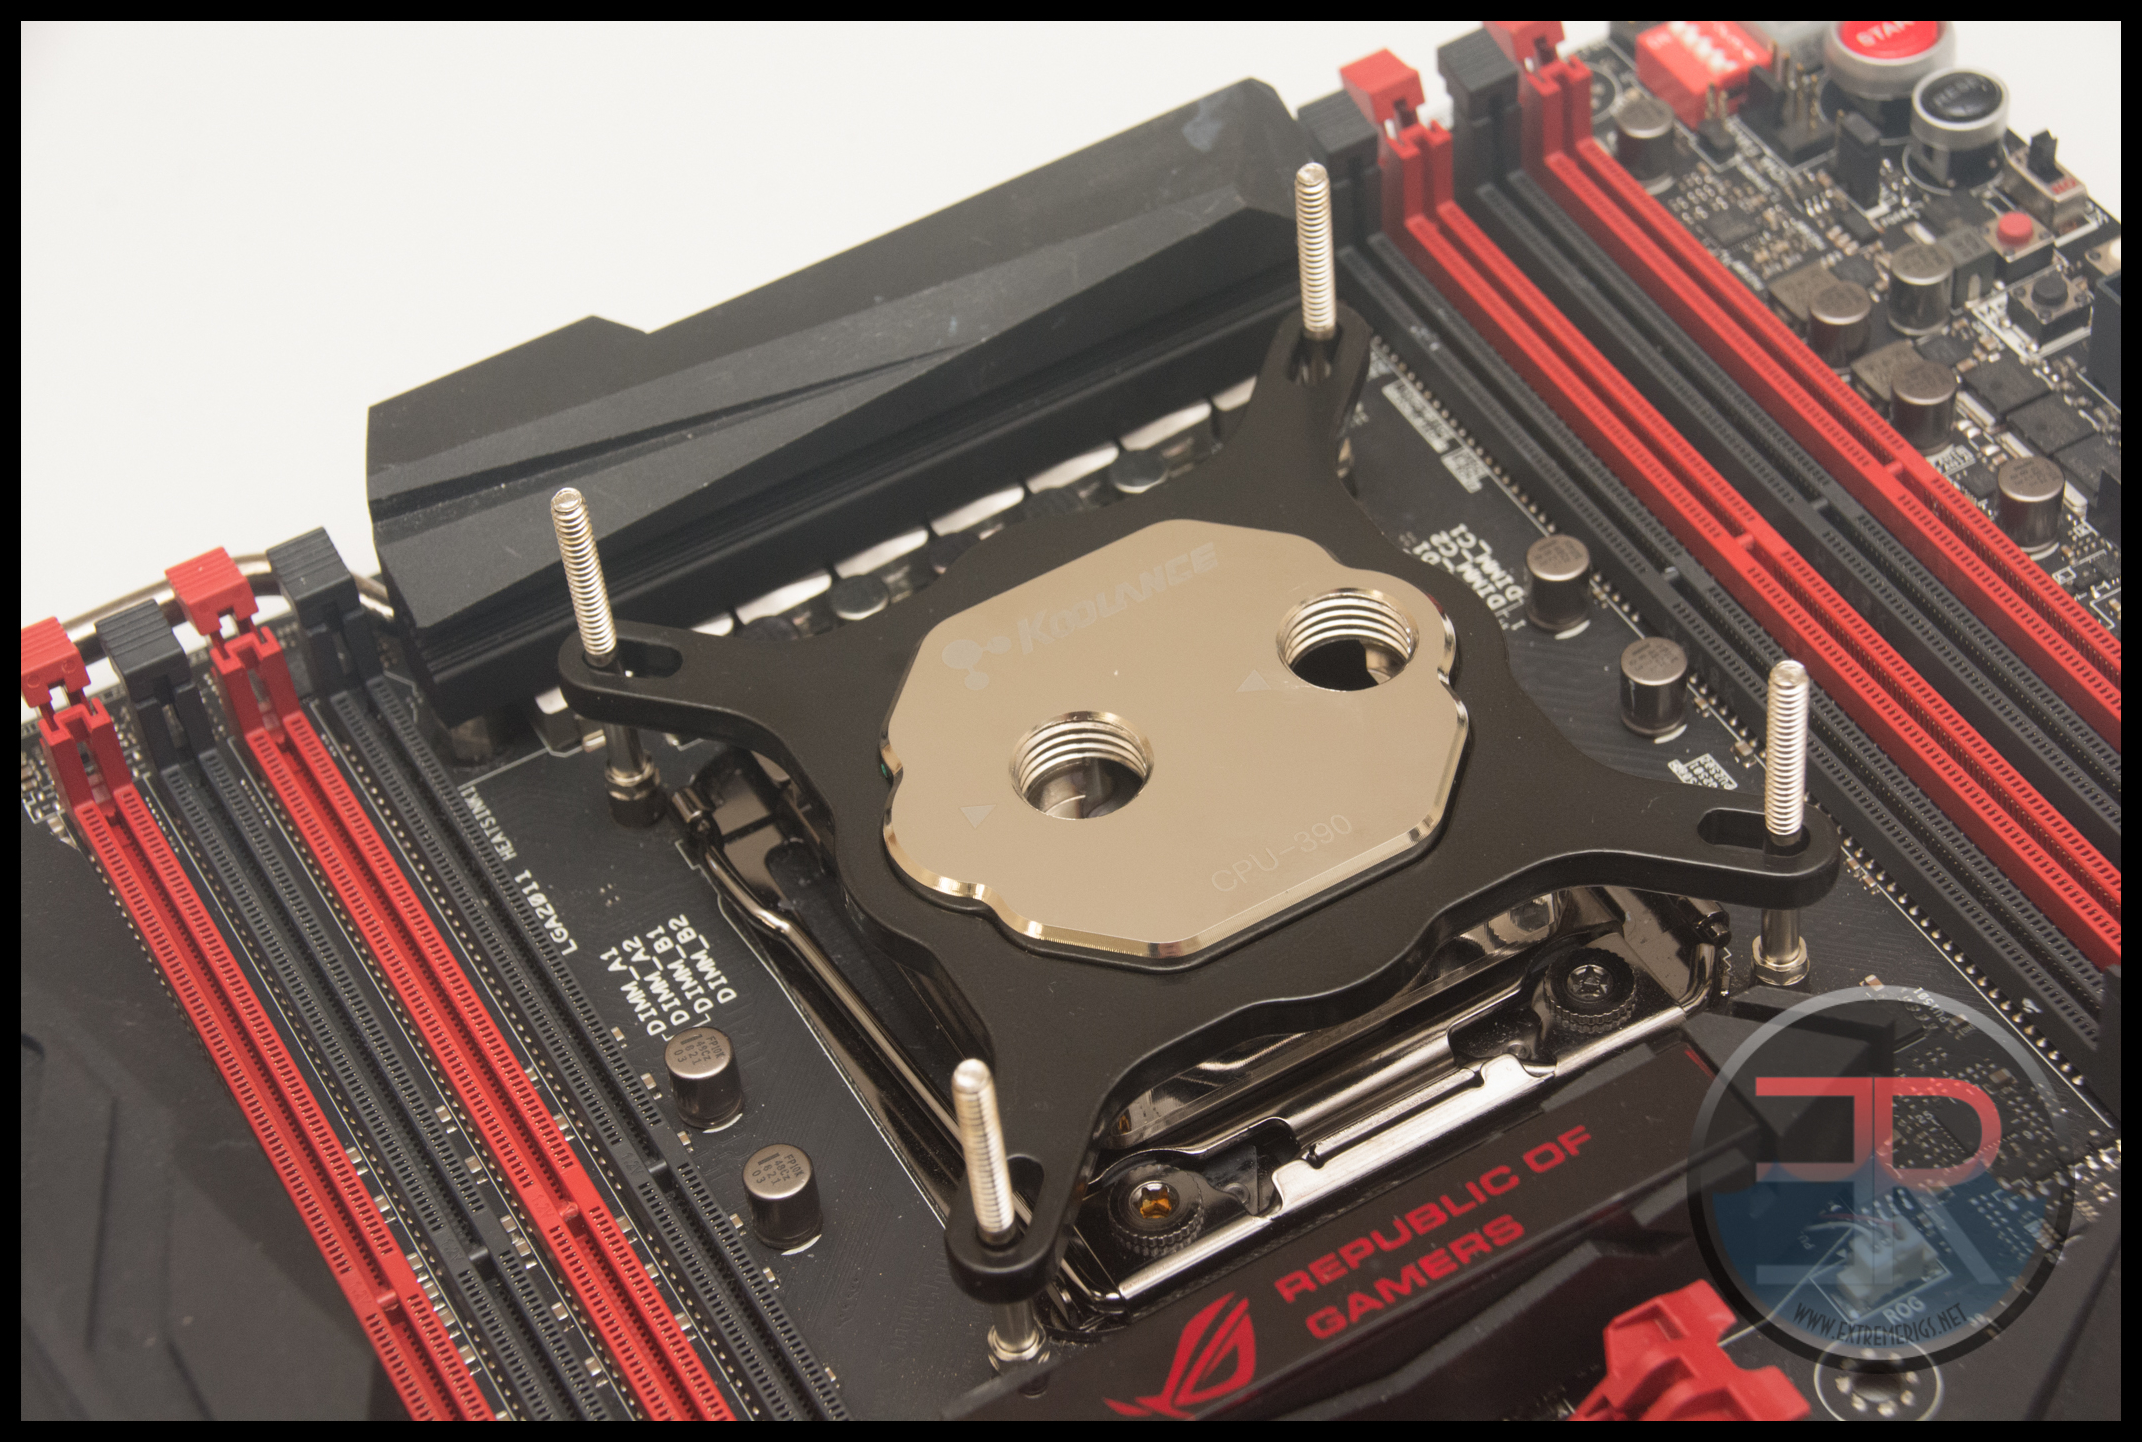
On each corner you’ll need to add a washer: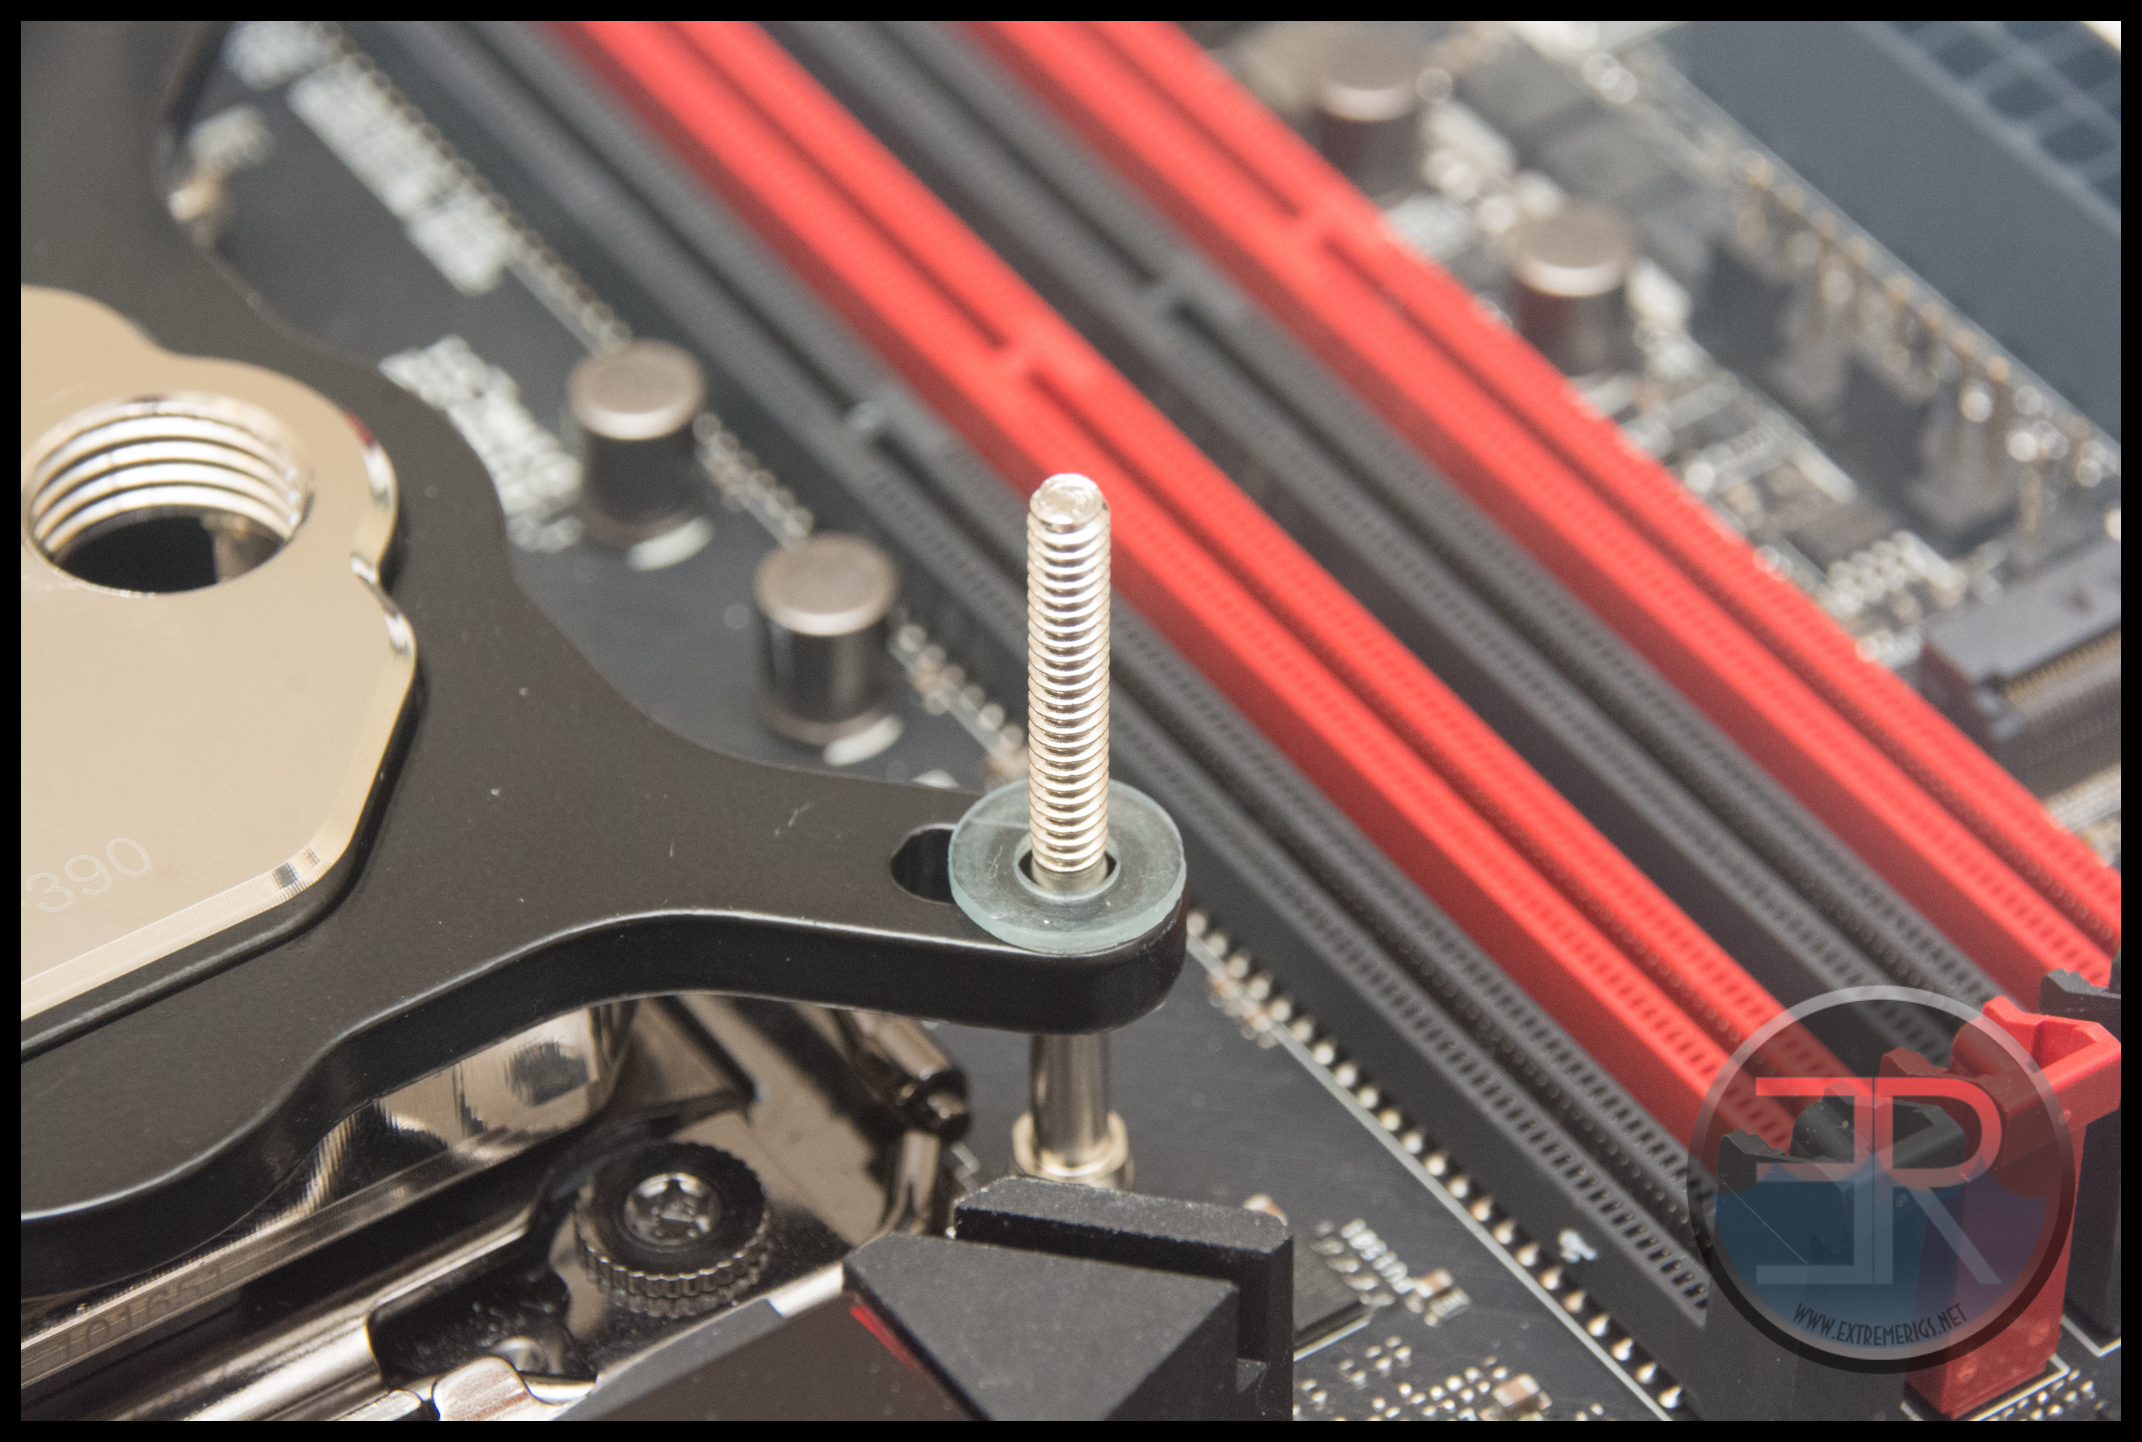
Then add the spring: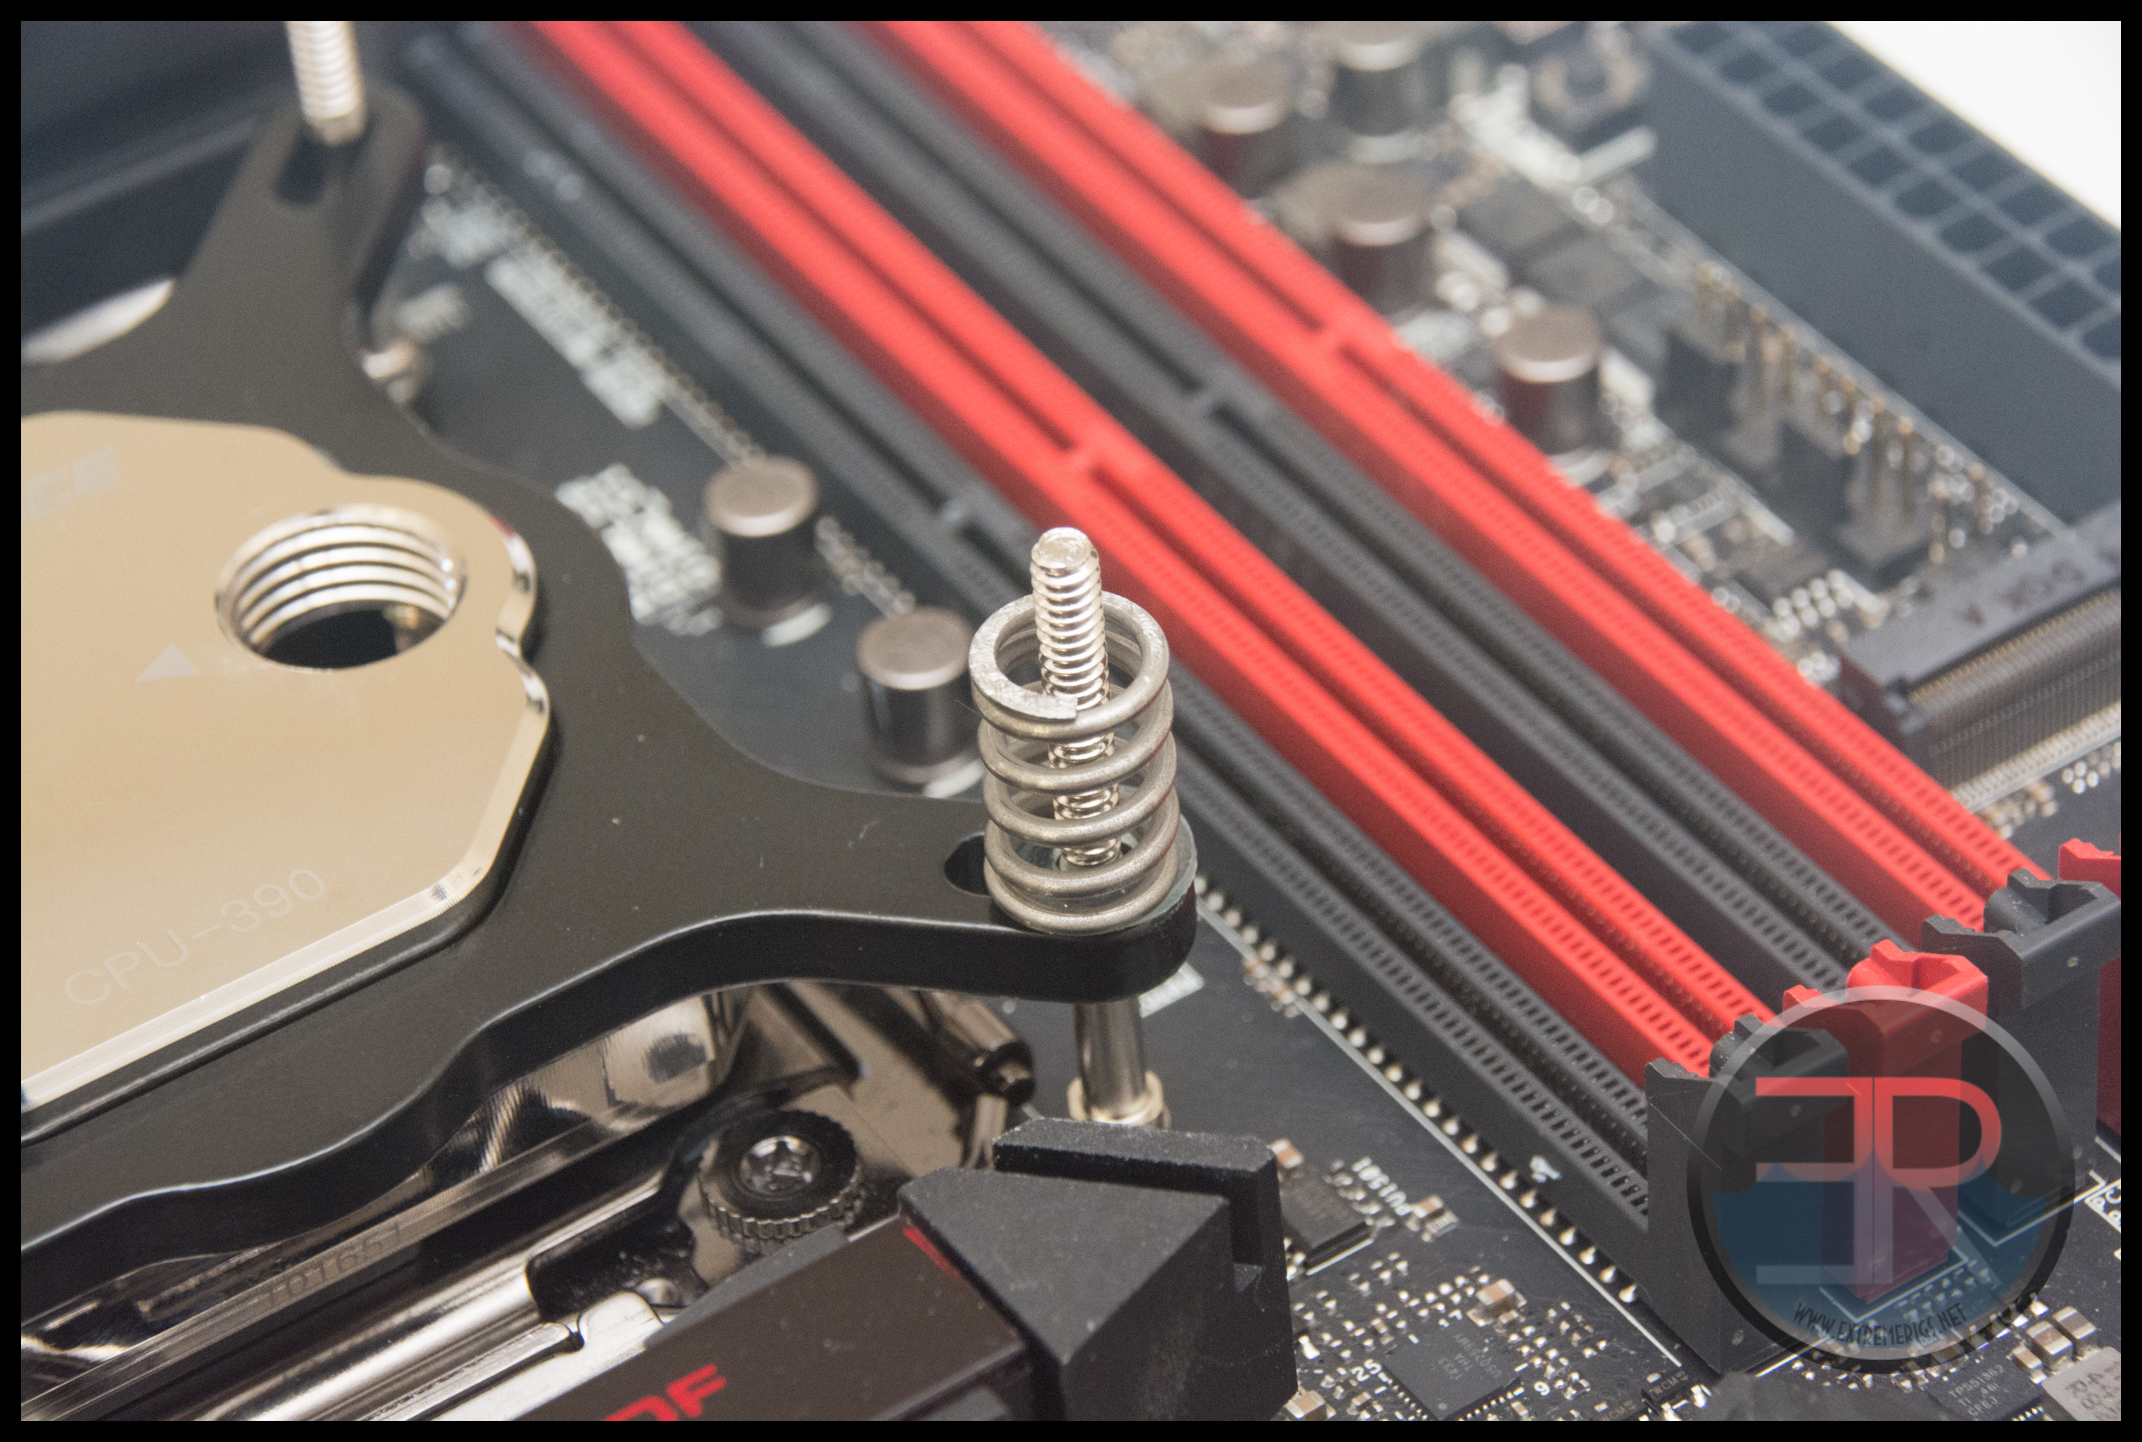
Then add the thumb nut: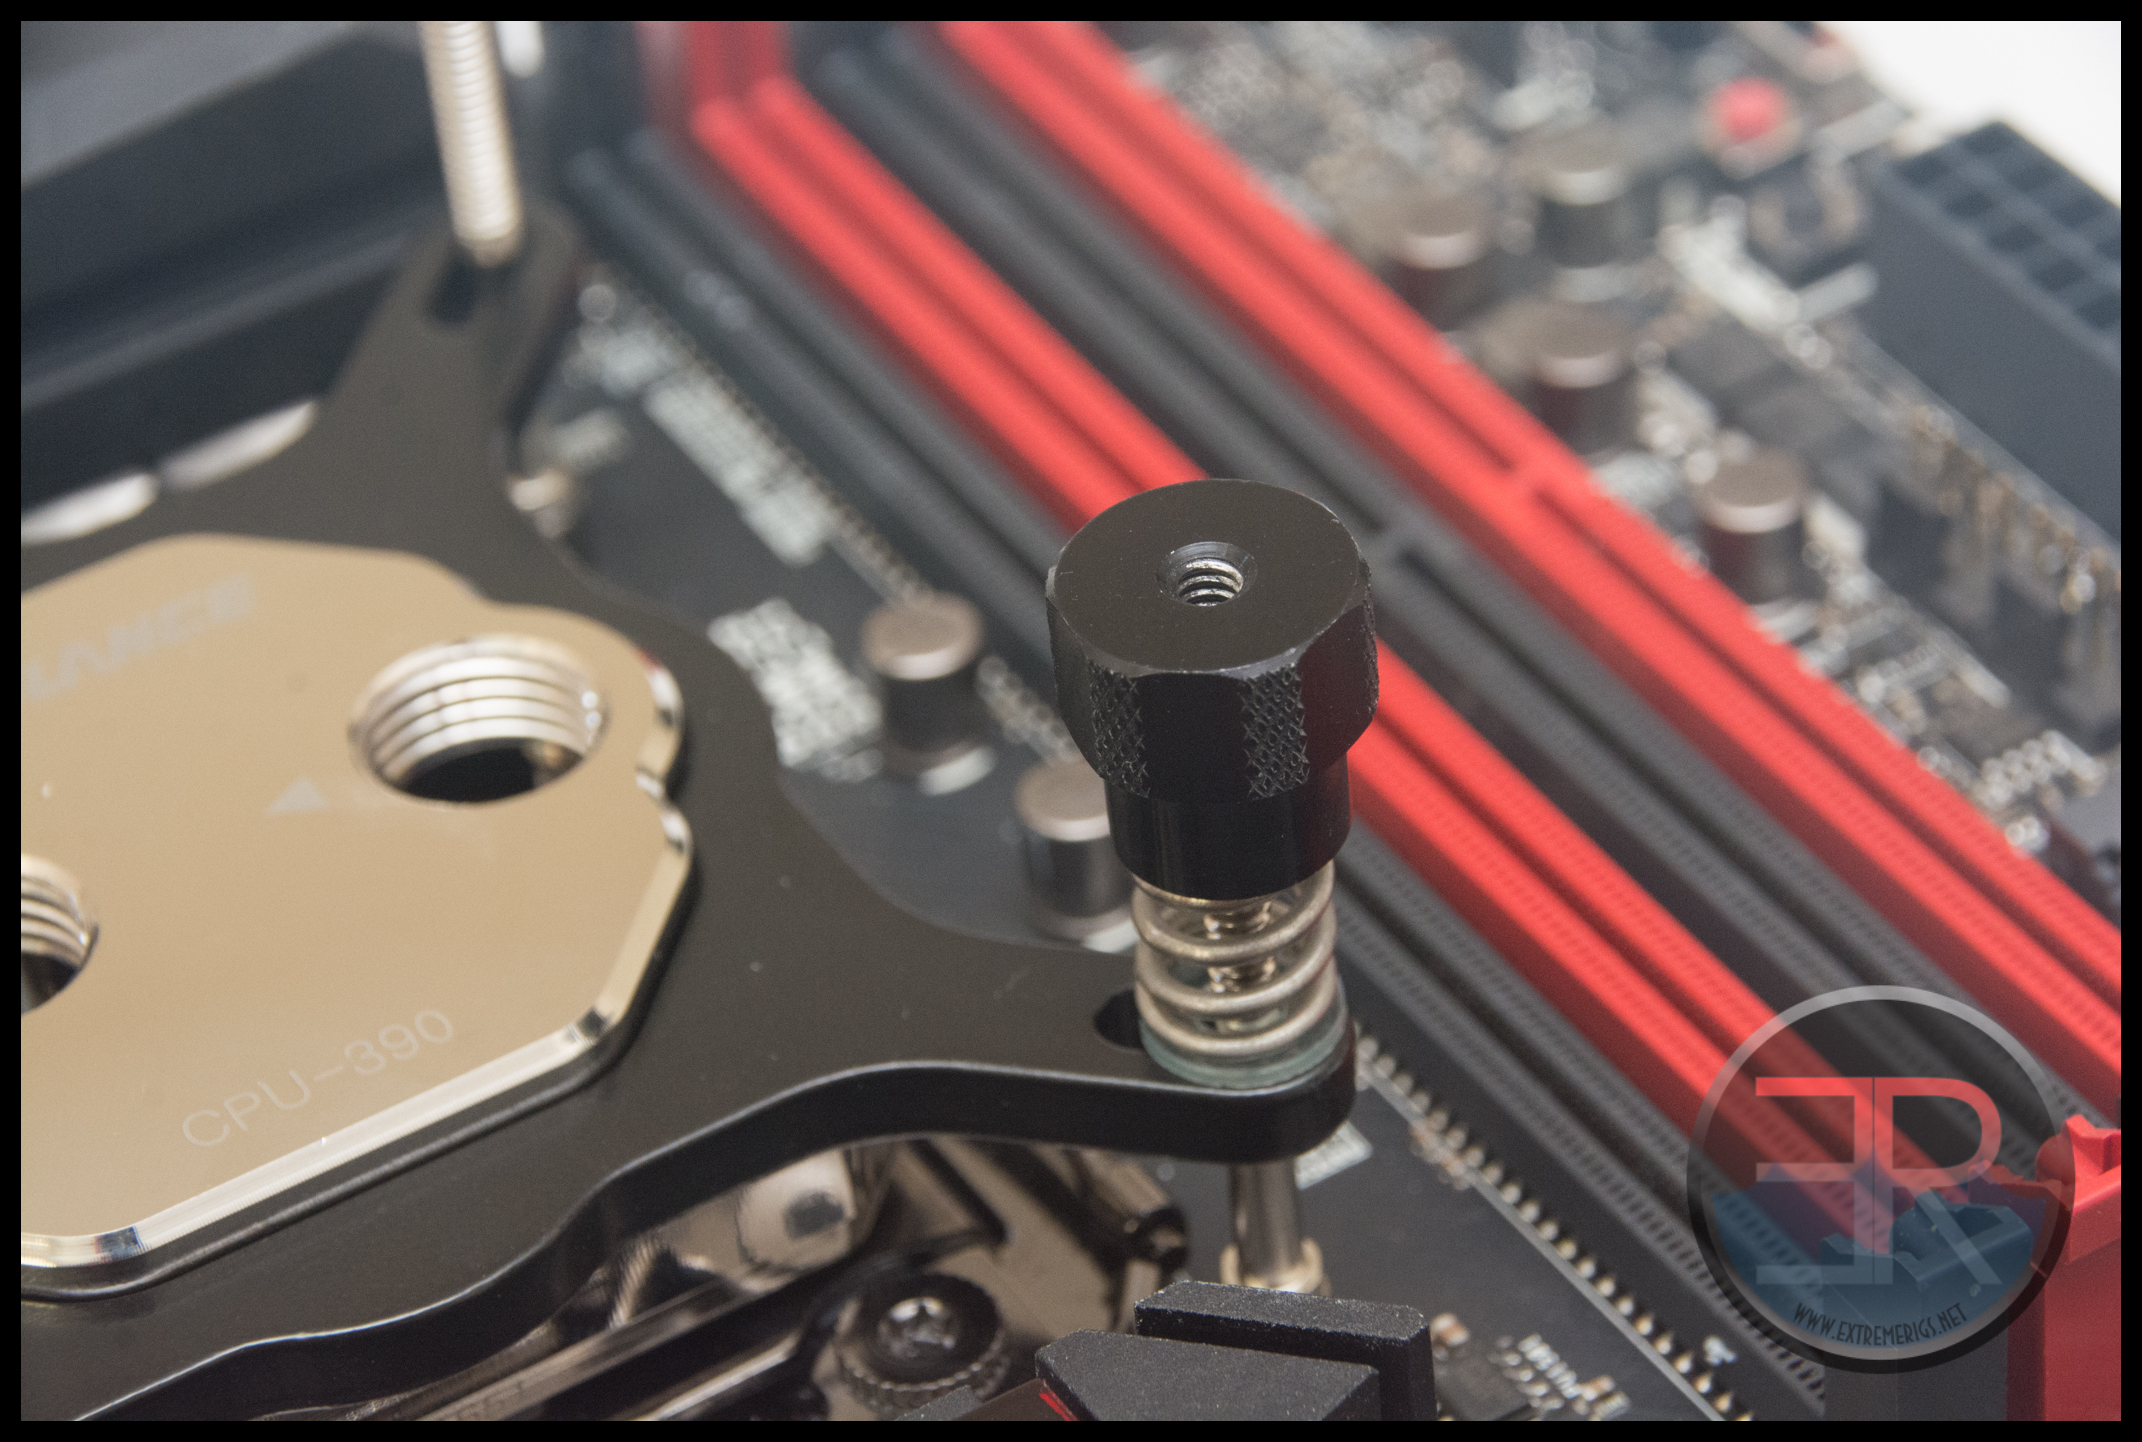
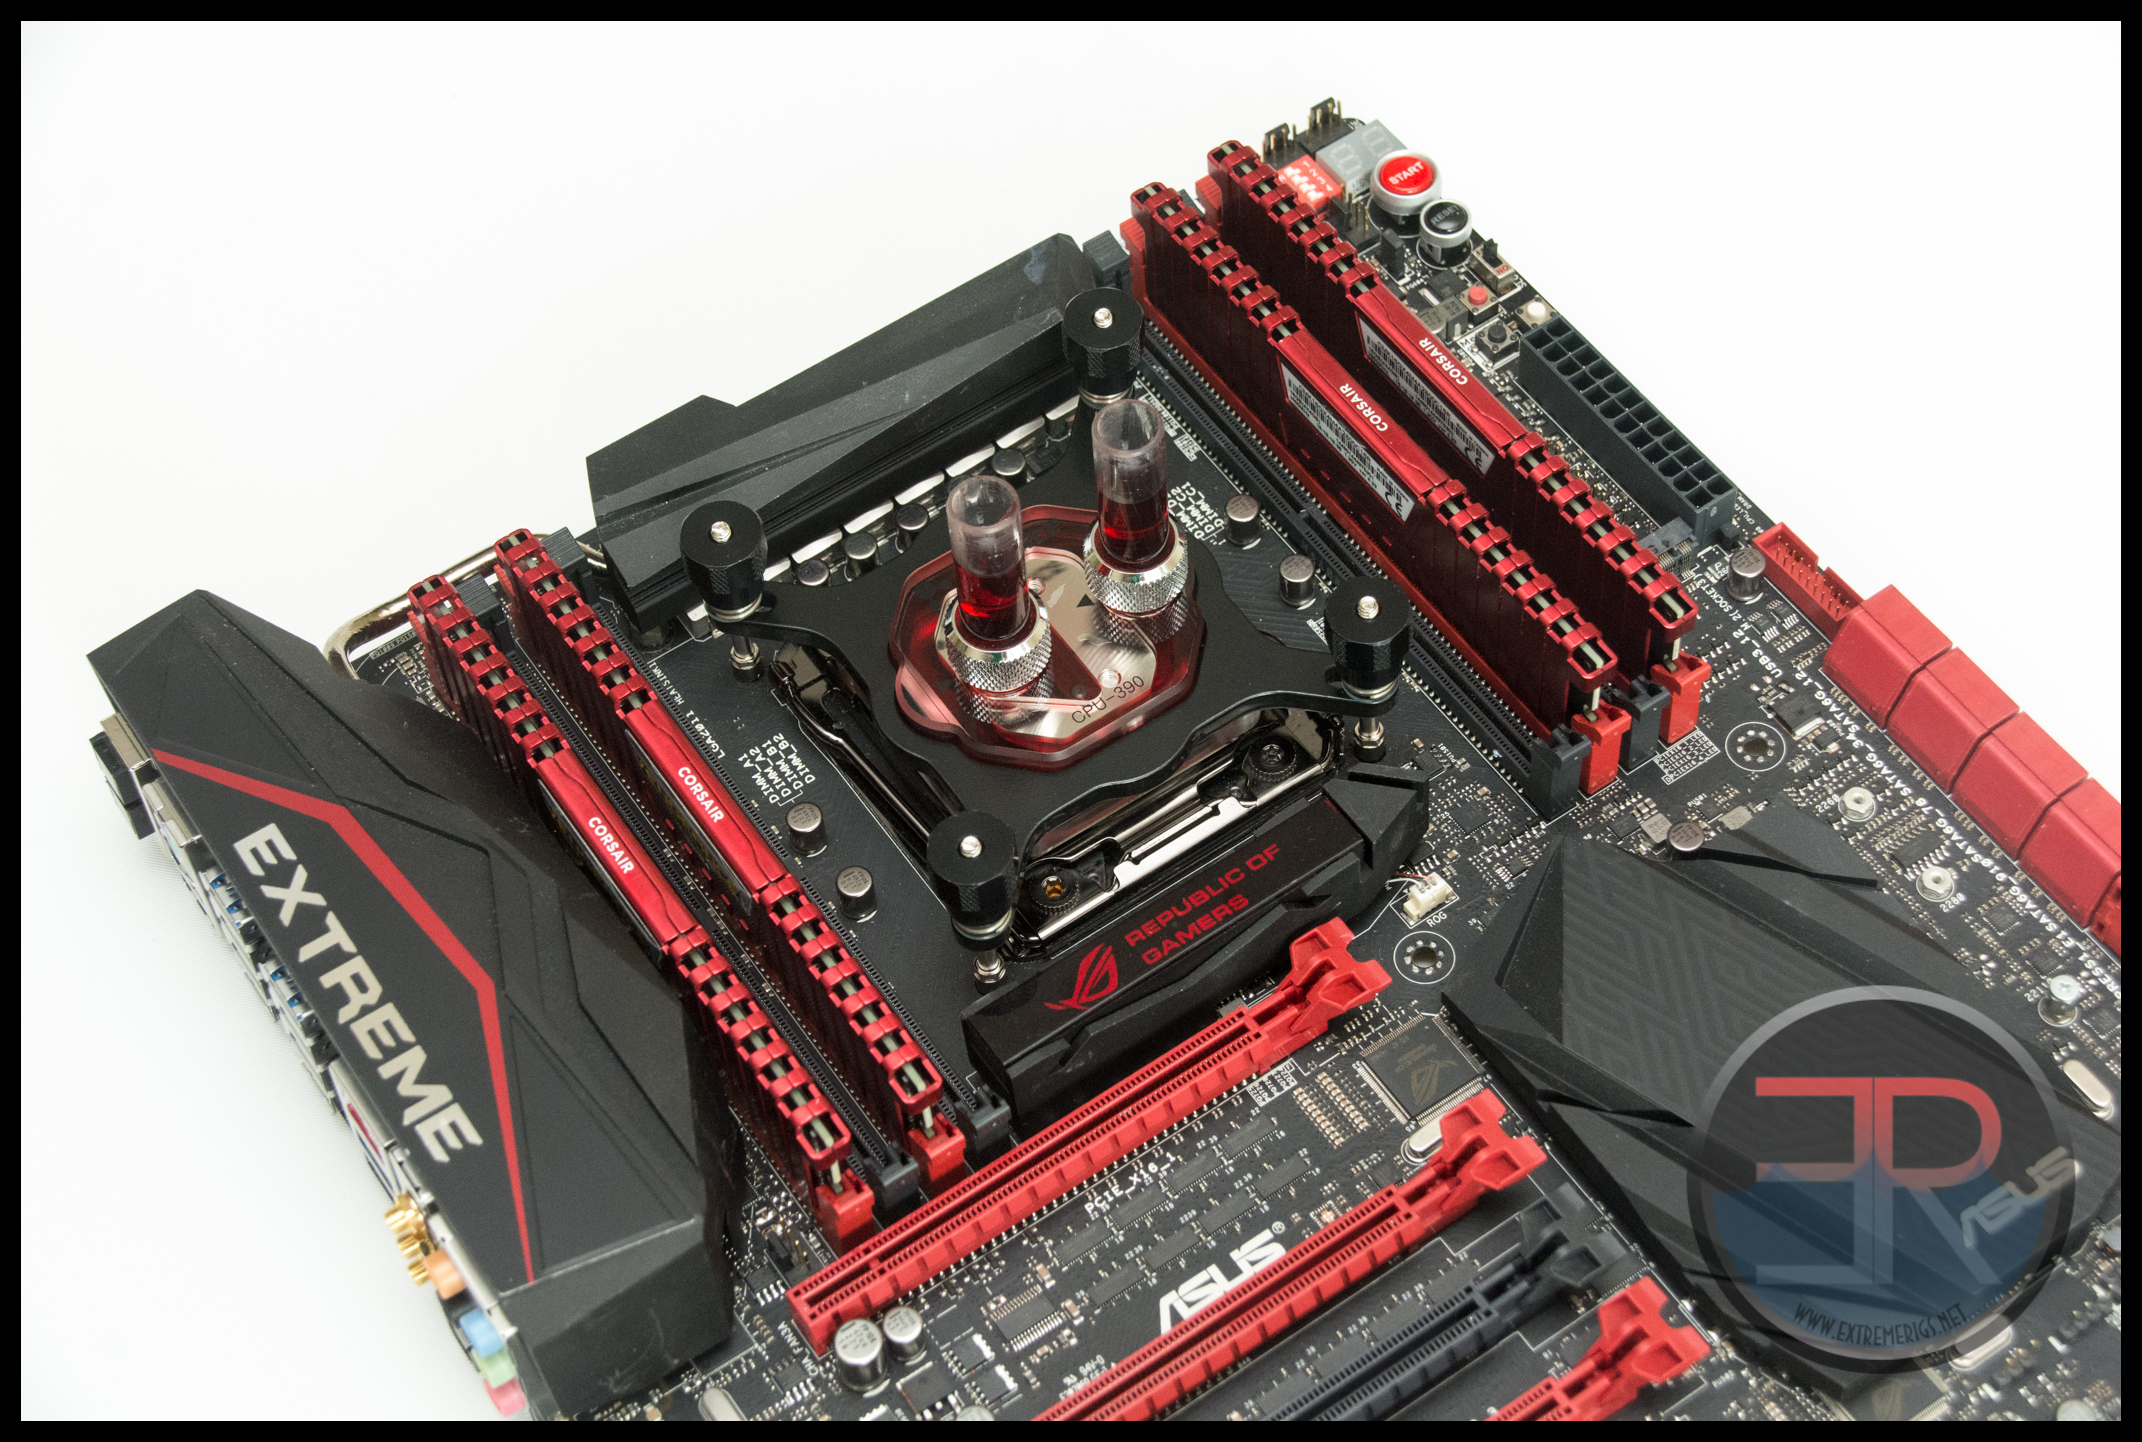
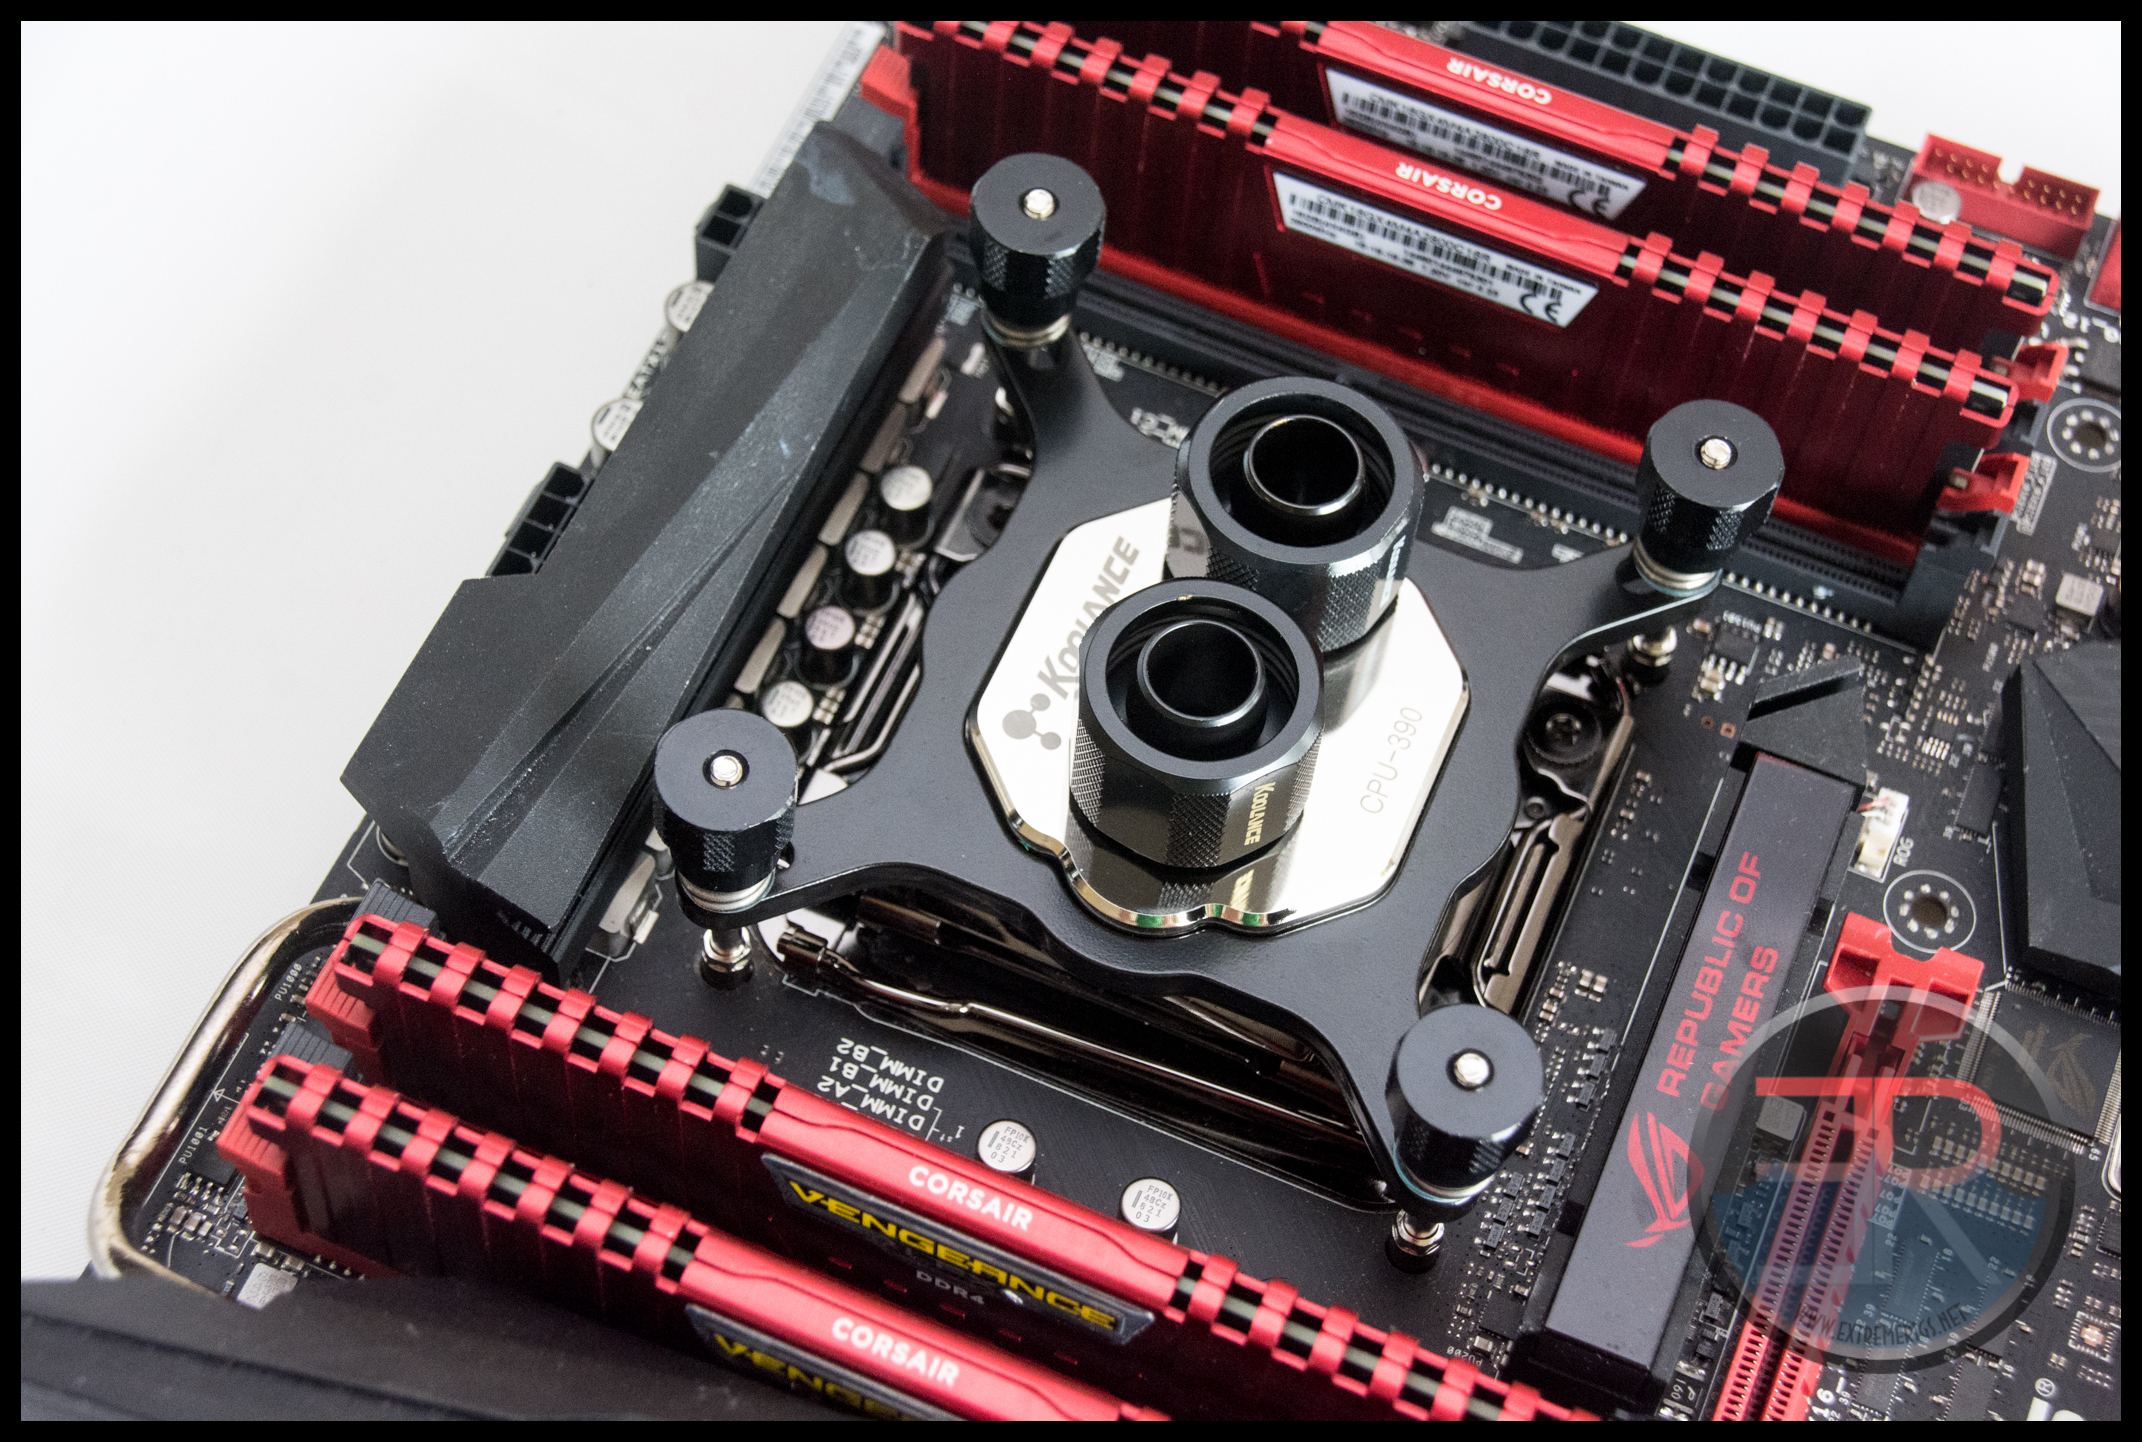
Then tighten the nuts in a cross pattern a turn or two at a time, repeating until the tension feels appropriate but not overly tight. The end result should look like this:
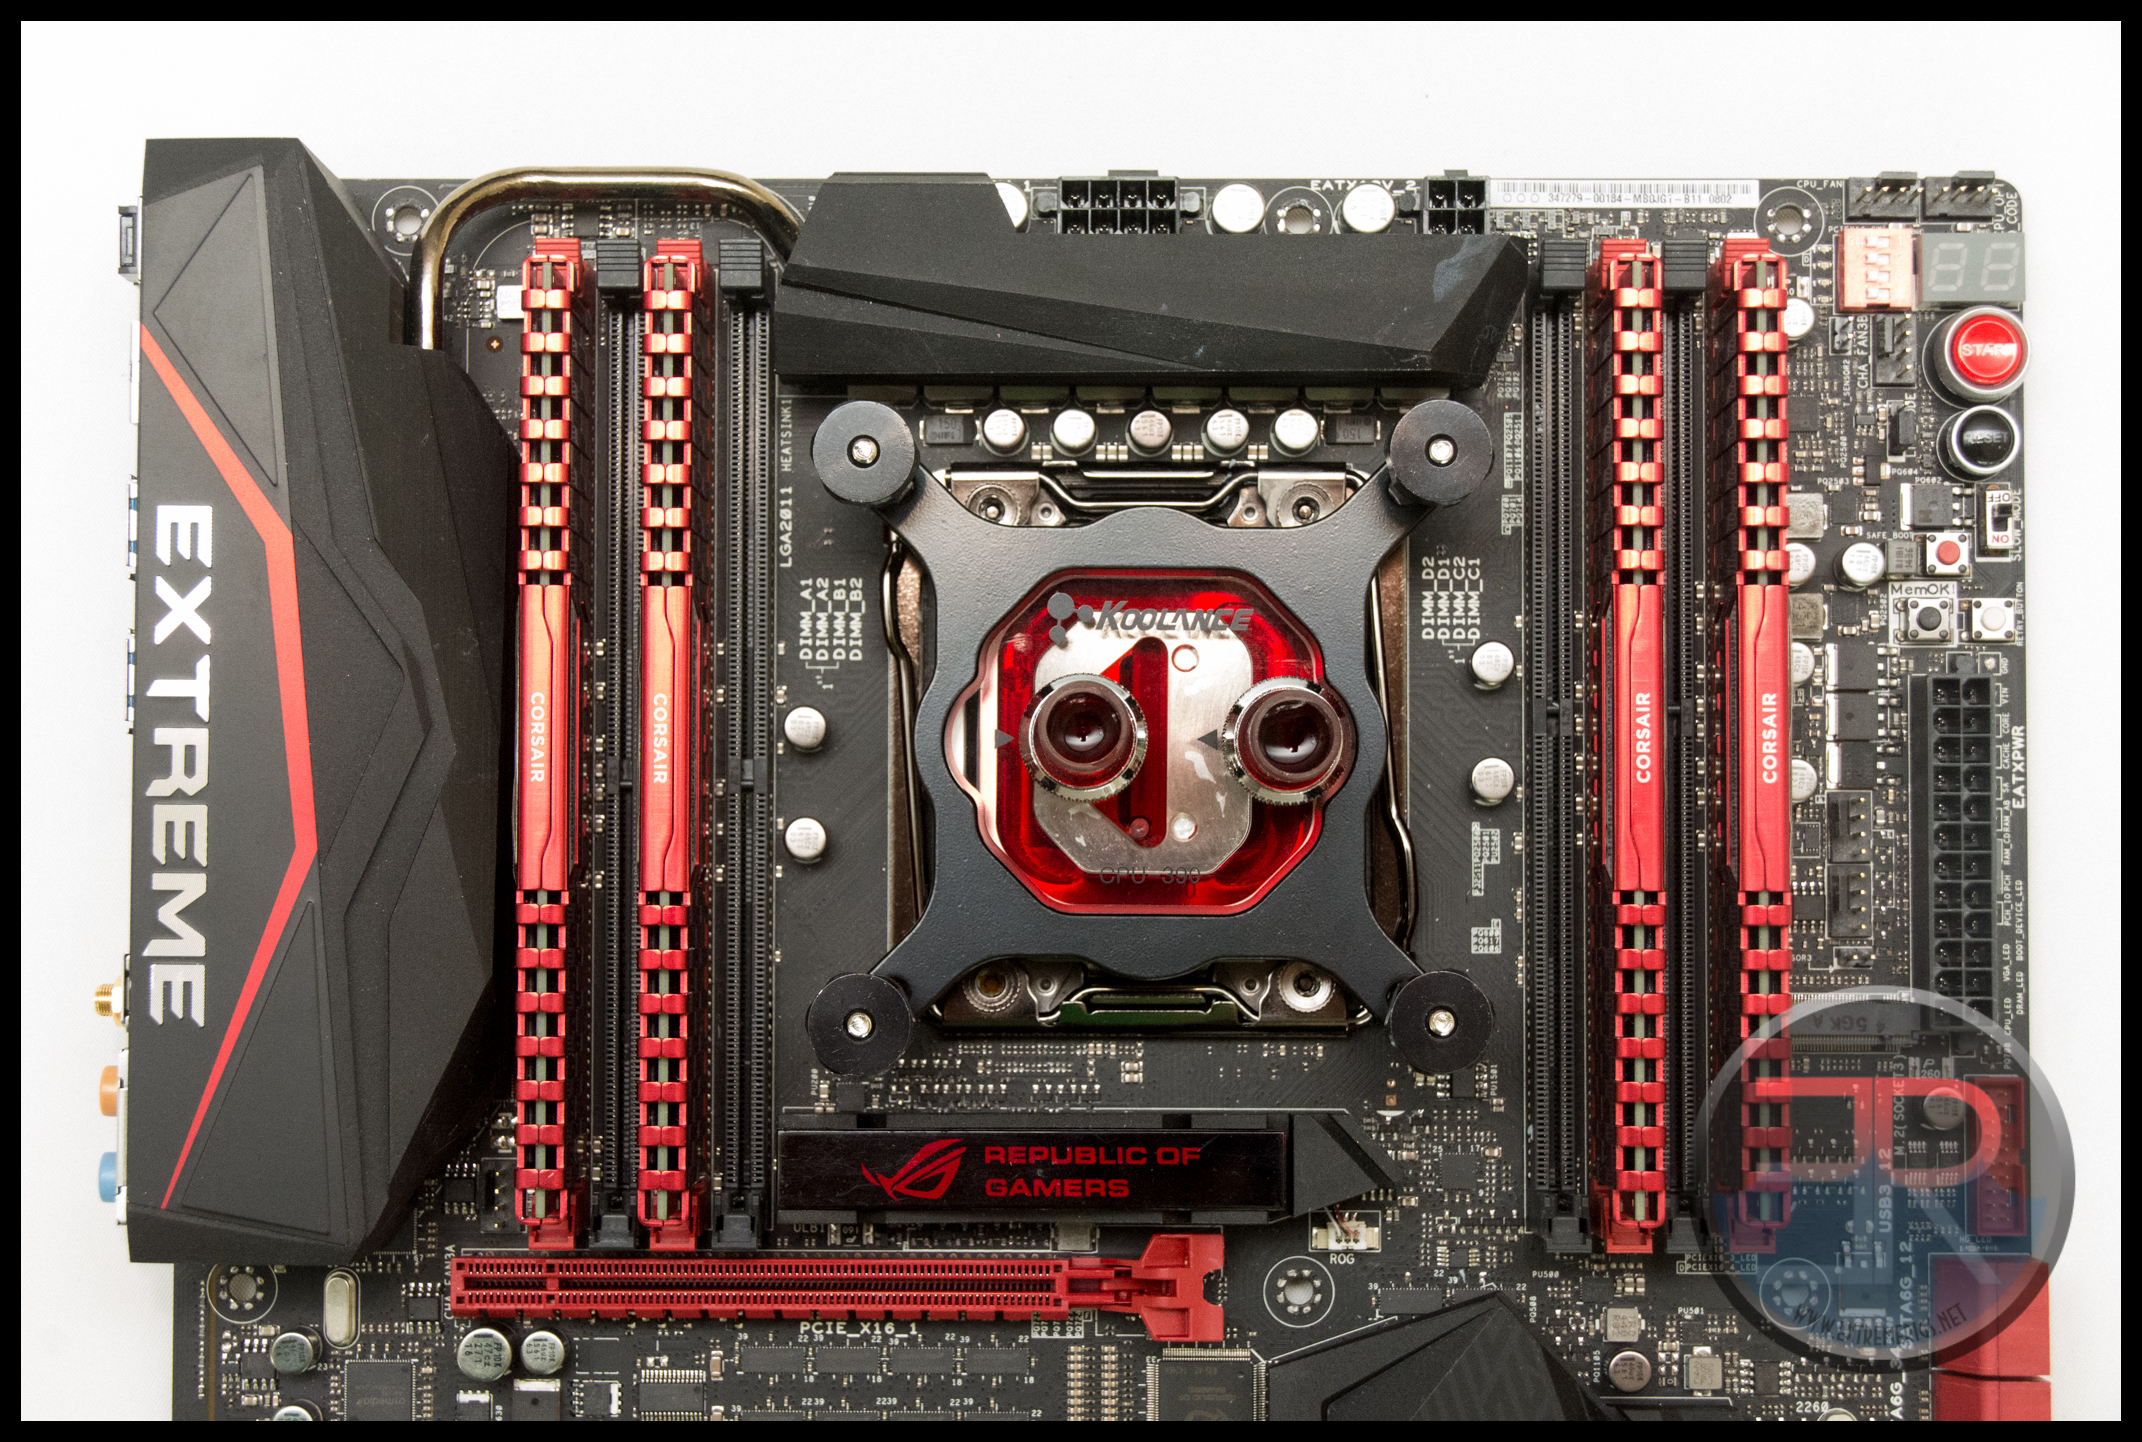
Once fitted to an X99 board then the socket is still visible beyond the mounting bracket. This is the downside to a small elegant block and bracket.
Also distracting are the thumb nuts when coupled with the silver screws. We had hoped Koolance would improve these from the CPU-380 because we find that the screw thread coming through the centre of the nut is more ugly than some of the competition’s designs. The advantage of course is that you can fine tune the pressure more than a block where the thumb nuts will bottom out and prevent you from applying too much pressure.
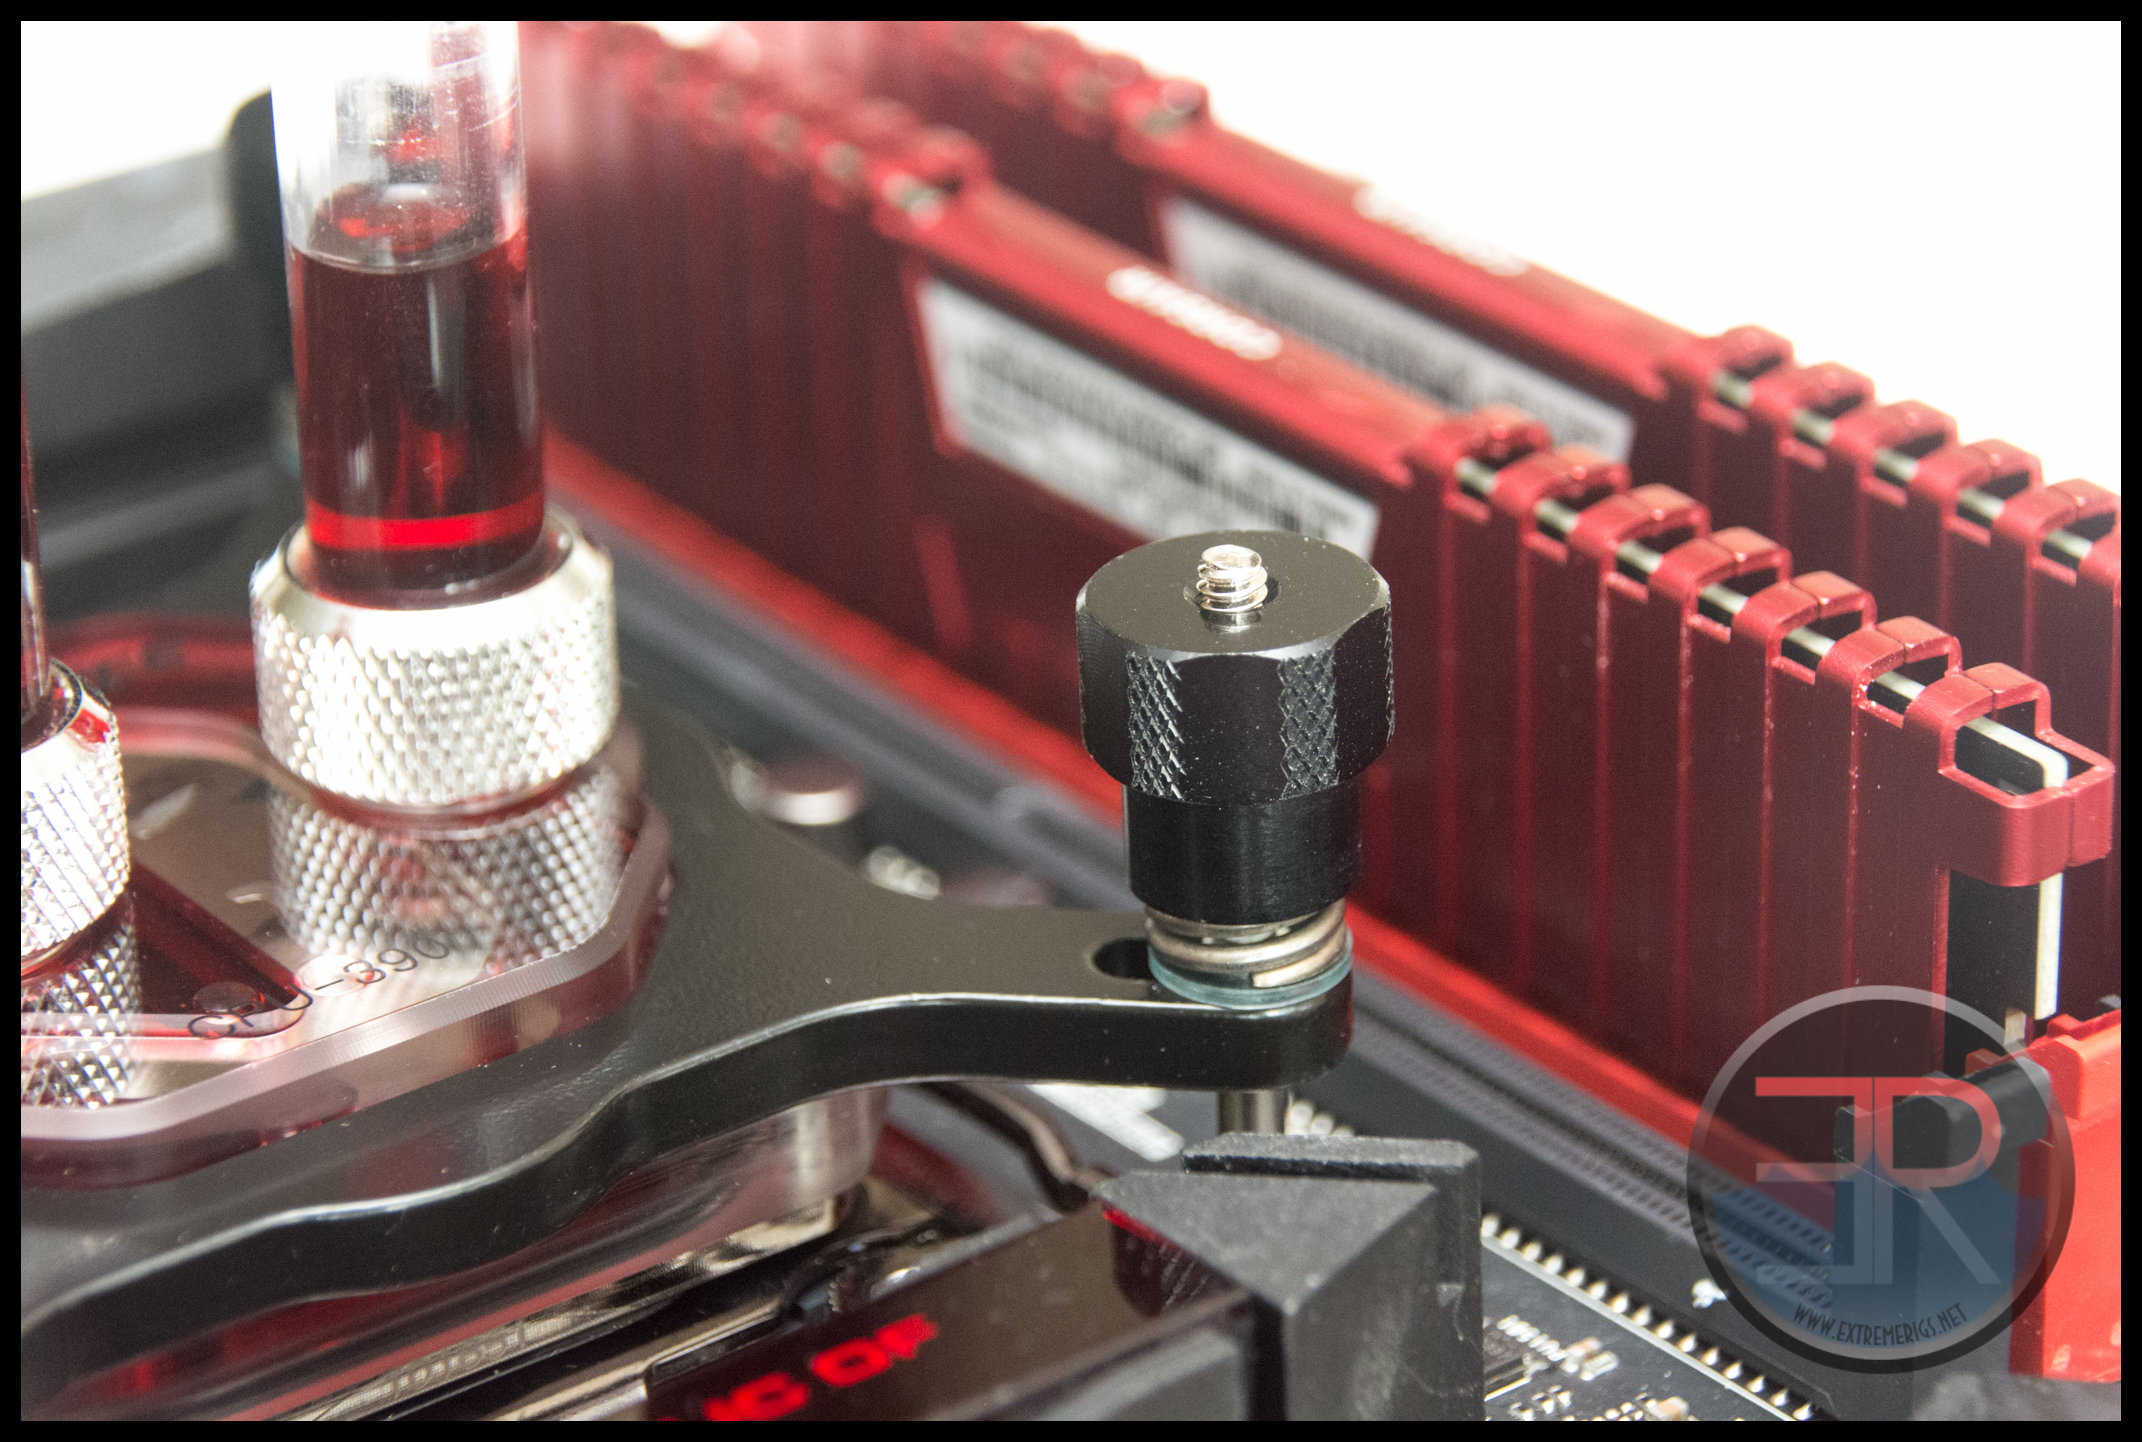
However if you tighten enough that the screw head shows through then that just looks ugly. We found results were far better on X99 when the nuts were tightened enough to poke through the thumb nut. In other words we believe that it would look better if Koolance shaved 5mm off of these screws.
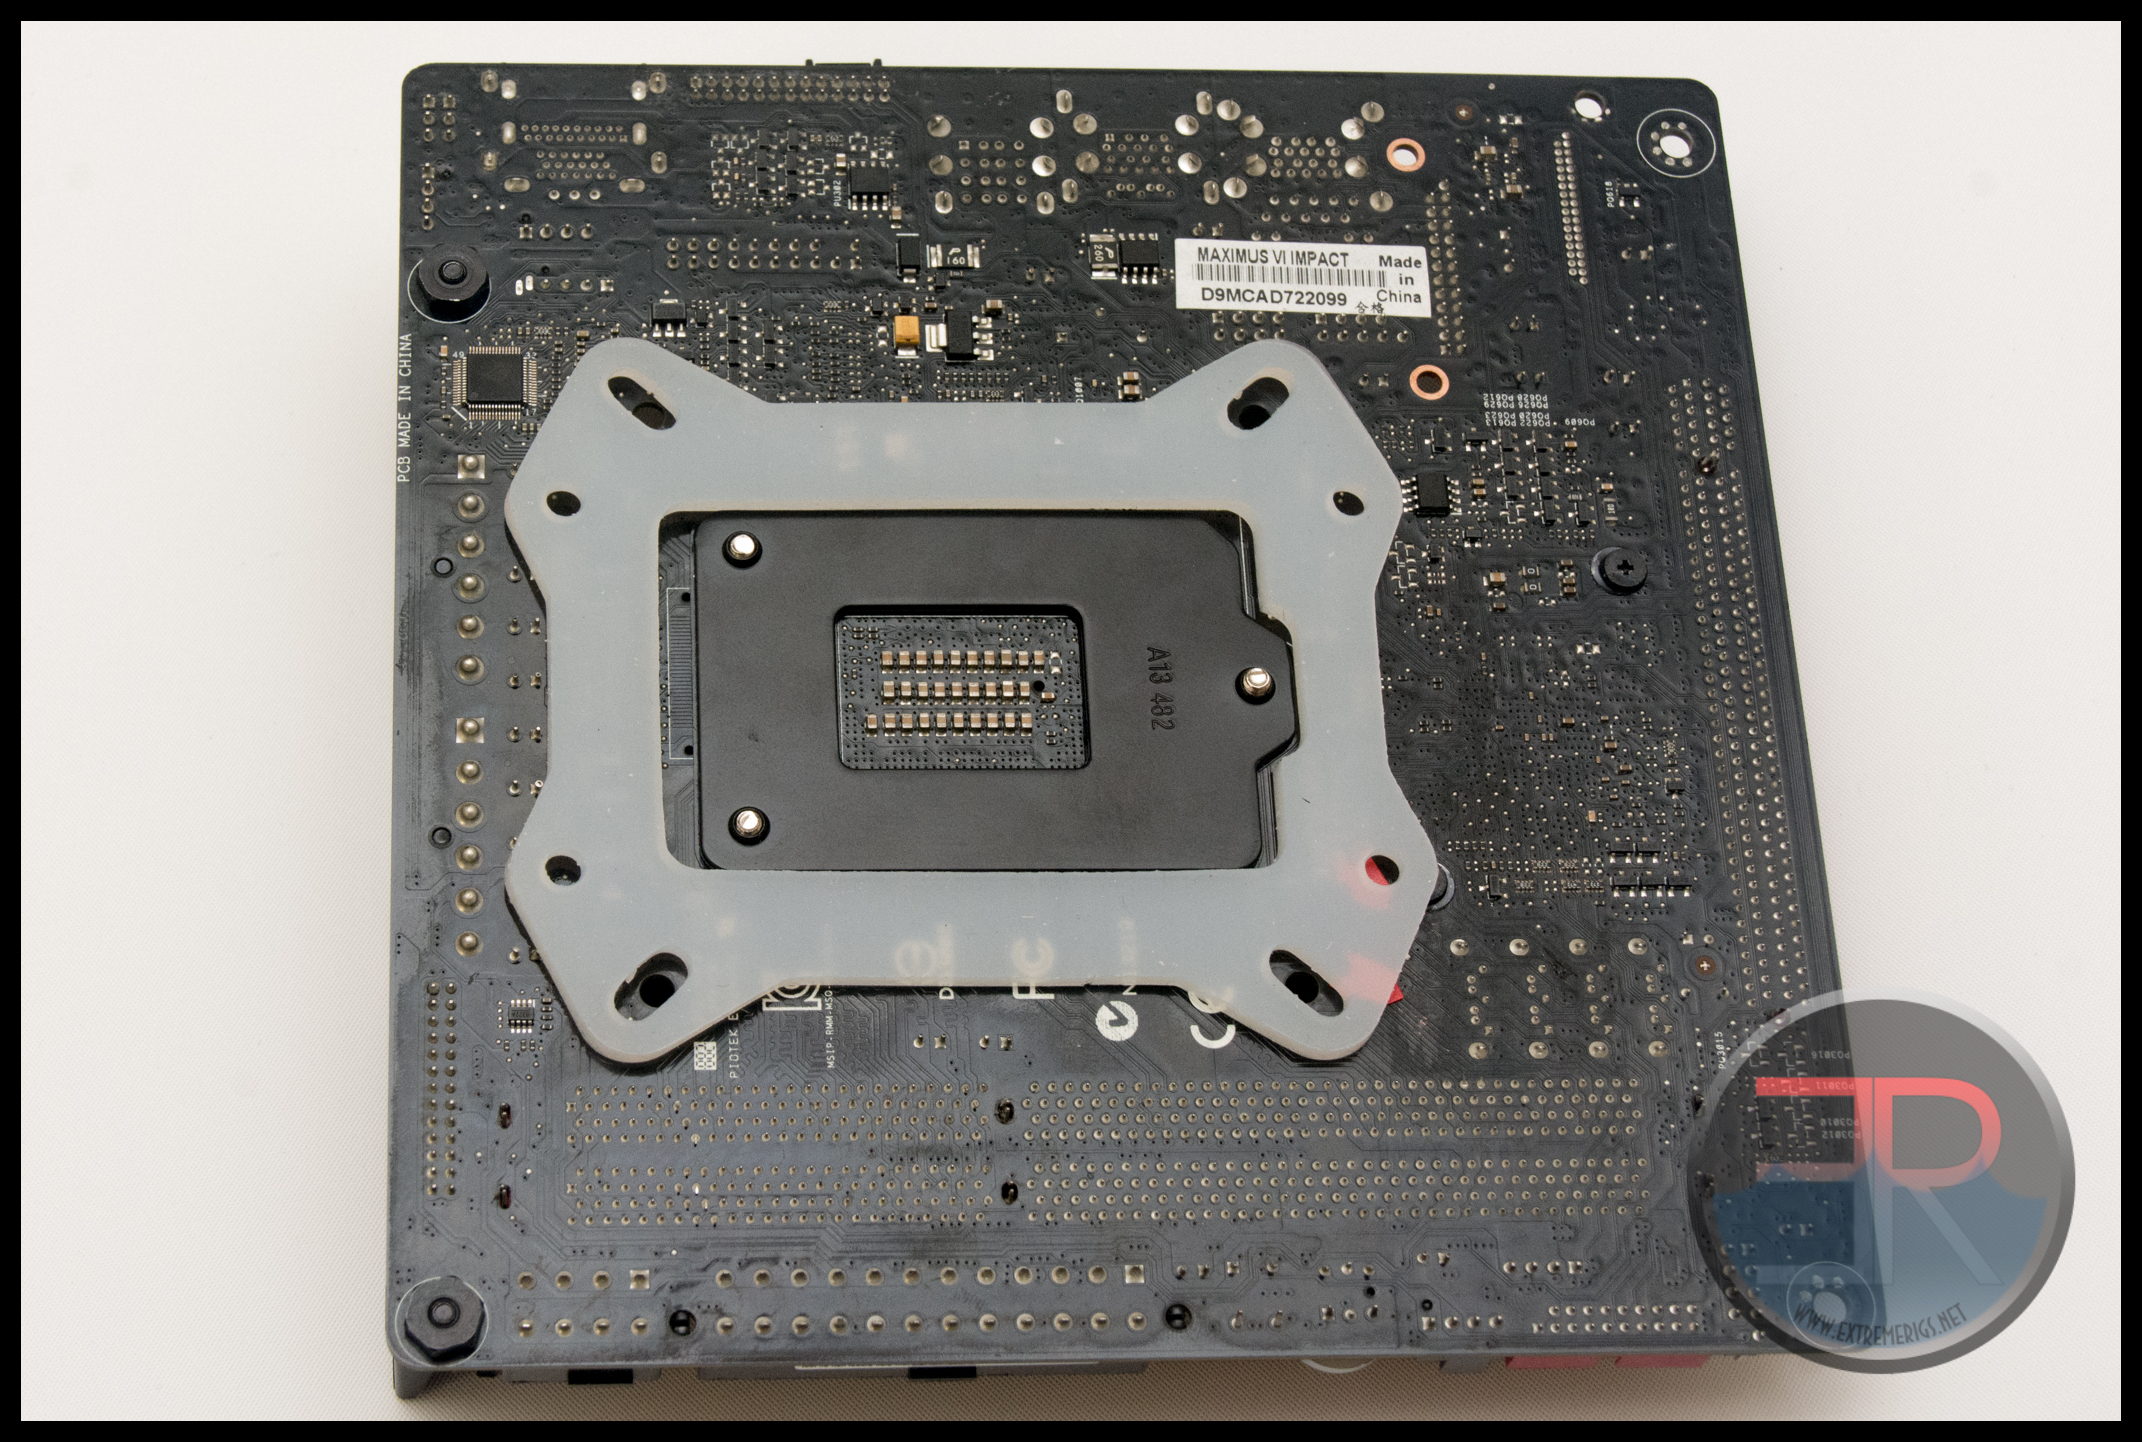
Now let’s try mounting socket 115X. First off you’ll need to mount the backplate. The first step is to lay down the protective rubber washer making sure to align it with the holes and socket:
Then align the appropriate metal bracket on top: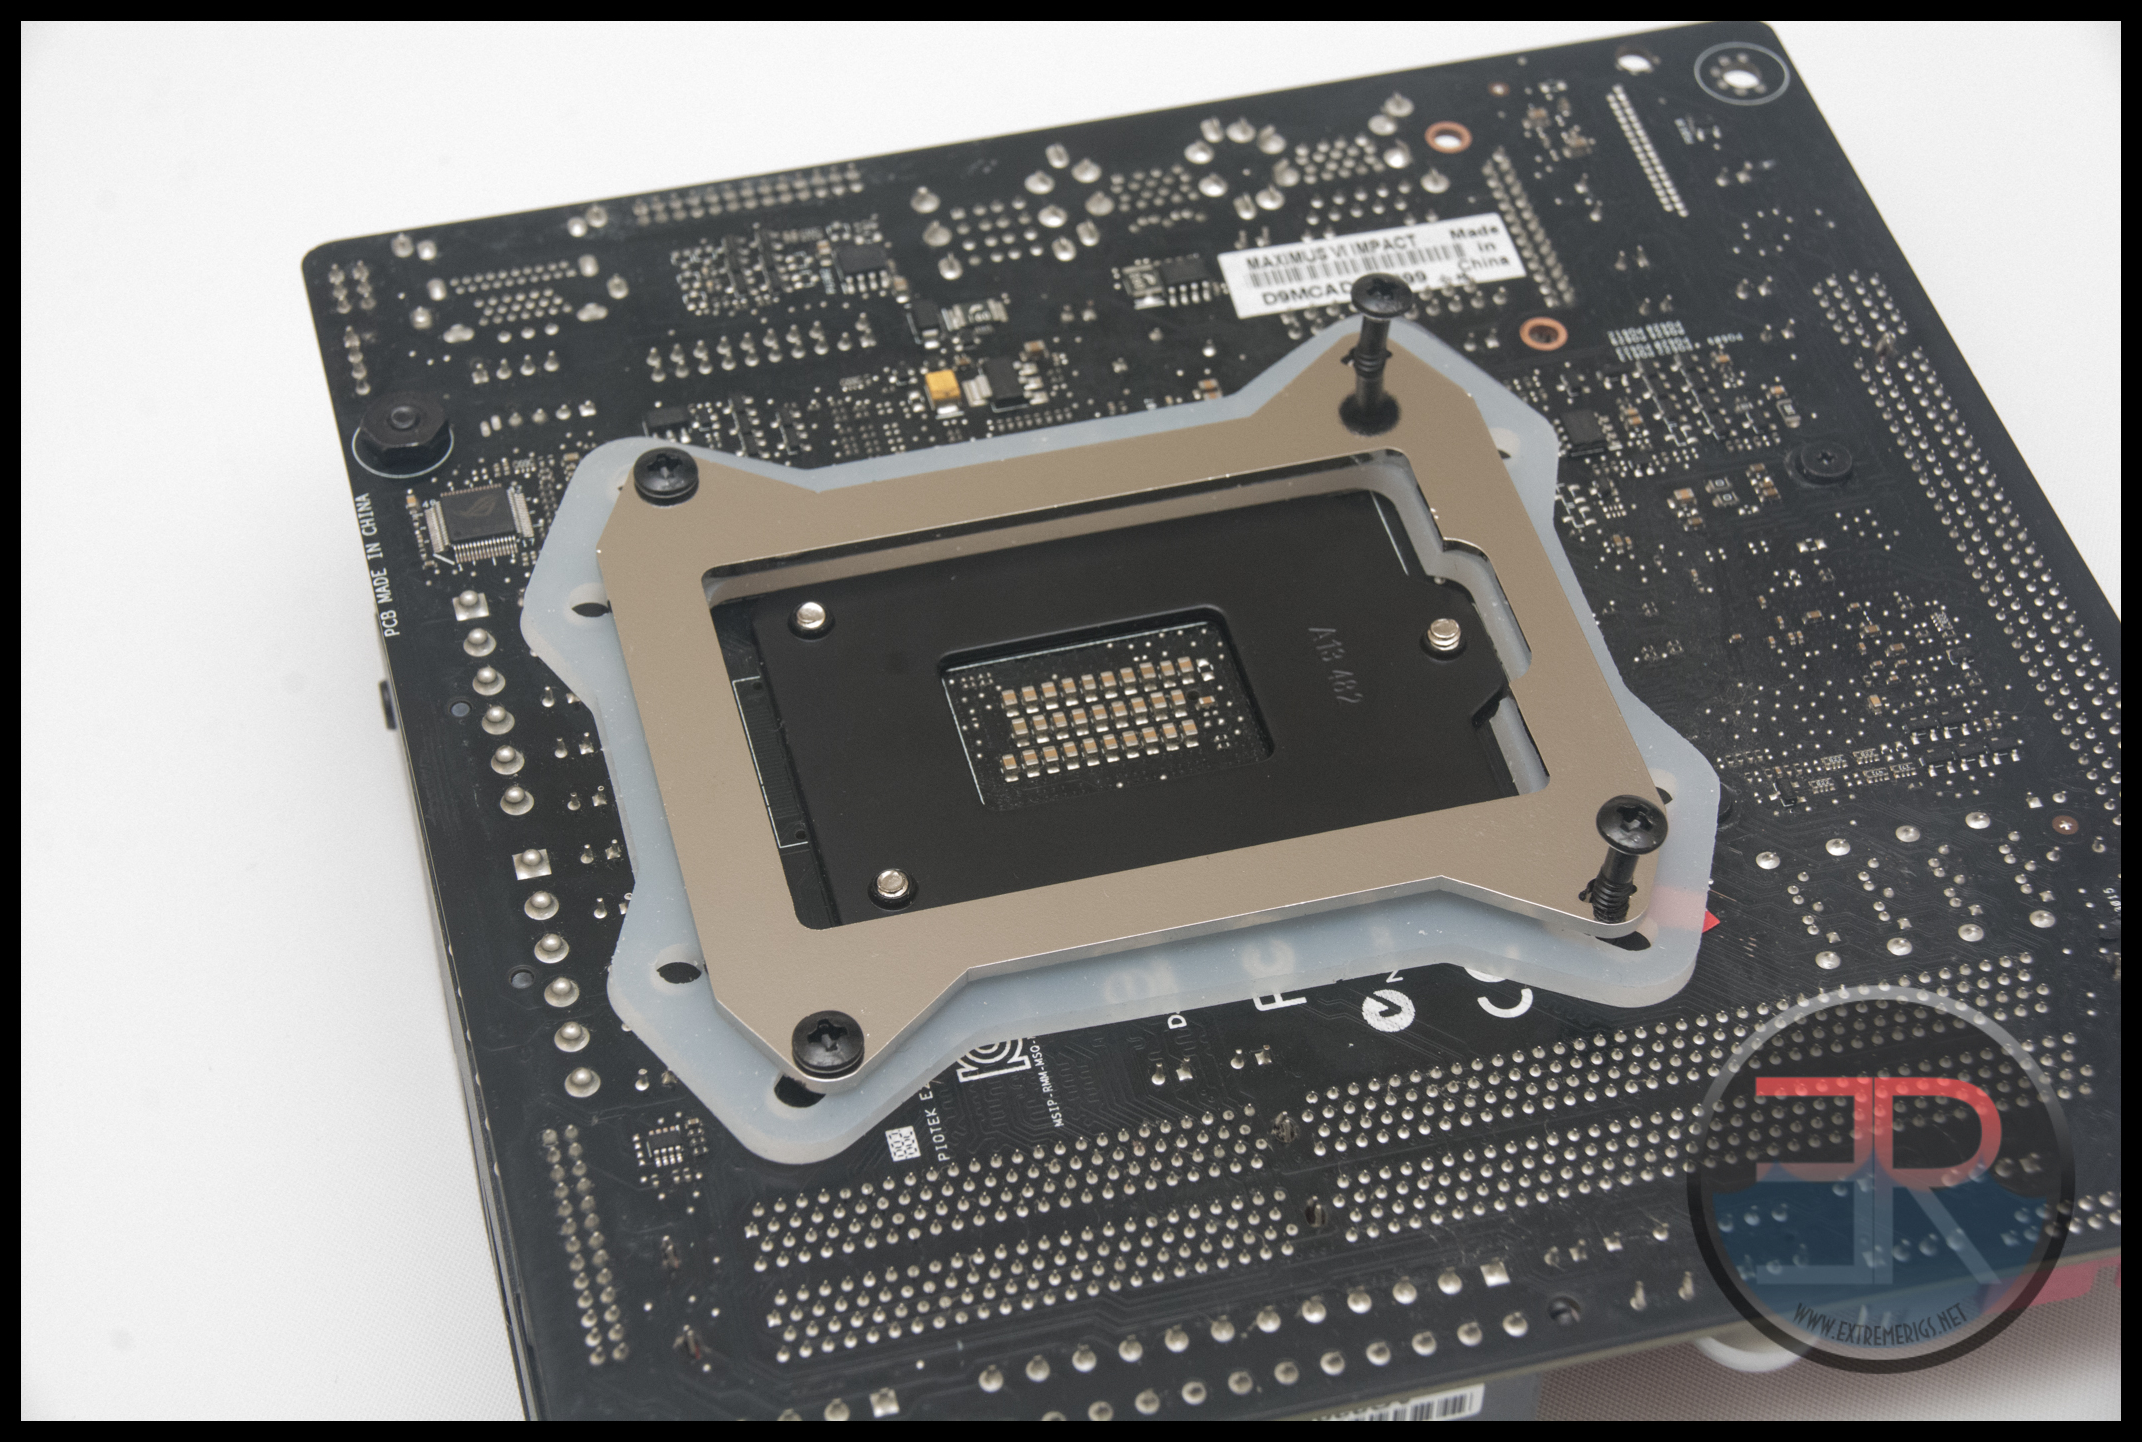
The black screws can be put through the holes, making sure to align their notches with the notches in the bracket: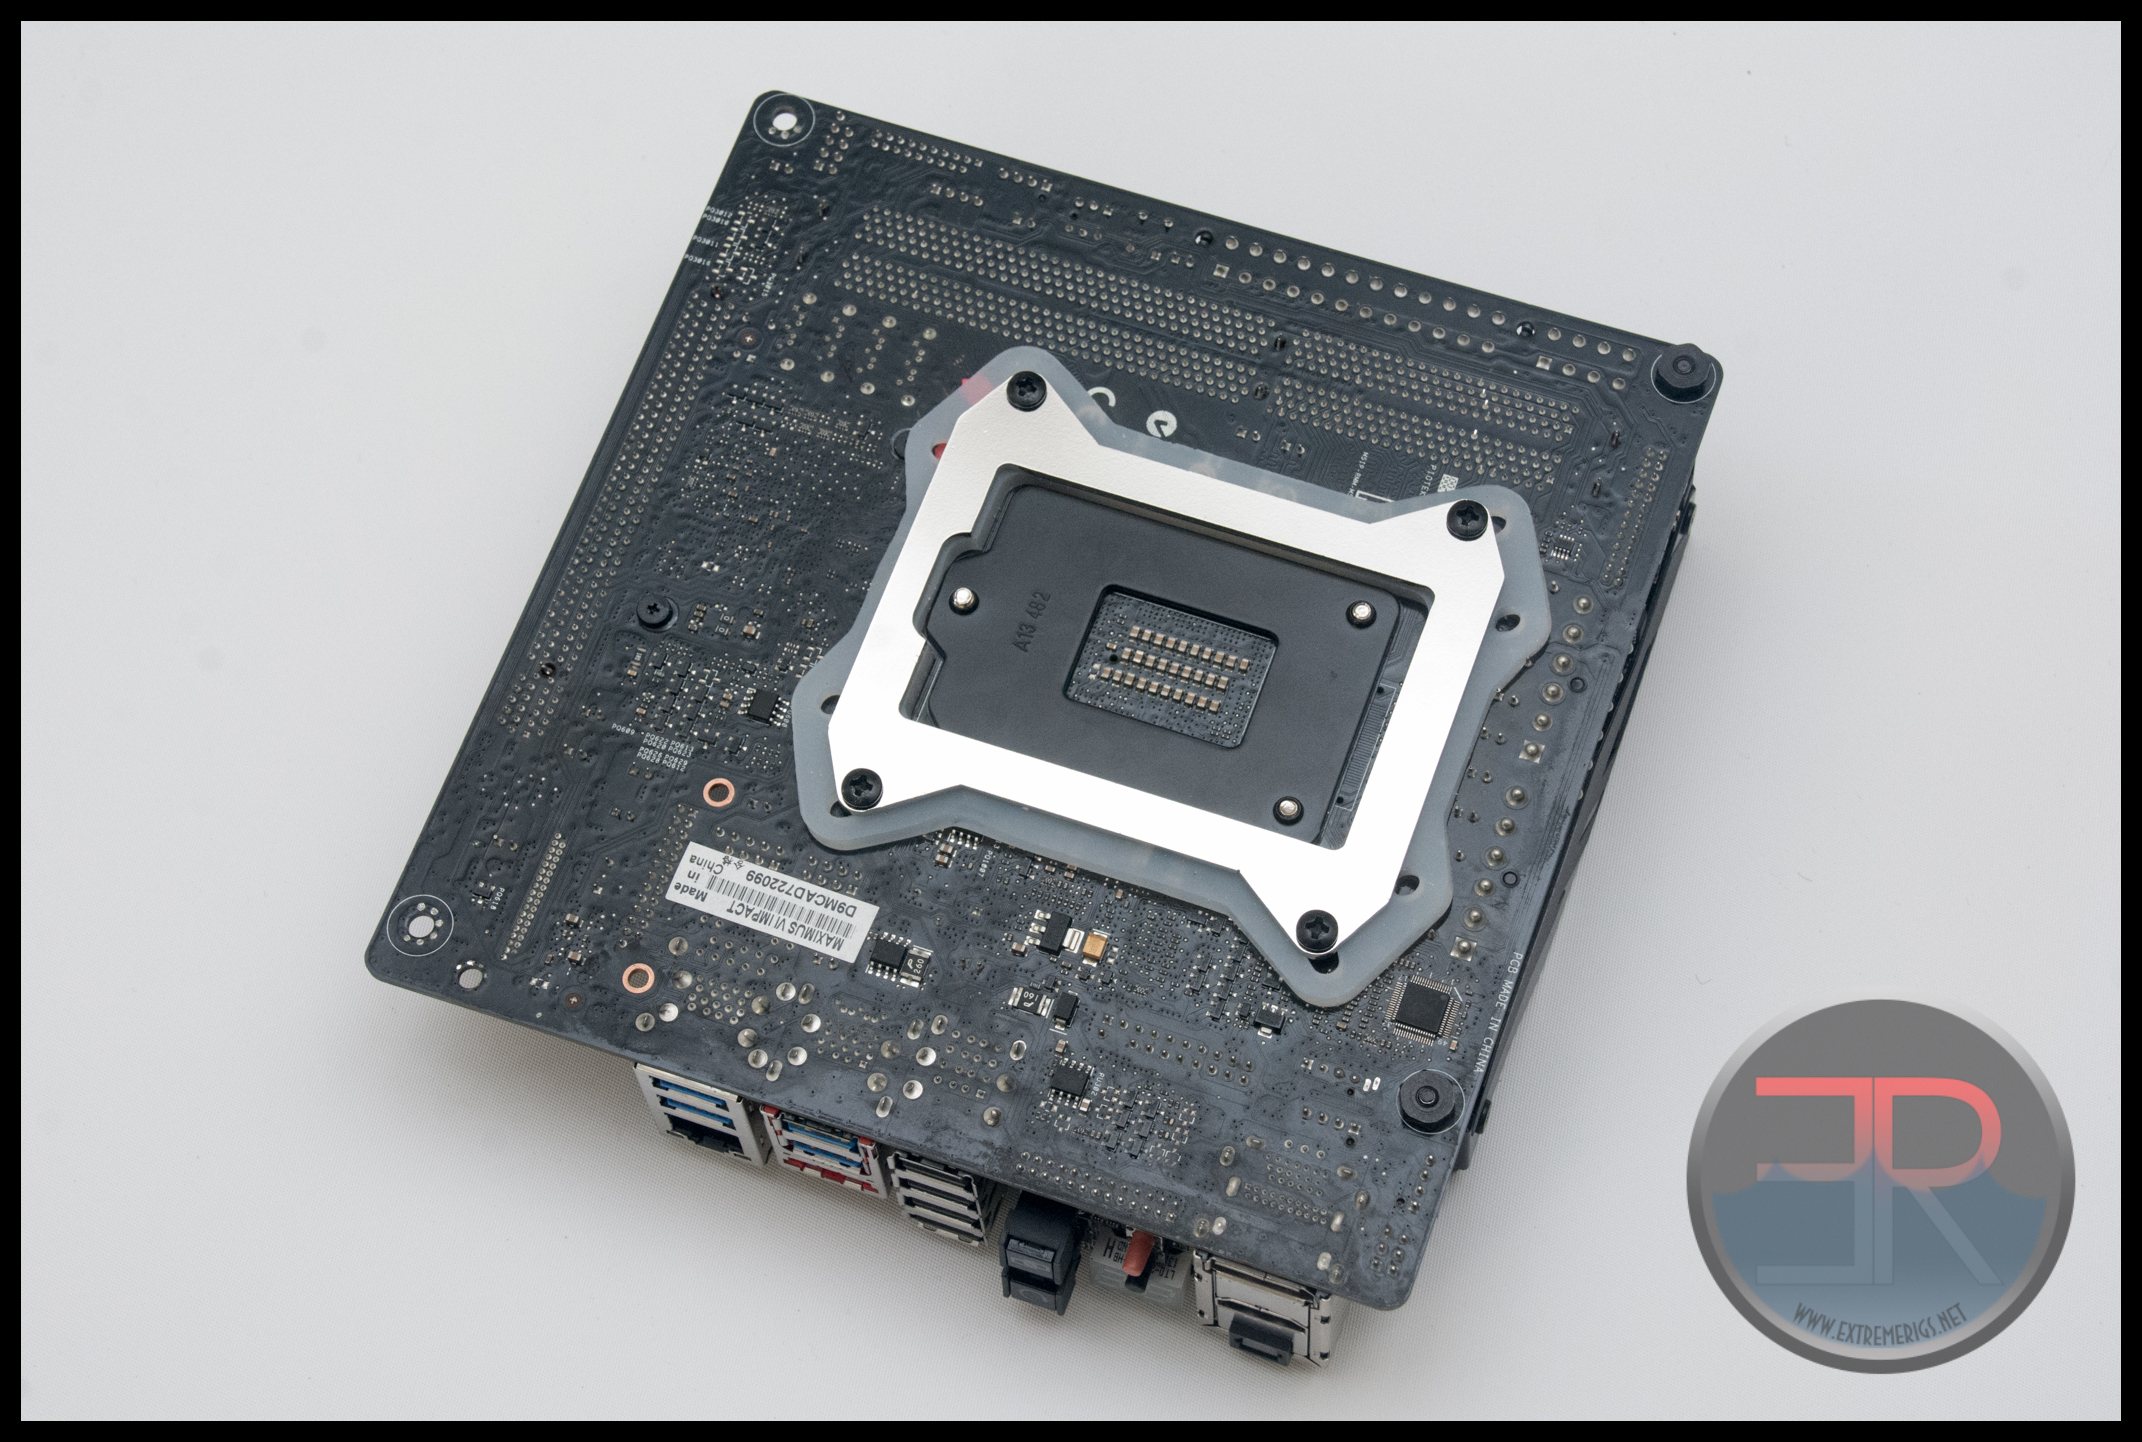
Then the backplate can be secured by adding a washer and a nut to each screw and tightening them down all the way to the PCB: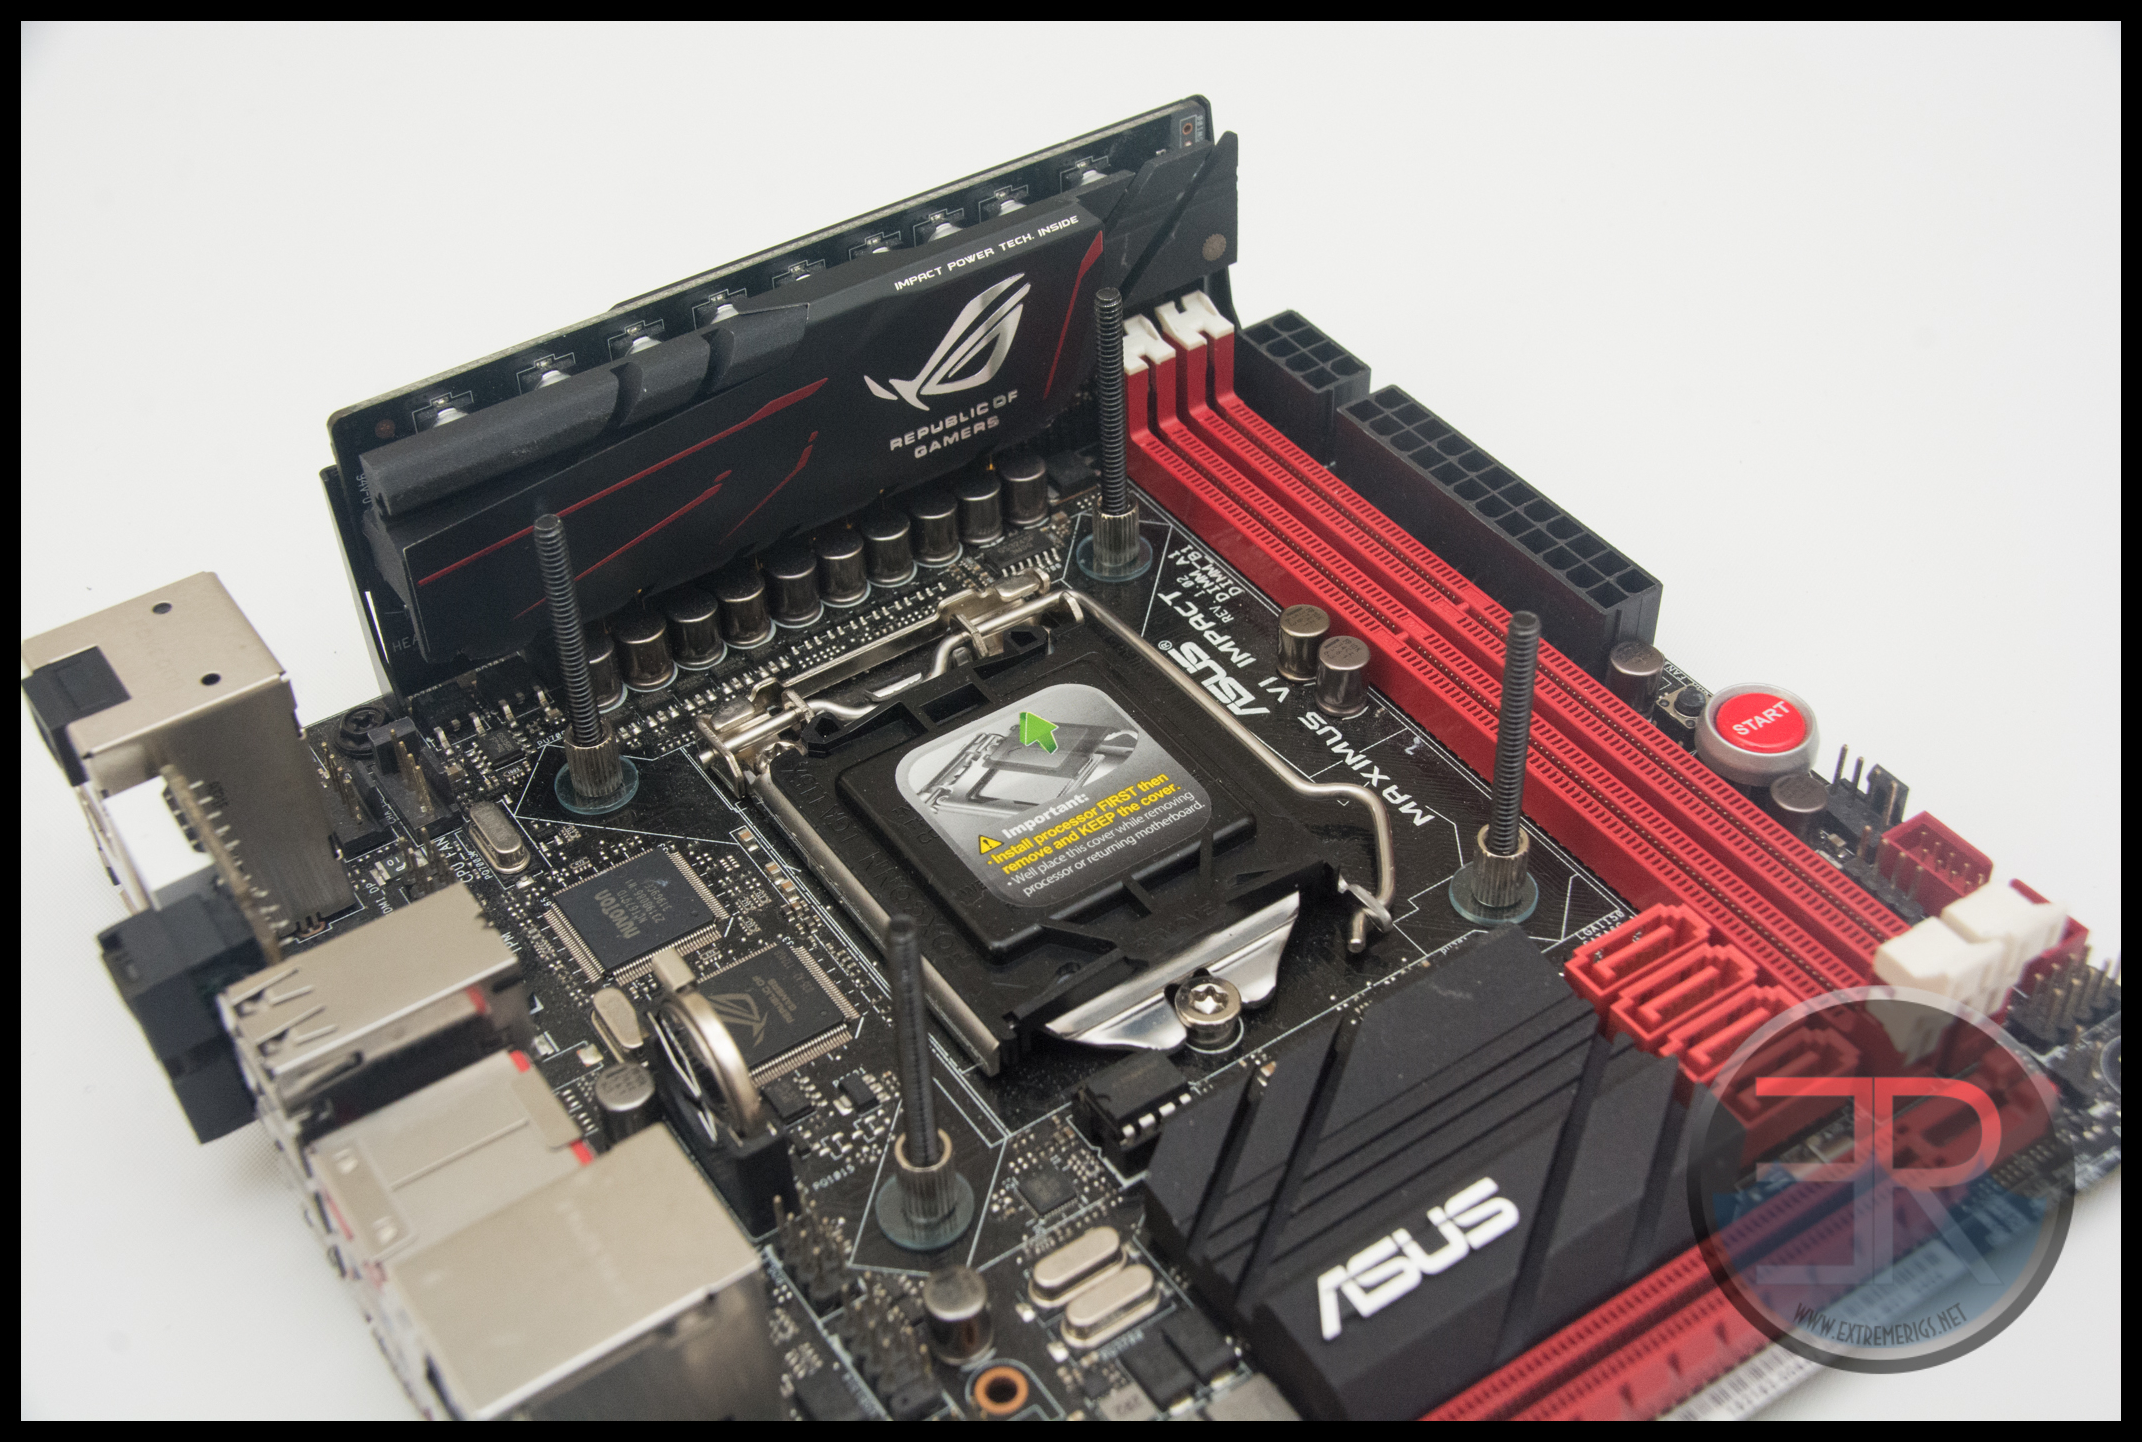
Once all four corners look like this then you’ll be ready to mount the CPU block:
Mount the CPU block taking care to make sure your CPU is present, that it has TIM and that your block has any protective plastic wrap removed. Put the block on the screws and add washers: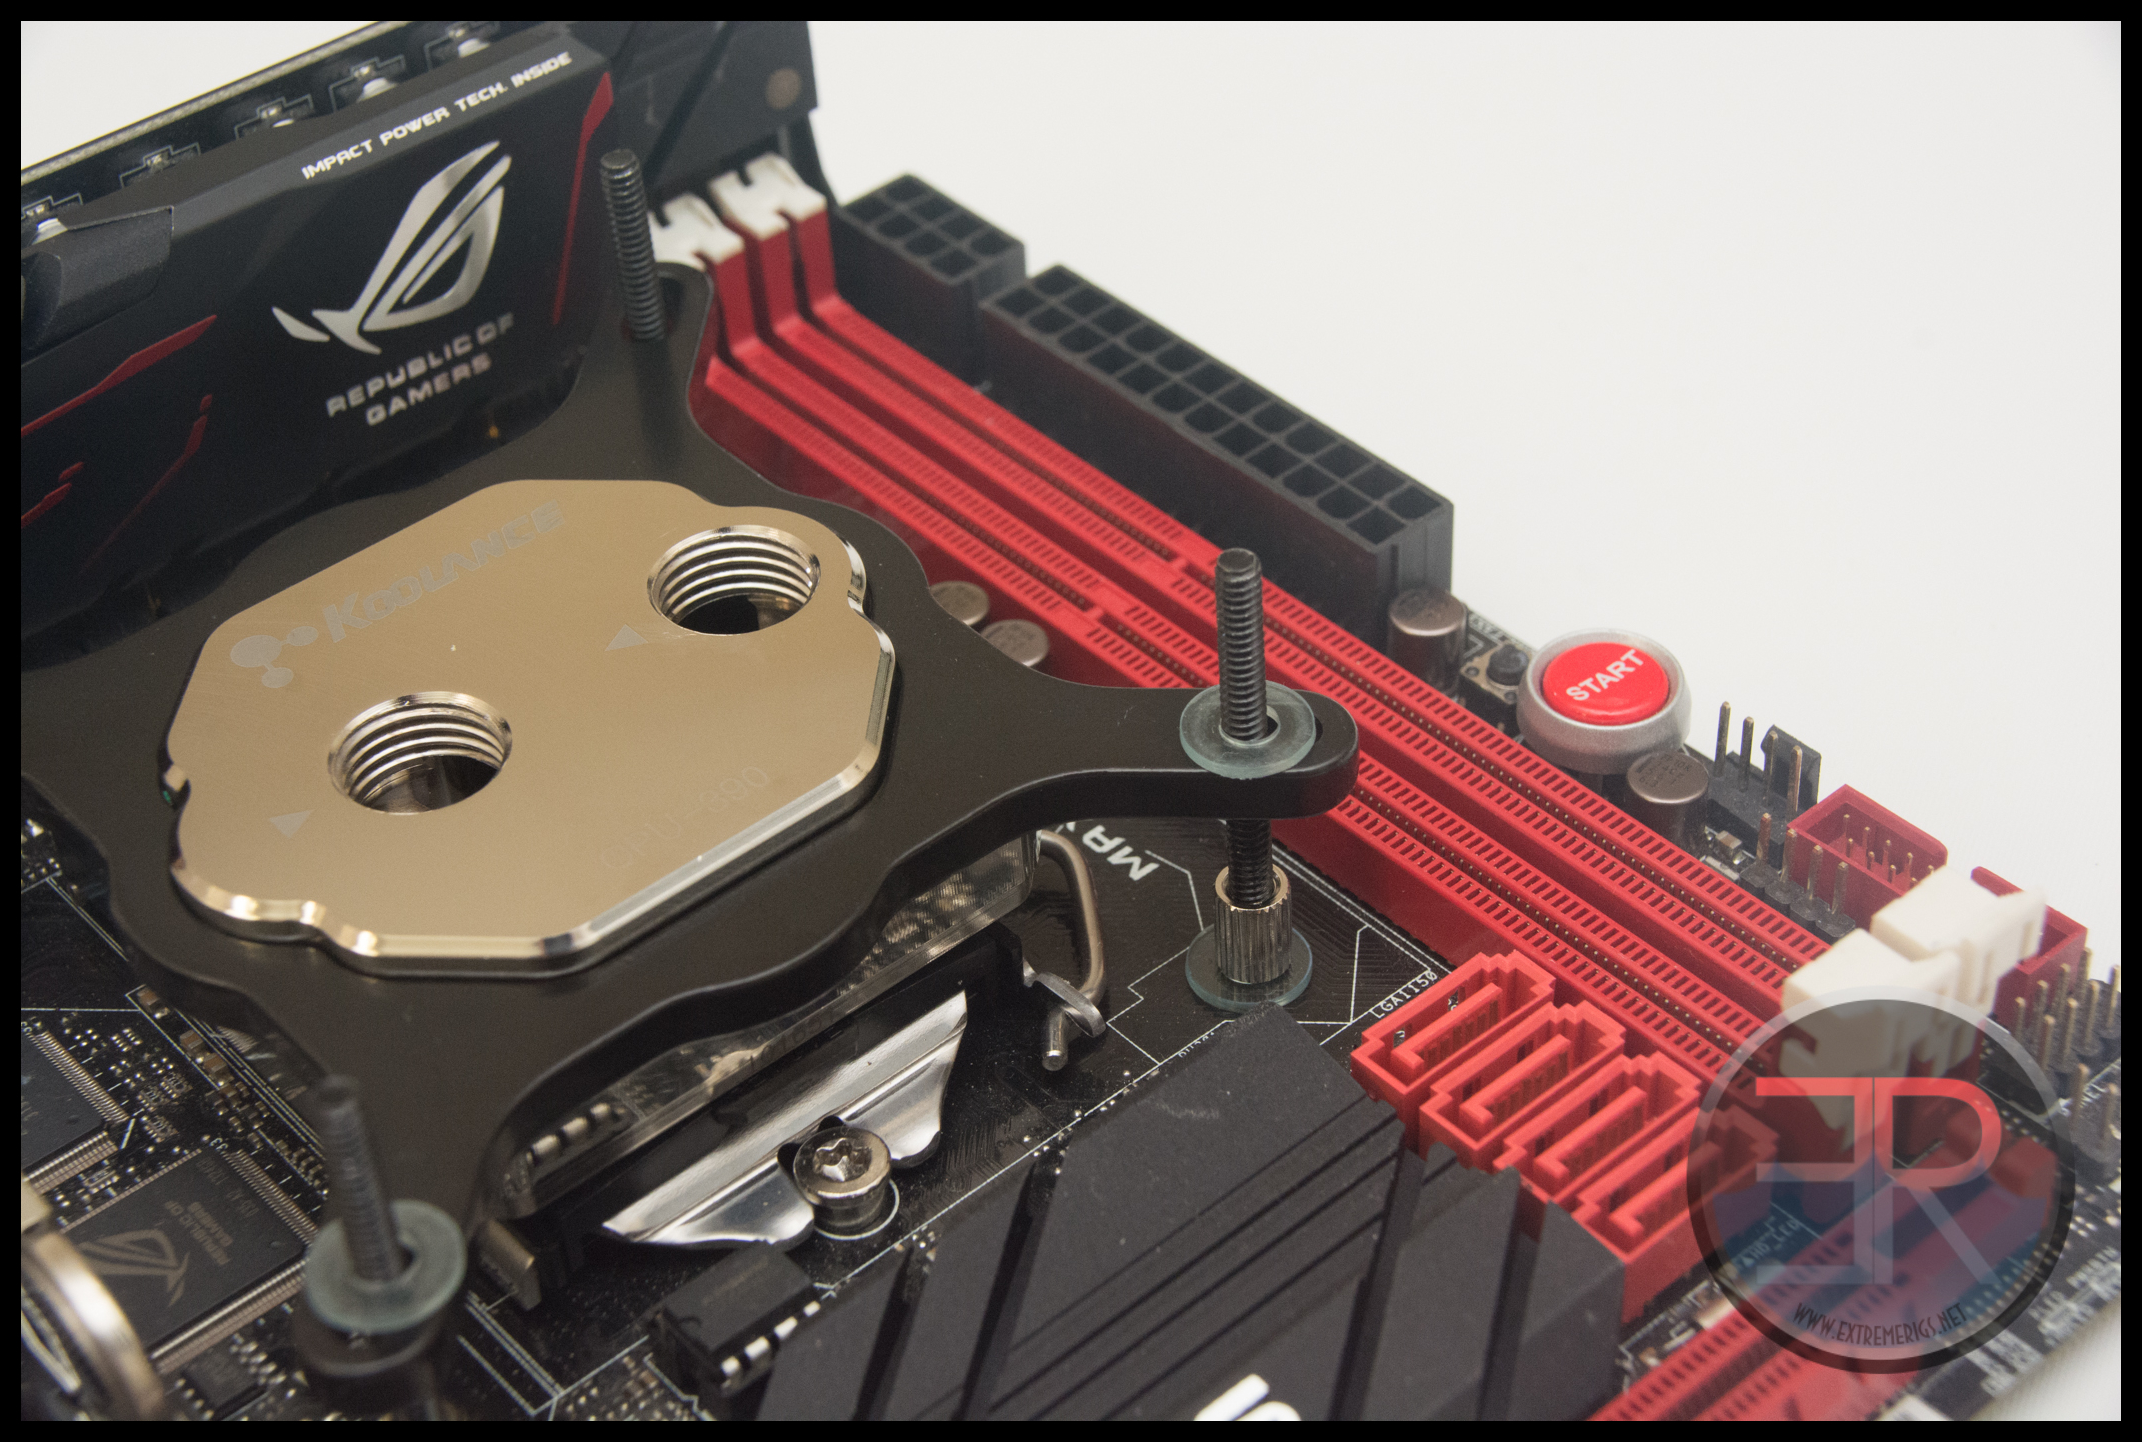
Add springs: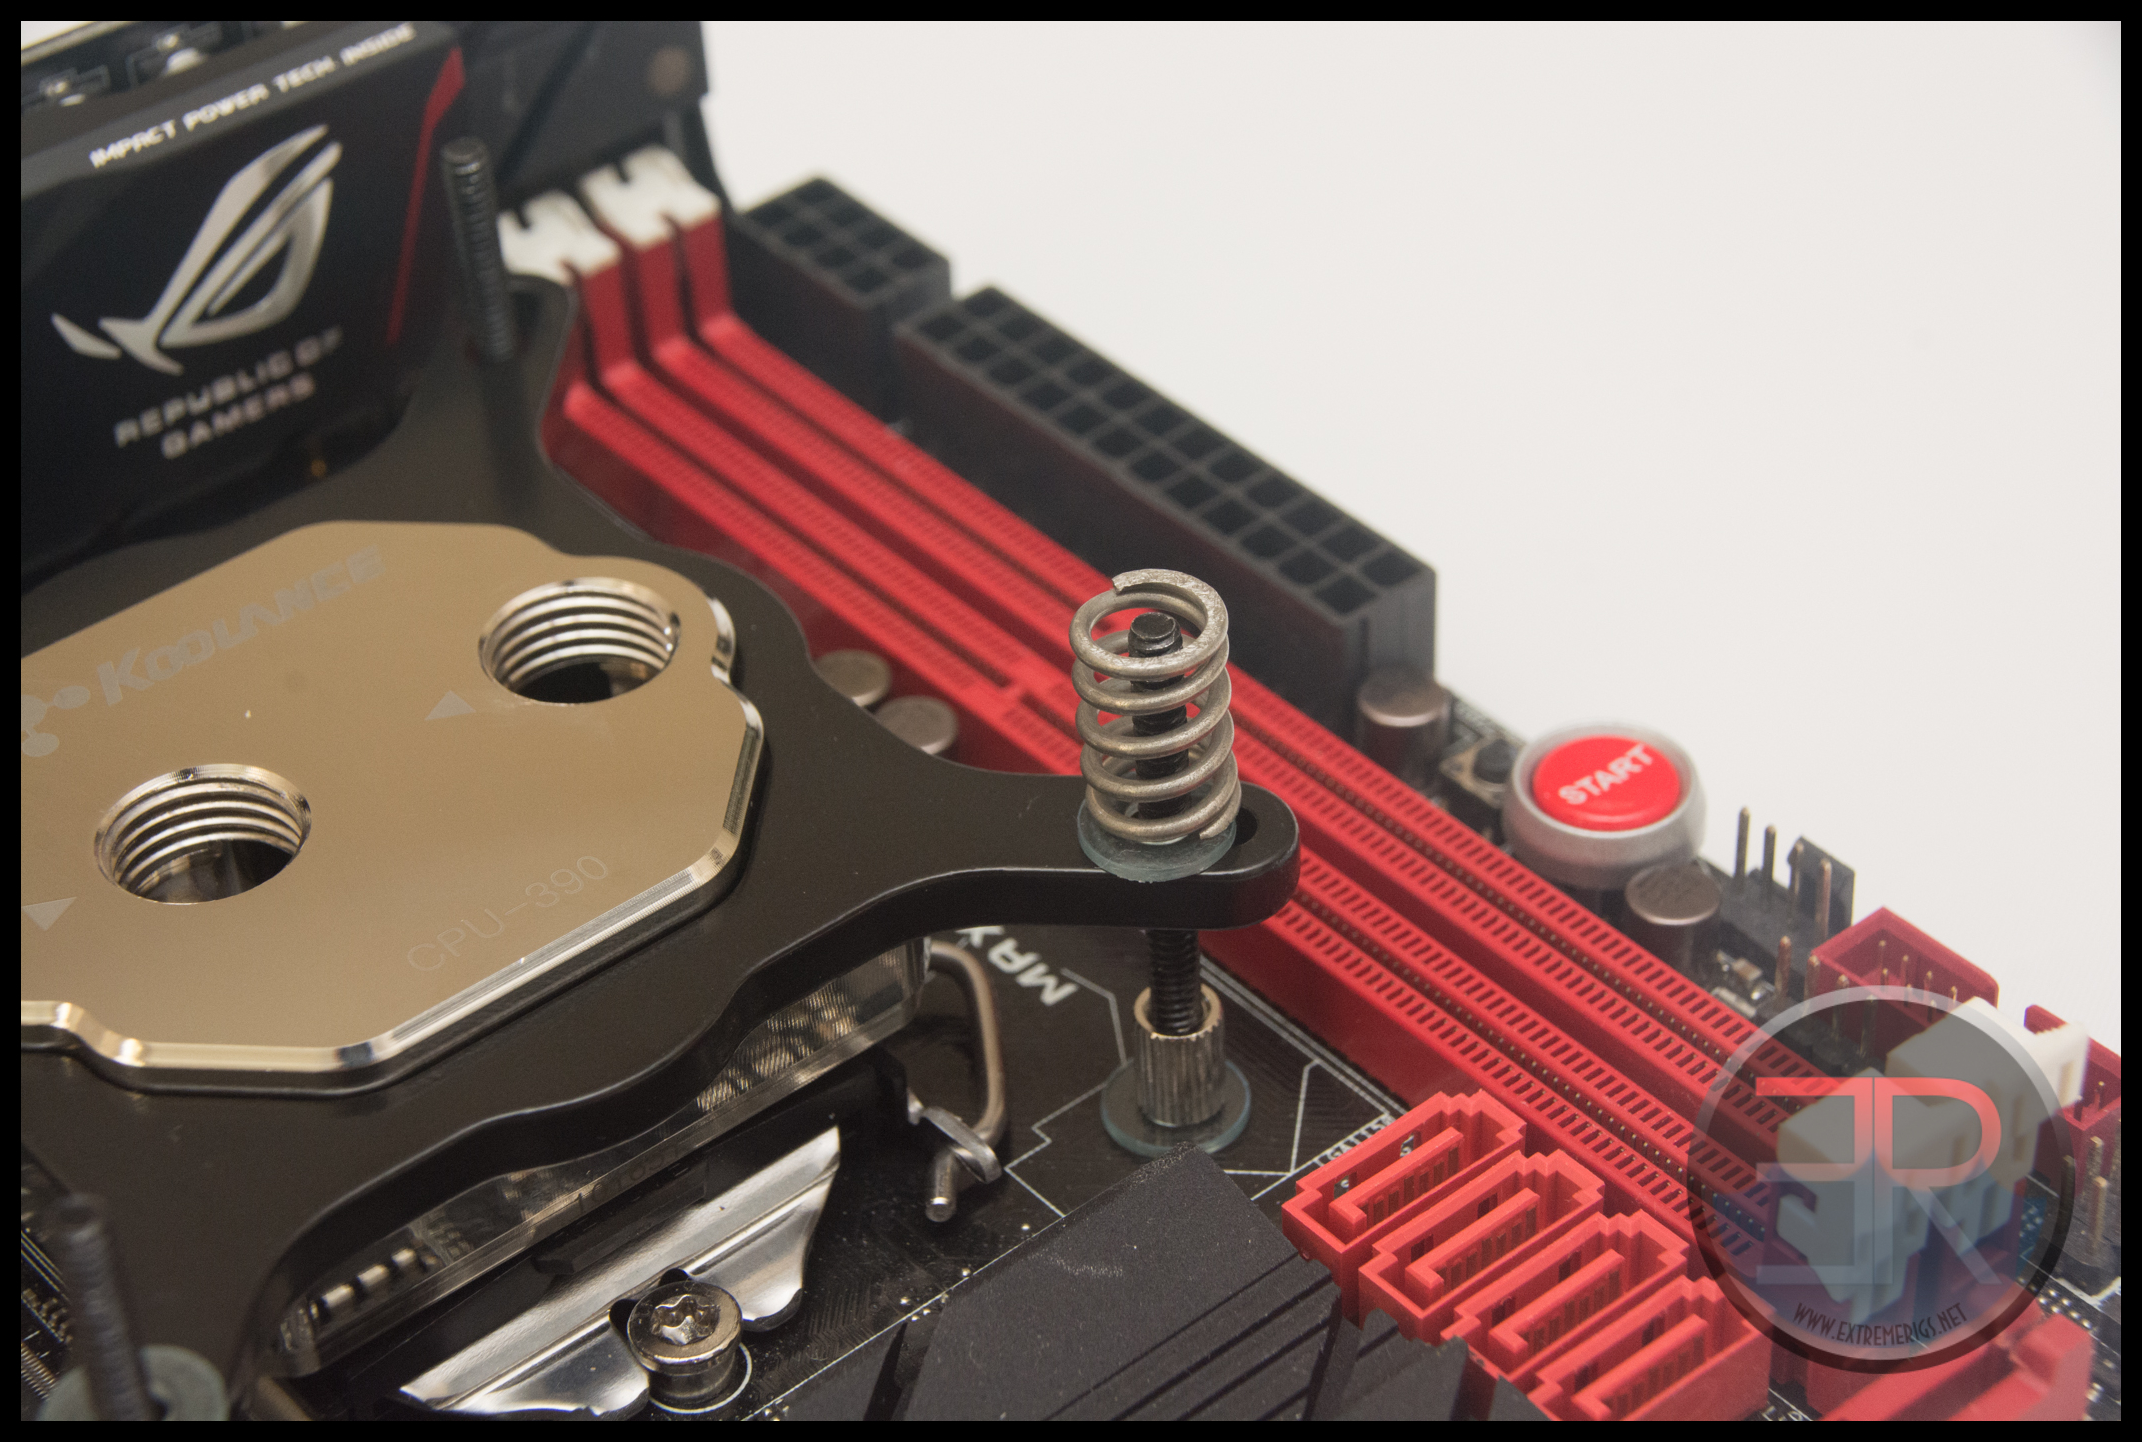
Add thumb nuts: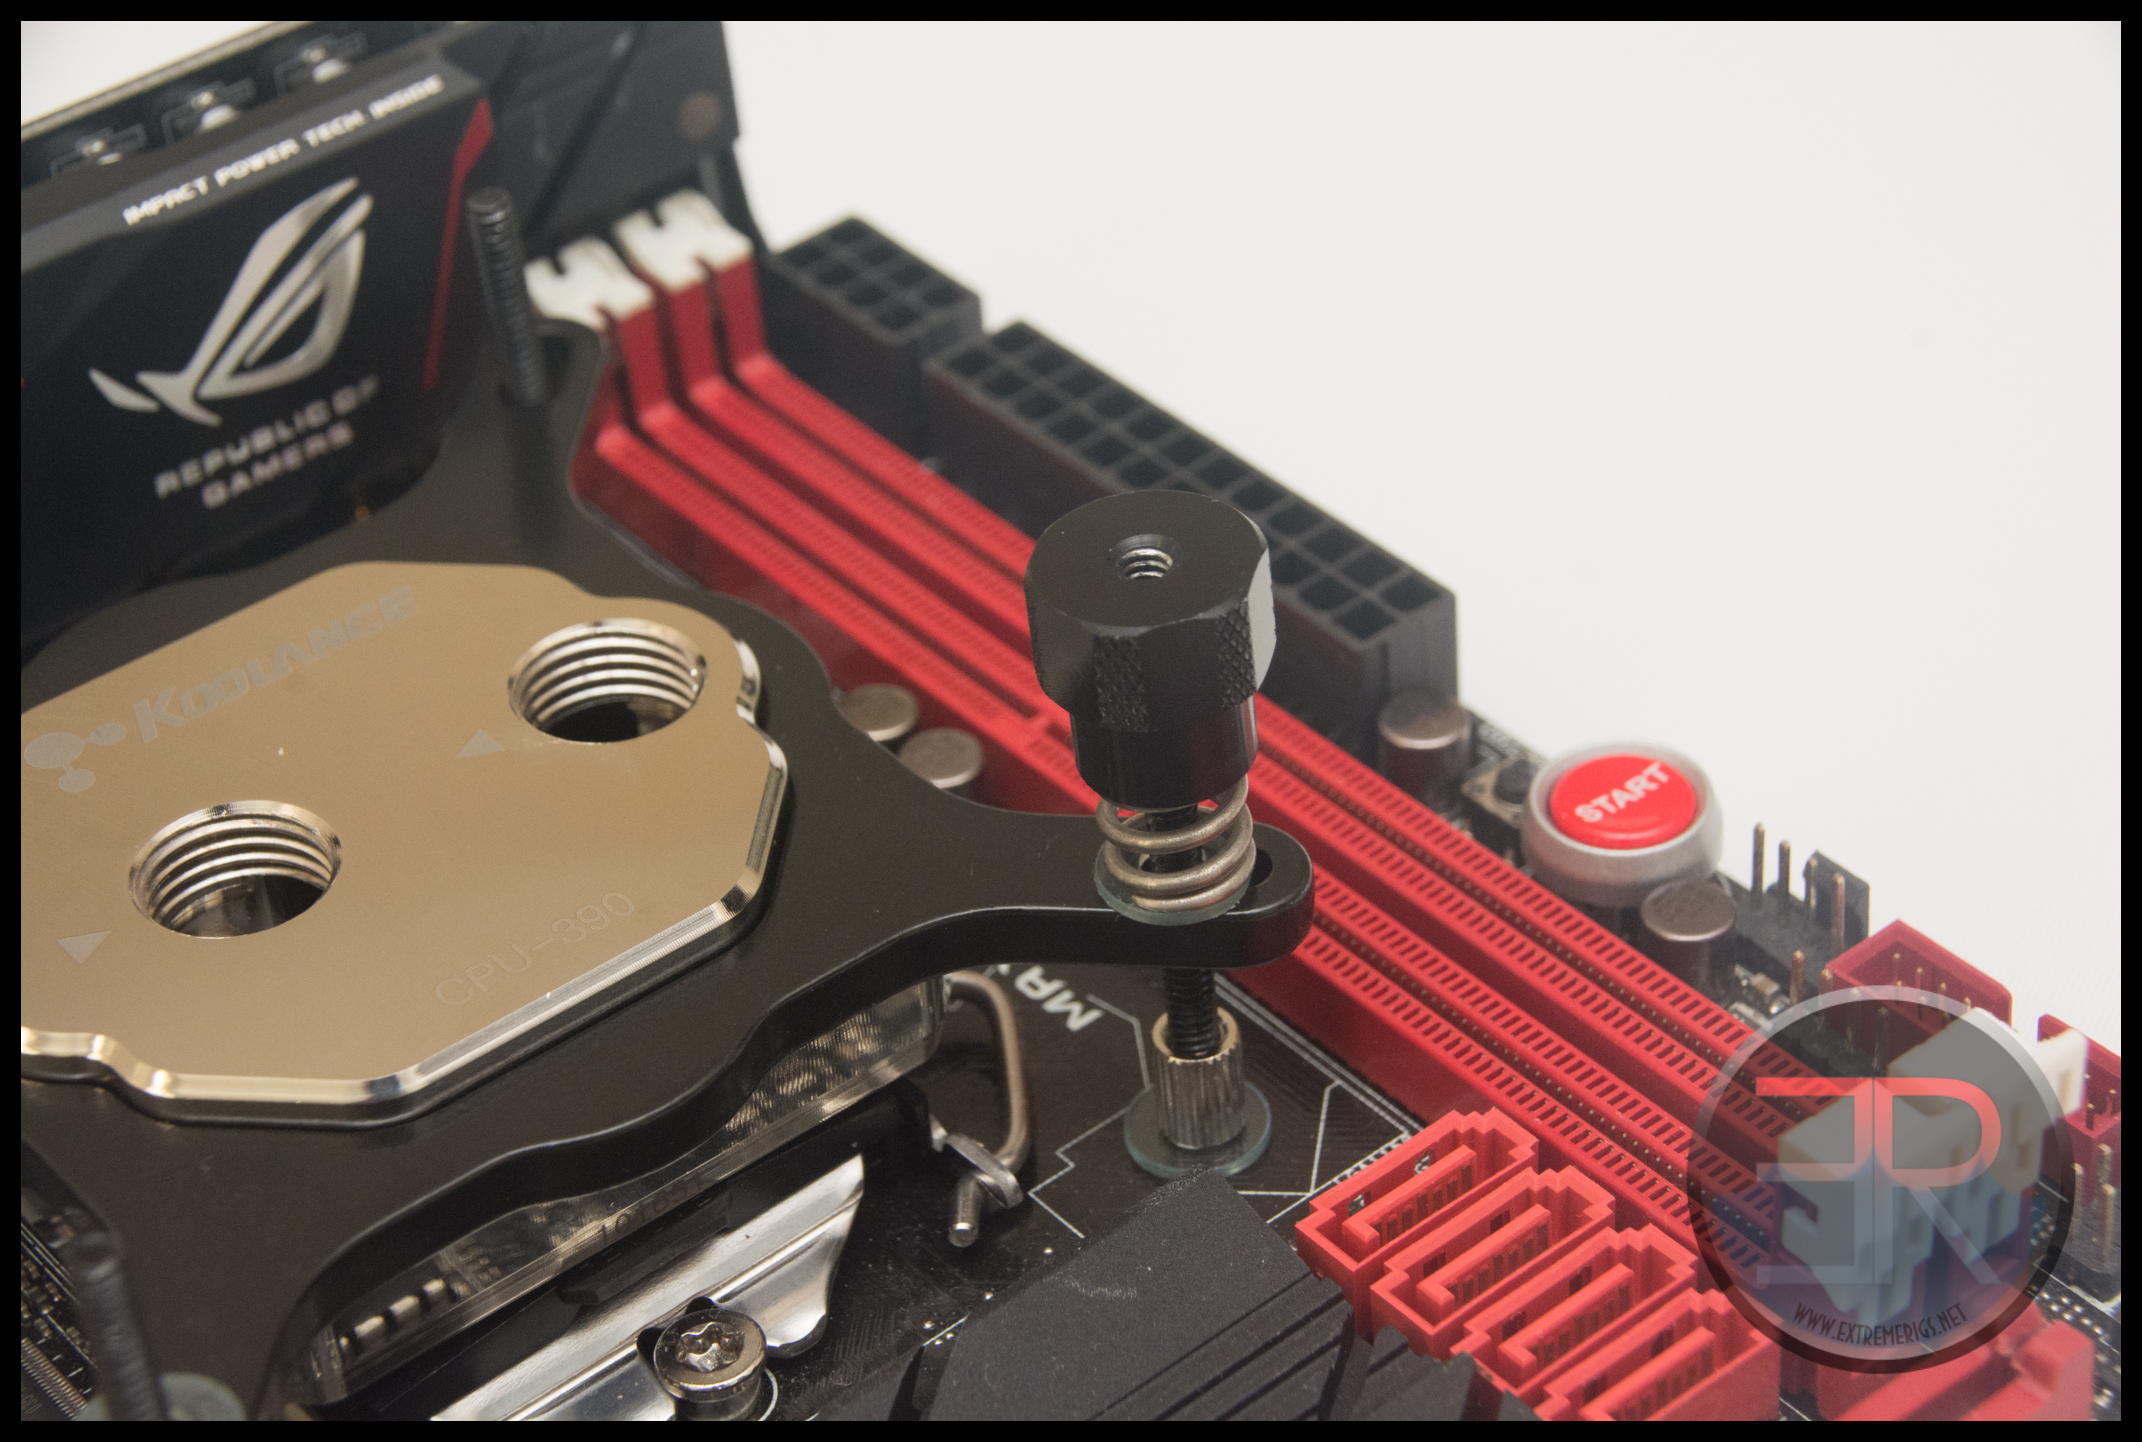
Then go around in a crosswise pattern tightening each thumb nut a turn or two at a time until you are comfortable with the mounting pressure. Do not over tighten!
So now that we’ve mounted the block, let’s take a look at performance!


#1. I use water blocks without jet plate…
You should tests without jetplate. ¿Makes pump last longer? Do I sacrifice 10°C ?
For non critical applications I think is better… I’m I wrong?
#2. Koolance is getting cheaper by the minute….
CPU-390AMD has removed support for G34 socket “server” like my Tyan S8232,
Is just 1 centimeter of metal.. 2 small coins. How cheap is that?
#3. CPU-390intel does not have 2011-v3 Narrow ILM, I want to buy a new server, but I’m stuck with Supermicro SNK-P0050AP4.
¿How cheap is not having an optional Narrow ILM?
Square ILM is 80x80mm
Narrow ILM 56x94mm (similar to AMD, but not compatible WTF?) Intel finally realized AMD mount is not that bad, if want to make board small.
But intel decided not to make a compatible mount? ¿Why there is not an Universal Mount?
Why does a few milimeters hurt so much to a billion dollar company?
Cheap bastards. LOL. Jajajajajajaja
…
Koolance should not include thermal paste, if want to save costs, instead of cutting features, nobody use it anyway…
How good is it anyway? I use Antec formula 7 or 6, I’m happy. Won’t change for another brand.
not electric conductive…
Diamonds dust is cheap.
very thermal conductive.
Does not dry and crack like OCZ freeze…
Is not as hard as “the other diamond thermal paste brand.” = Does not need as much pressure.
Can be reused.
Is like diamond glue… if board is horizontal, heatsink does not need screws. Feels like a magnet.
Another thing I don’t like about the 390 are the arrows, the 380 arrows are smarter, less confusing…
390 is crazy.
I currently have a CPU 380i, with only 1C improvement in temps on this benchmark, I’m not about to dump $80 on the 390i. Very nice review though, very thorough.
It’s worth noting that no other reviewer or manufacturer had a CPU-380 as good as mine – other’s (e.g. thermalbench) have shown a bigger increase between the two. So if my 380 was just a lucky golden sample and yours wasn’t then you may see more of a difference. However all I can do is test what I have as best I can 🙂
Comments are closed.