


Spotswood Computer Cases: Small Tech Station Review
Spotswood has been in the DIY community for several years – he’s done everything from offering his own line of modular test benches to building some custom drum PCs for AMD. We reviewed his first generation of tech benches back in 2012 and we can safely say that he’s taken a great product, and made it an awesome product!
While the case may not be as flashy as others, it is by far the most modular bench design we’ve ever used. Between the options offered by Spotswood Computers Cases and your imagination, you can accomplish pretty much anything you may need – at a very reasonable price to boot! Today we’re looking at the “Small” Tech Station
Unboxing & Assembly
The box that the test bench arrived in was perfectly sized and managed to survive its UPS adventure.
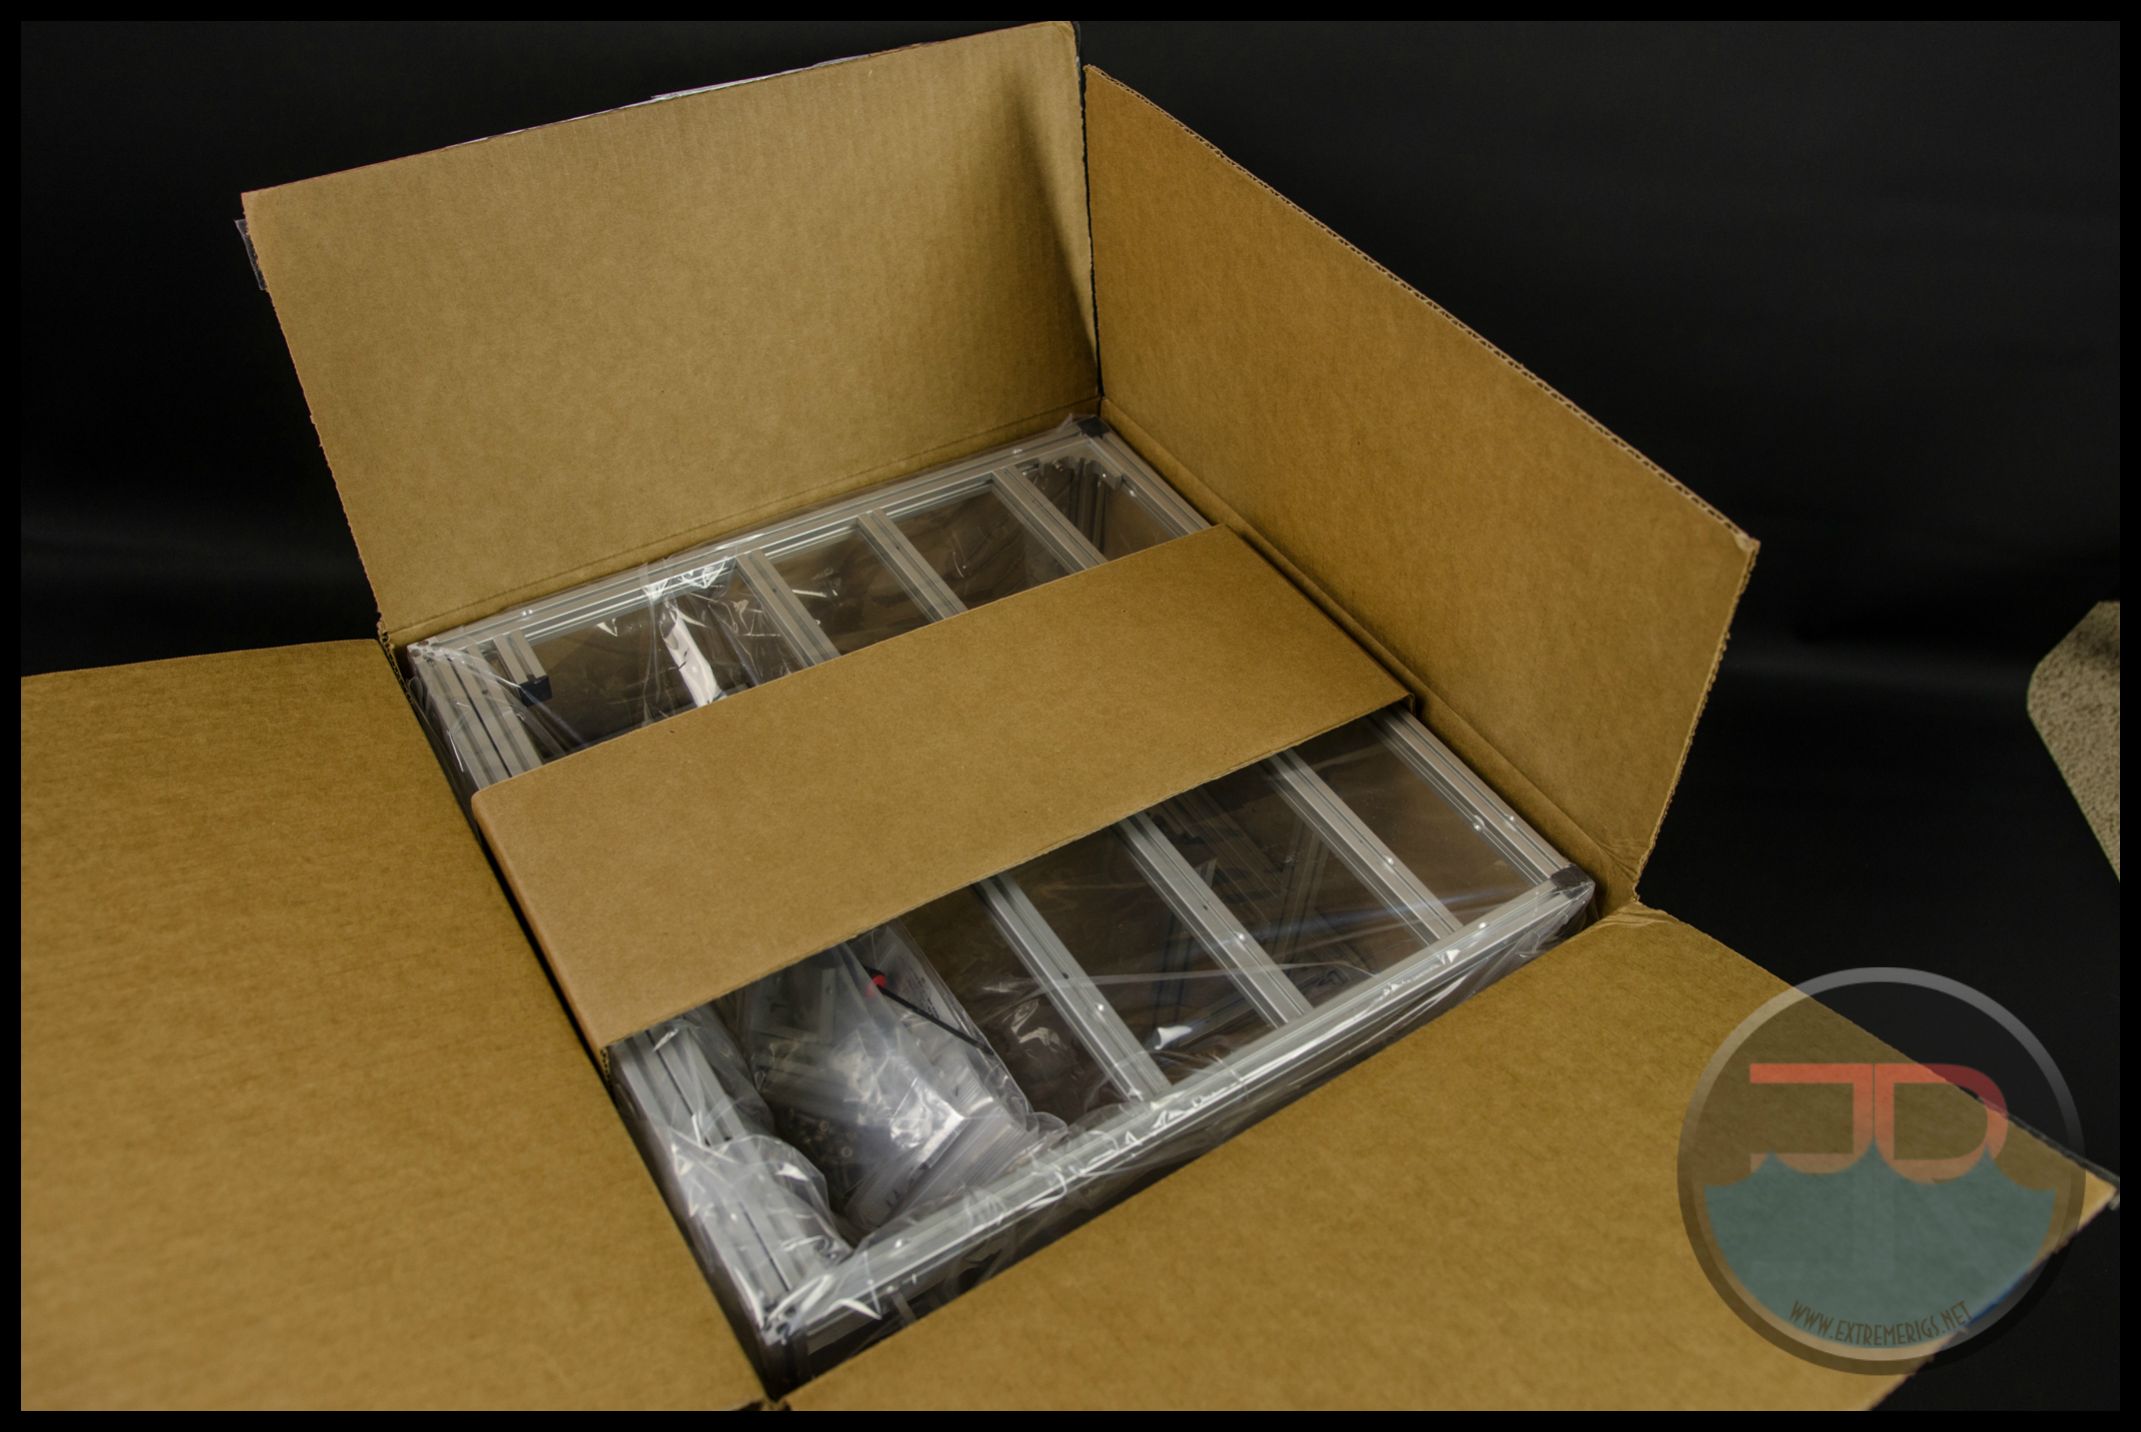
Packaging was perfect.
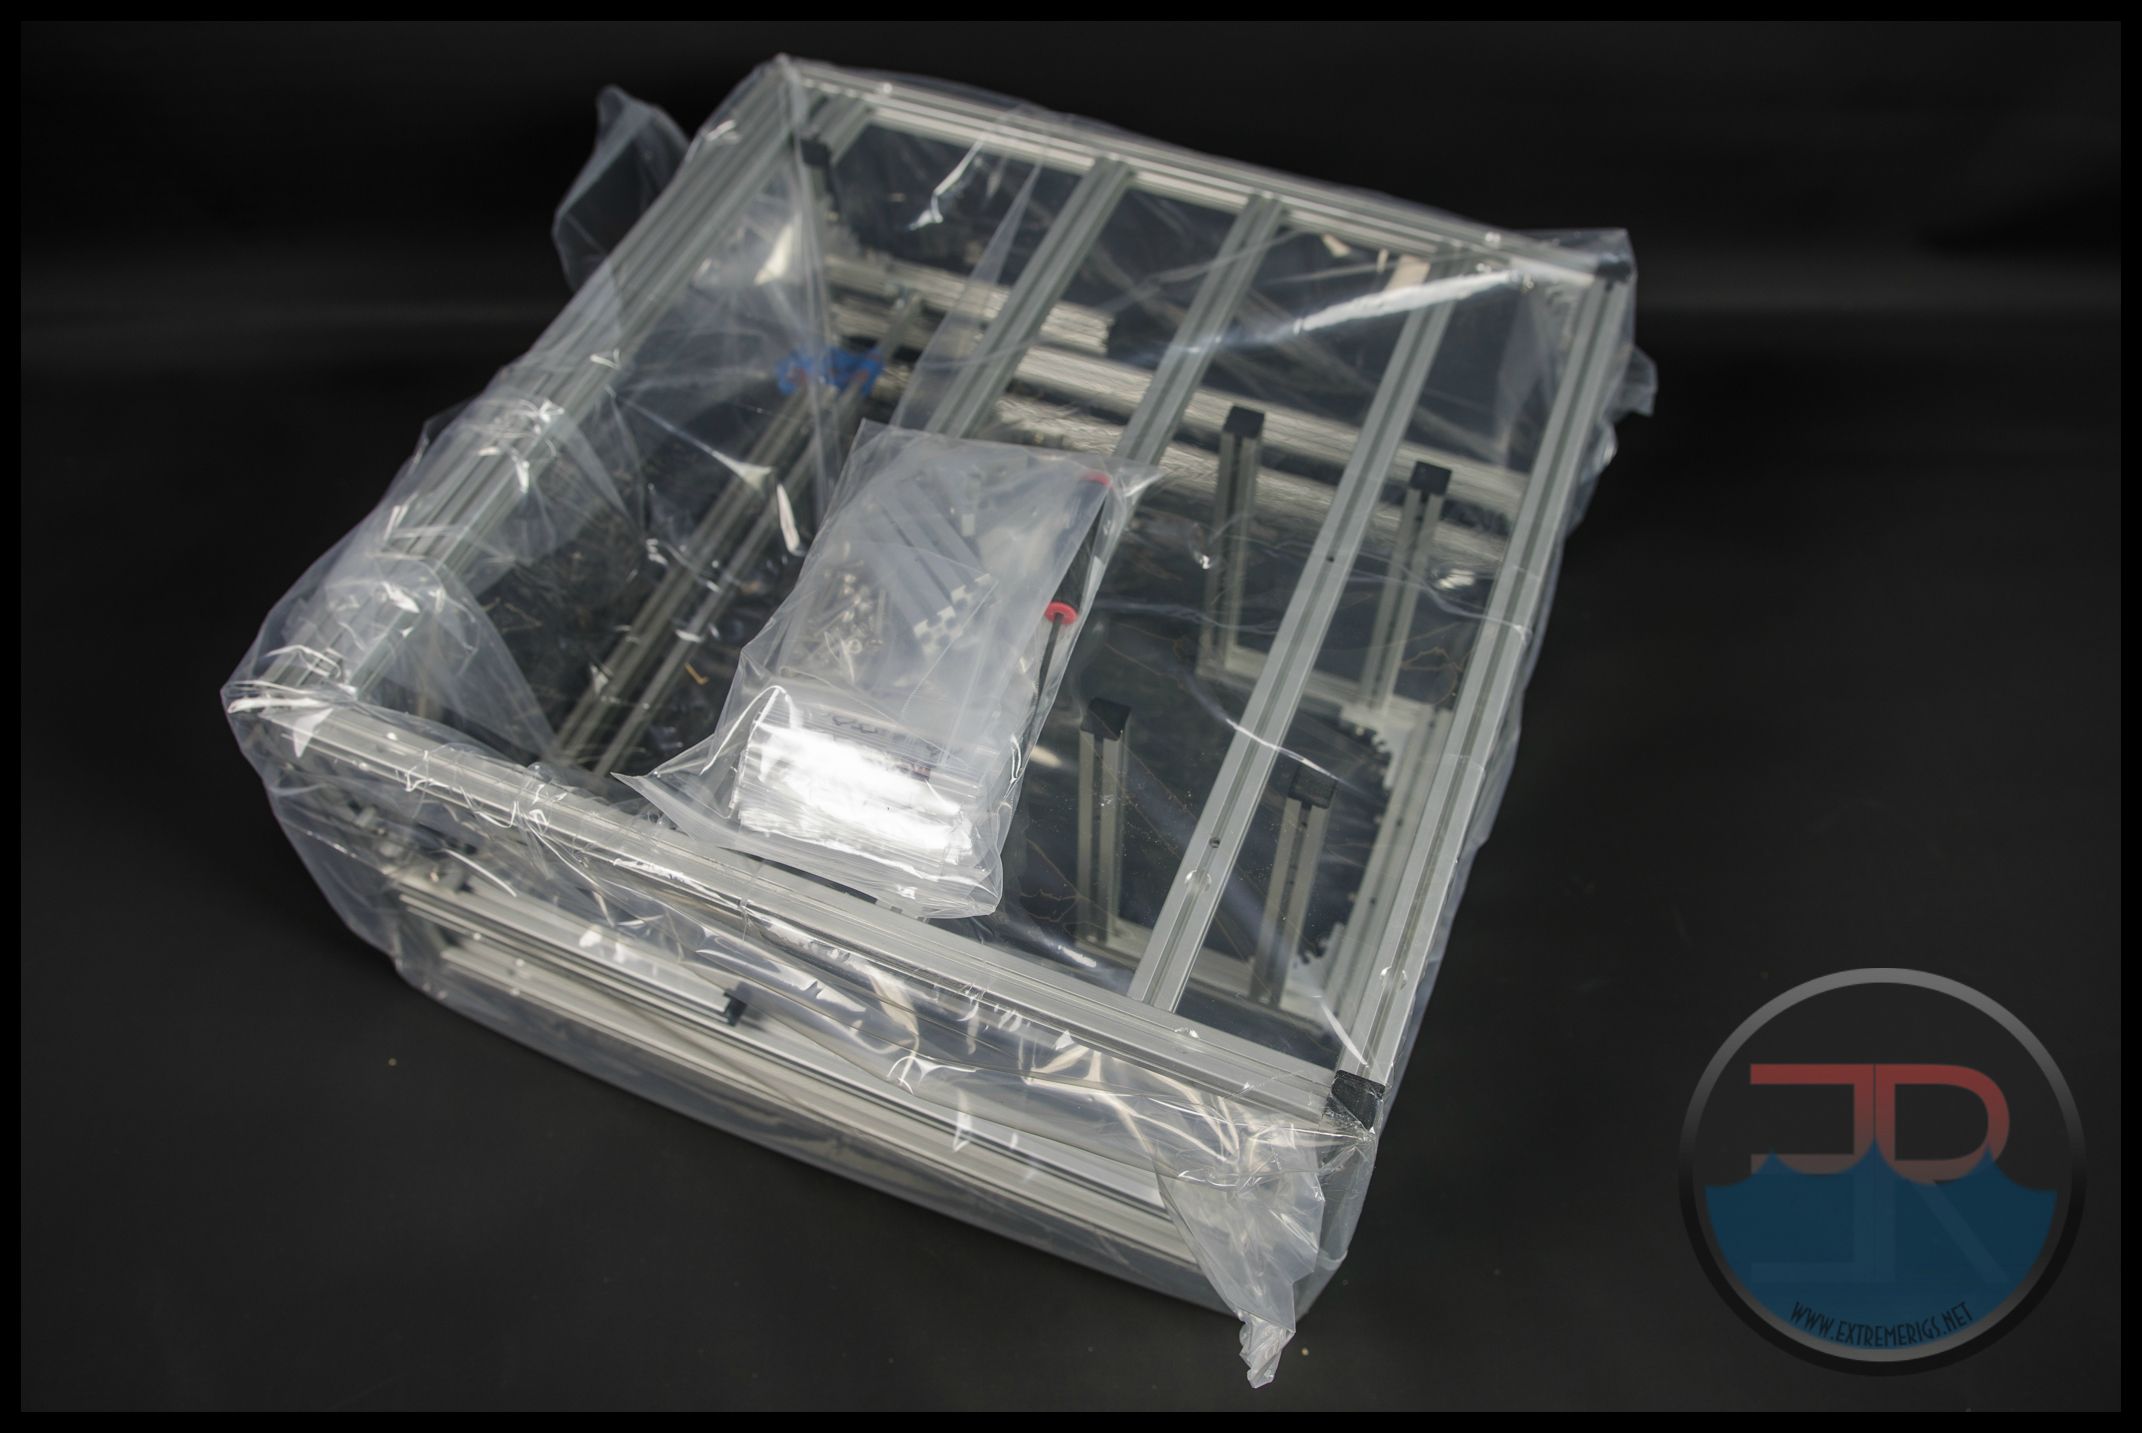
Once out of the box it was fully encased in plastic to prevent scratches
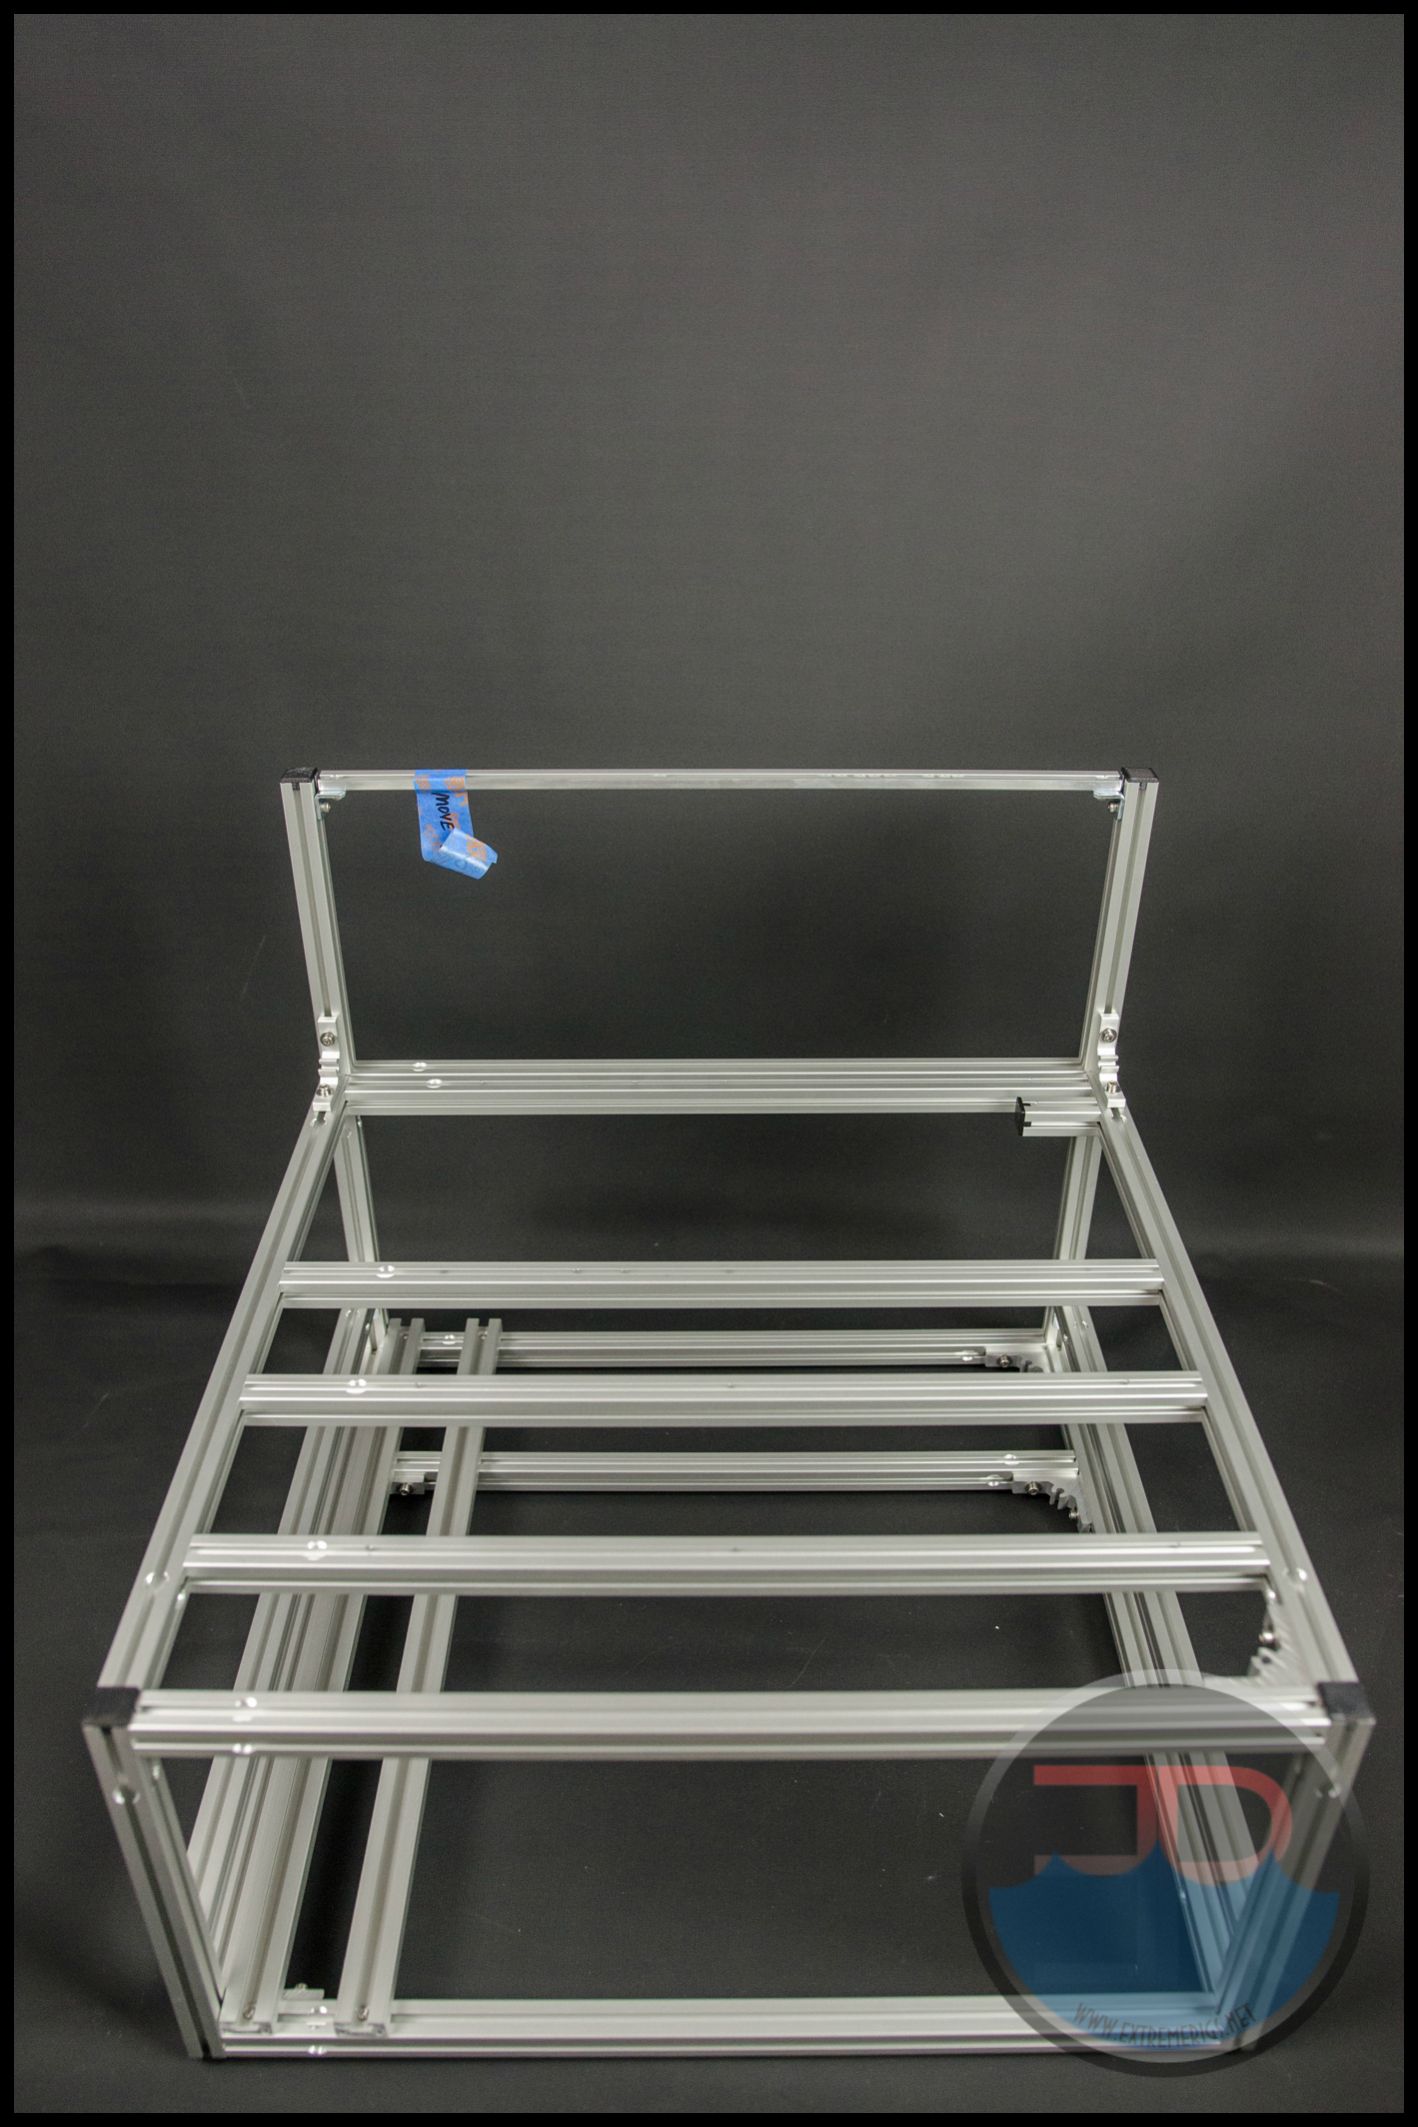
The bench is constructed entirely out of aluminum and is incredibly sturdy. My previous bench was acrylic and is put to shame by this one. Luckily the bench is 90% already assembled and did not require a lot assembly on our end.
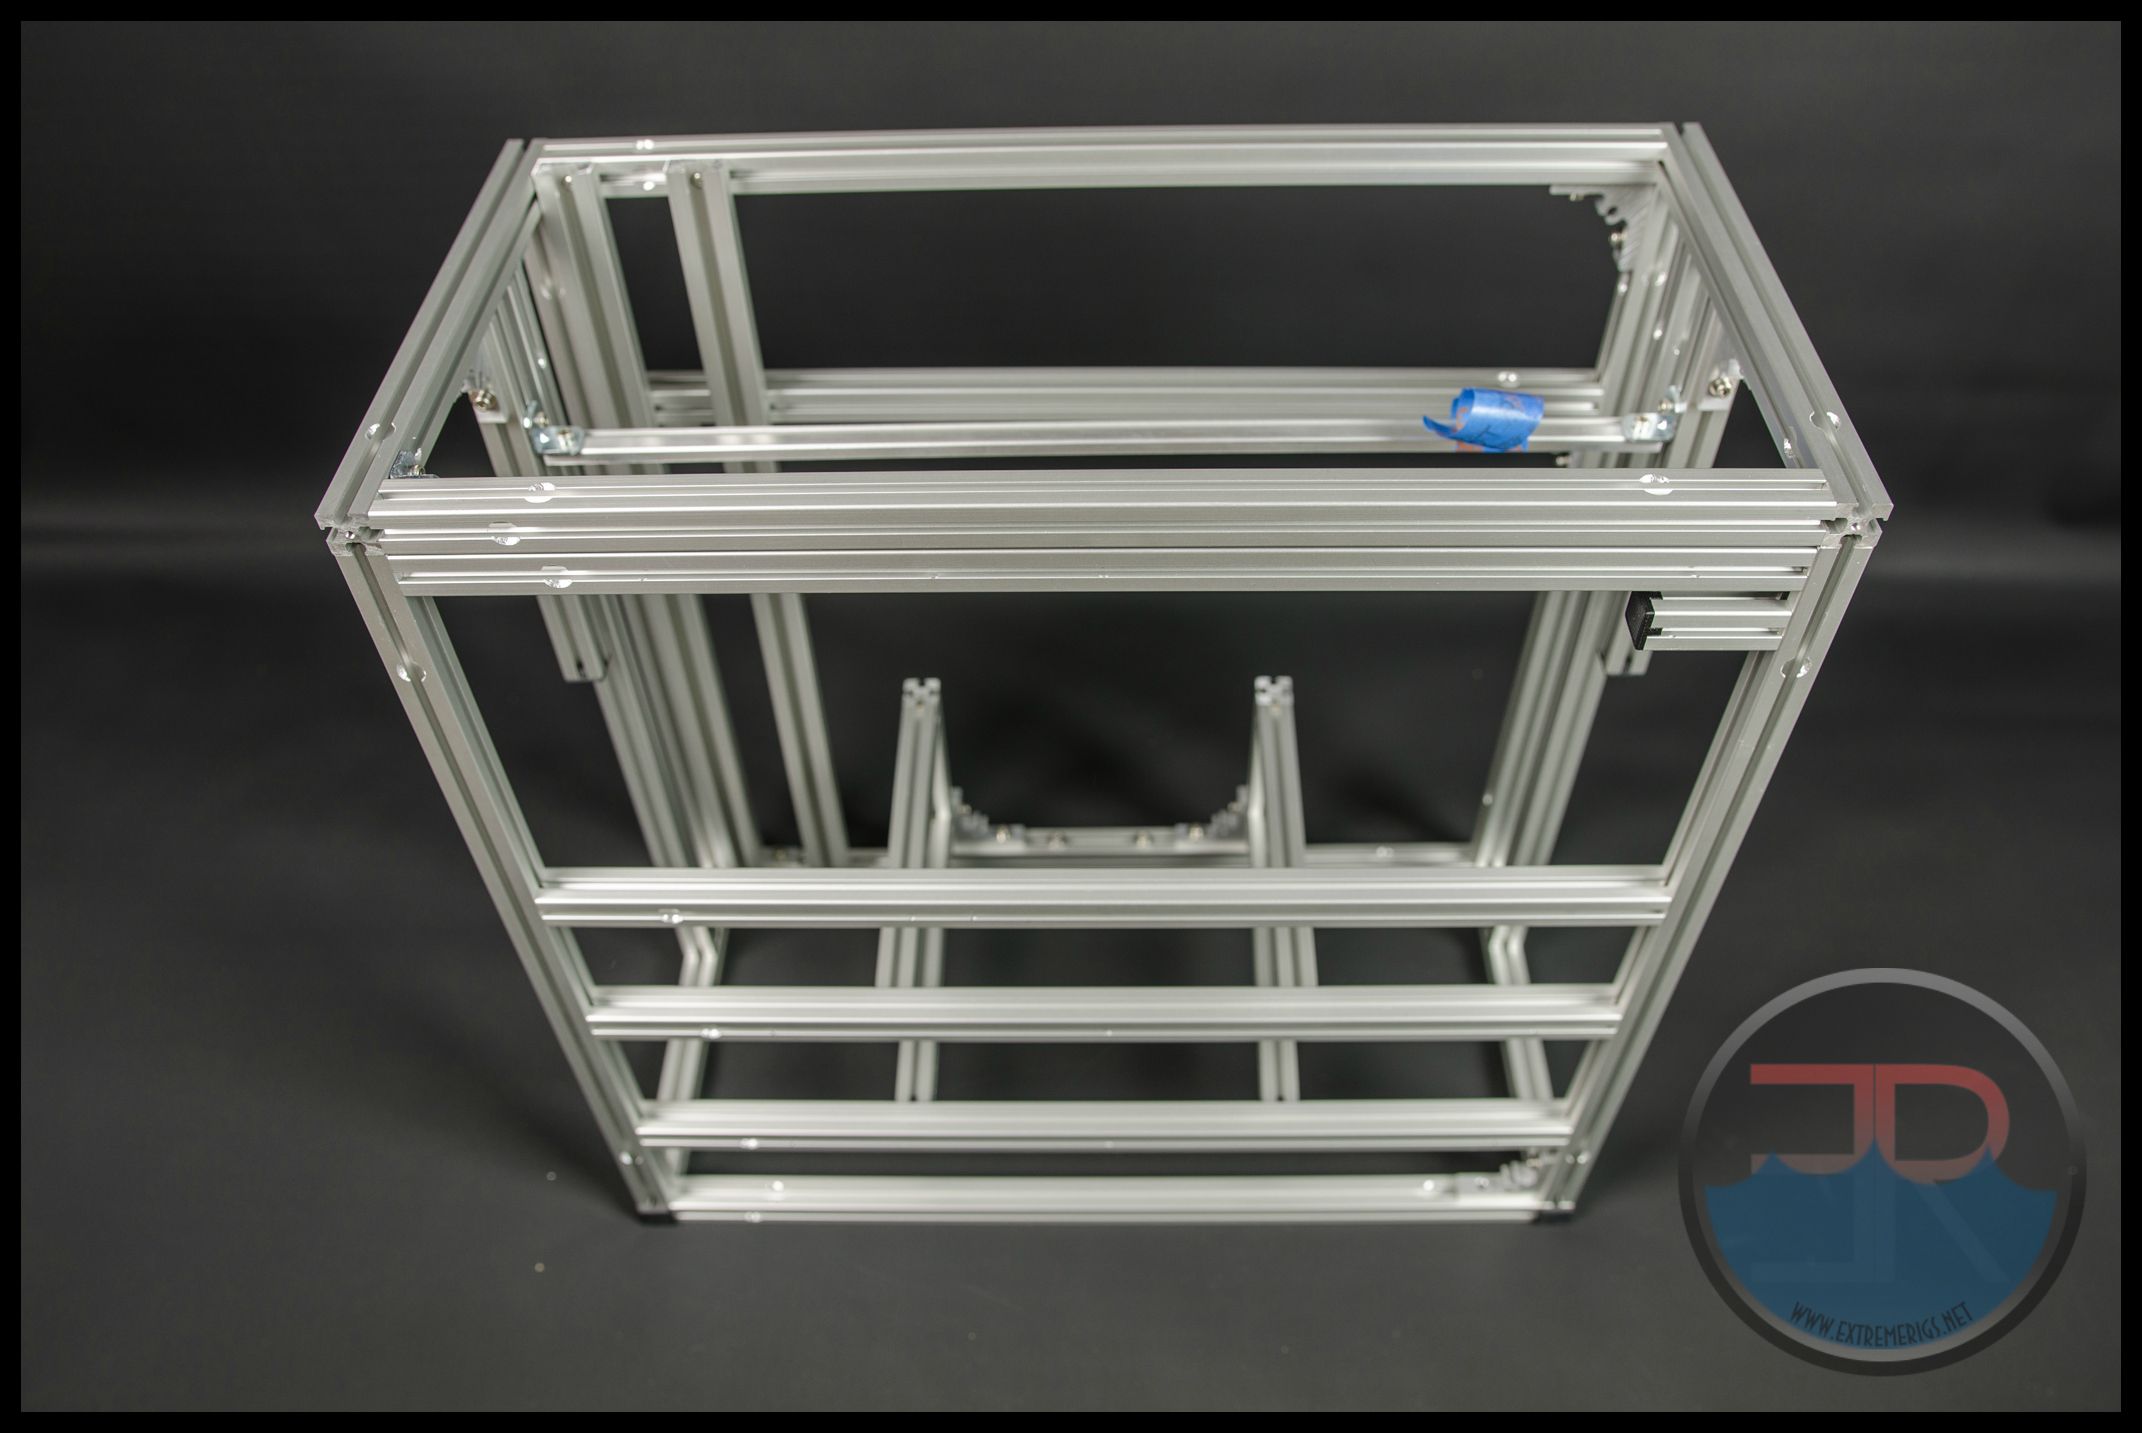
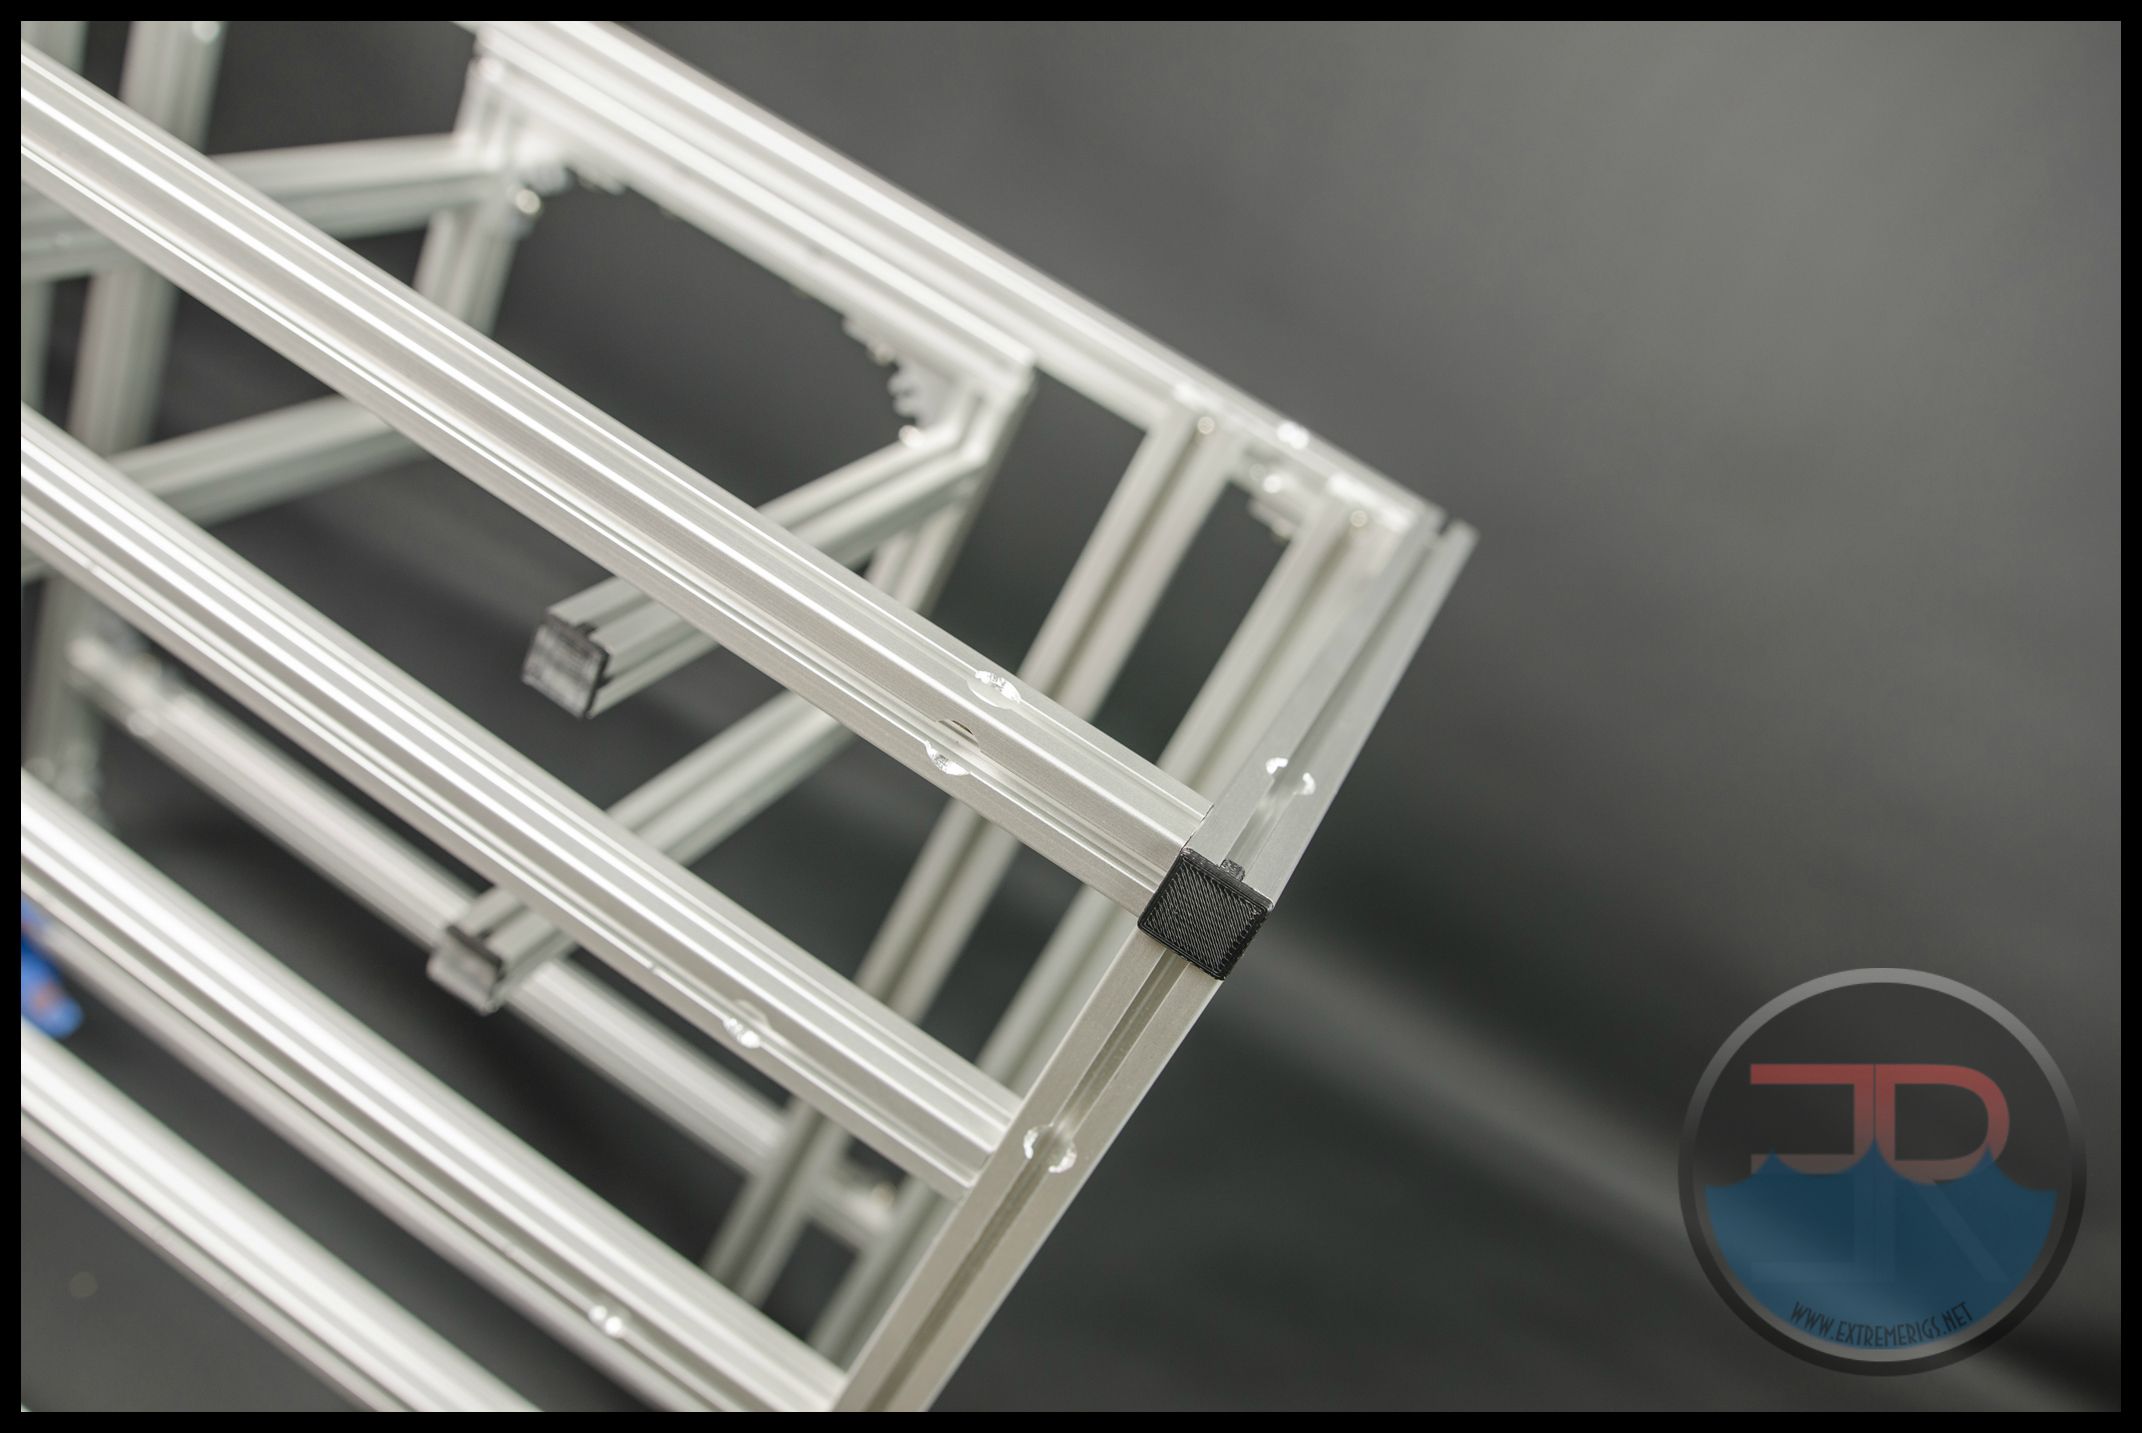
The frame is sturdy and 100% aluminum.
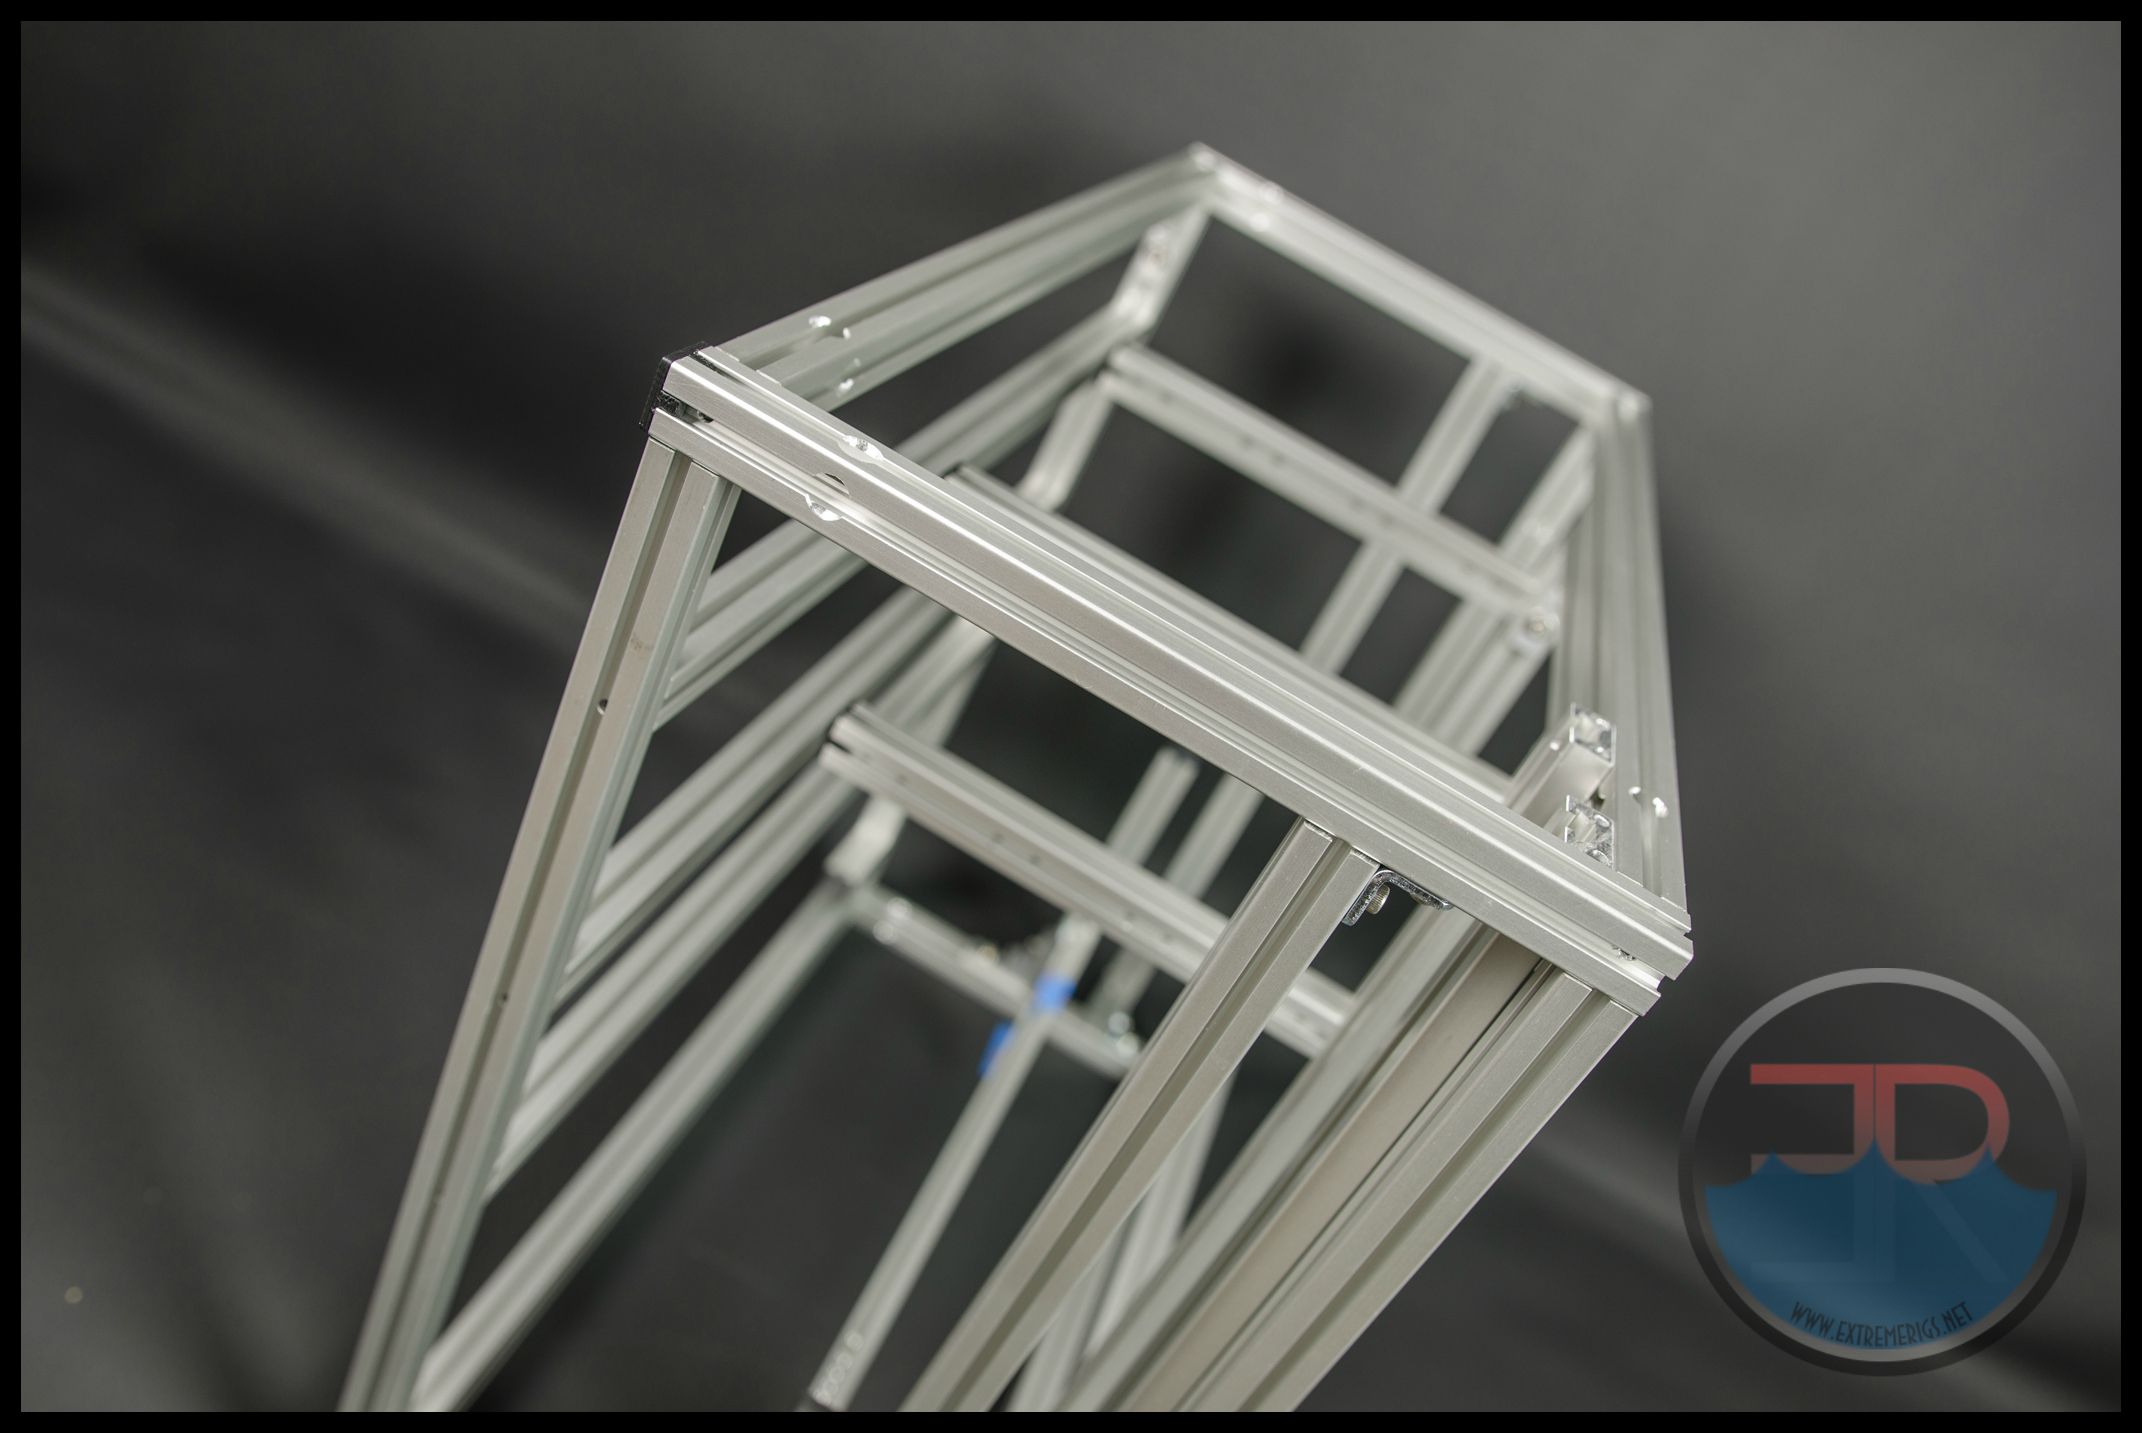
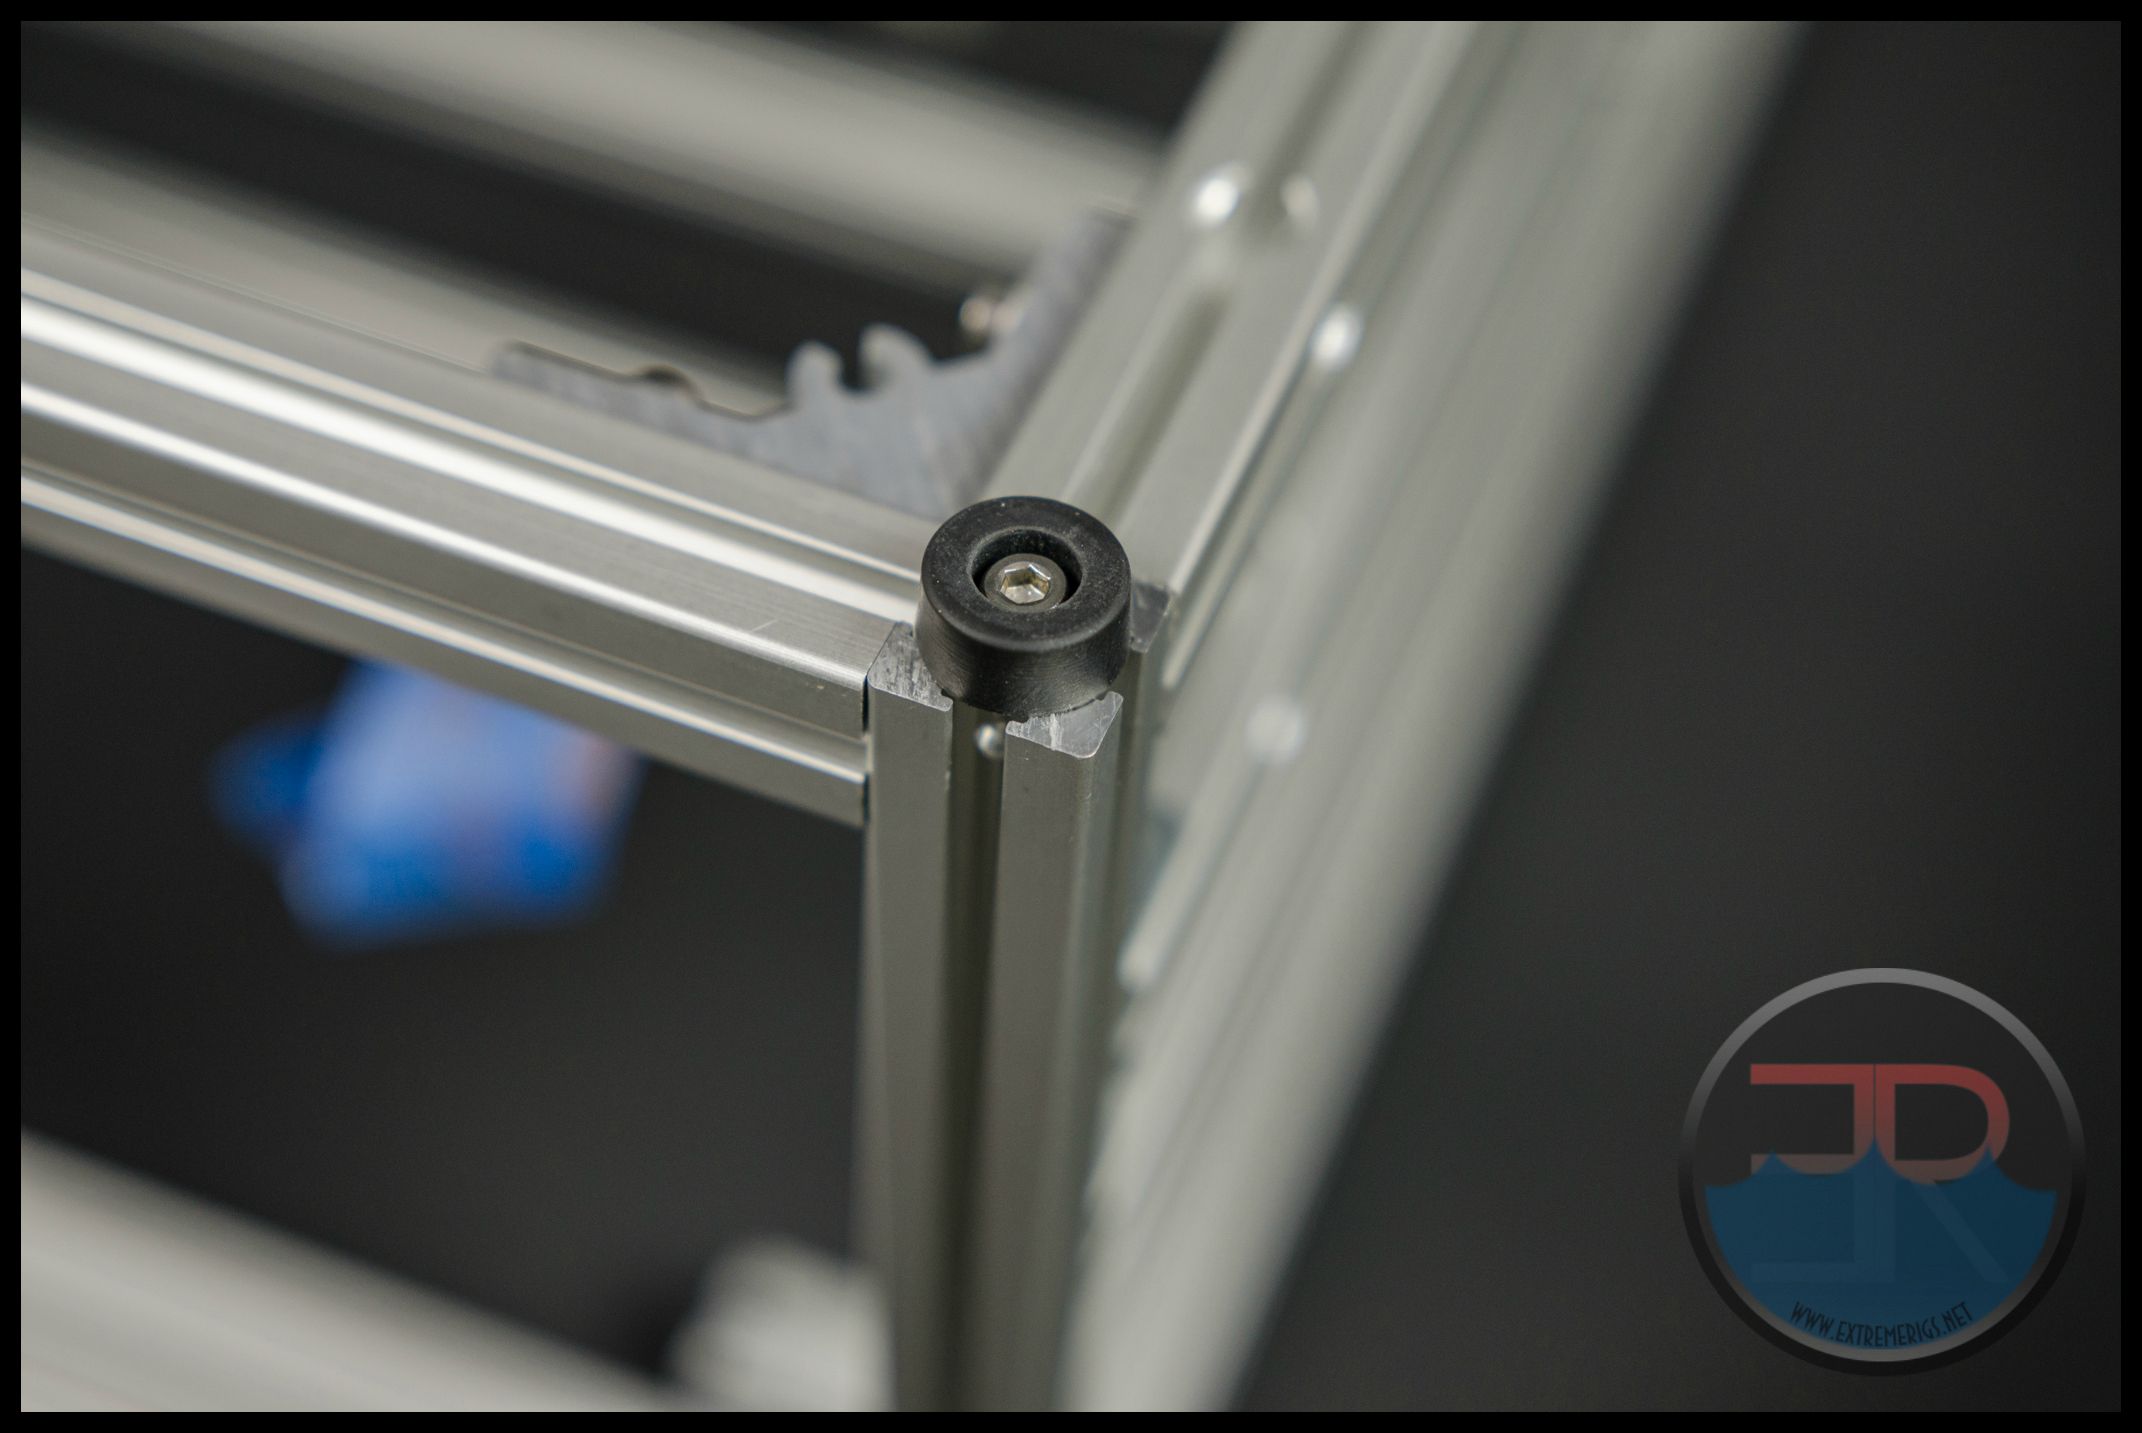
Protective caps go on the corners as the extruded aluminum can catch pieces of clothing, particularly if the cut isn’t perfectly smooth.
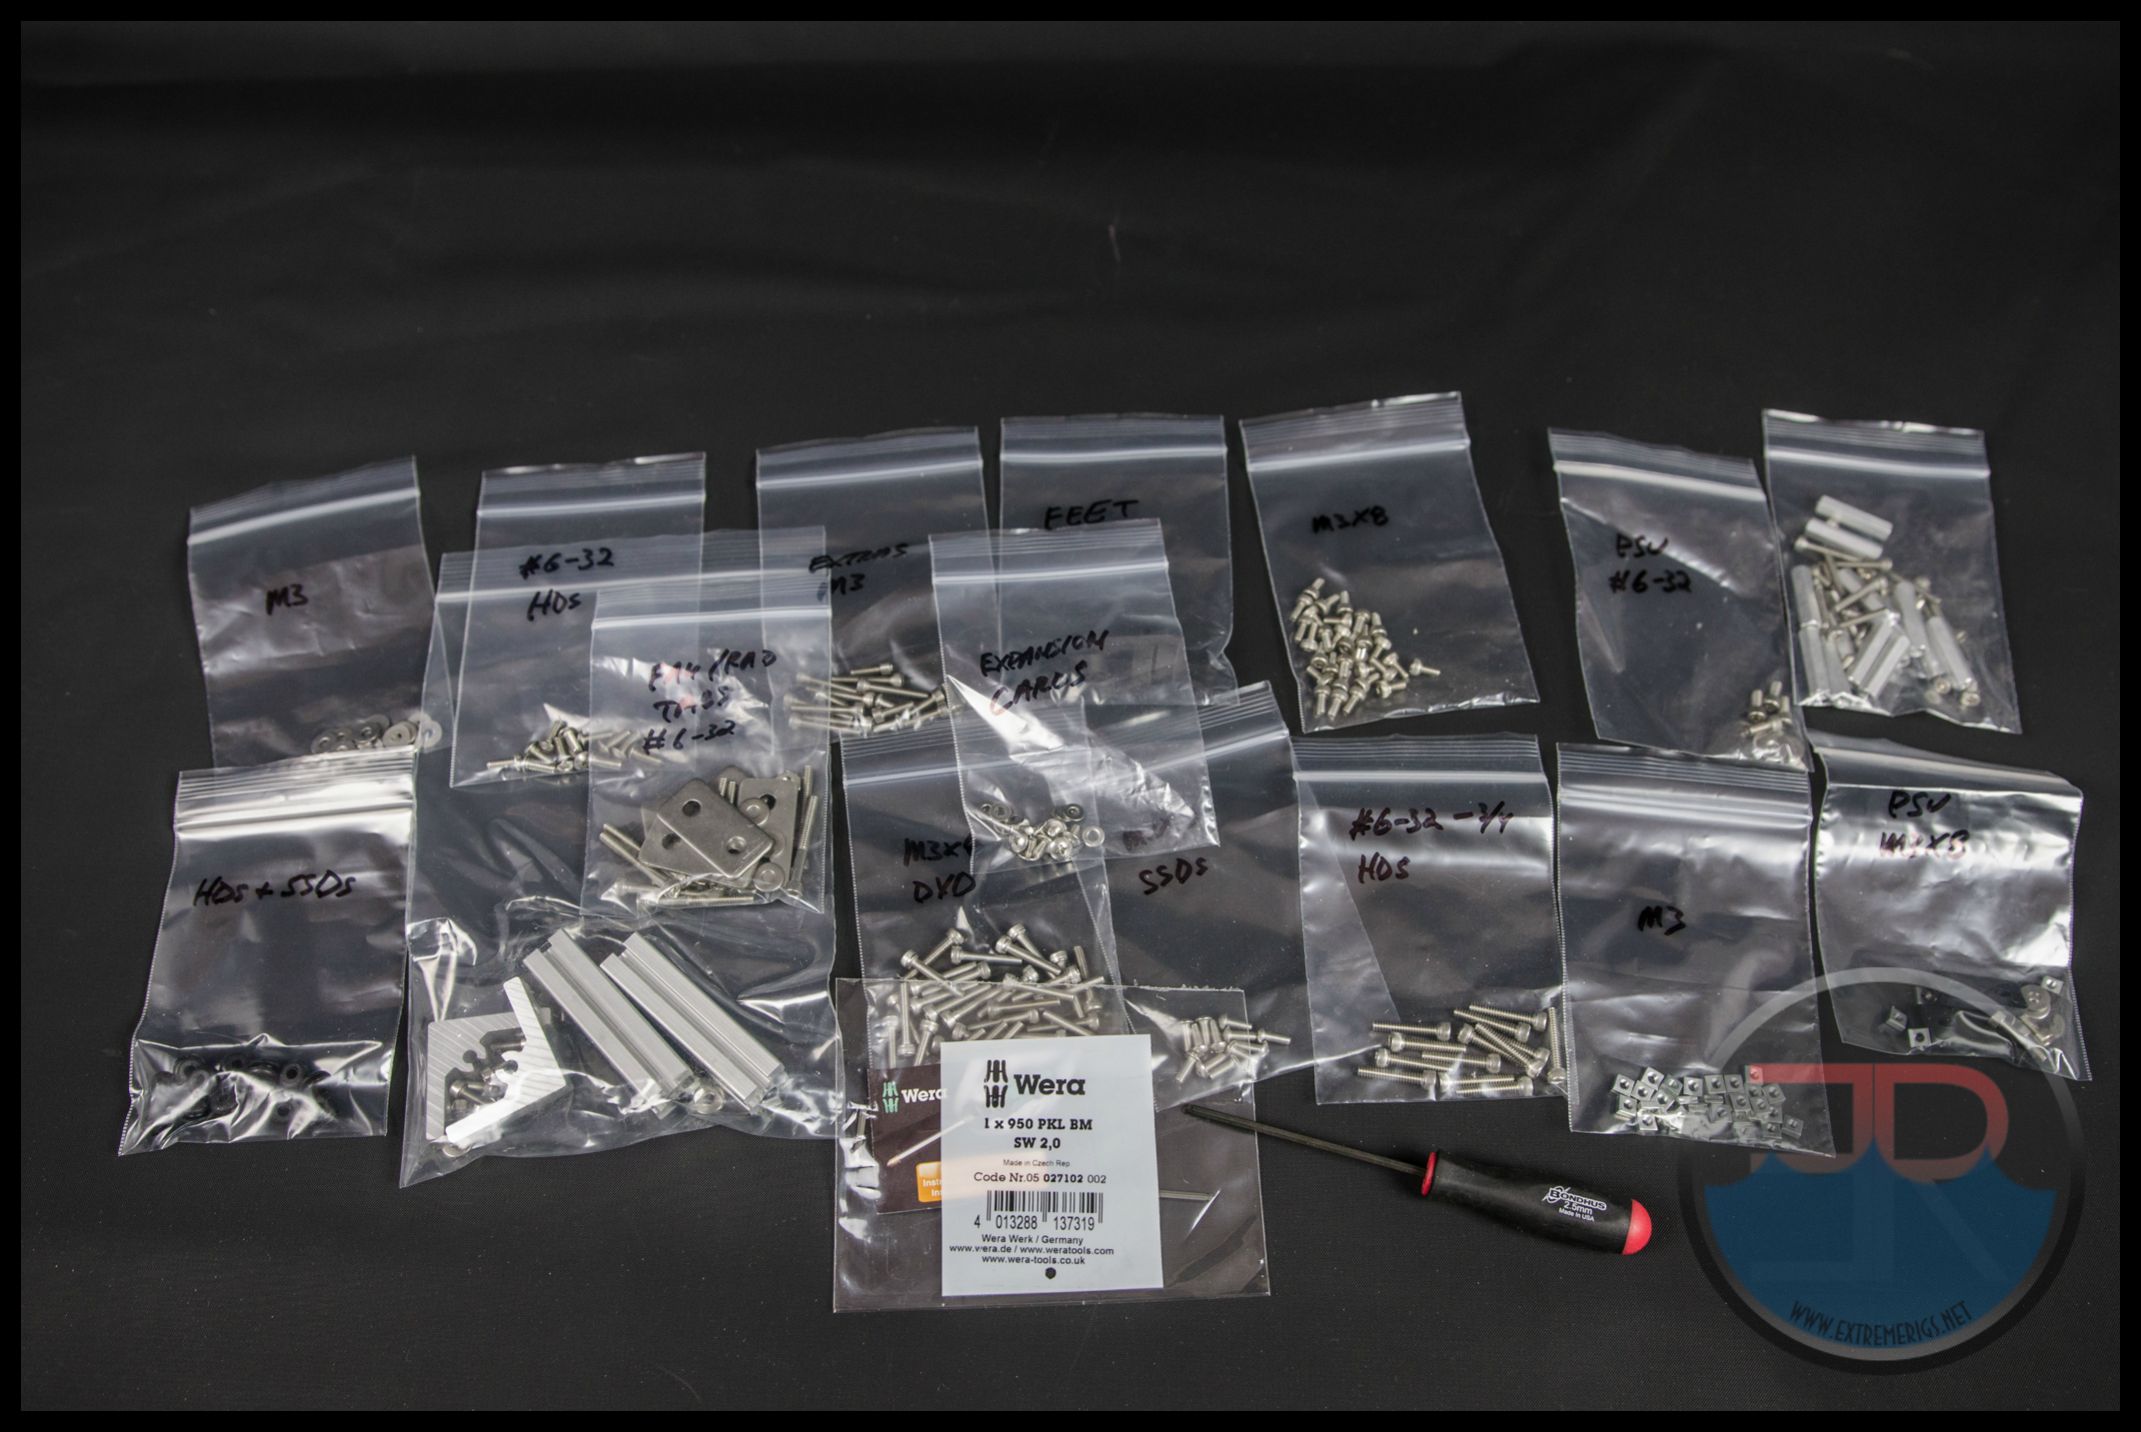
Spotswood includes every piece of hardware one would ever need to use and even includes a tool! While the bench is mostly assembled there will be some assembly to do before we are ready to get the hardware installed:
Rubber feet also stop any sliding as well as any surface damage:
The drive cage is secured to the chassis with two bolts:
It also features rubber feet of its own on the other end to keep it secure when in place:
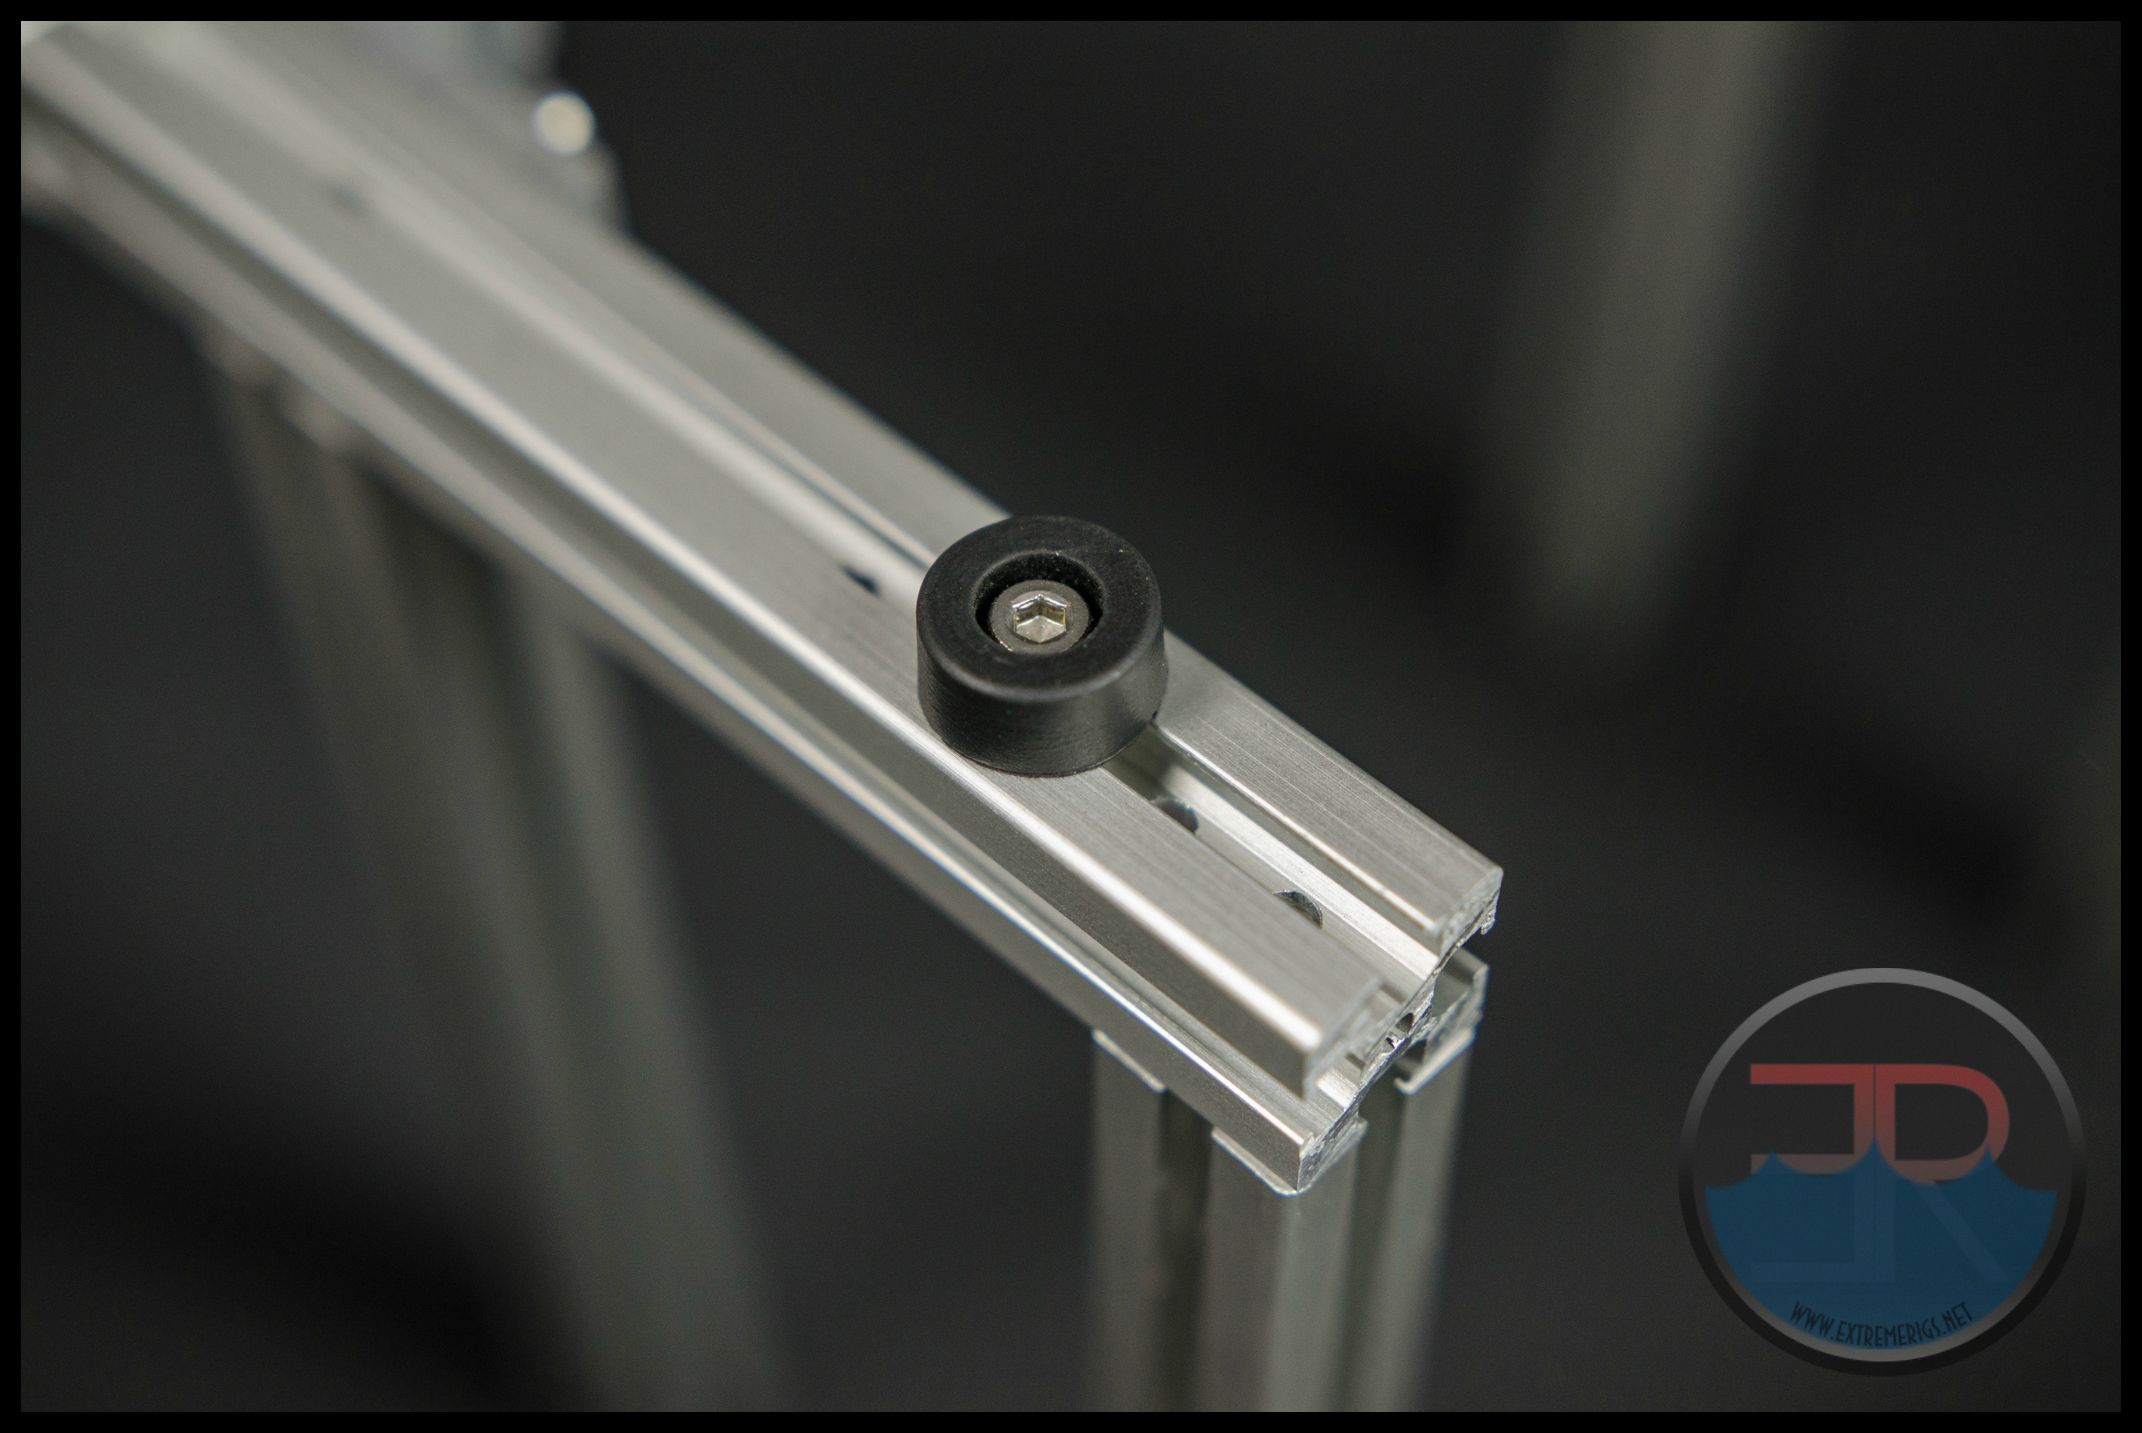
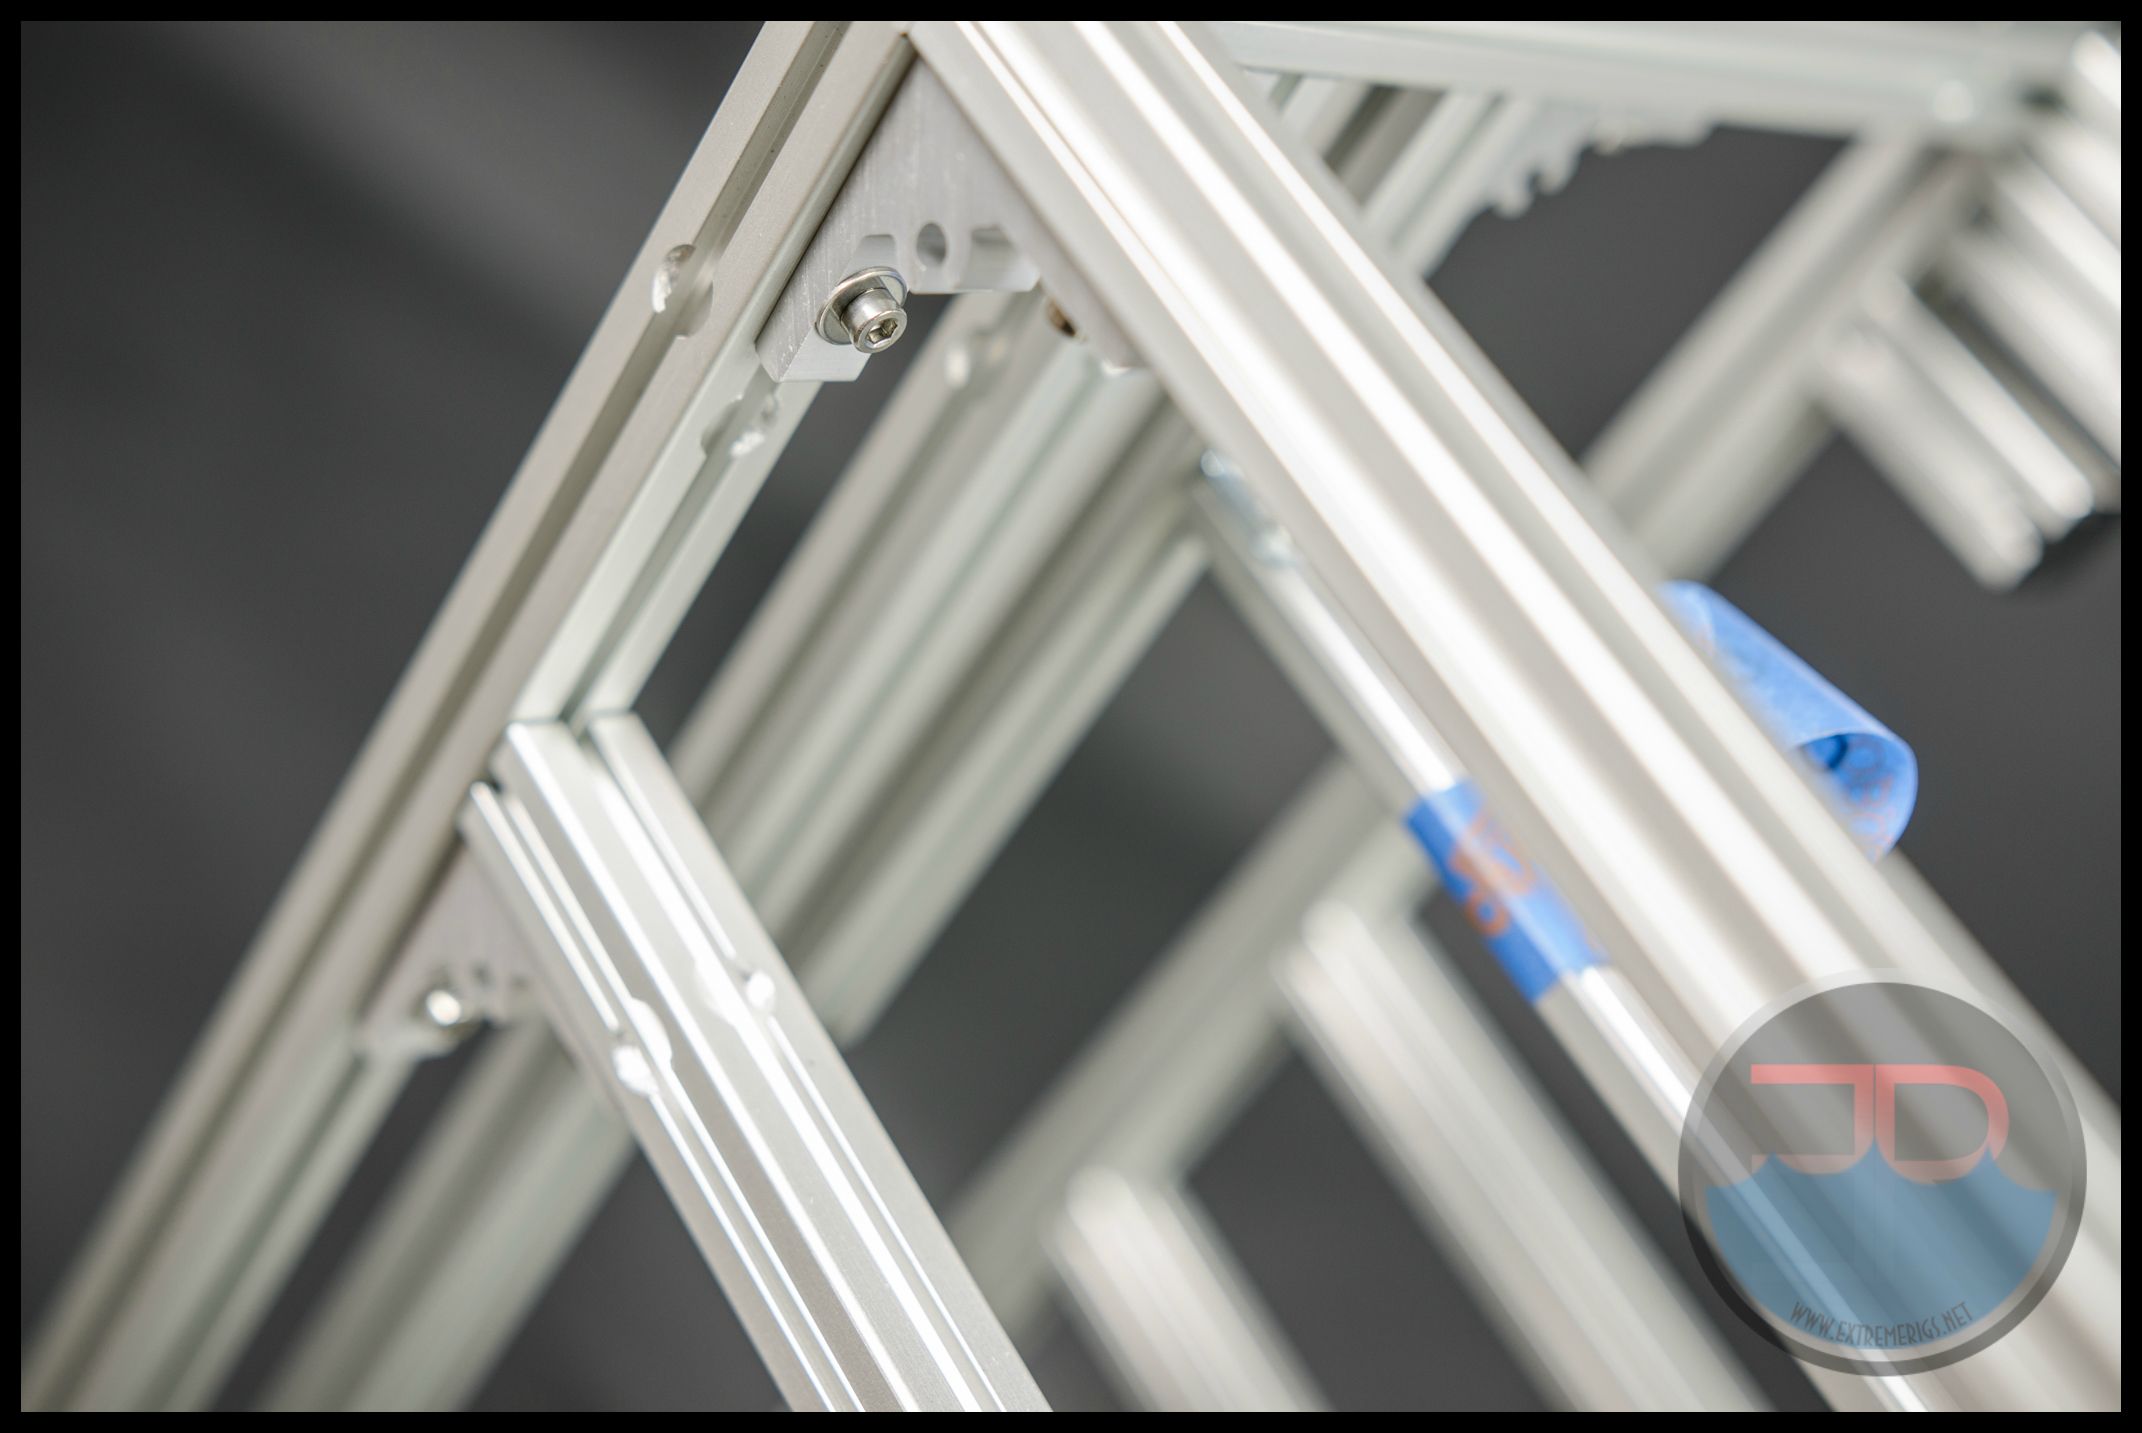
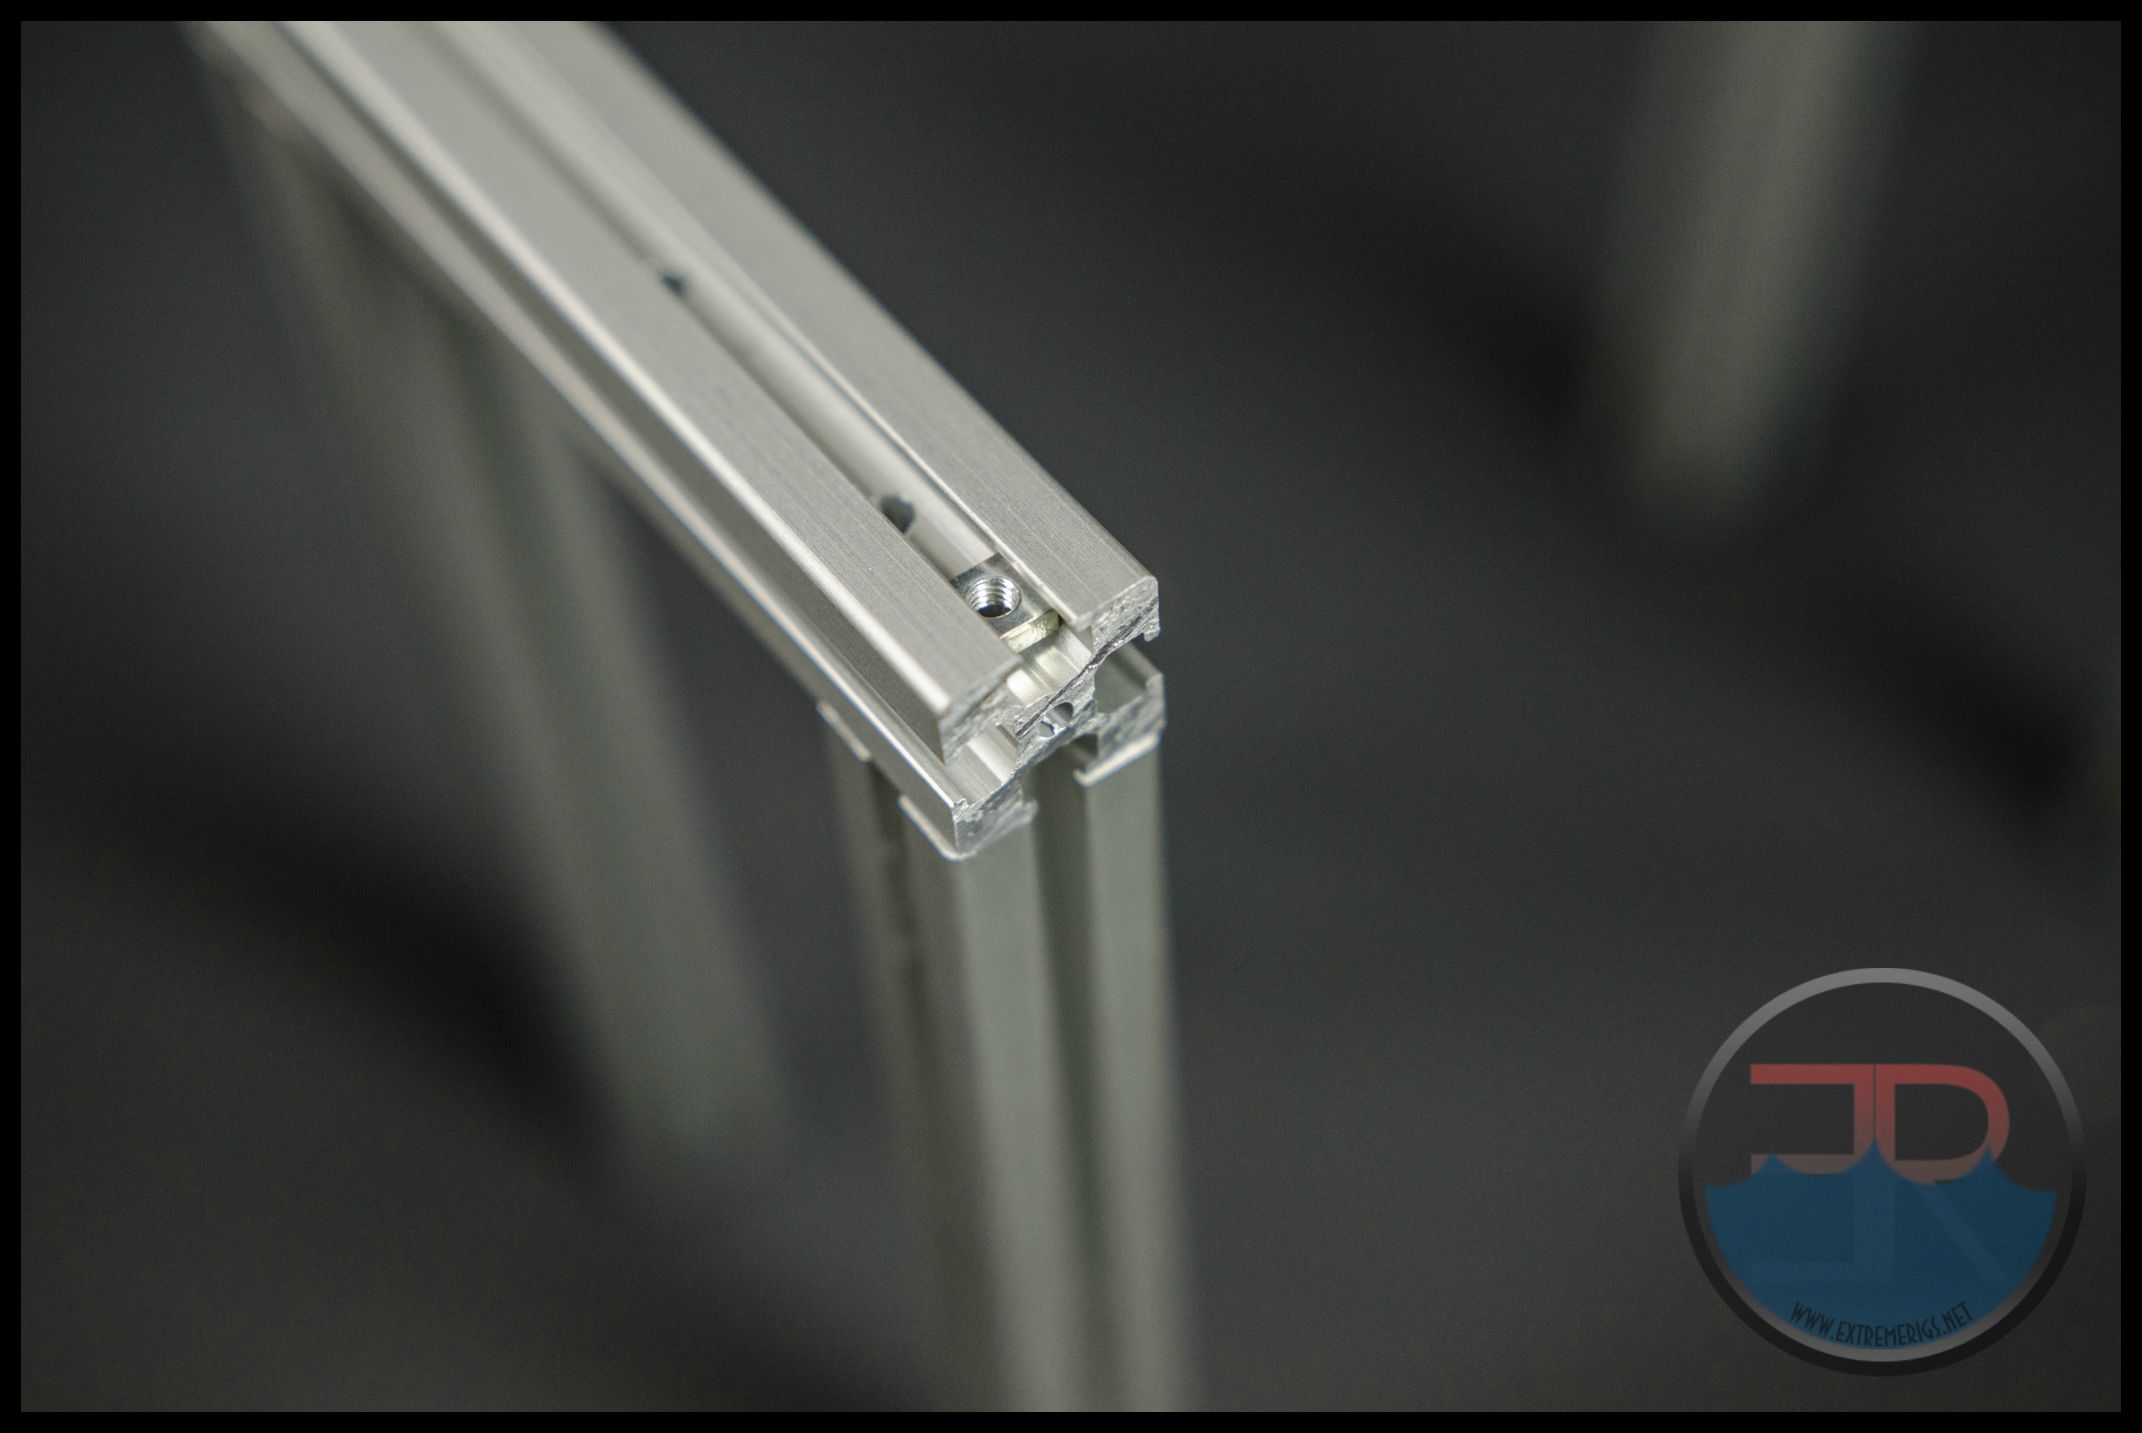
These are the key pieces that allow this bench to be modular and plain awesome – square M3 threaded nuts:
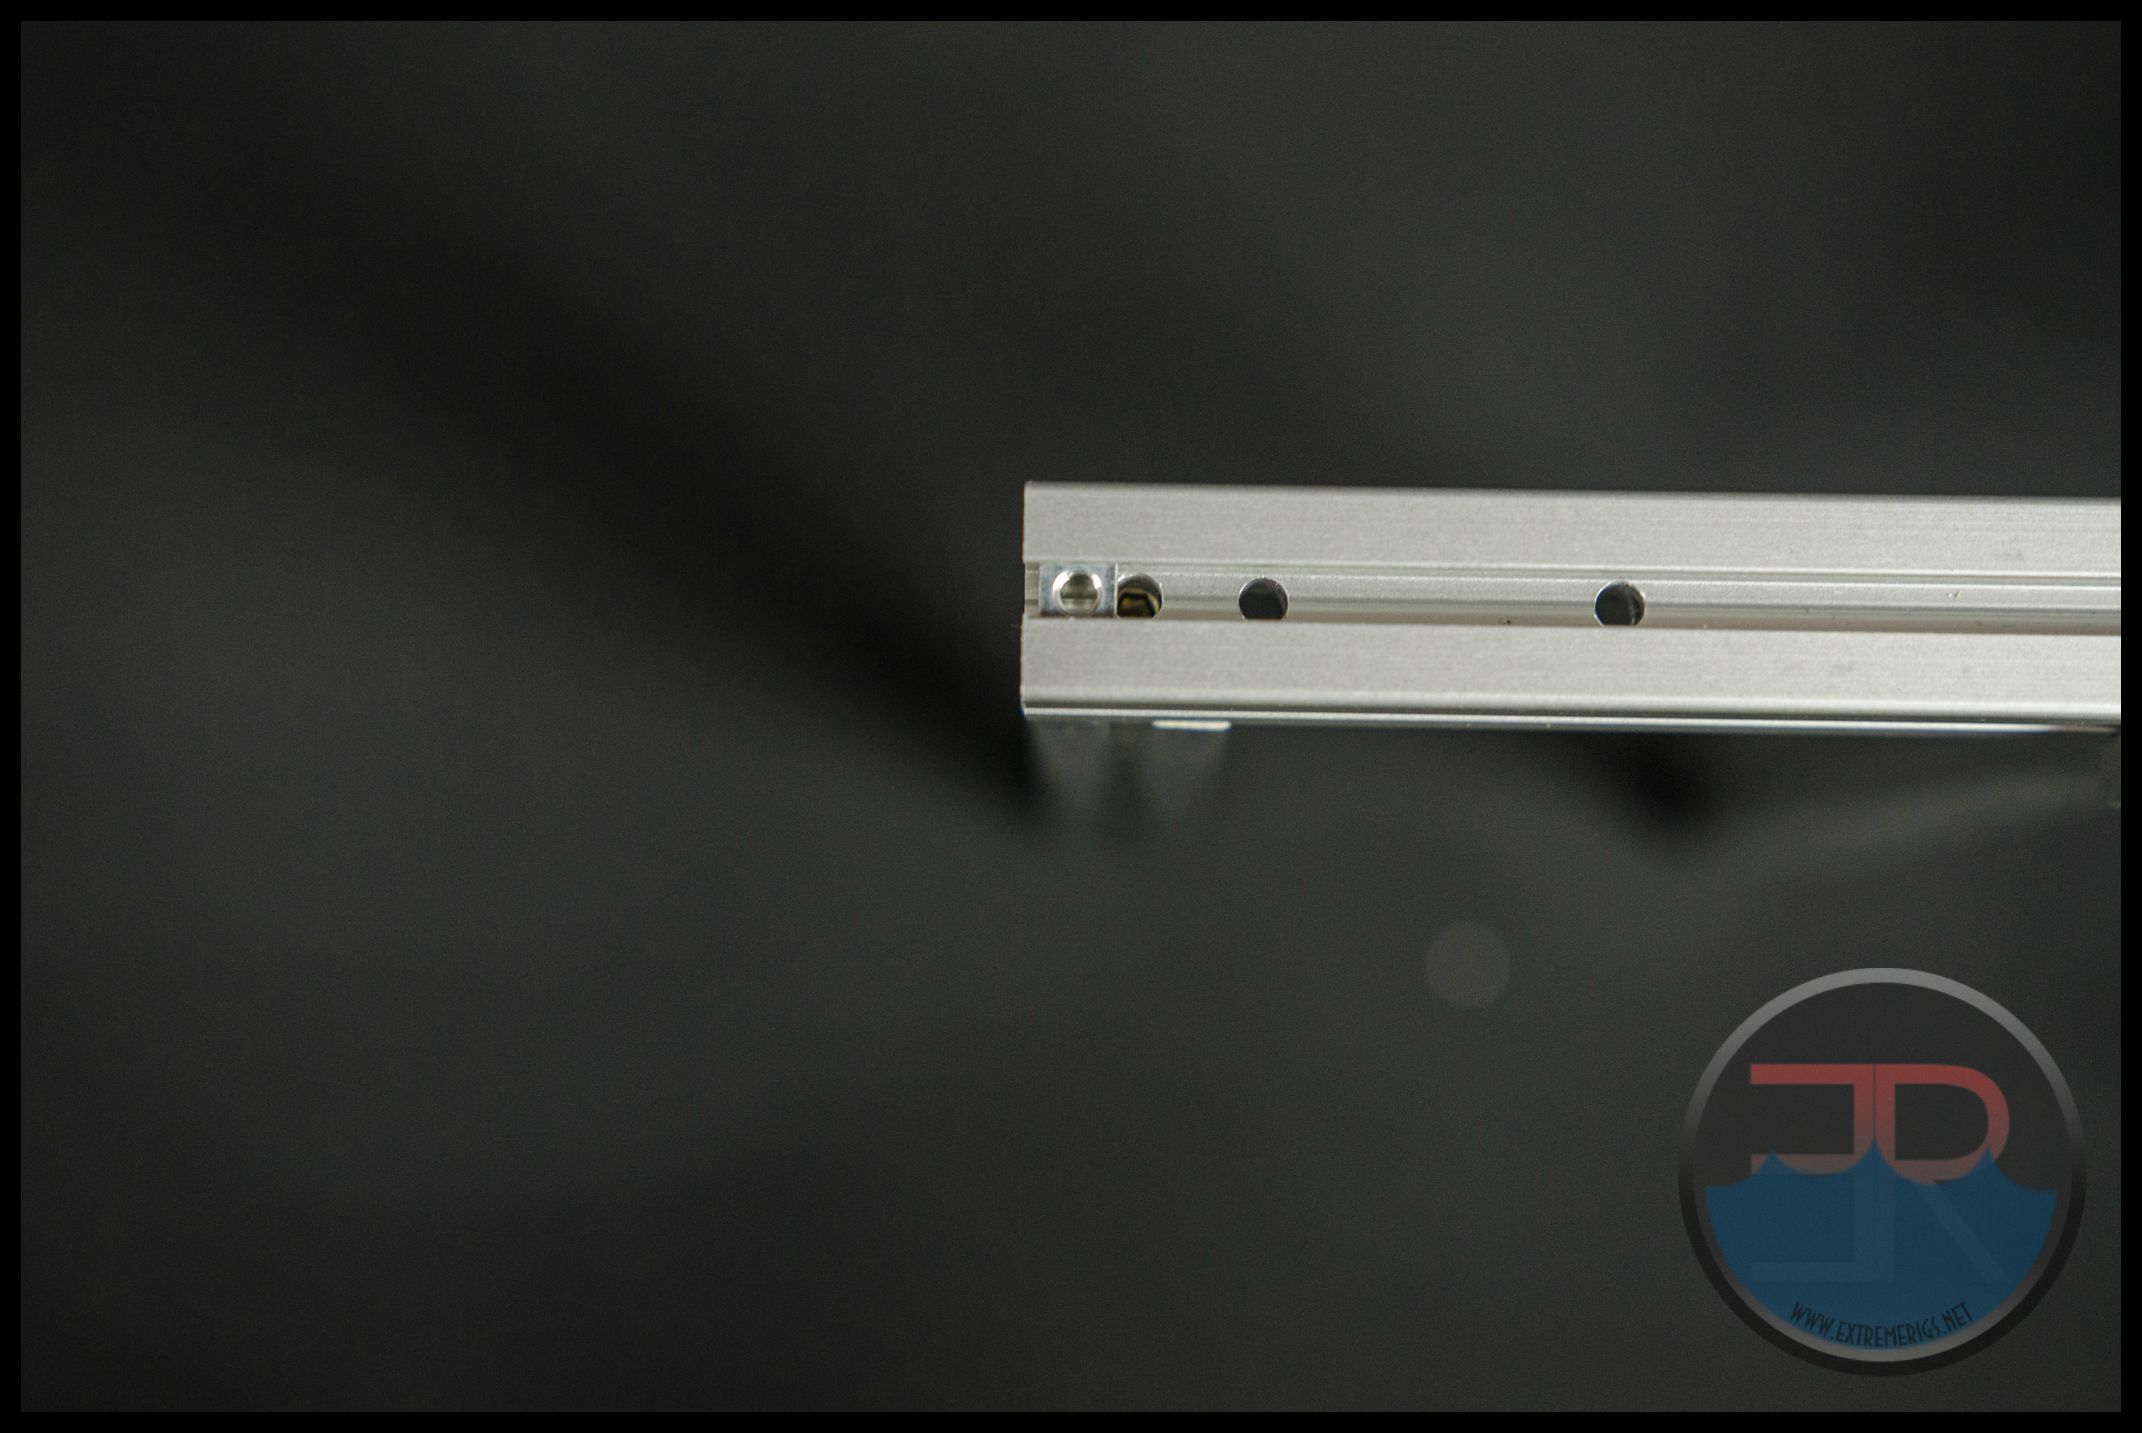
They slide in on the ends or in some cases can be slid in on custom cut holes.
Securing the expansion slot bracket only requires a corner piece, two screws, and two of the square nuts on either side.

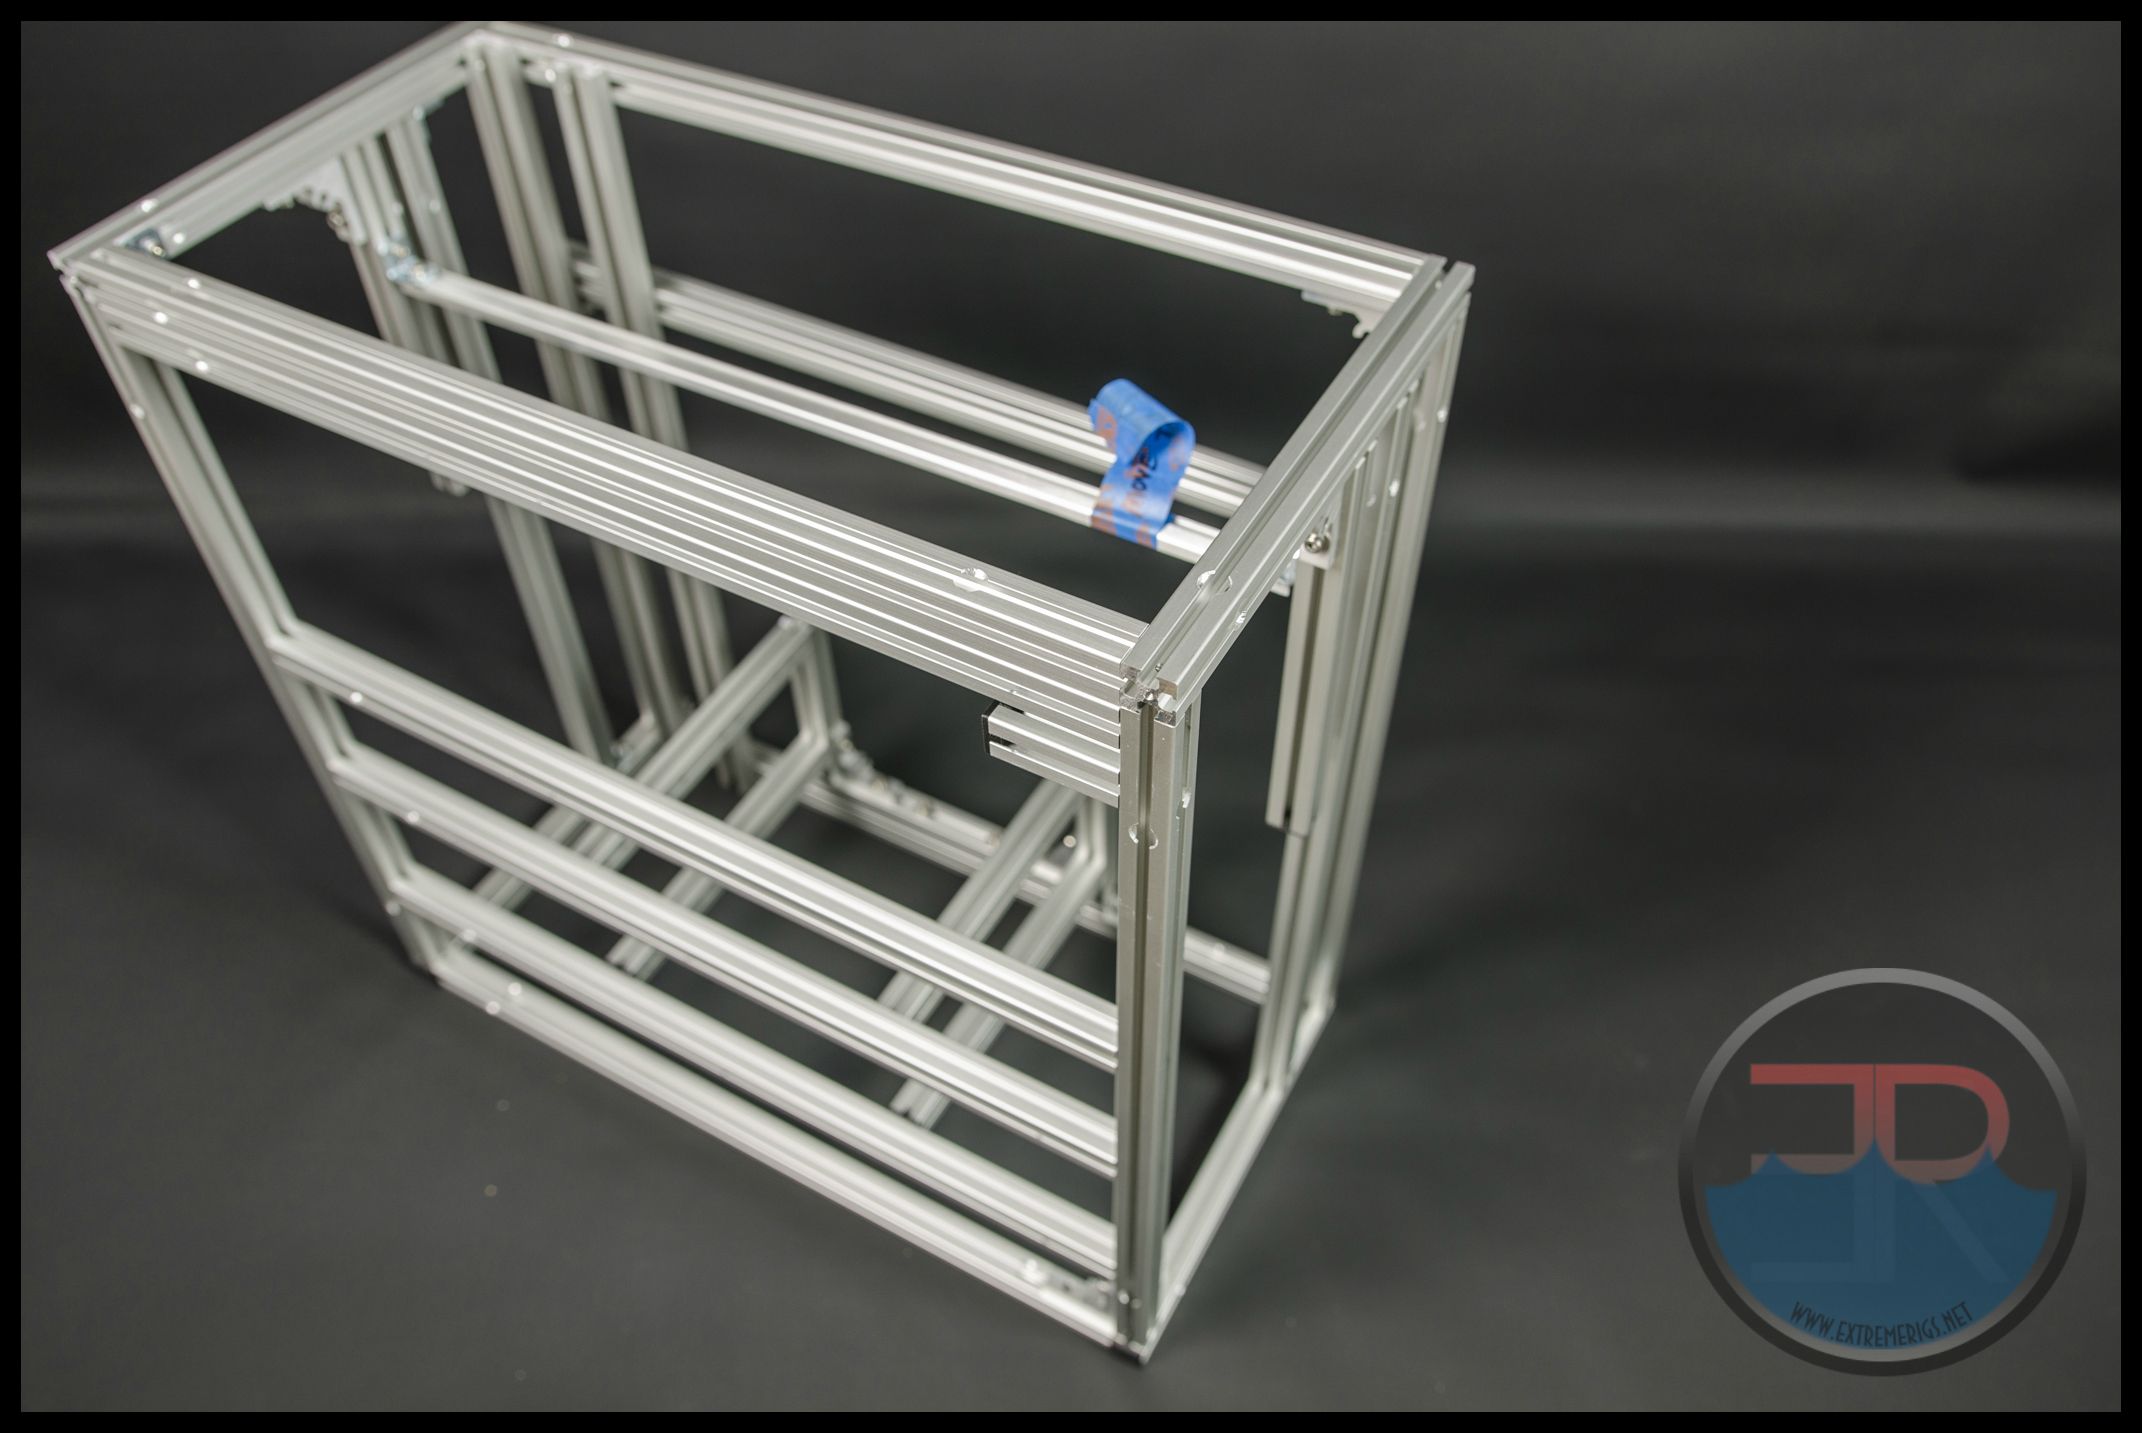
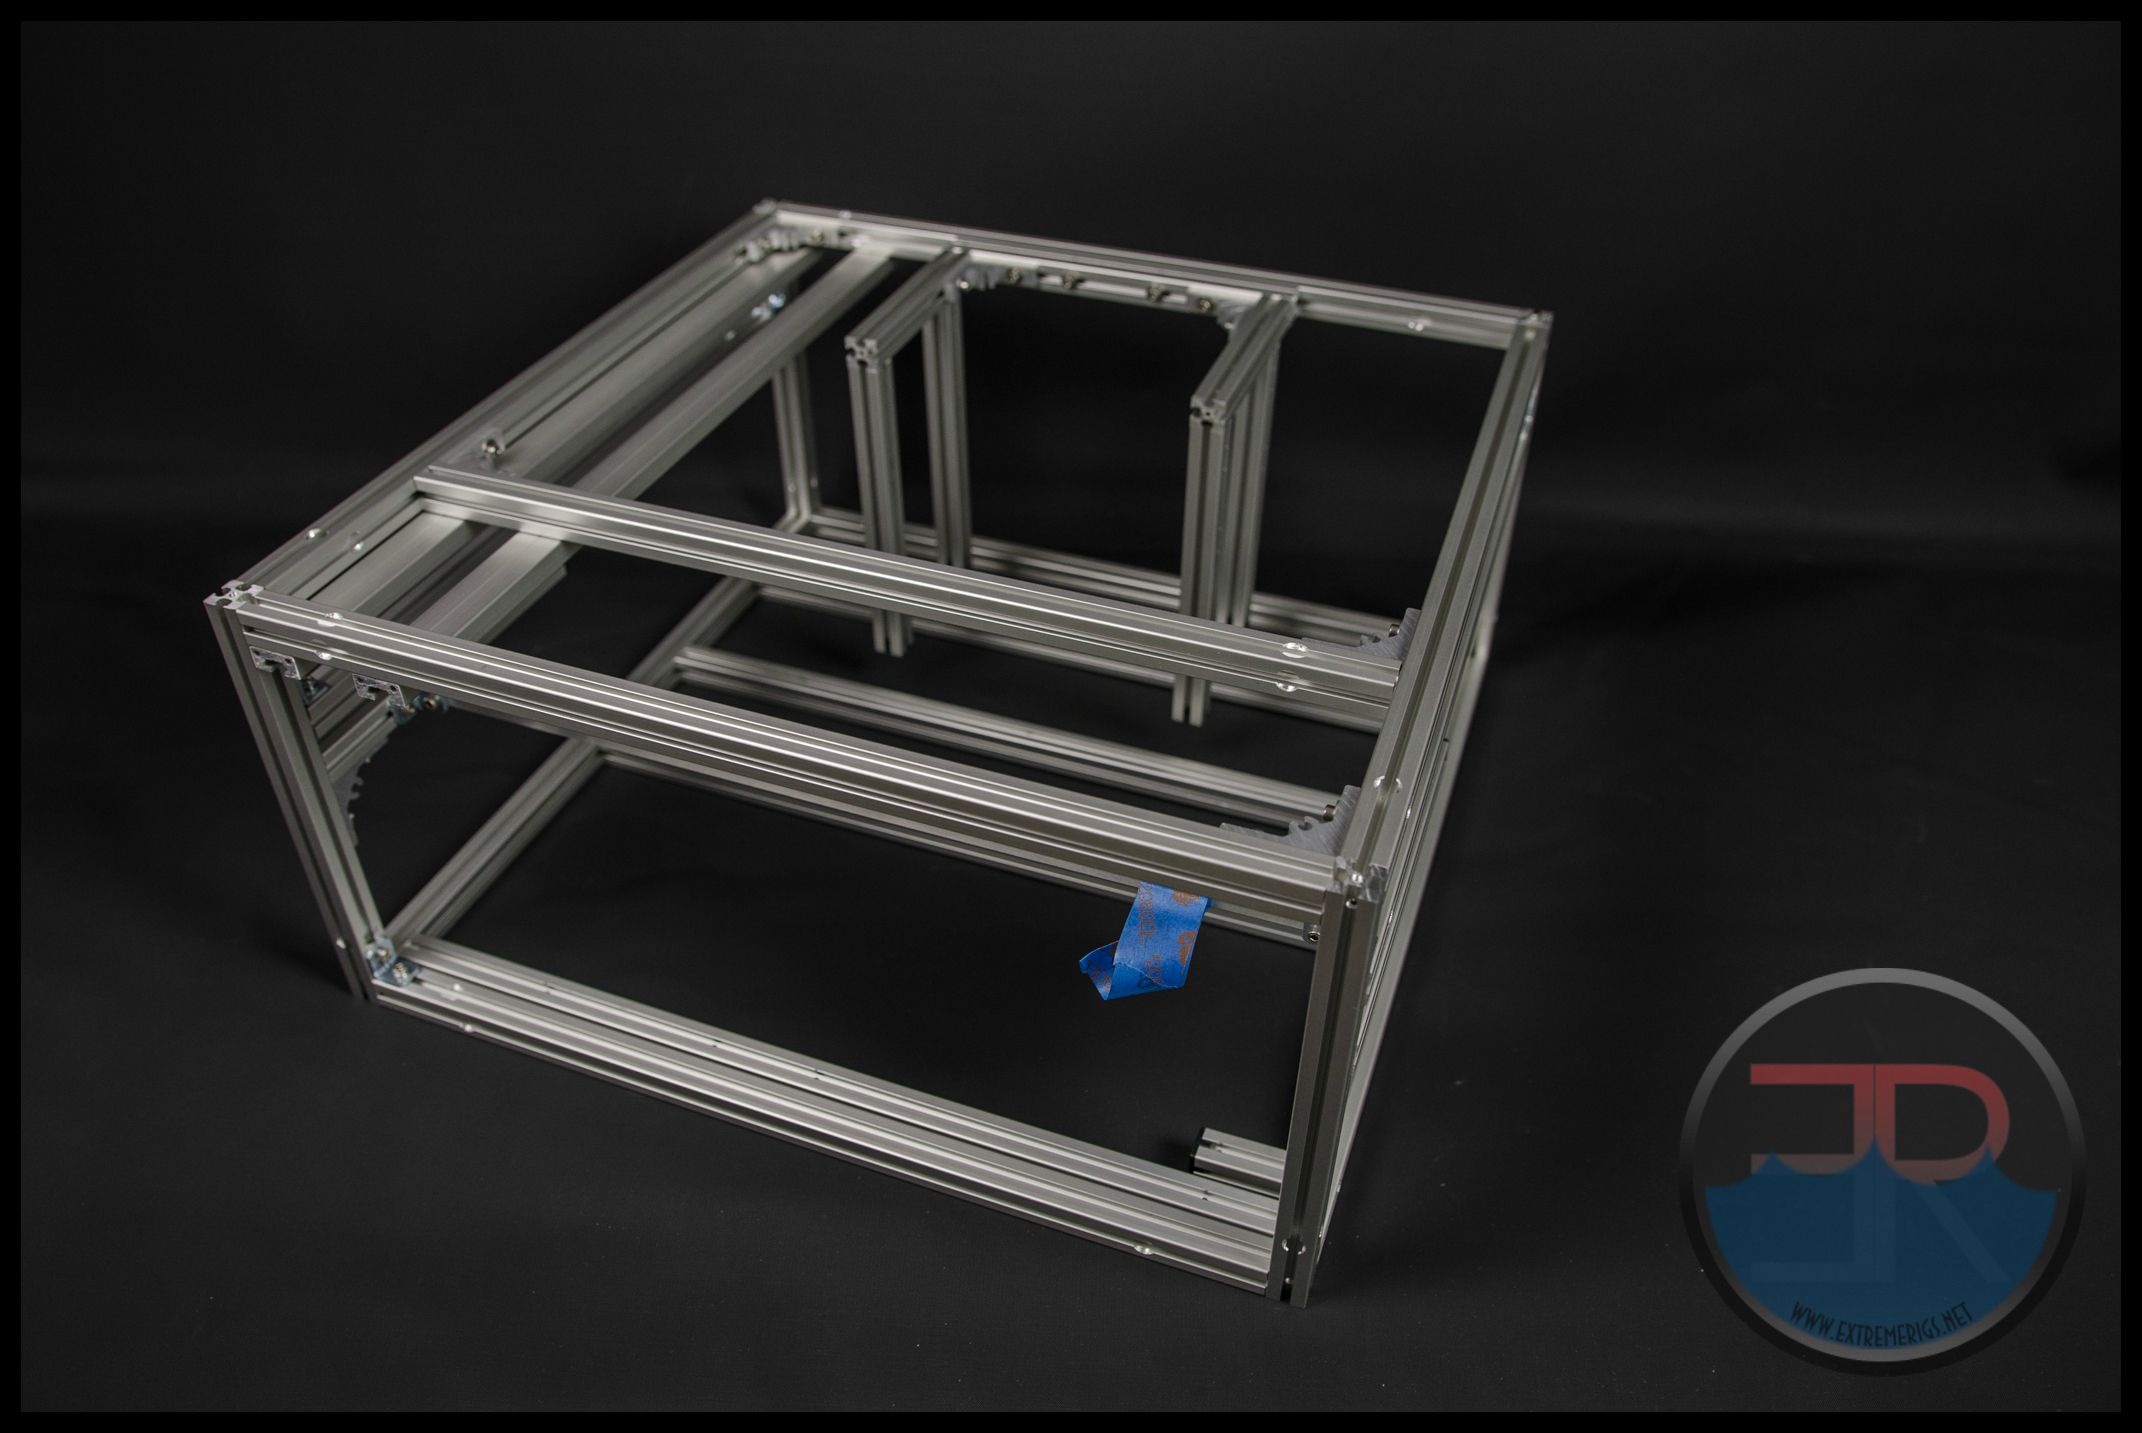
The bench in its entirety:
The PCI-E bar gave us a bit of trouble trying to line it up at the exact right place for our expansion cards on both sides however. While normal cases have screw holes to secure each device bracket with the included screws, the tech bench has a bunch of the square threaded nuts we showed you earlier that you use with the included screws to secure your expansion cards. We weren’t particularly fond of this system as they would slide around quite a bit and made it difficult to line up.
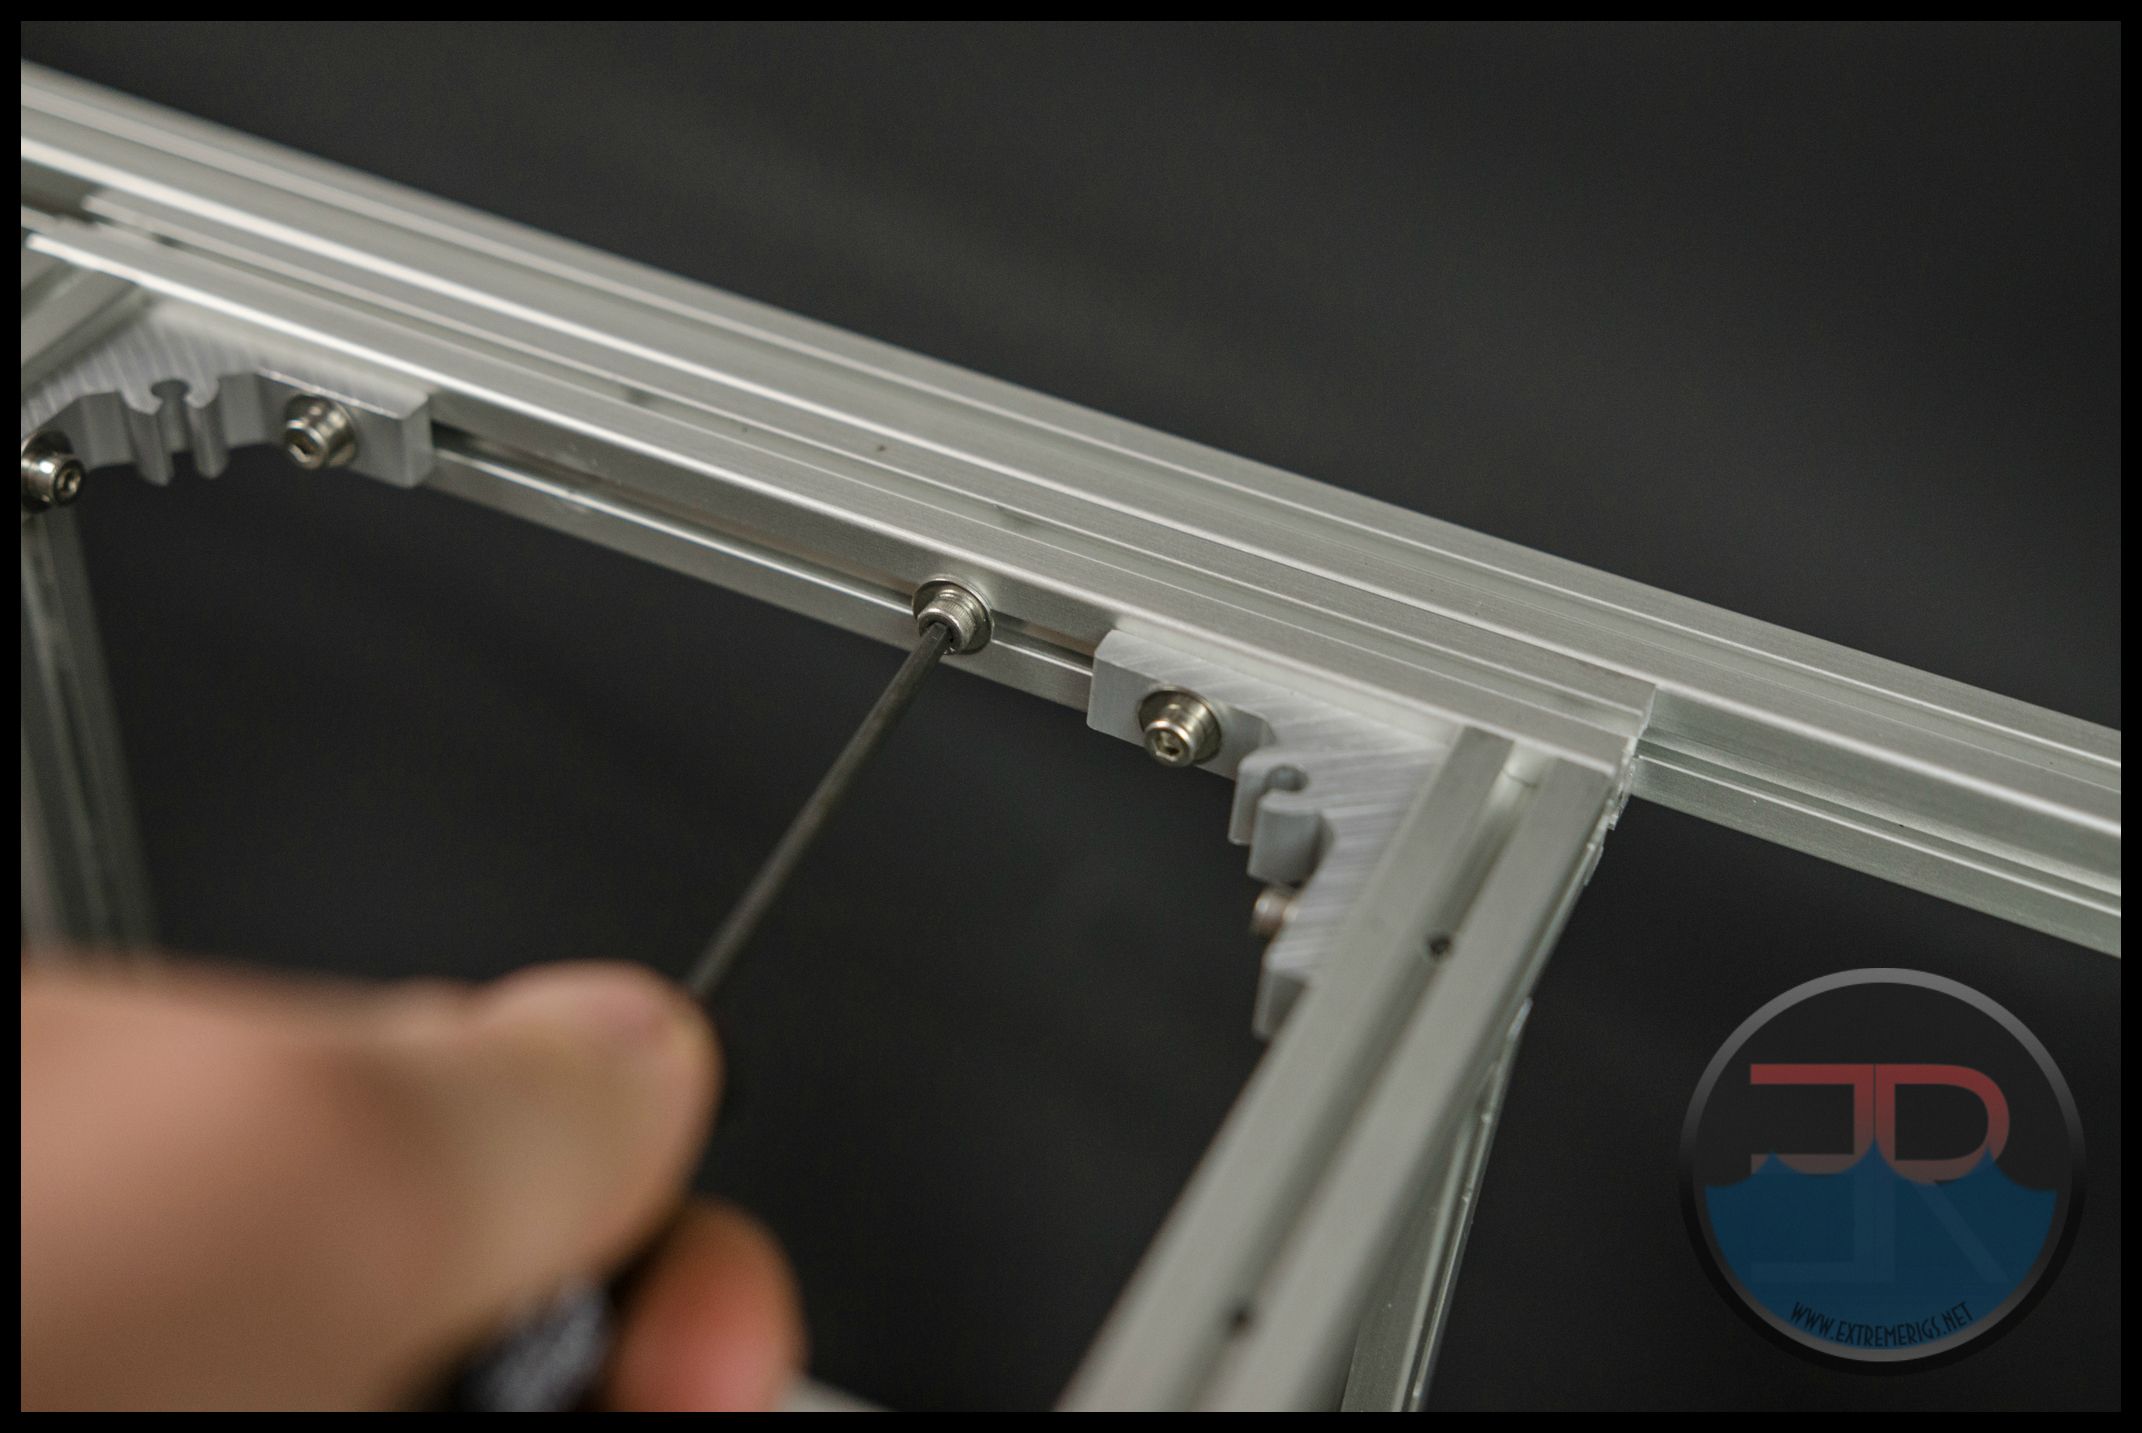
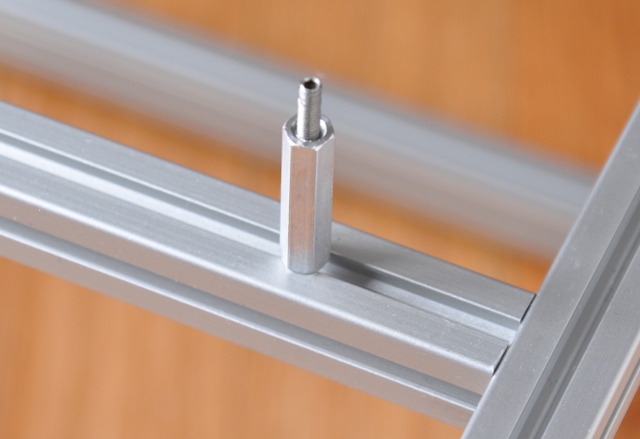
Next is to thread in all of the included standoffs. This is done by simply placing them above their pre-drilled holes and screwing in the bolt from the other side of the cross bar:
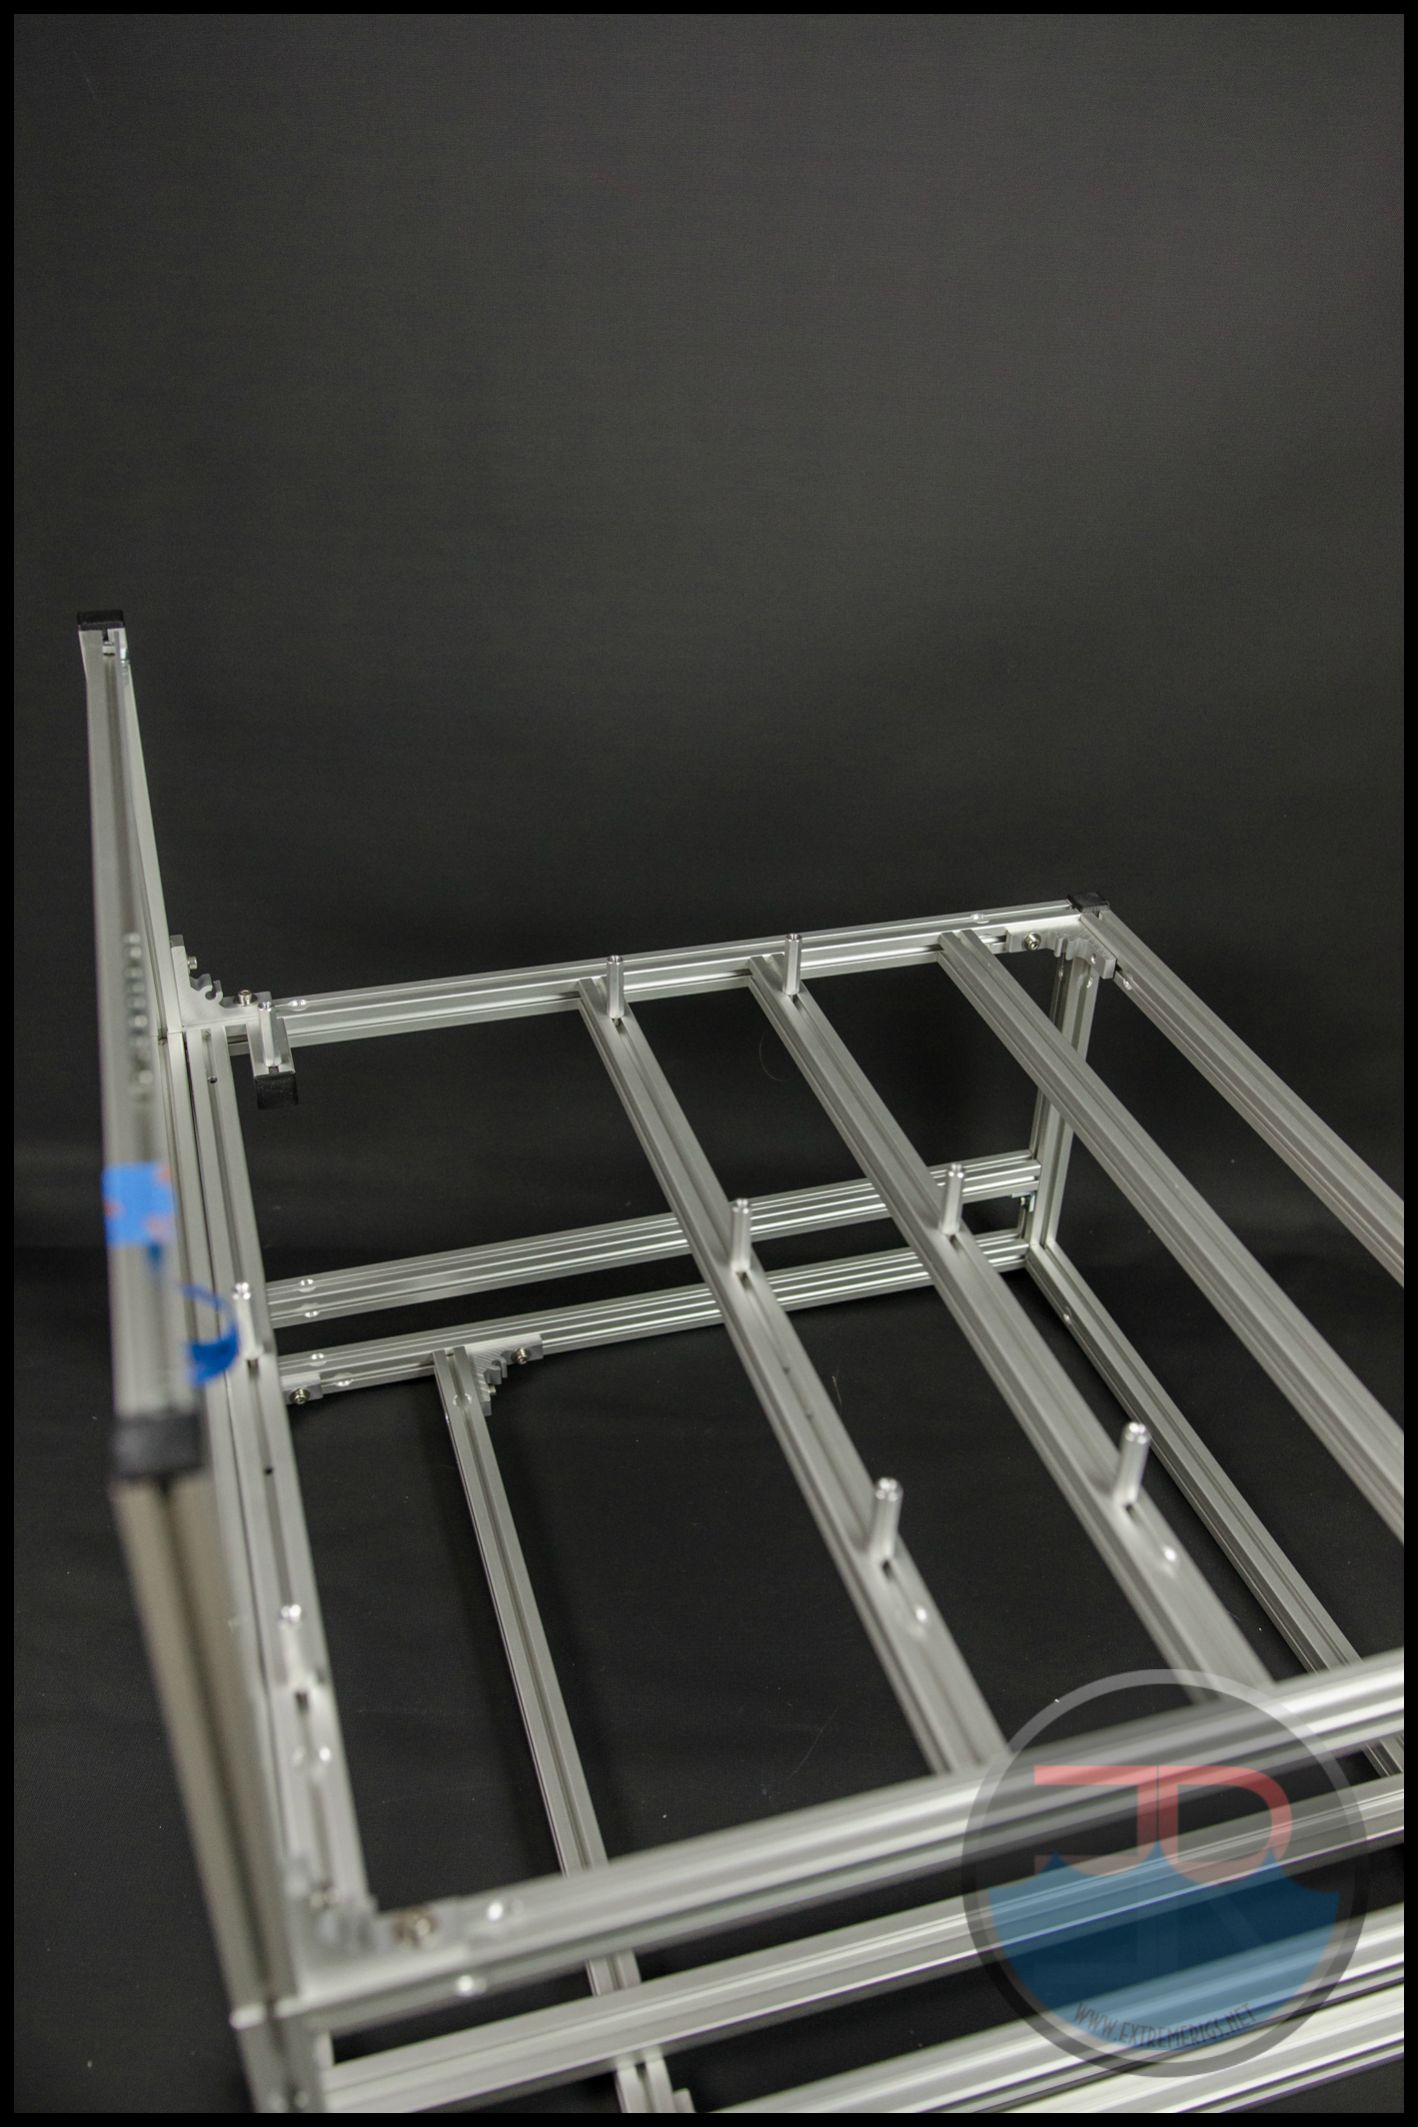
The standoffs include all necessary screws to secure any motherboard. They also include 4 “pegs” that are essentially uncapped bolts that can be used in place of screws. These aren’t as secure but if you’re testing multiple motherboards for instance, they can save a lot of time.


