


InWin is a computer case manufacturer that has really been leading the charge for high end computer cases using premium materials and premium designs. Today we’ll be looking at the 301 case which feels like InWin trying to bring their premium style of design down to a lower cost price range.
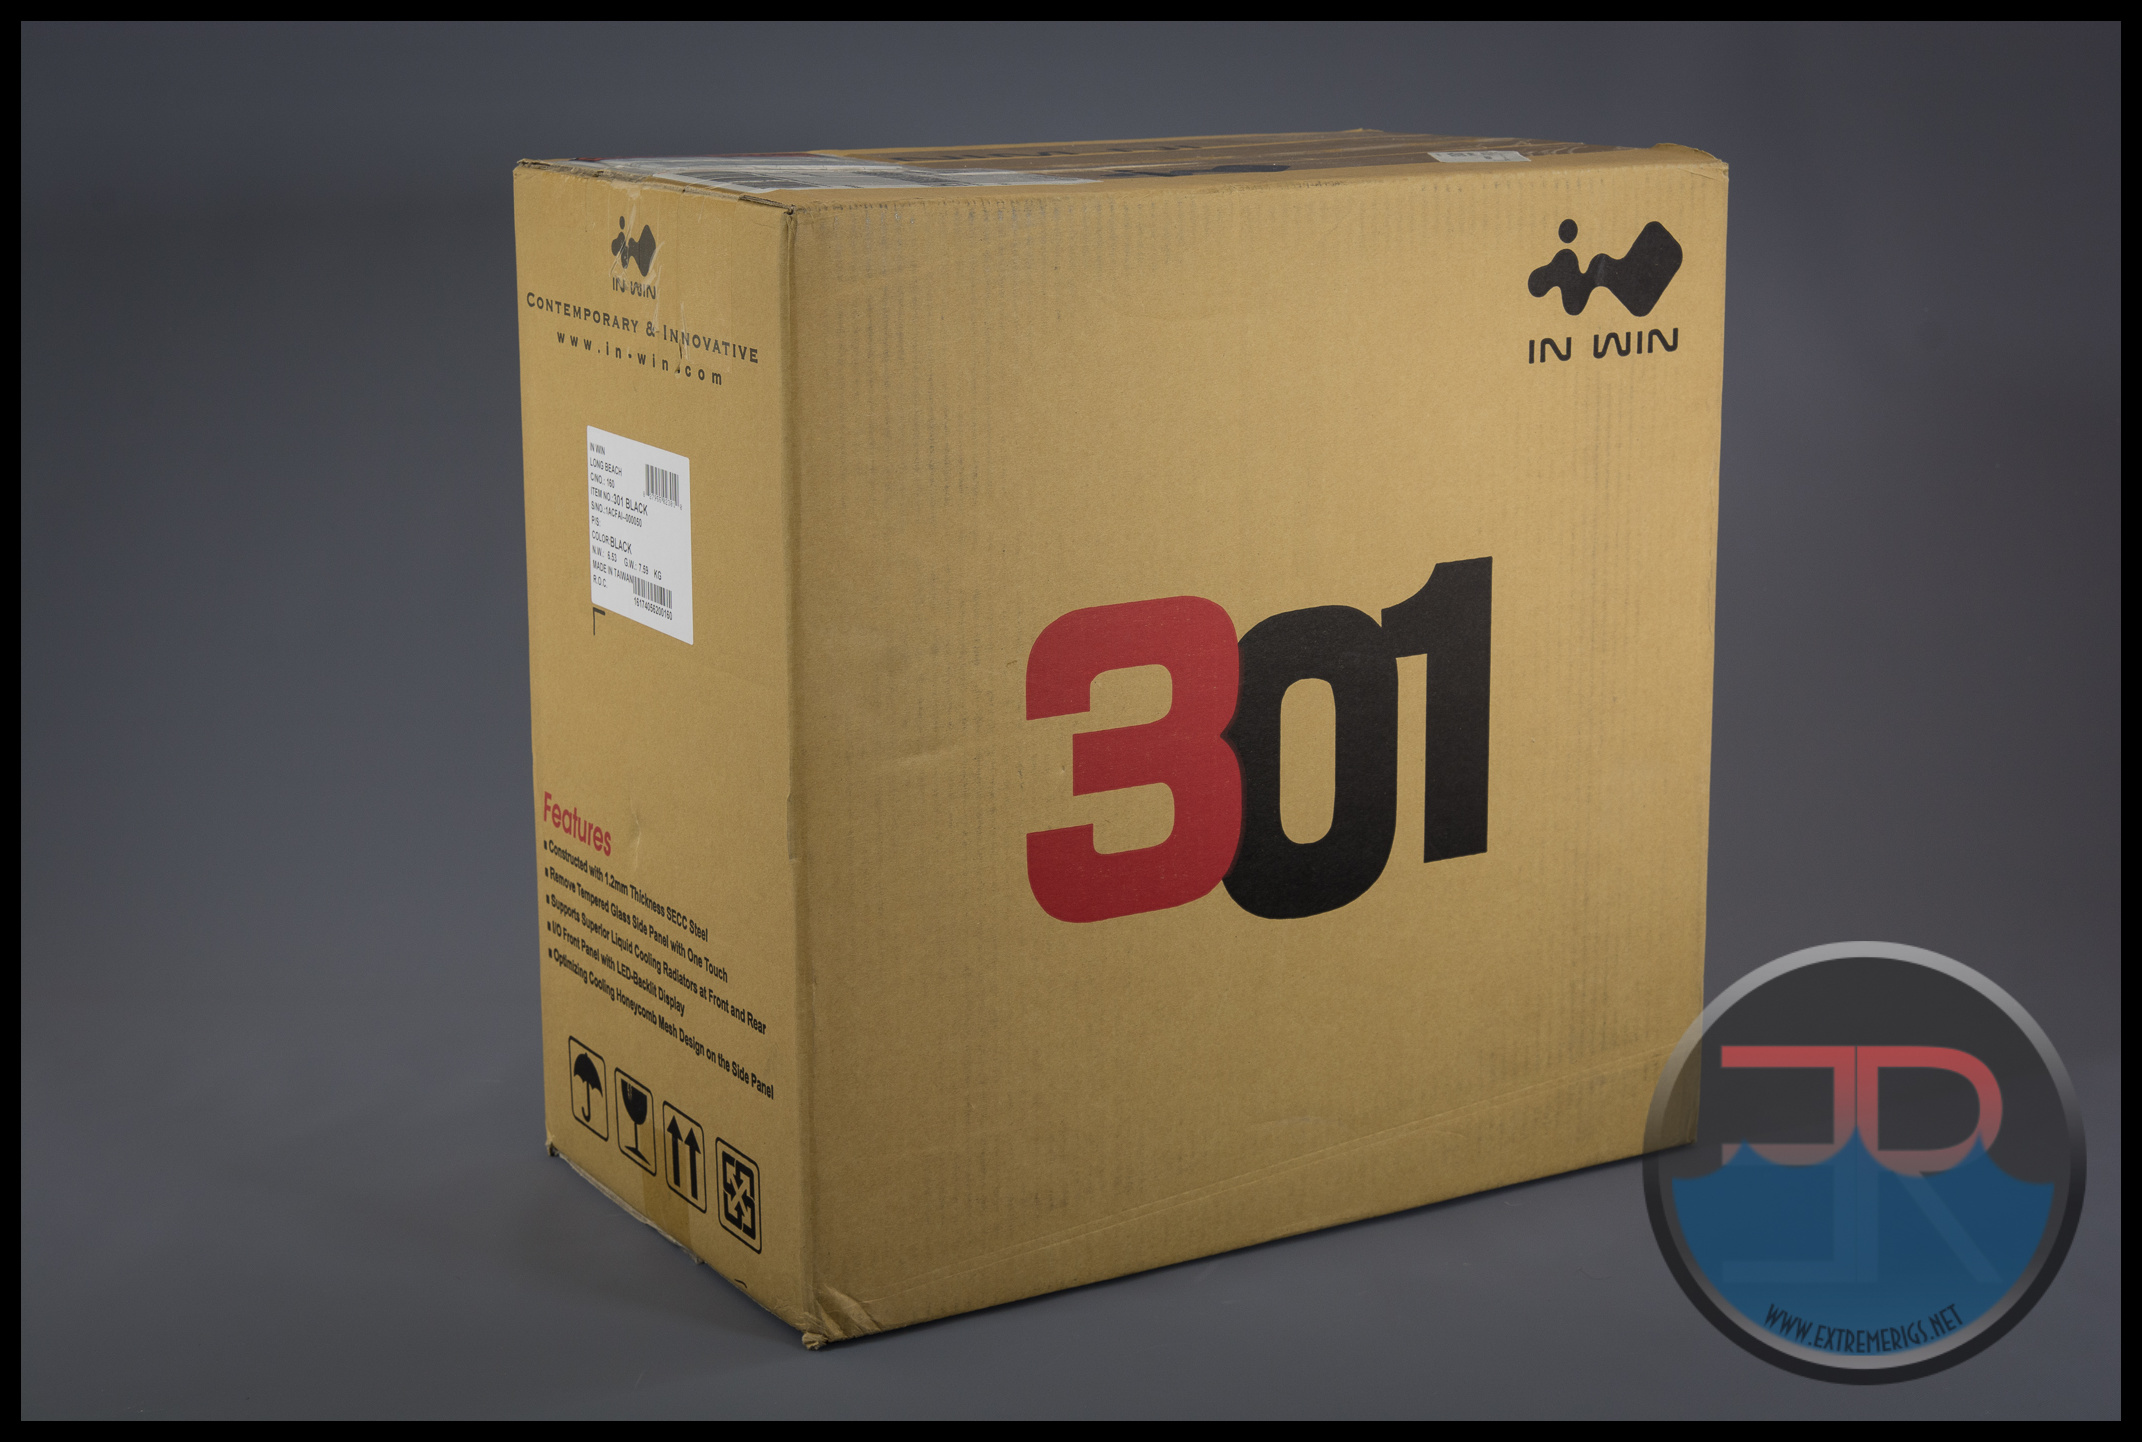
InWin’s packaging is fairly well known to us now after reviewing the 805 and 909. The 301 then arrives in a standard brown box with information on the outside. This is great if you are the type to buy from big box stores because you may need to check that information before buying it.
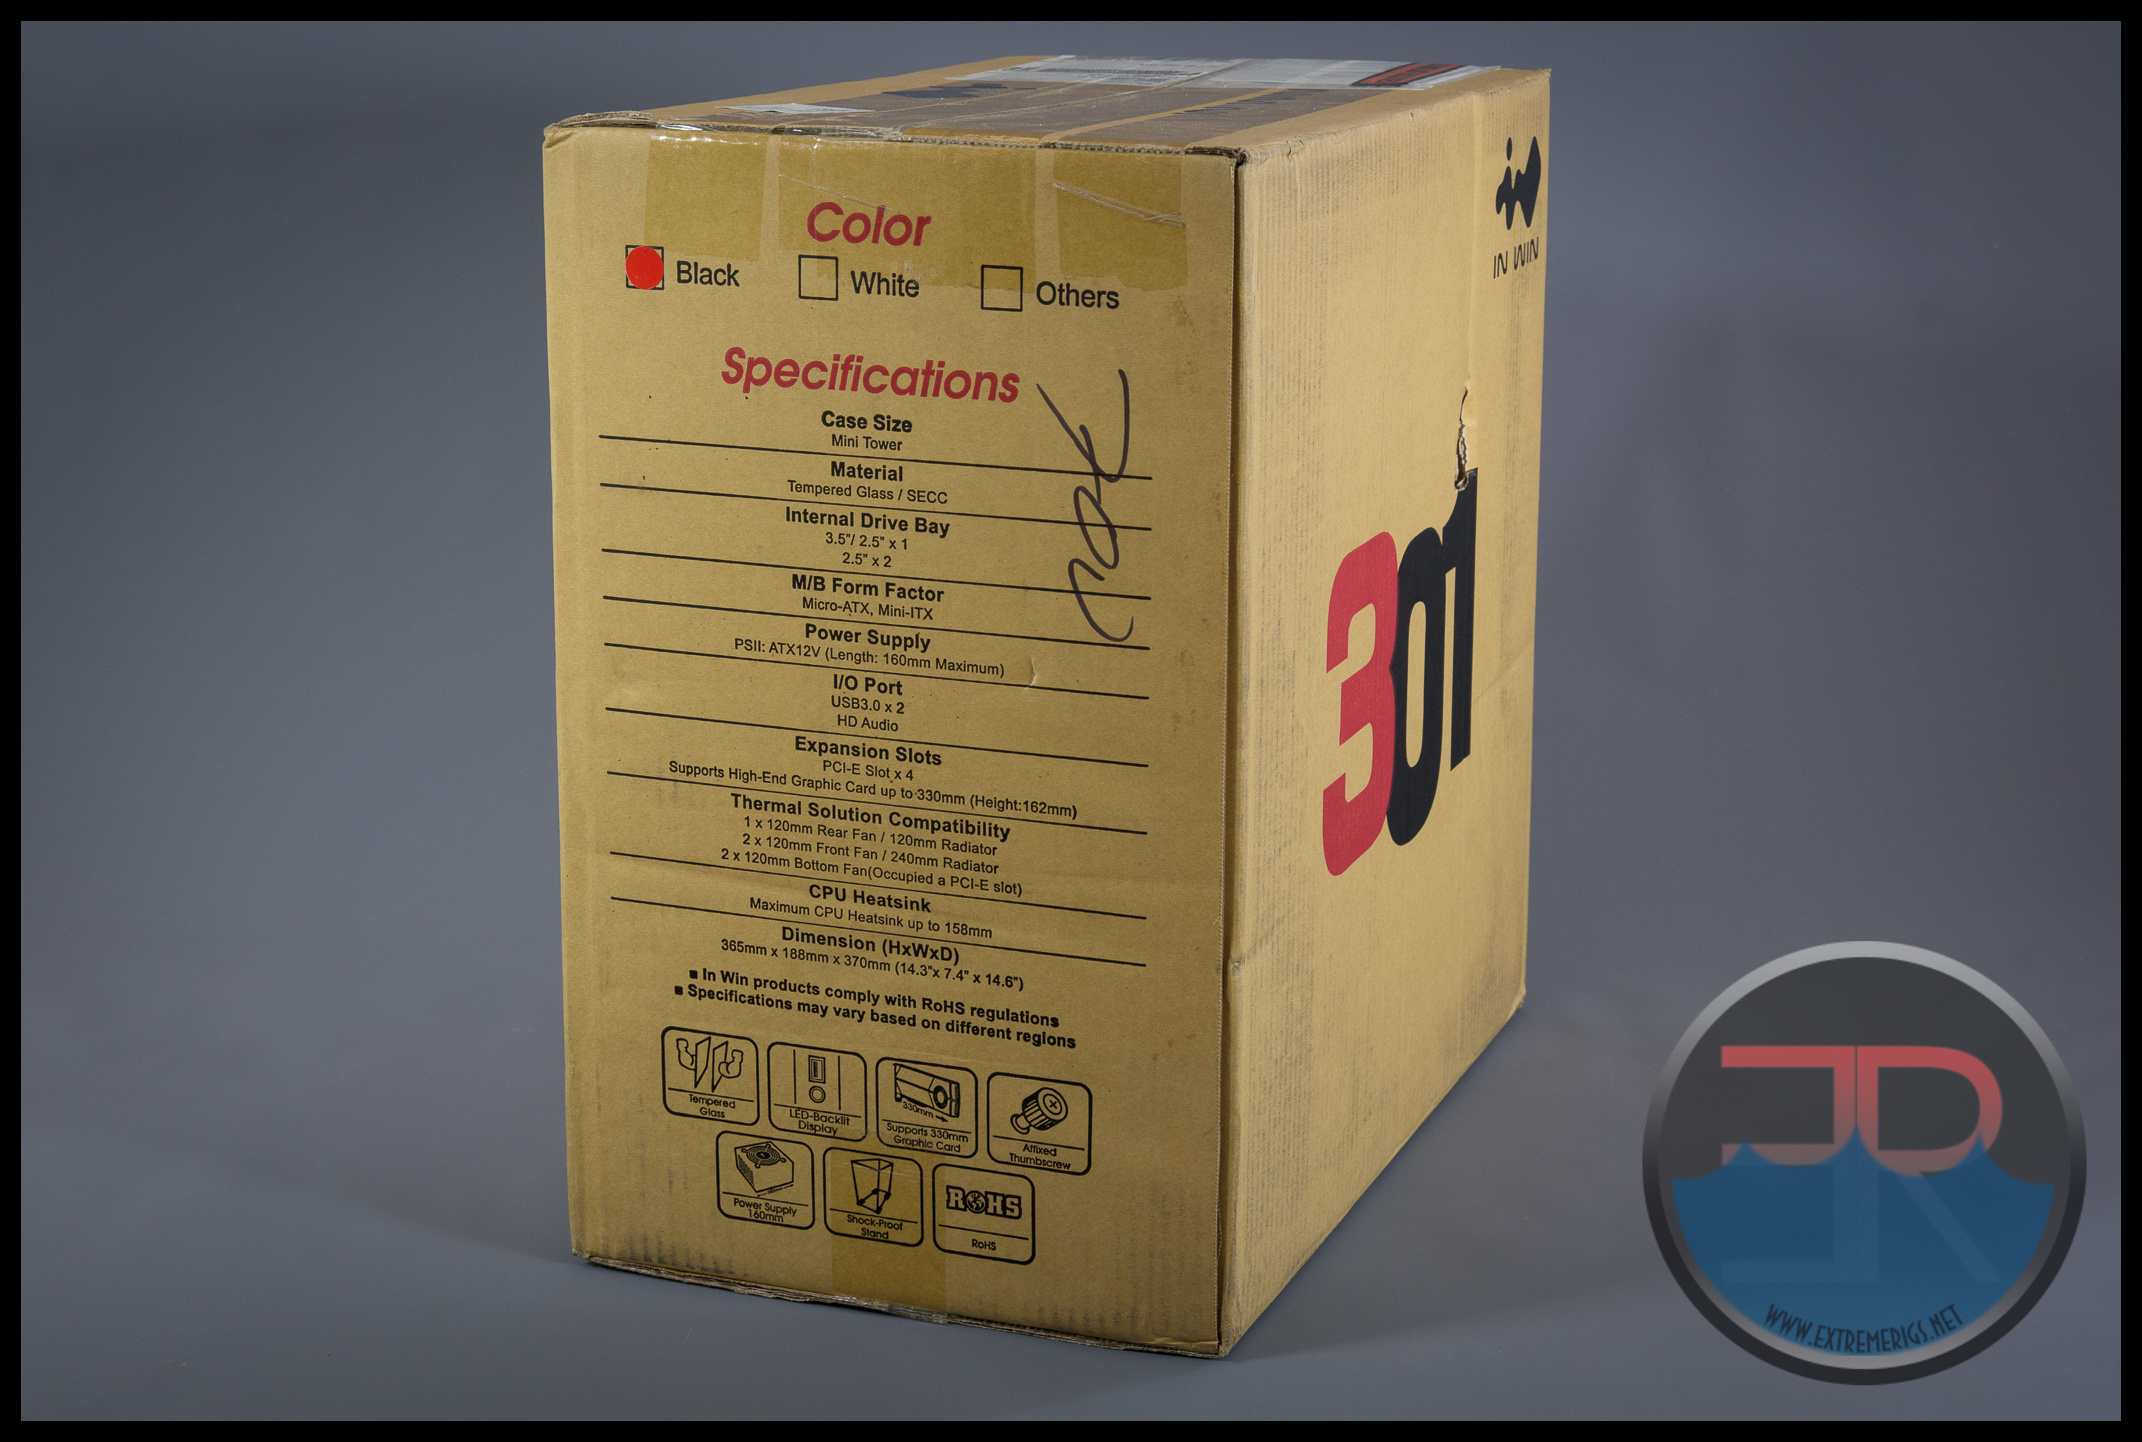 Let’s zoom in on that text:

So the 301 is primarily for mATX builds. It has 4 PCI slots for up to 2 graphics cards and supports a single mechanical drive as well as multiple SSDs. It takes a regular power supply, although it will not fit the longest/biggest supplies out there.
One premium feature that InWin loves to use is glass instead of plastic for the case windows. Back when windows were new, then upgrading to a plastic window seemed amazing. Now after playing with cases like the 909 I have to admit that there is something very luxurious about a nicely integrated glass window.
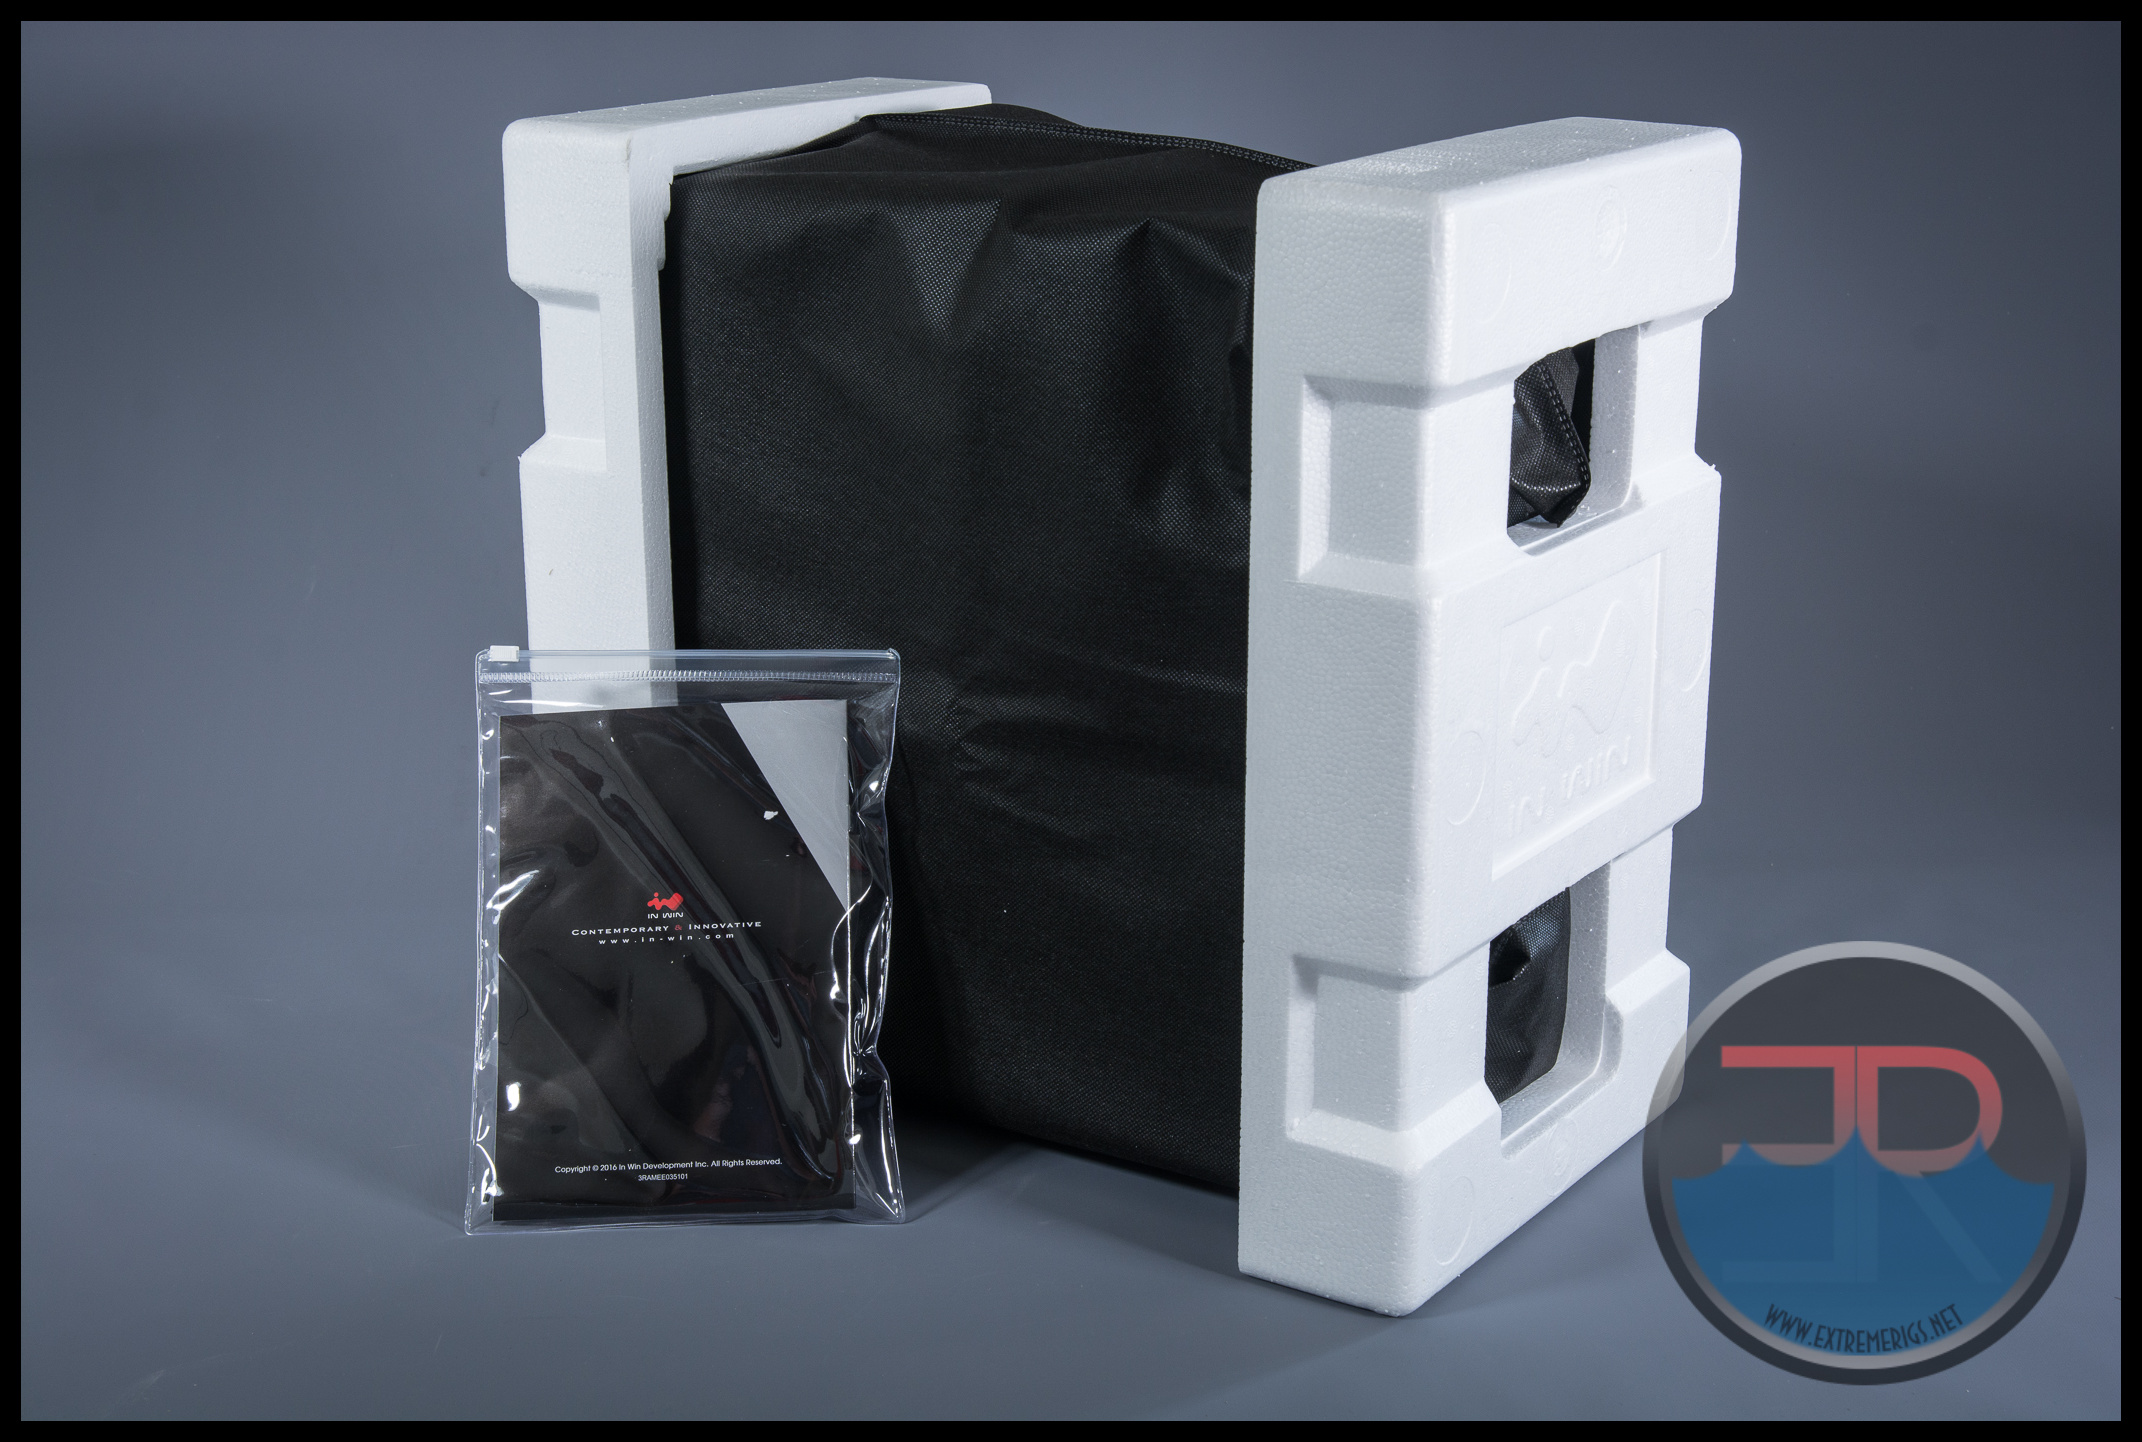
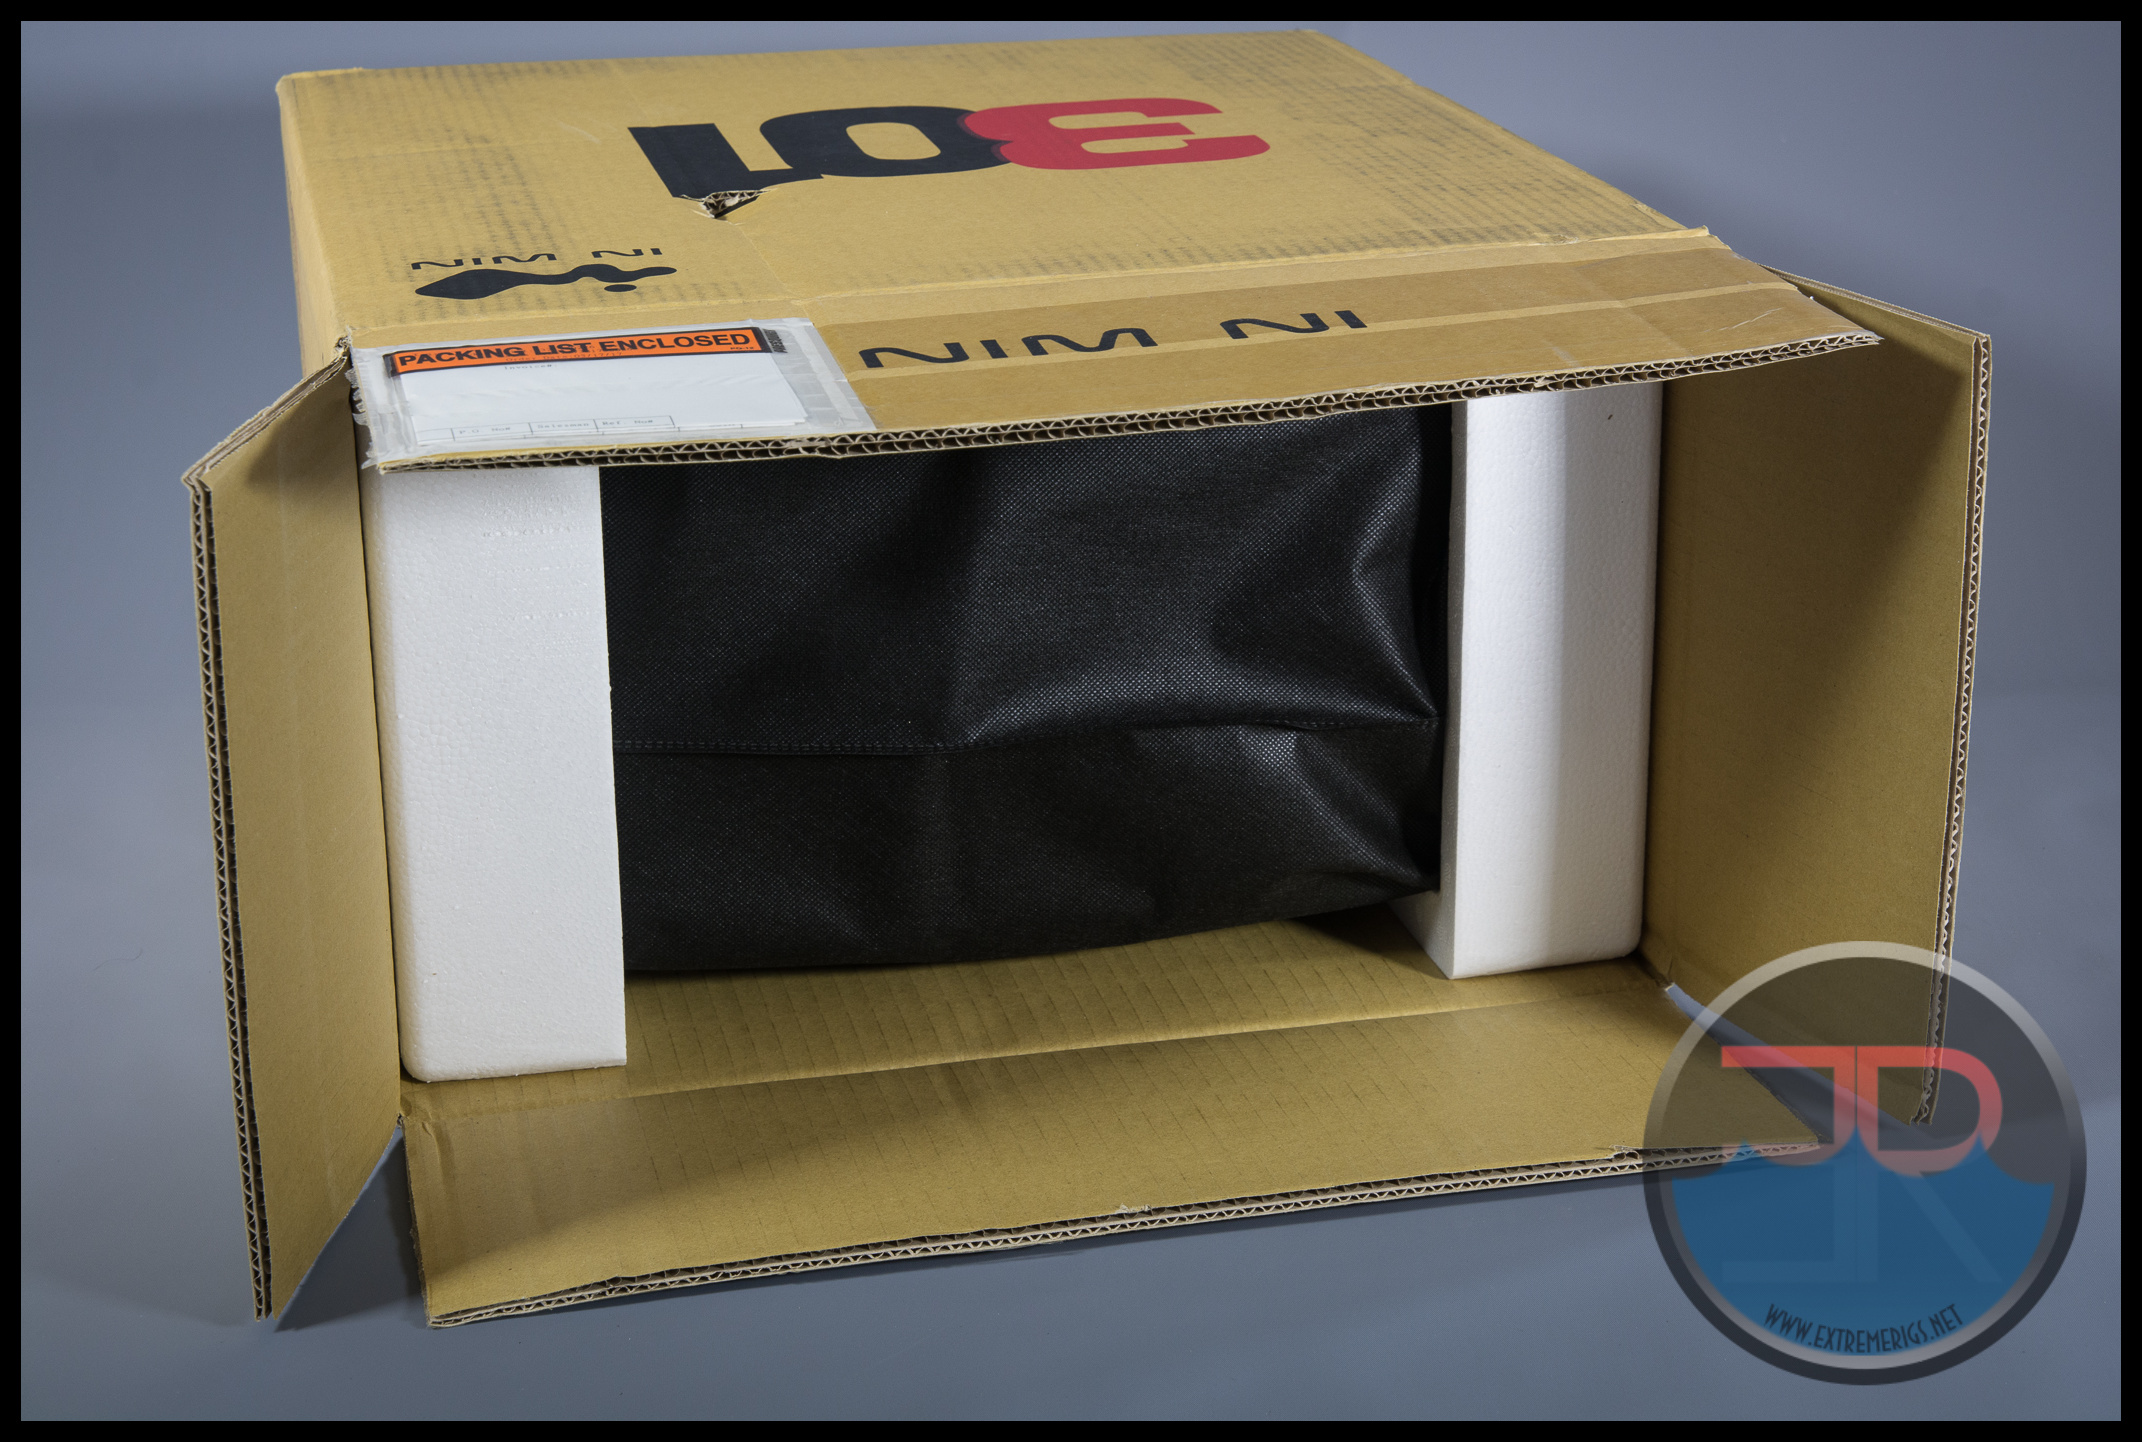 Even though the case is designed to be at a much lower price point, InWin still take care to protect the case well, including a black fibrous bag which protects the case from accessories scratching it during shipment.
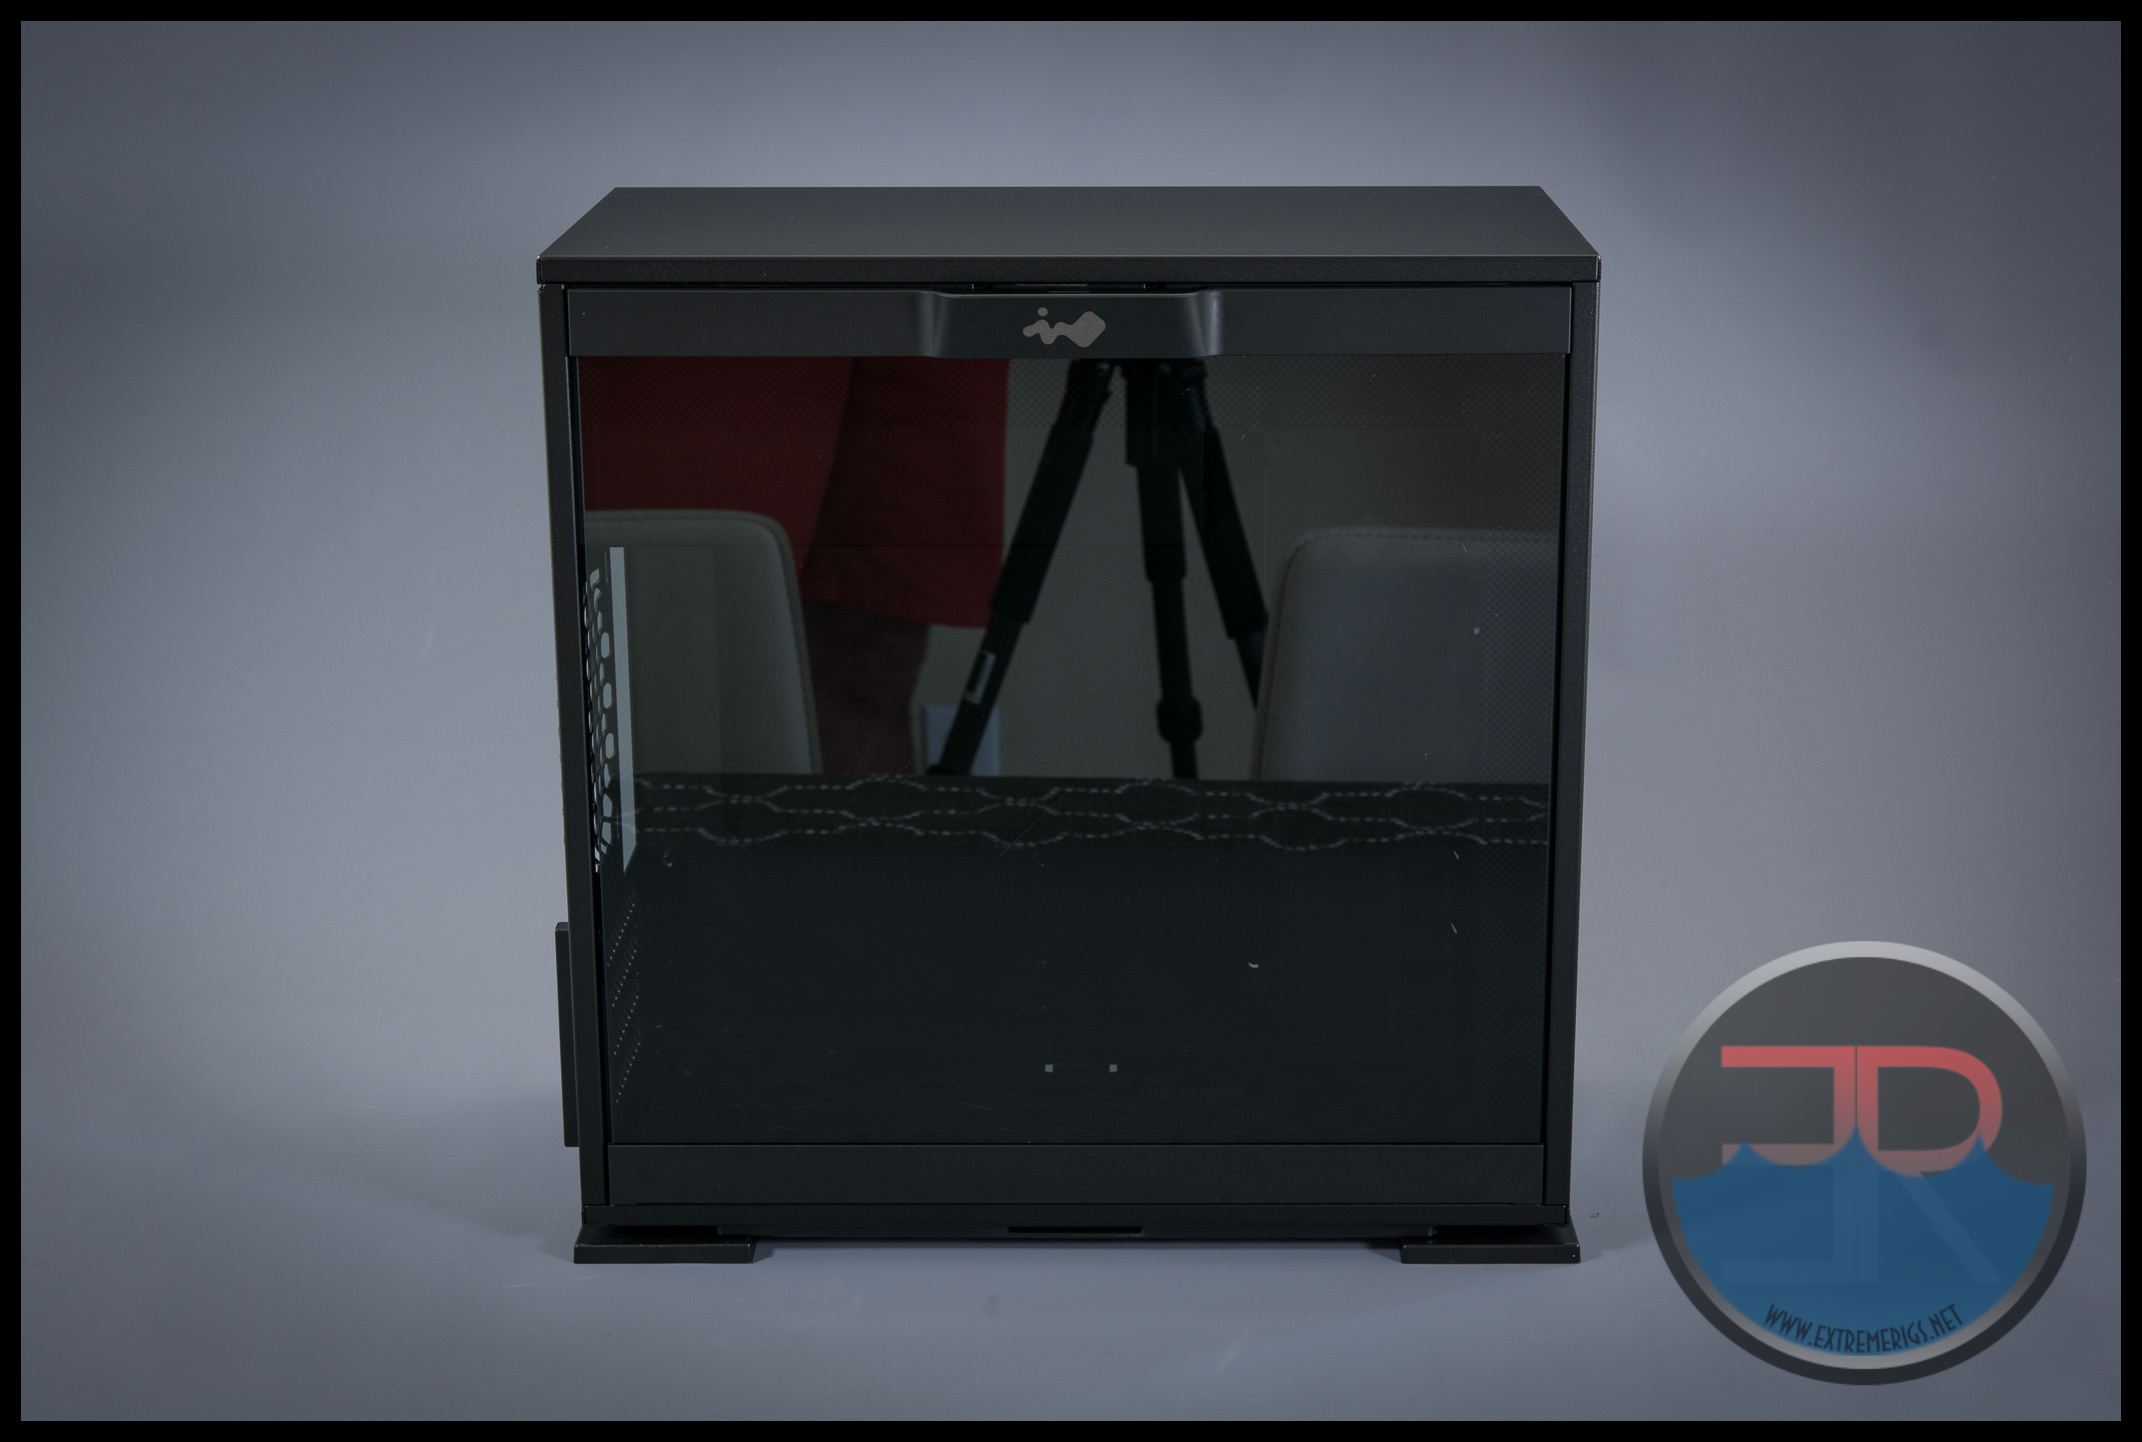
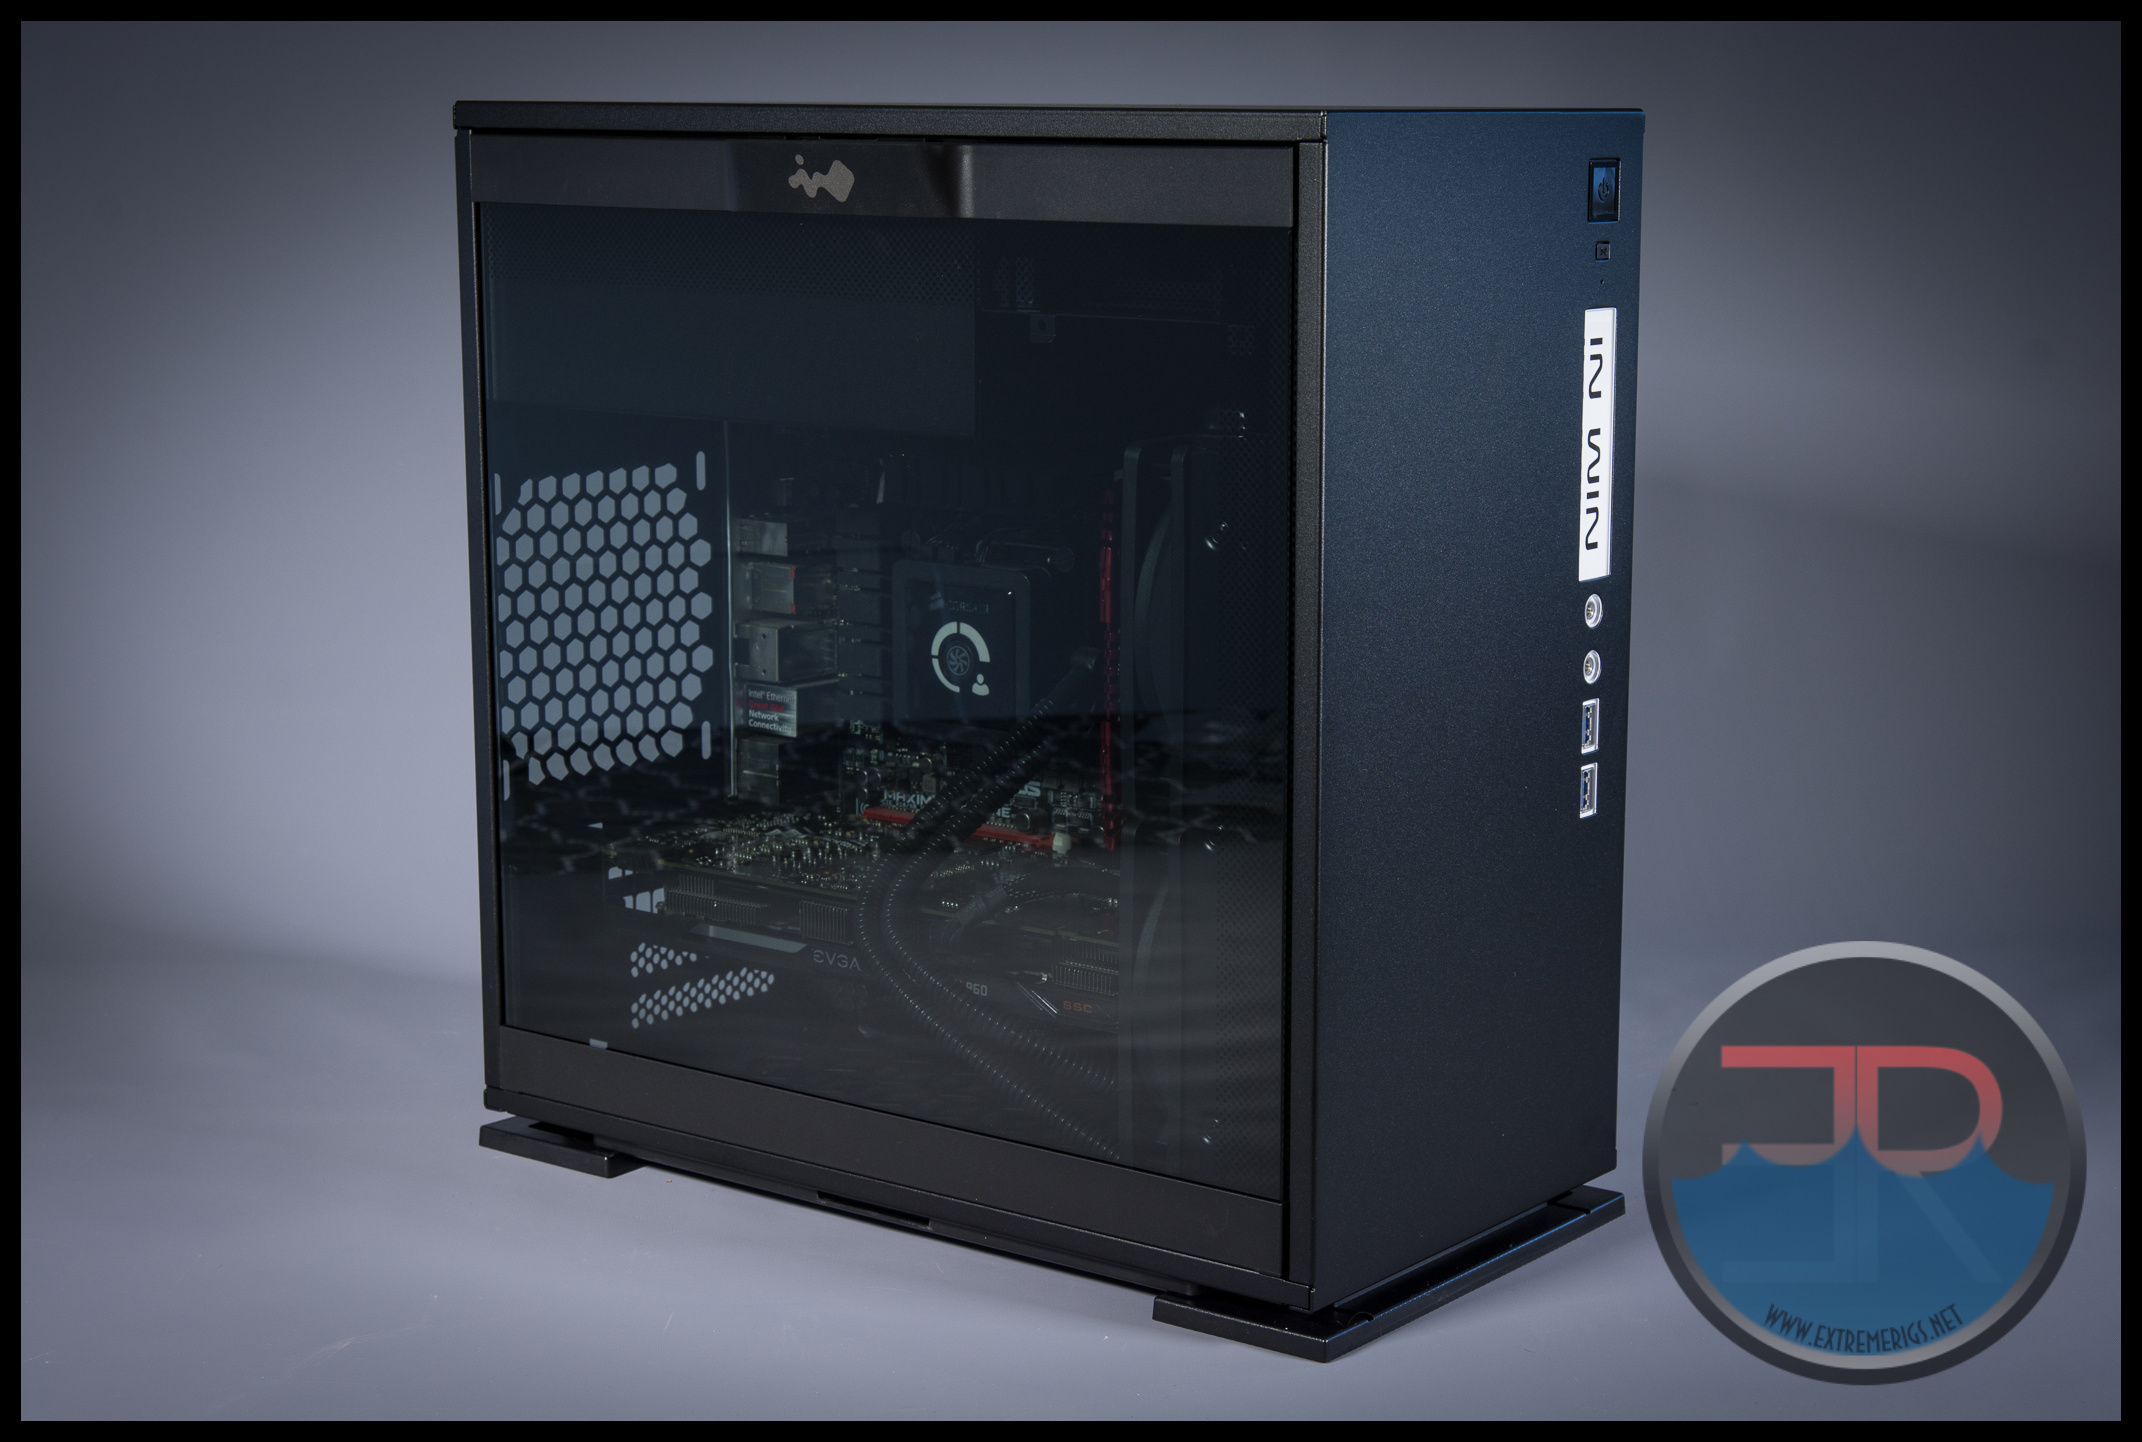
 Removing the packaging the case emerges. As with all glass panels, they can be extremely hard to photograph without reflections.
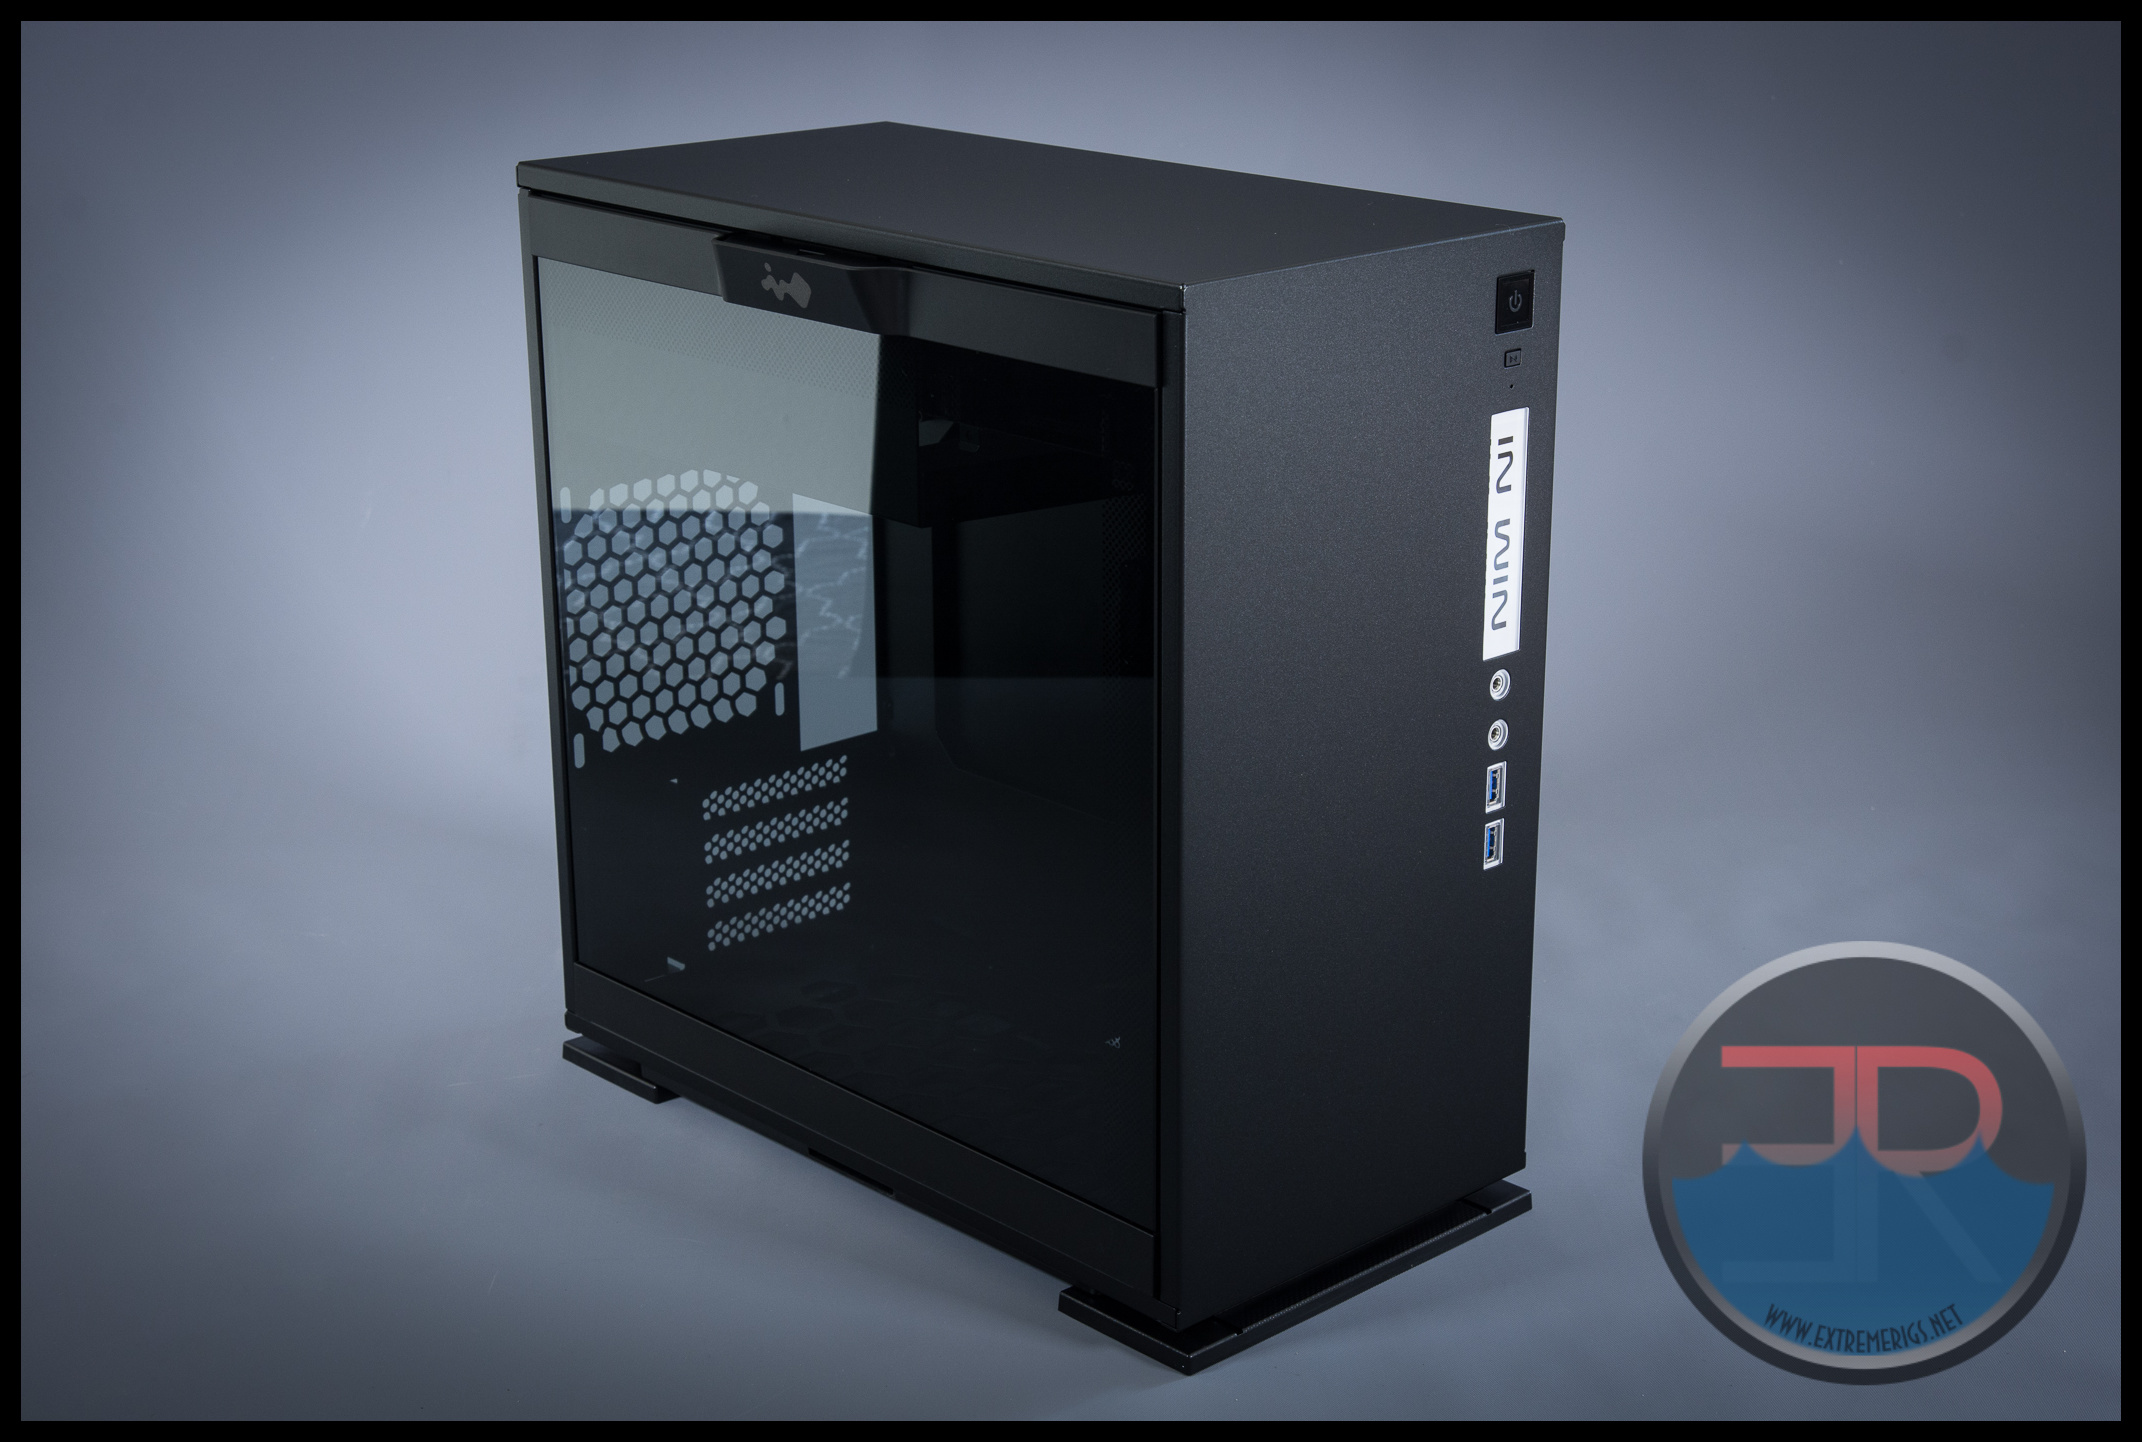 While the high end InWin cases use thick aluminum, the 301 case does not. As a cost saving measure instead the case uses powder coated steel. However the steel is still reasonably thick, although not so thick as to make the case heavy.
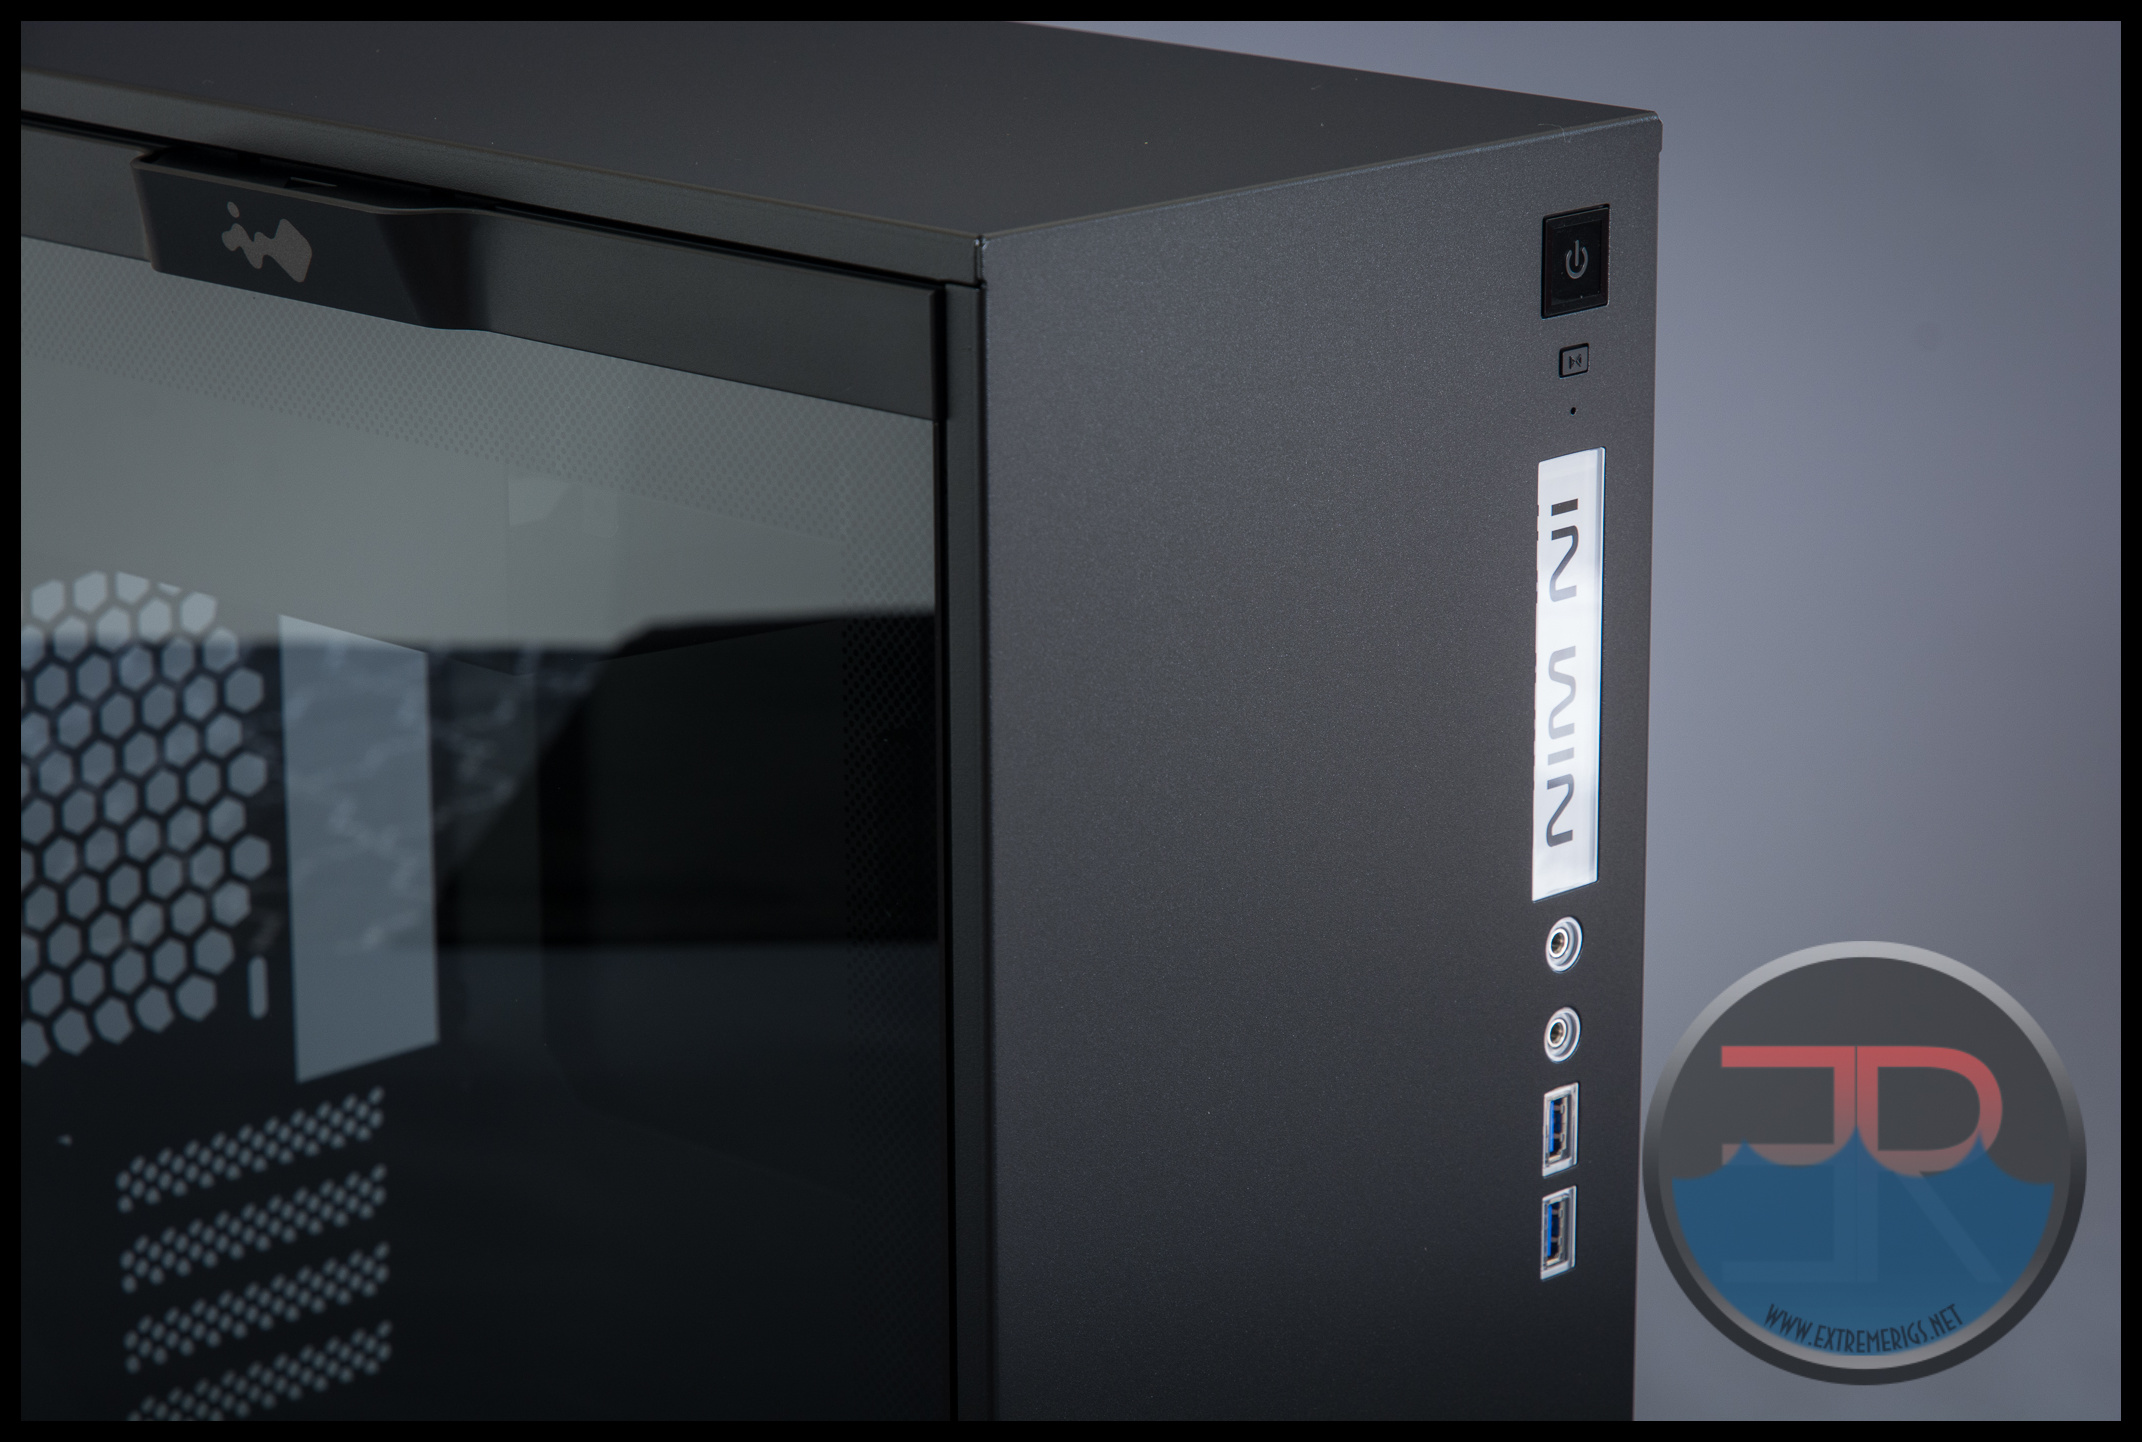
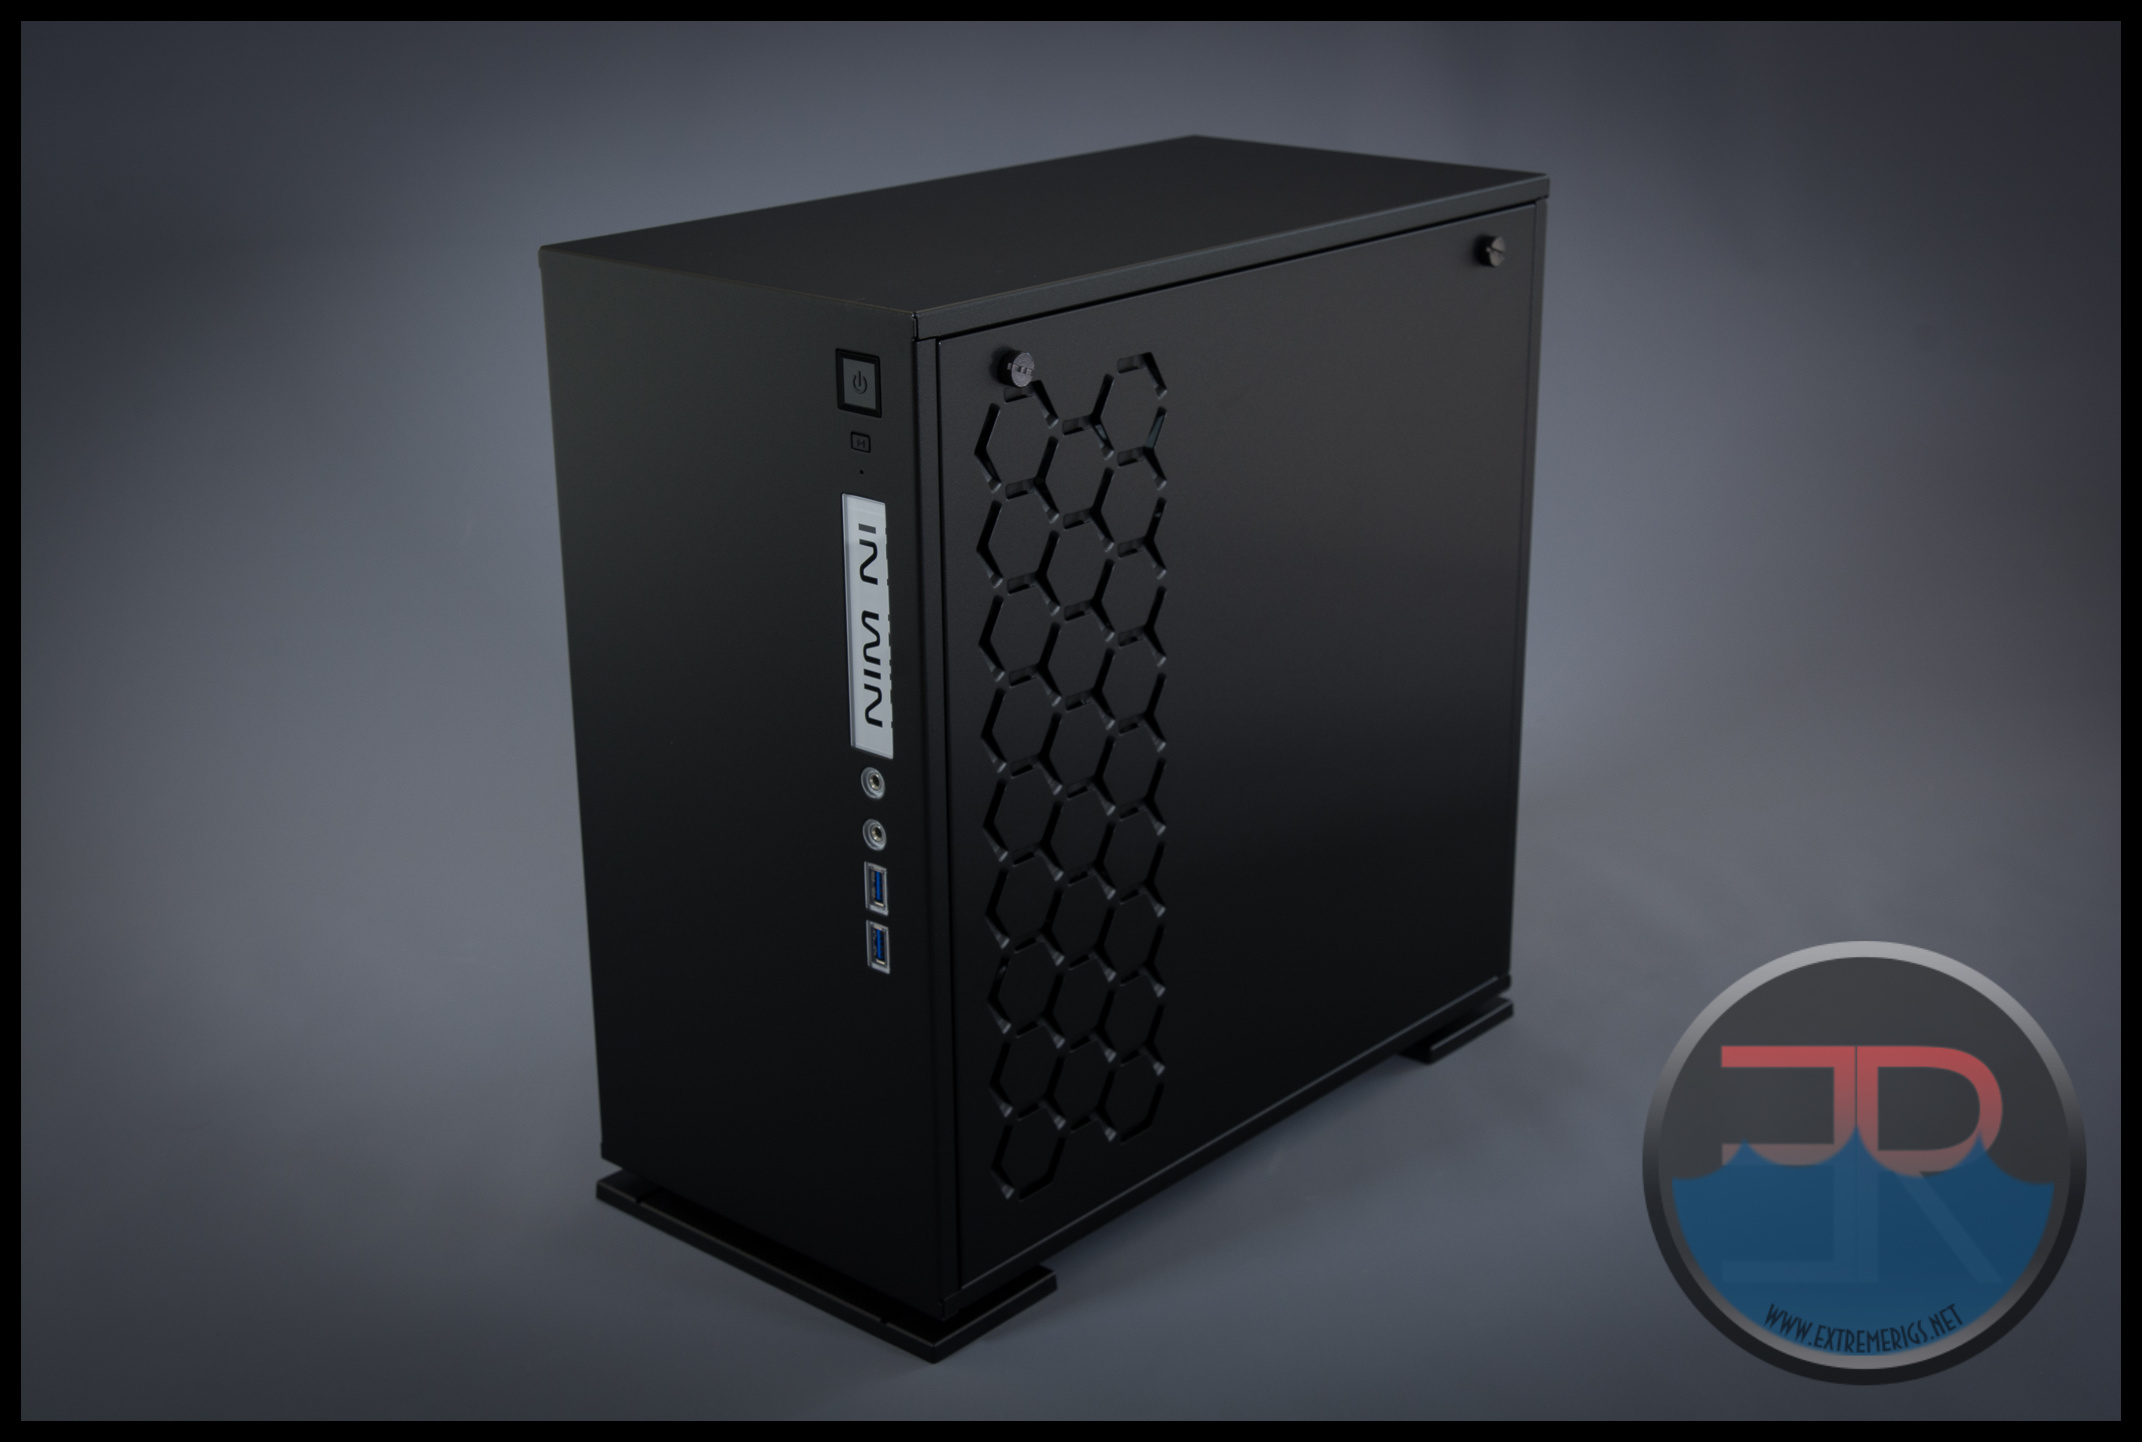
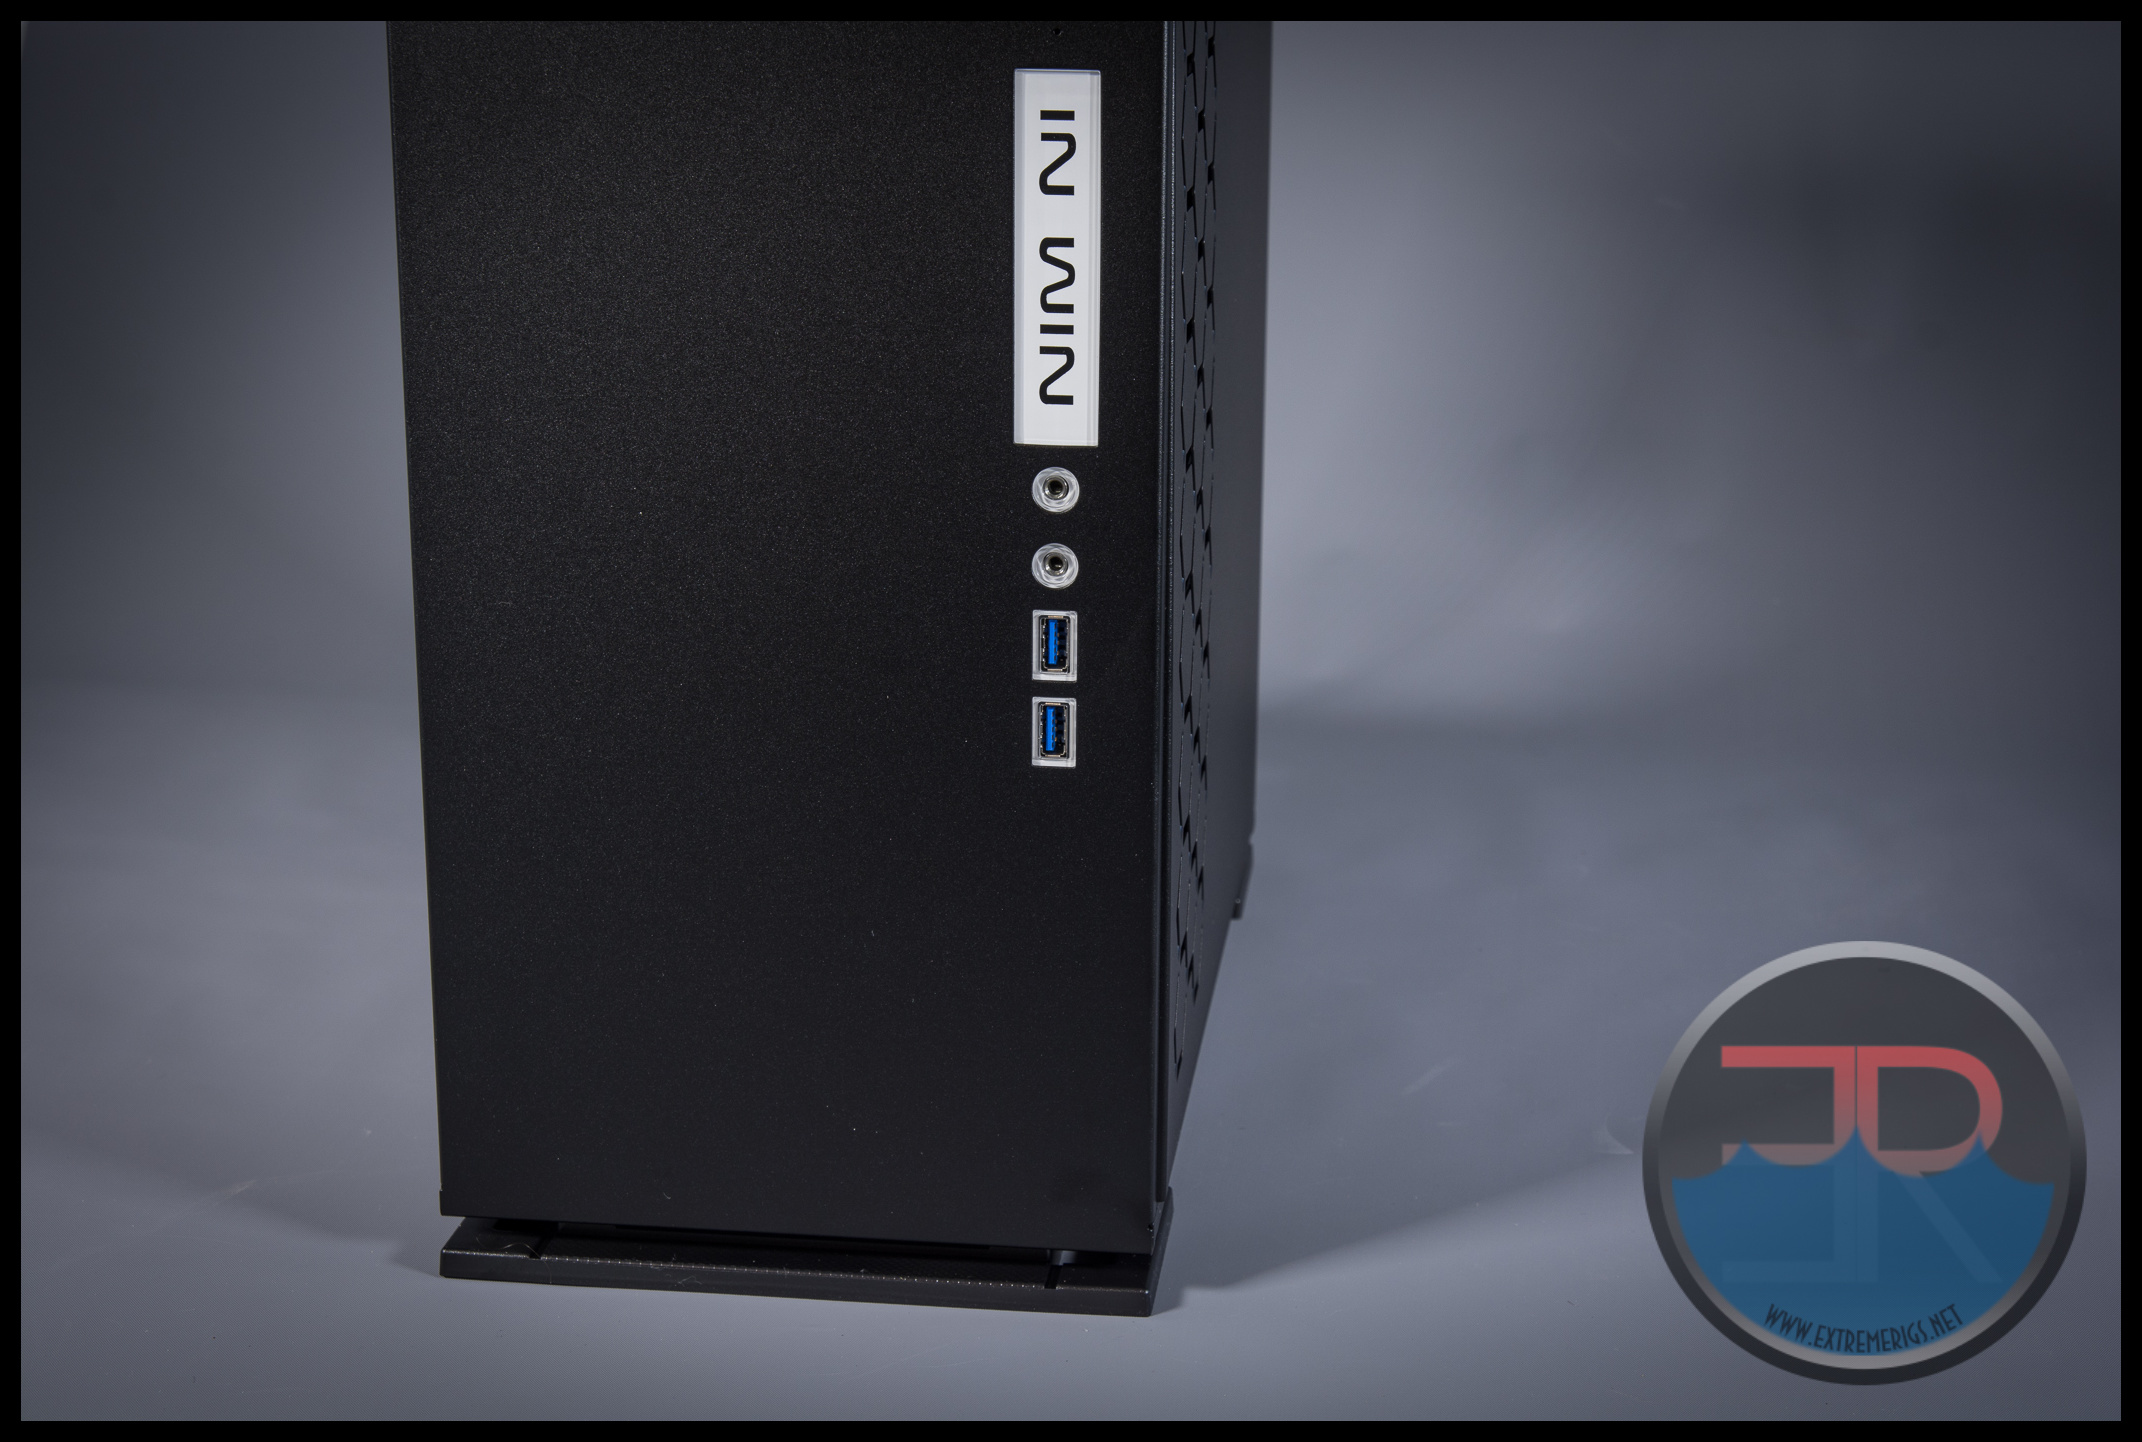
As with most InWin cases, the logo is fairly prominent. However the case has clean design lines and it’s nice and simple without any busyness. This of course presumably saves cost too.
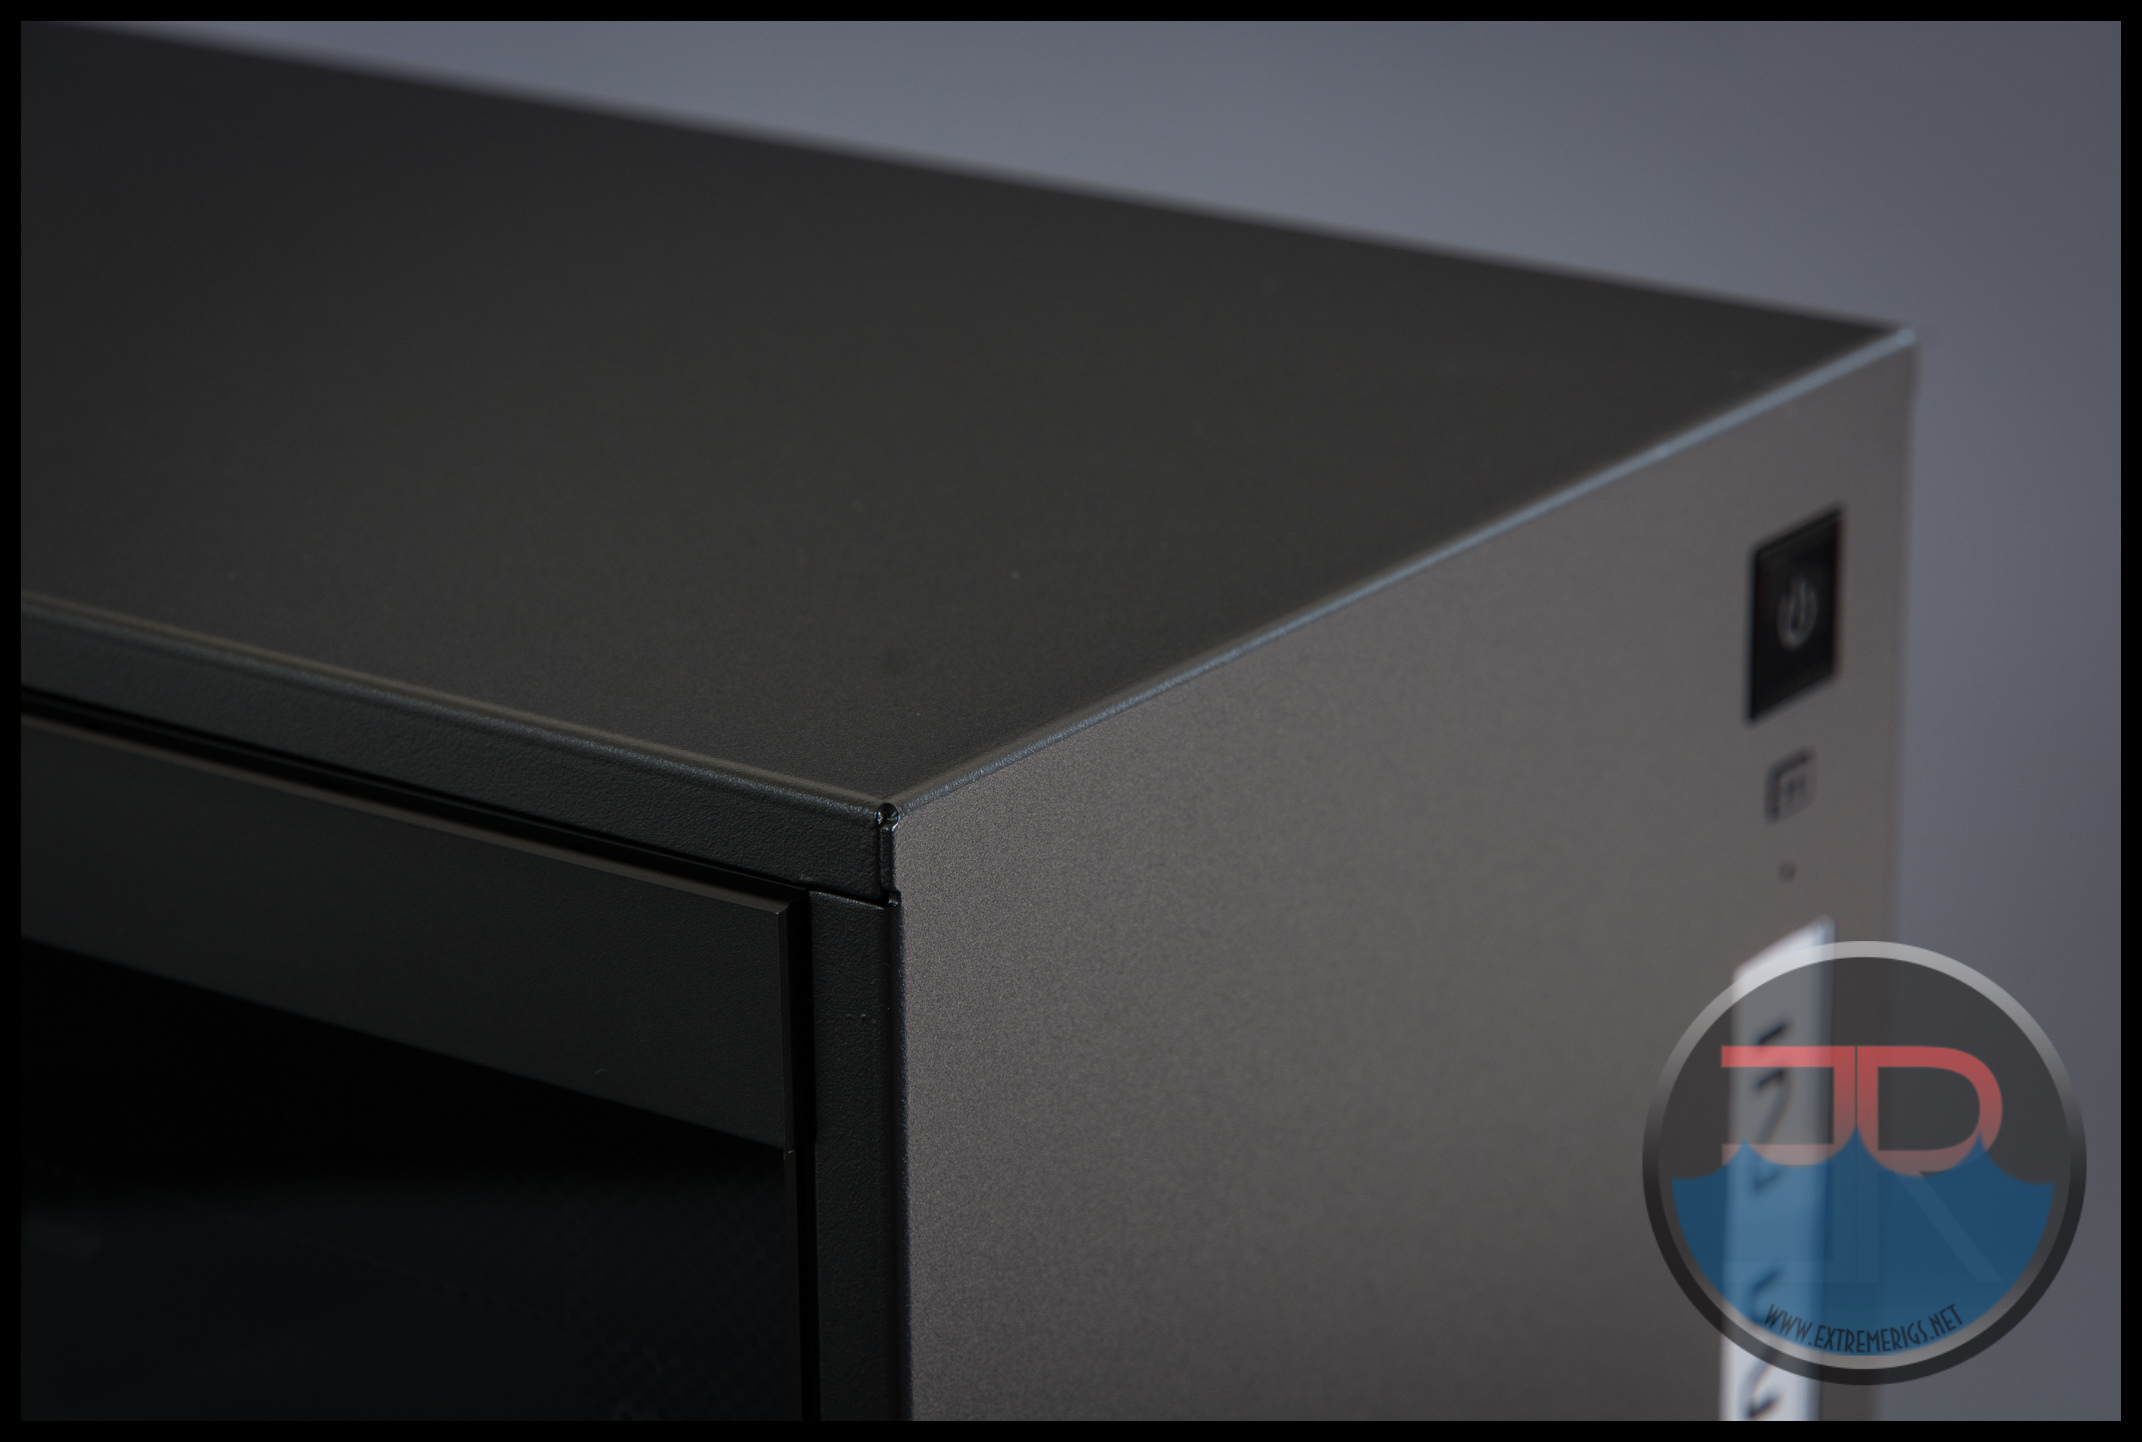
The powder coating is slightly textured, not as rough as sand paper, but not super smooth either. Here you can see that the front and top panels are made out of one piece of steel that has been folded up like origami. The danger with such complicated folding is always the corners. They can end up rough, or if a lot of tolerance is needed there may be a small hole in the corner. In Win’s tolerances seem good because the corners are neither sharp, nor are they noticeably open.
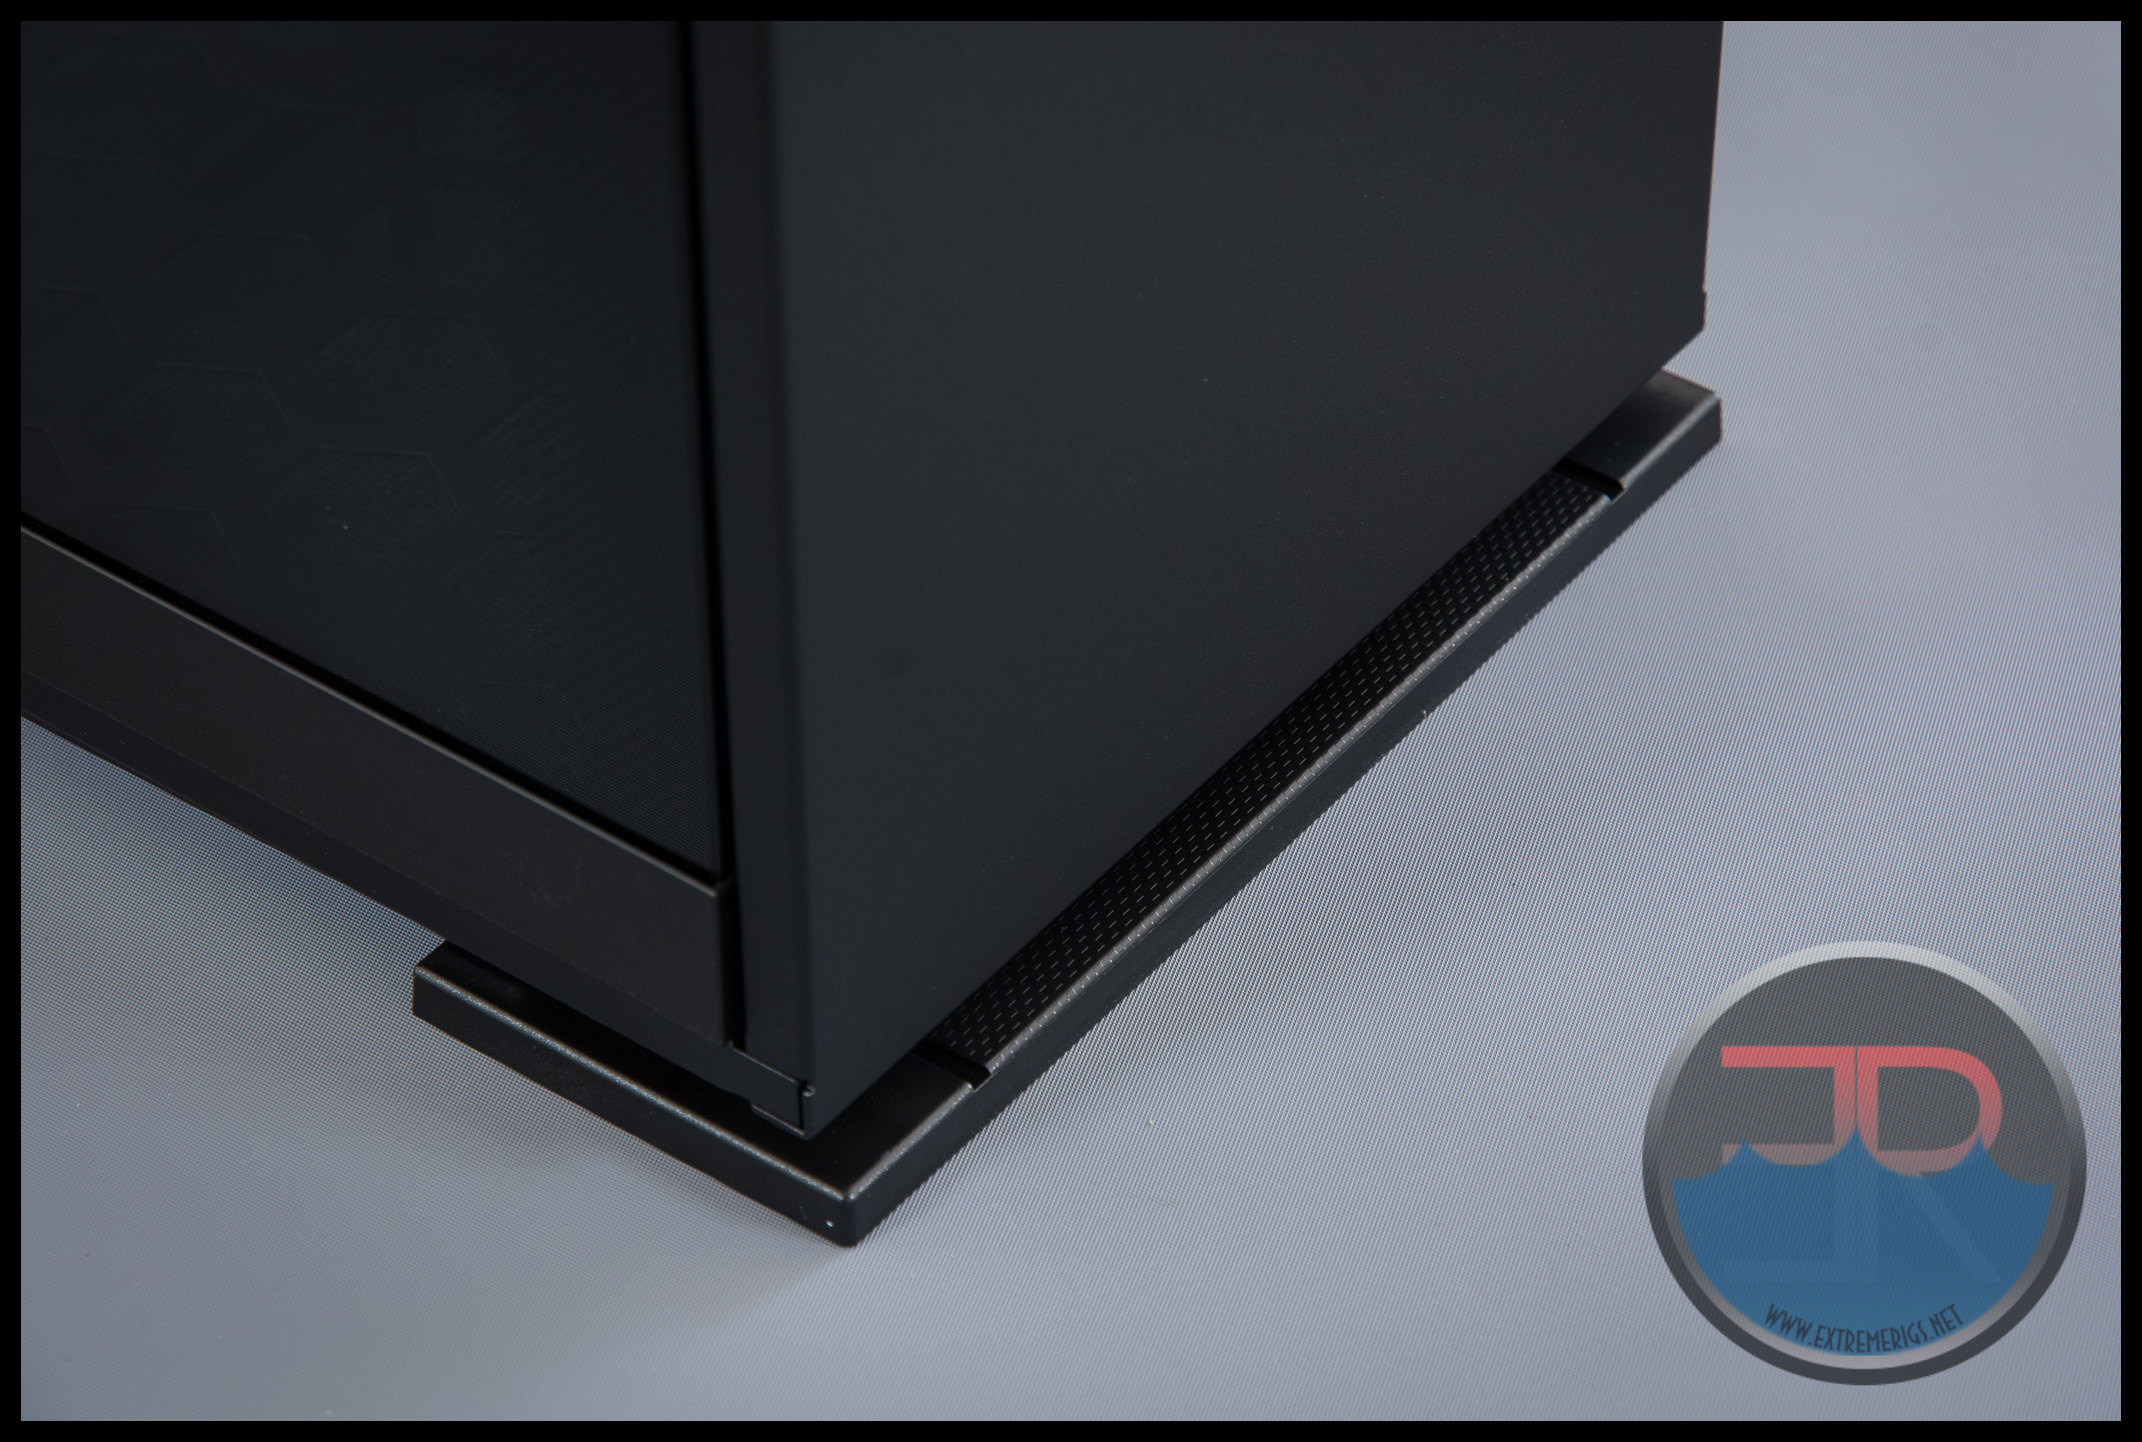
Not everything on the case is metal and glass however. The case has plastic feet with a faux carbon fiber finish. It still looks high quality though and feels it too.
 The glass panel has a quick release handle. This is a surprise as most other In Win cases that use glass panels have drilled holes into the glass and some kind of nut to secure the panel. We’re not complaining even with the subtle branding logo.
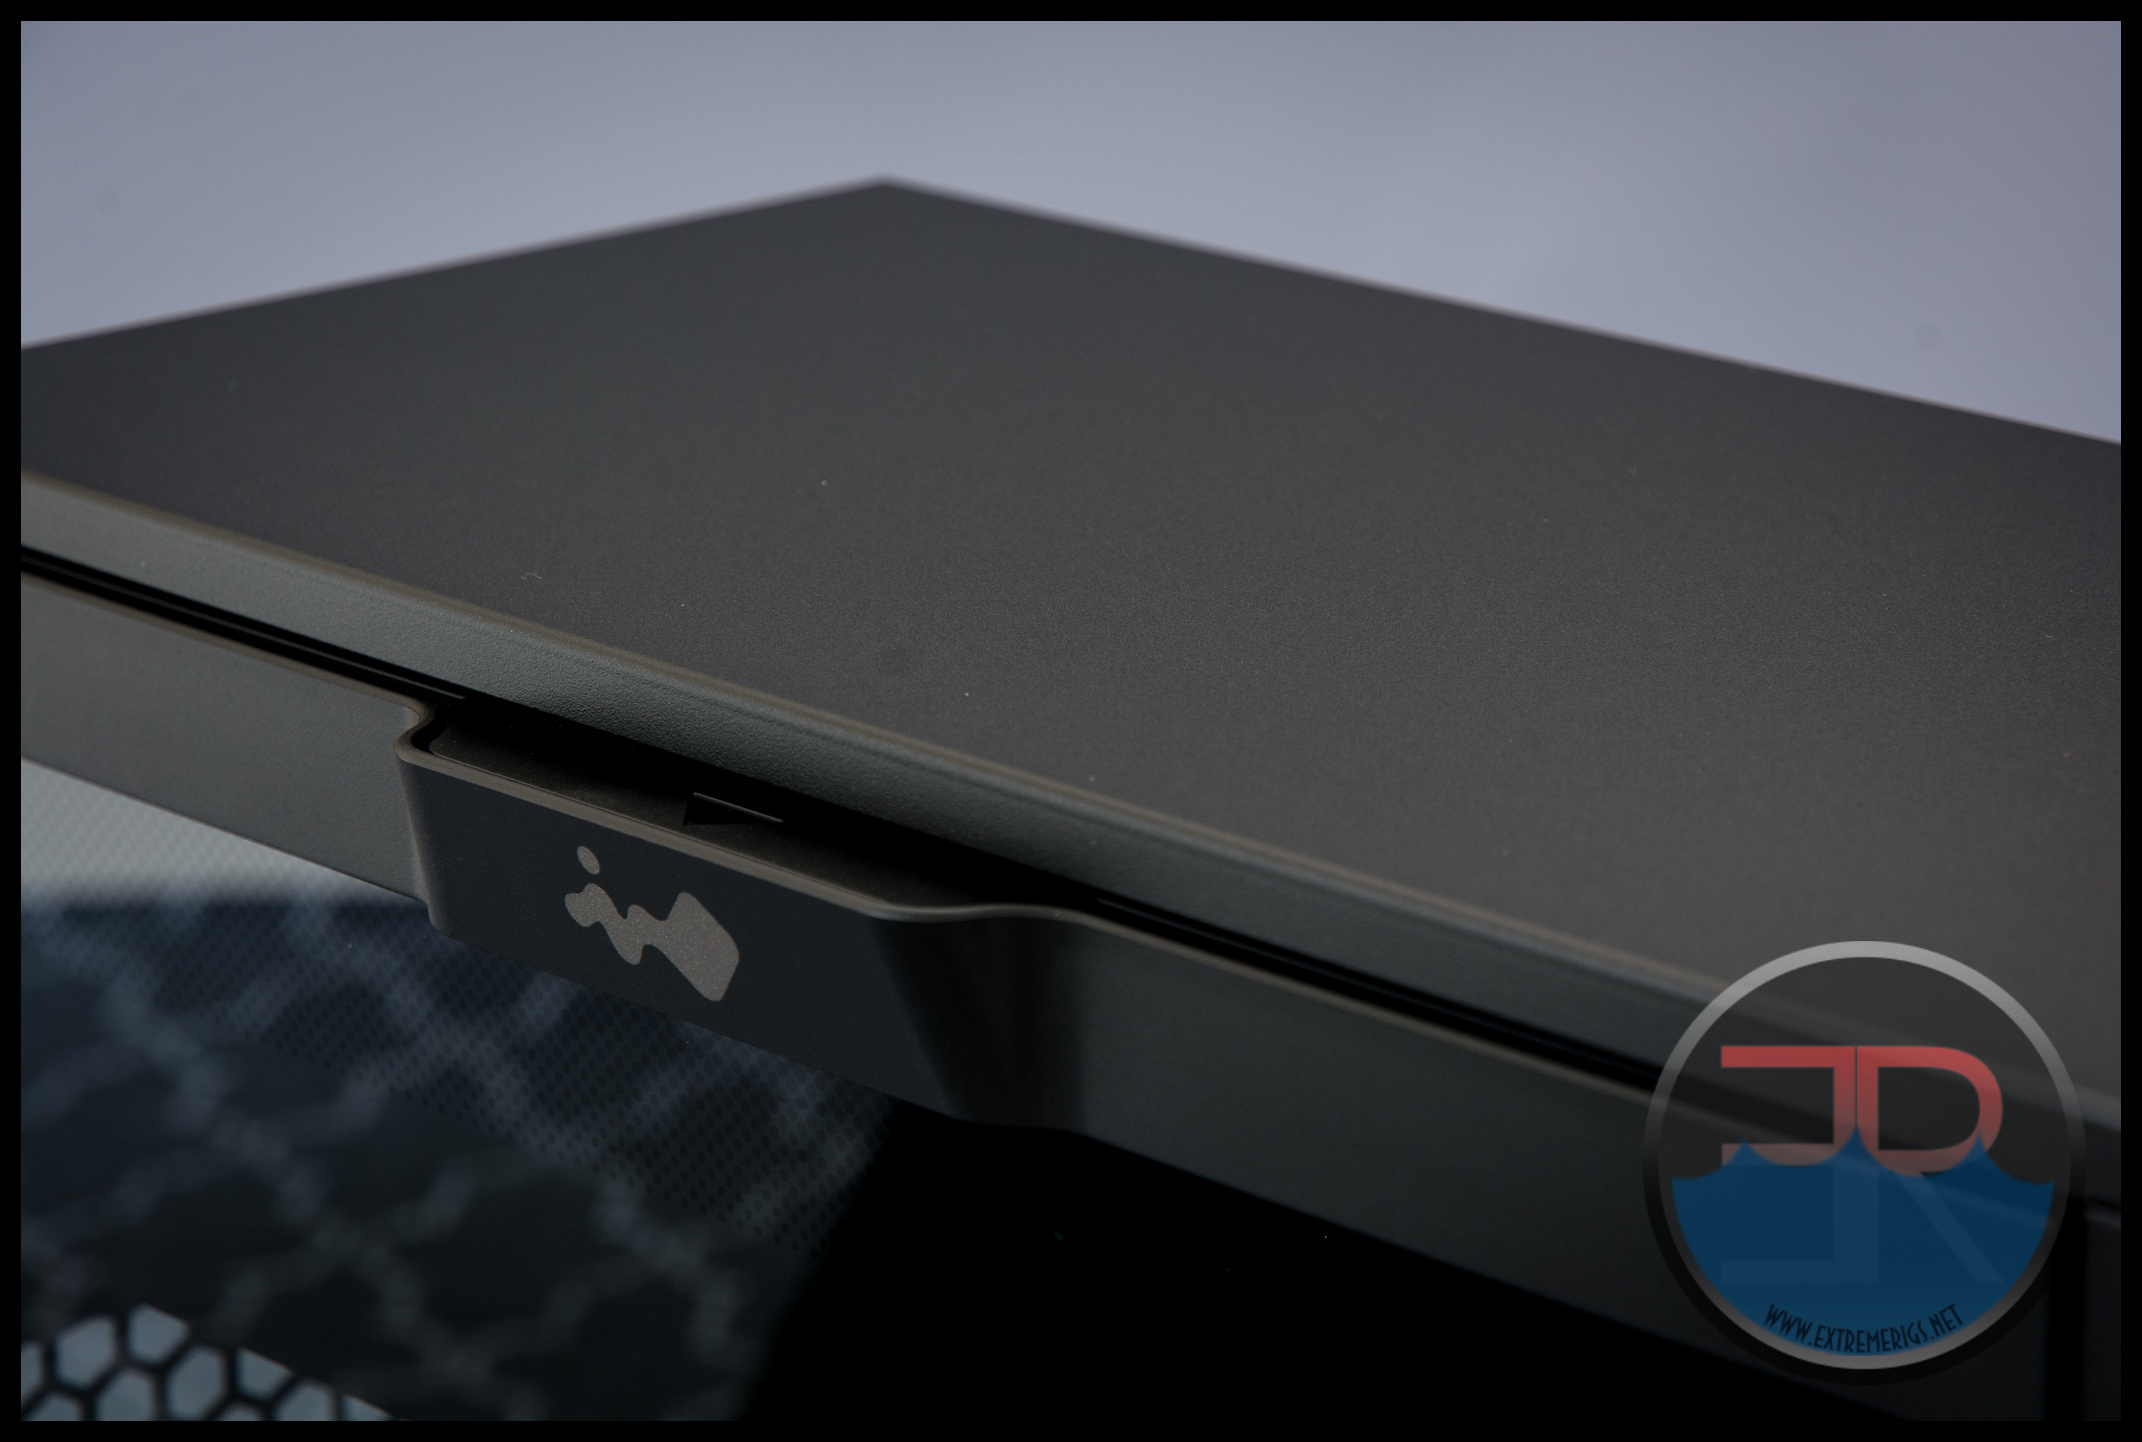 The result I think is actually a cleaner look than when In Win has used the nuts.
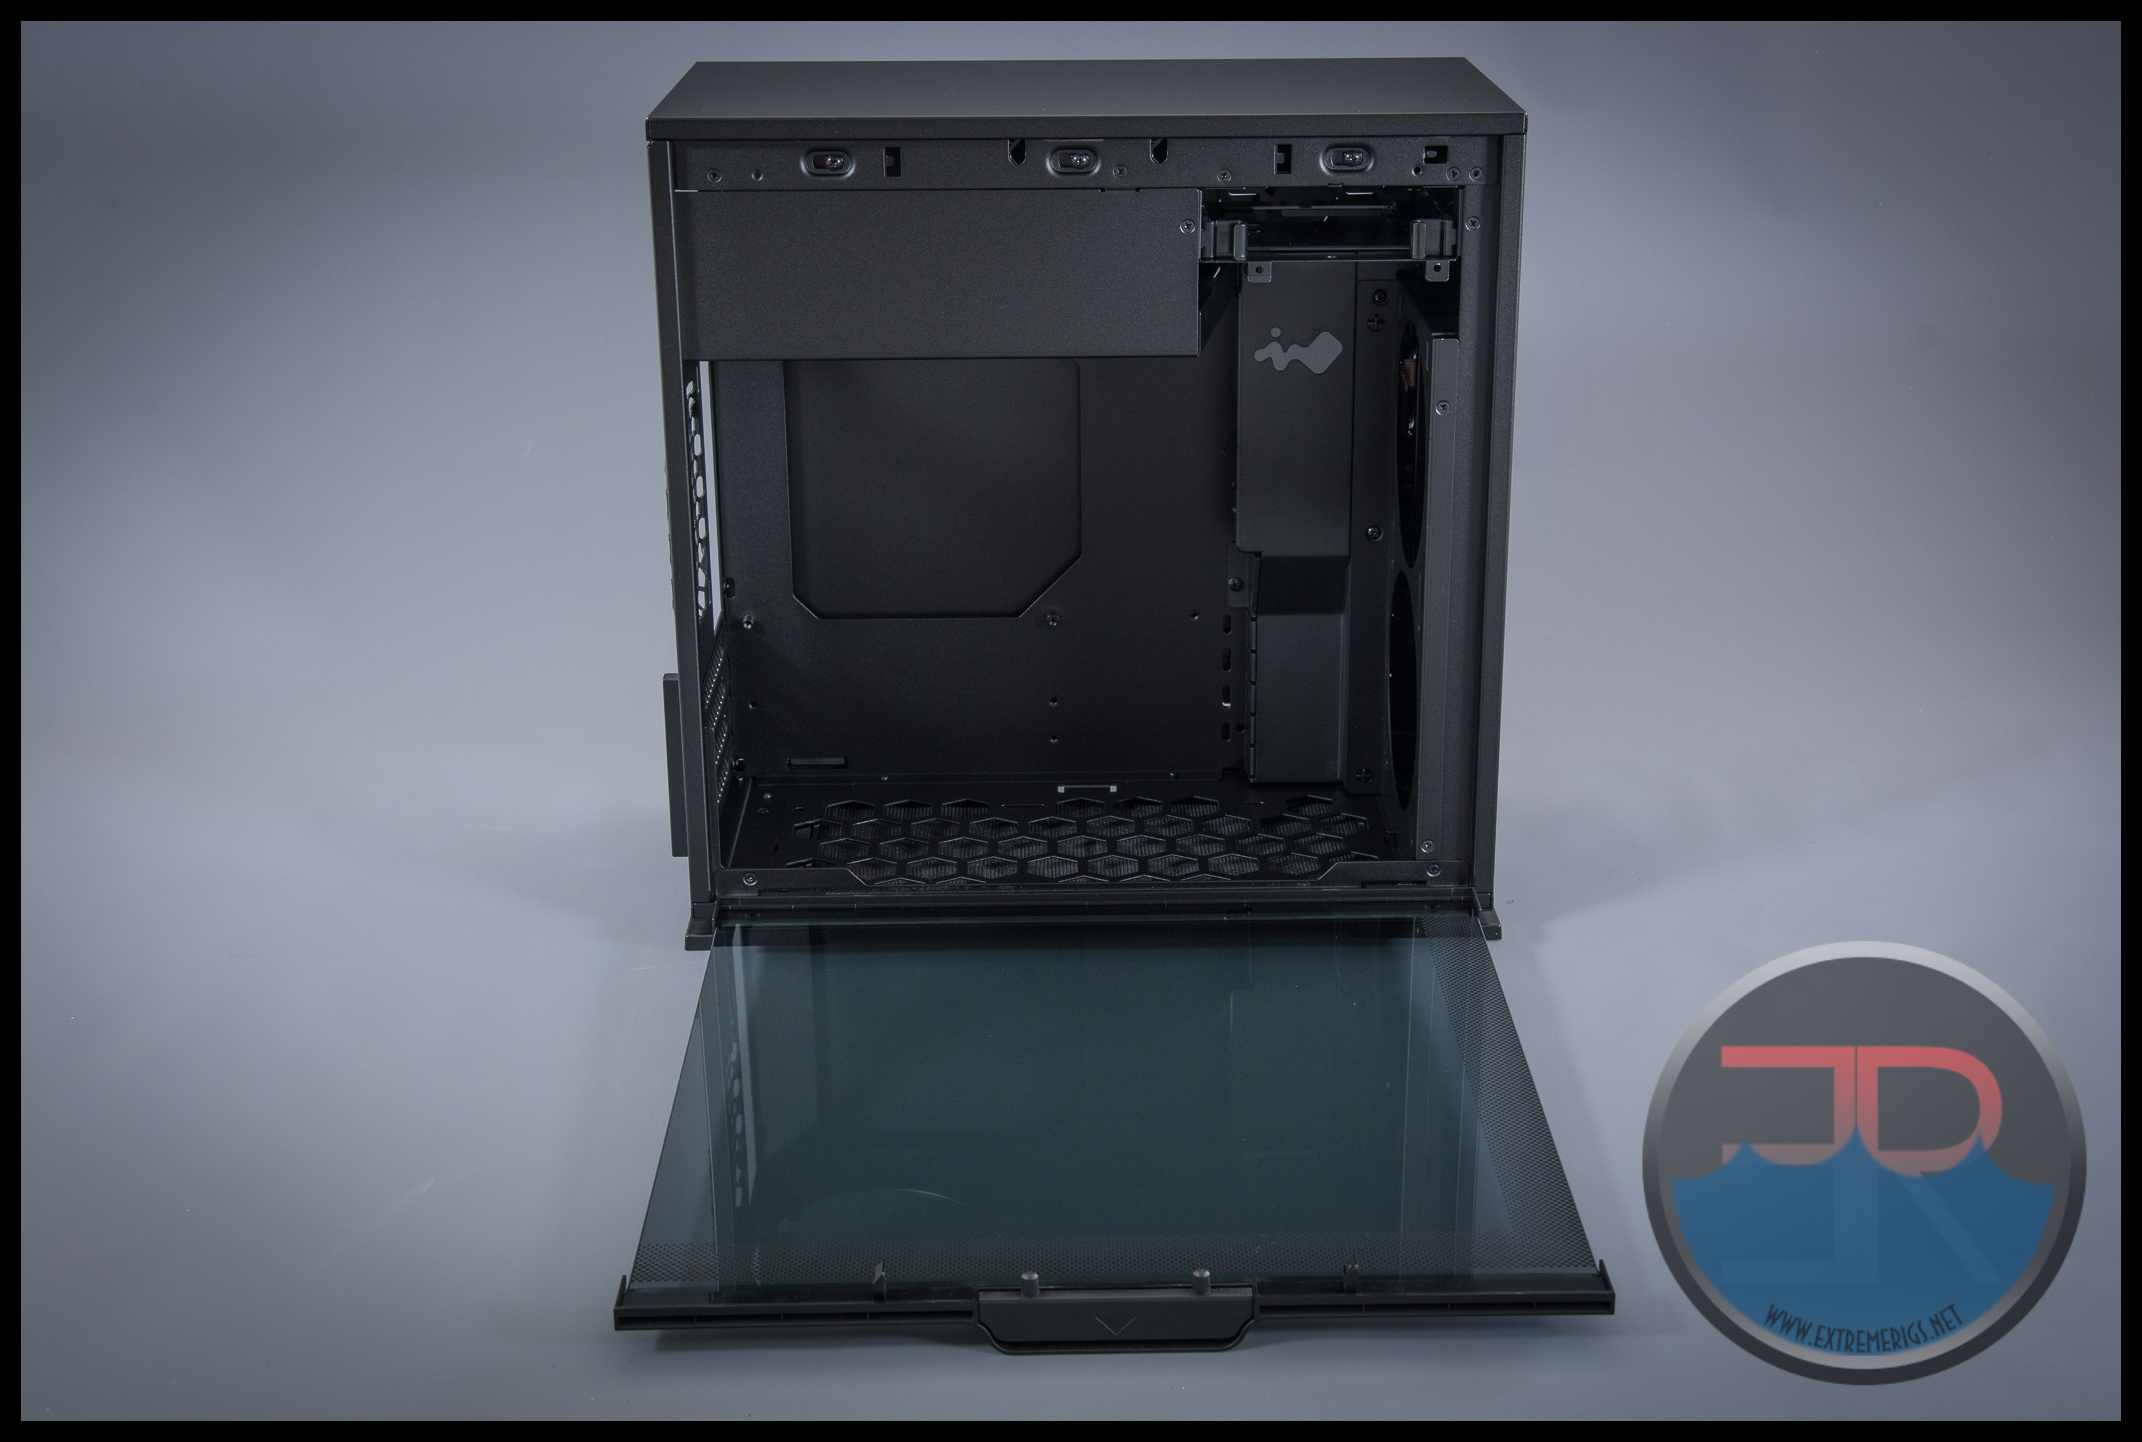
Once the handle is pulled then the door can be pulled or rotated down:
Here it can be seen that the glass is actually slightly smoked. We like a light smoke as when the PC is off then it looks like a clean dark box, but when it’s turned on then it suddenly pops with depth after LED’s power up. This is assuming of course you add some LEDs because the case does not come with any internal lighting.
The other door does not use a handle to release it however and resorts to using two nuts at the top.
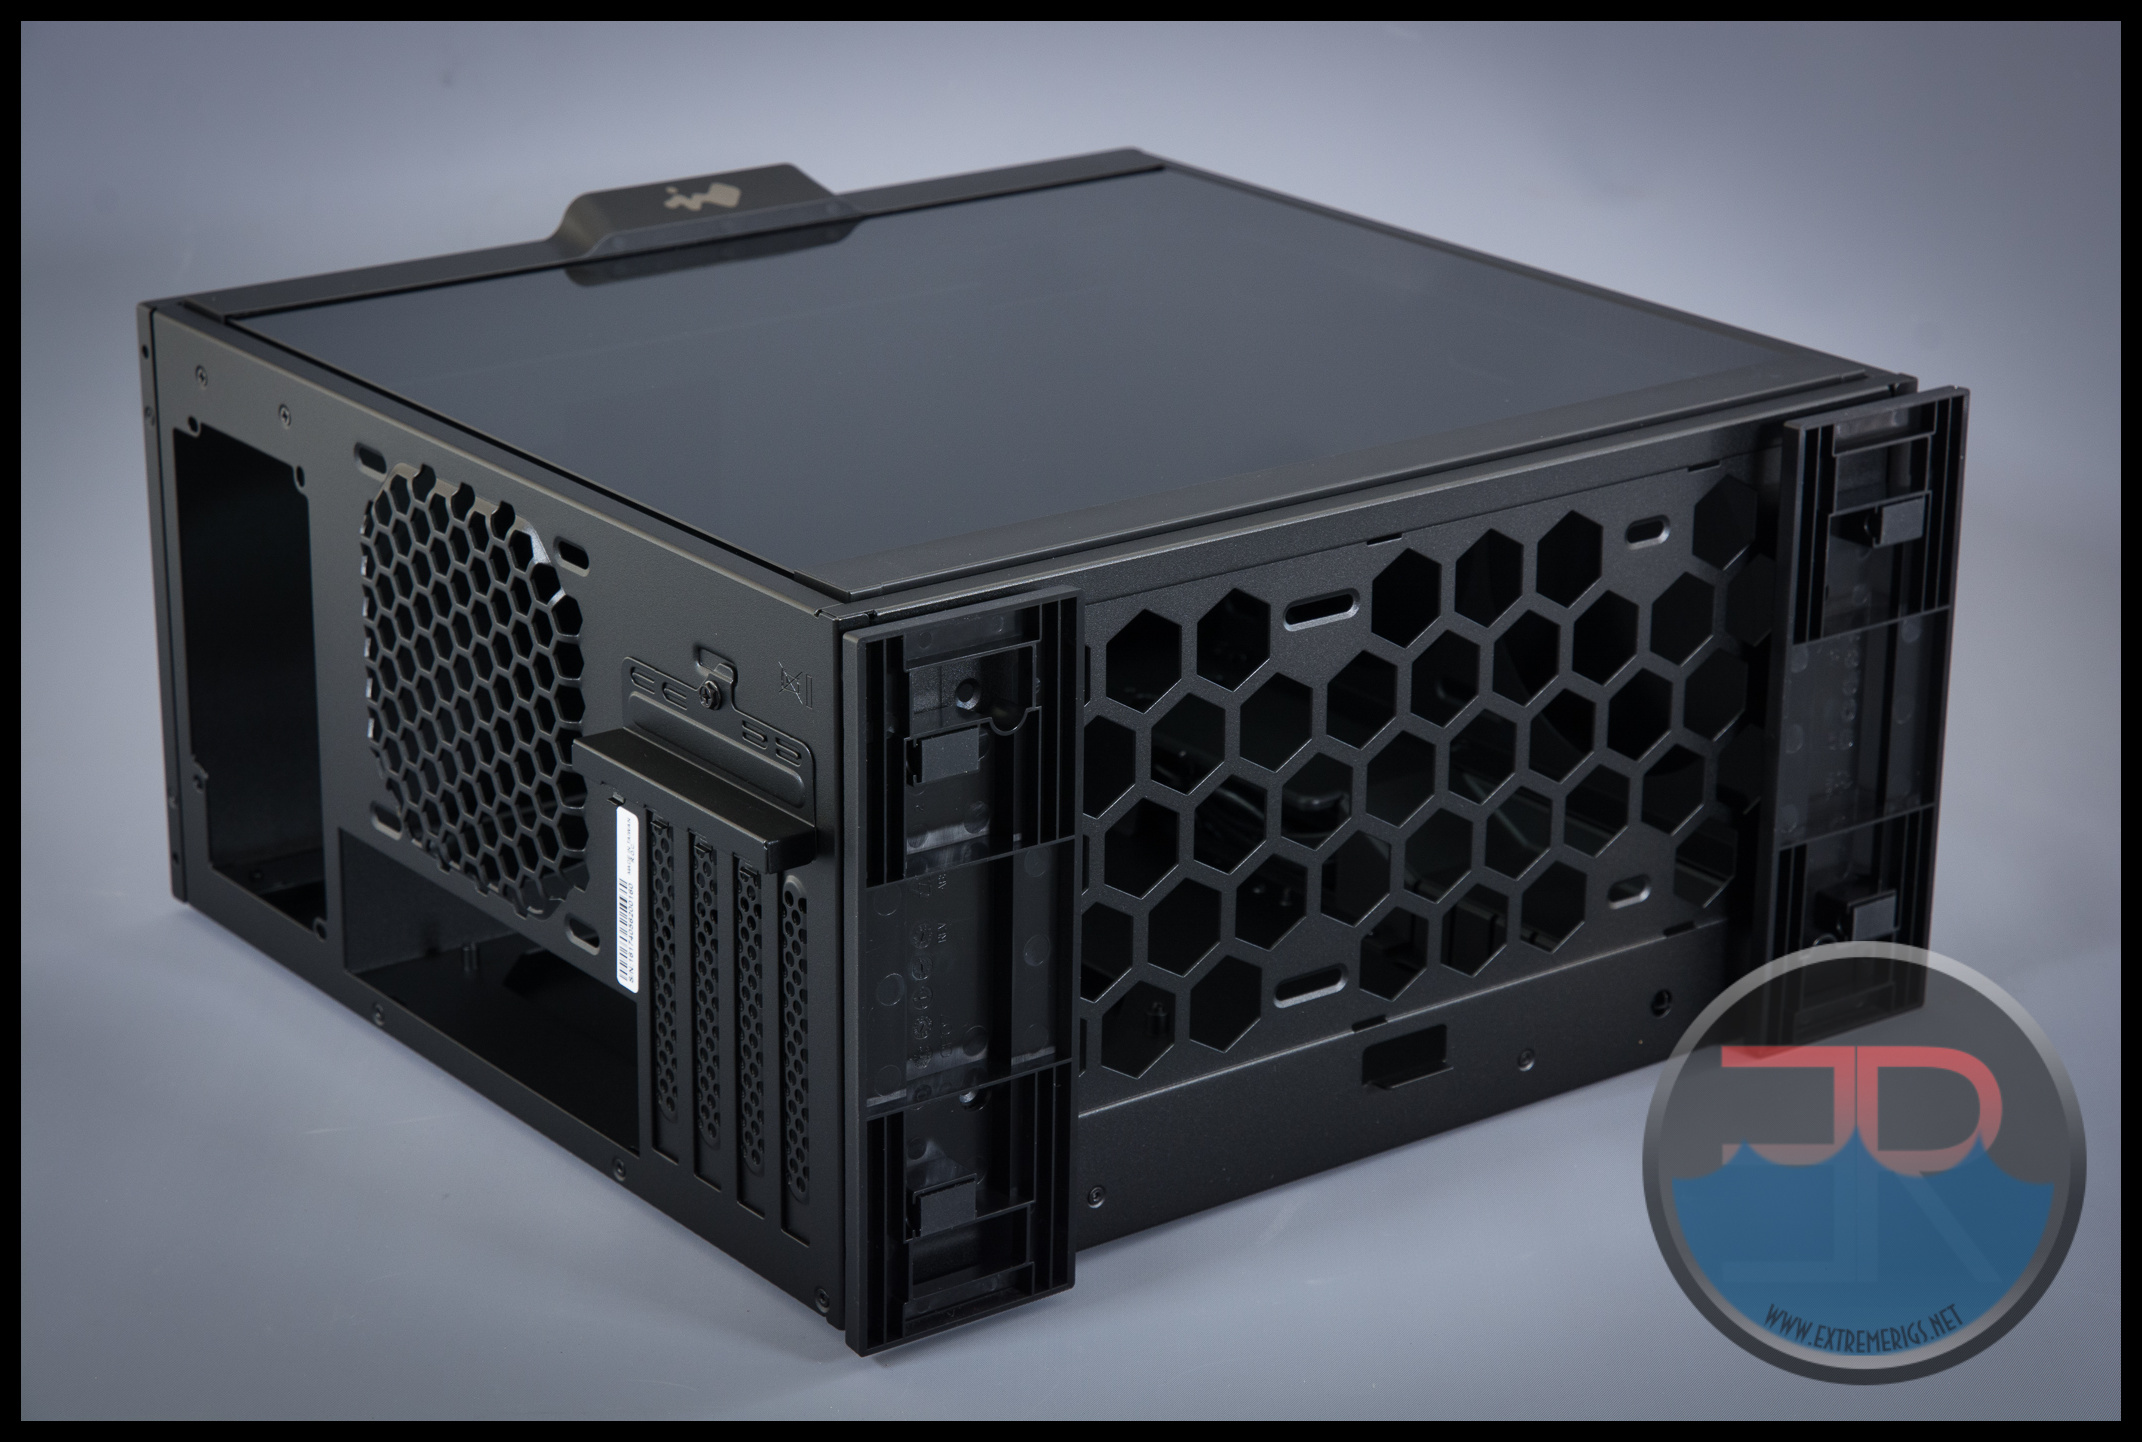
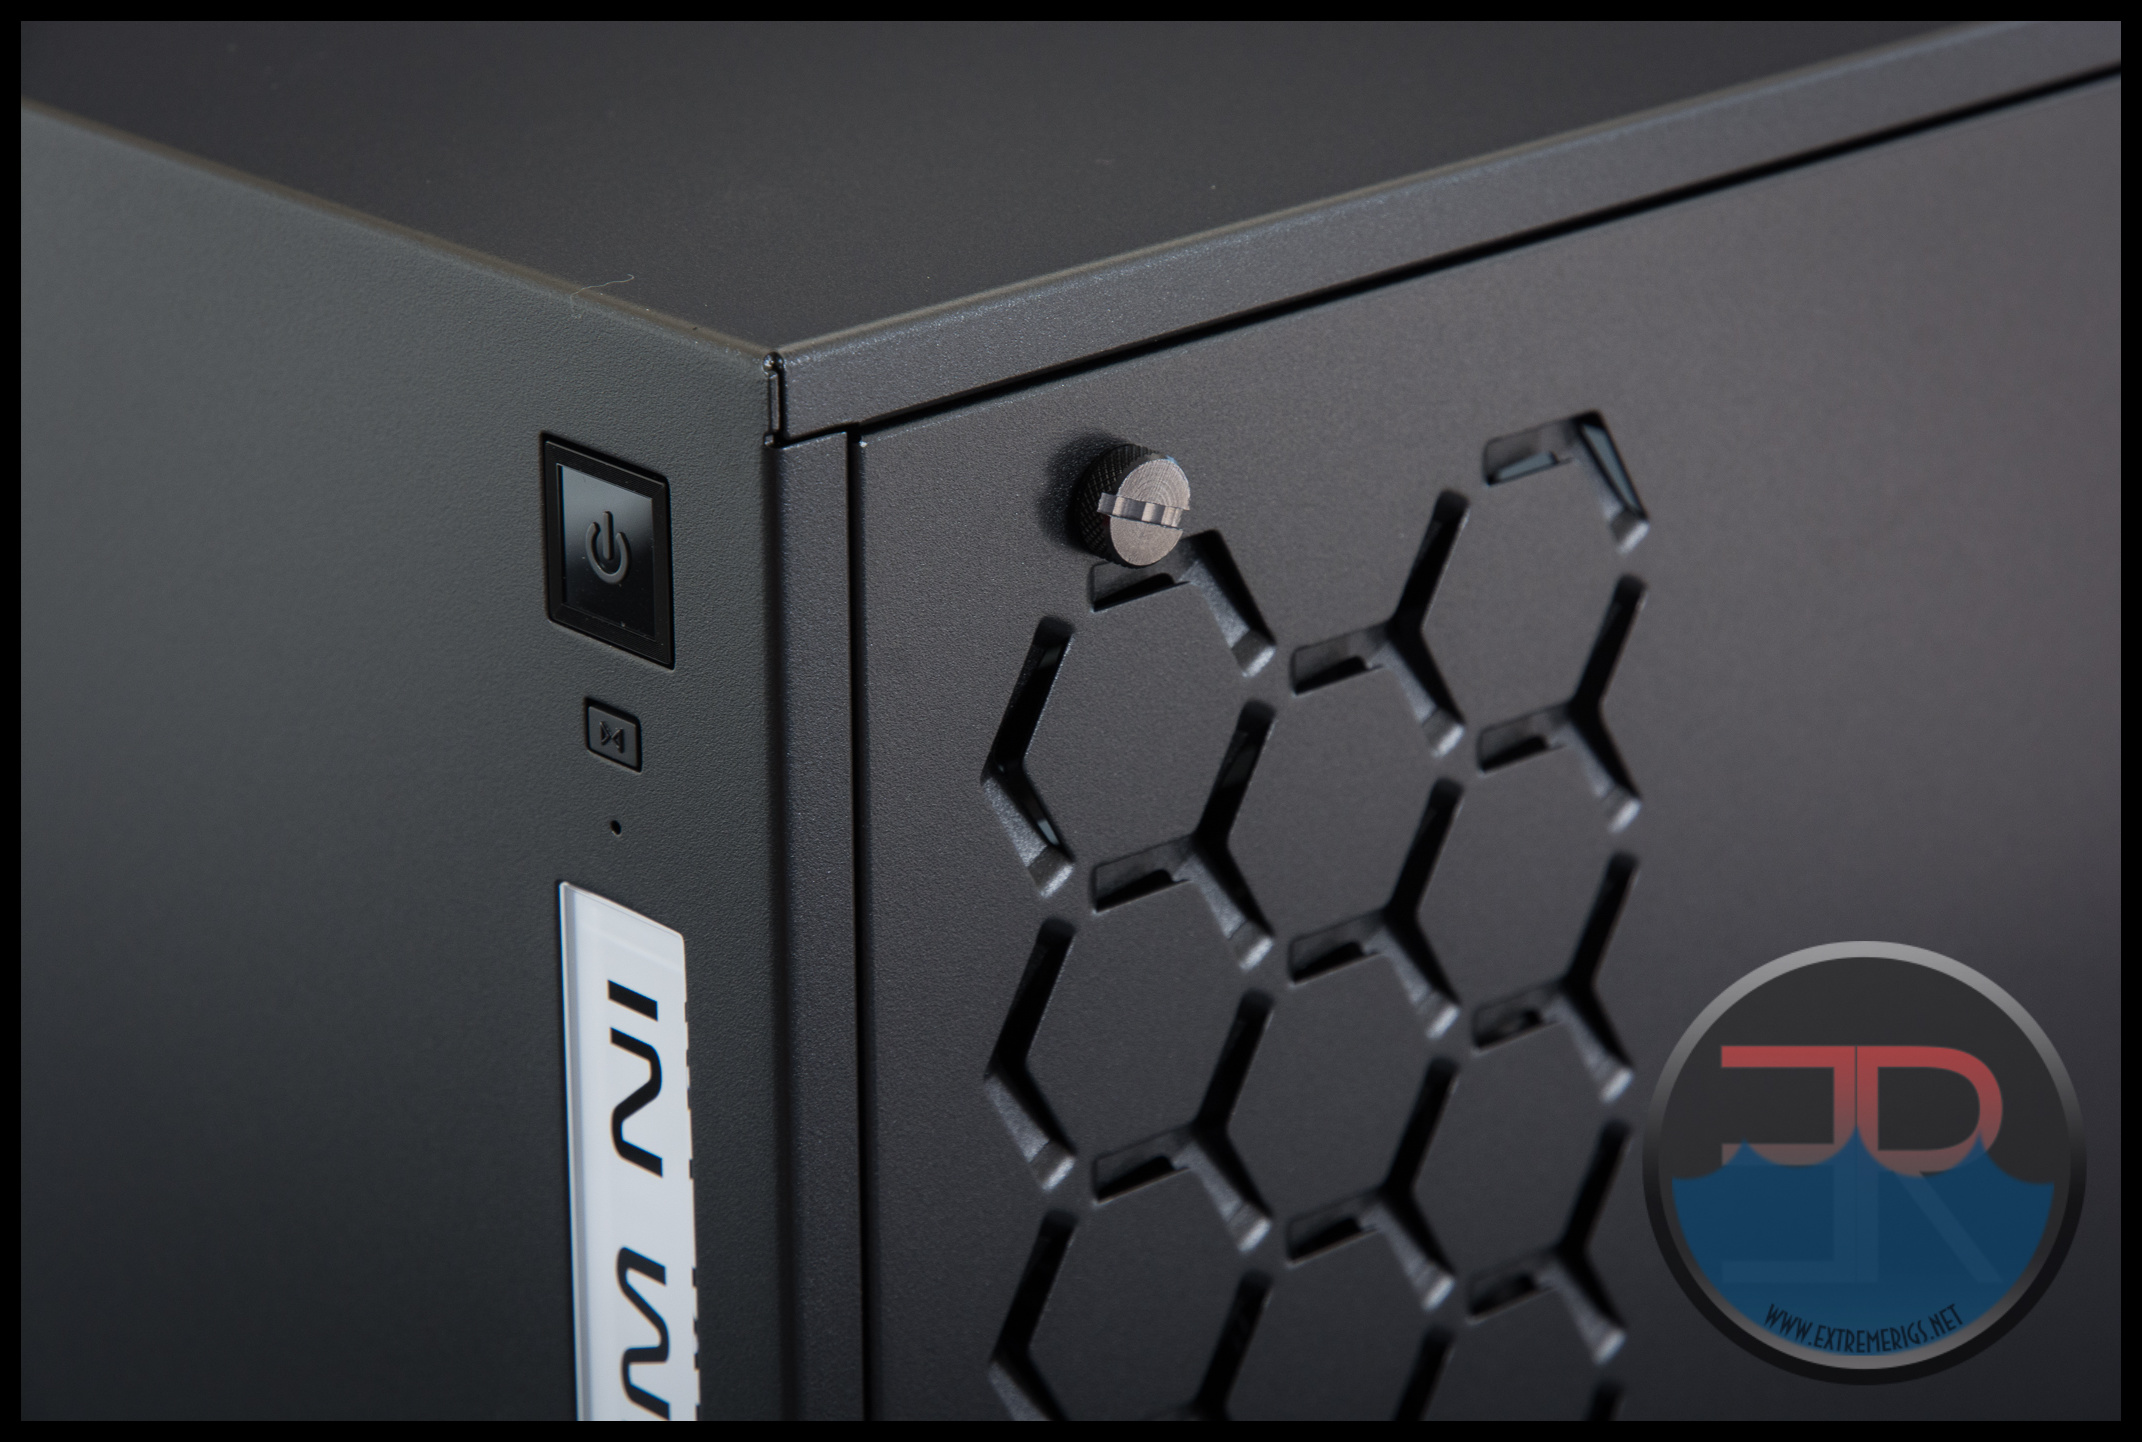 Once the two thumbscrews are removed then the panel again rotates down. The cutout hex pattern allows for some limited ventilation for the case however as fans can not be mounted to it, then the benefits will be minimal.
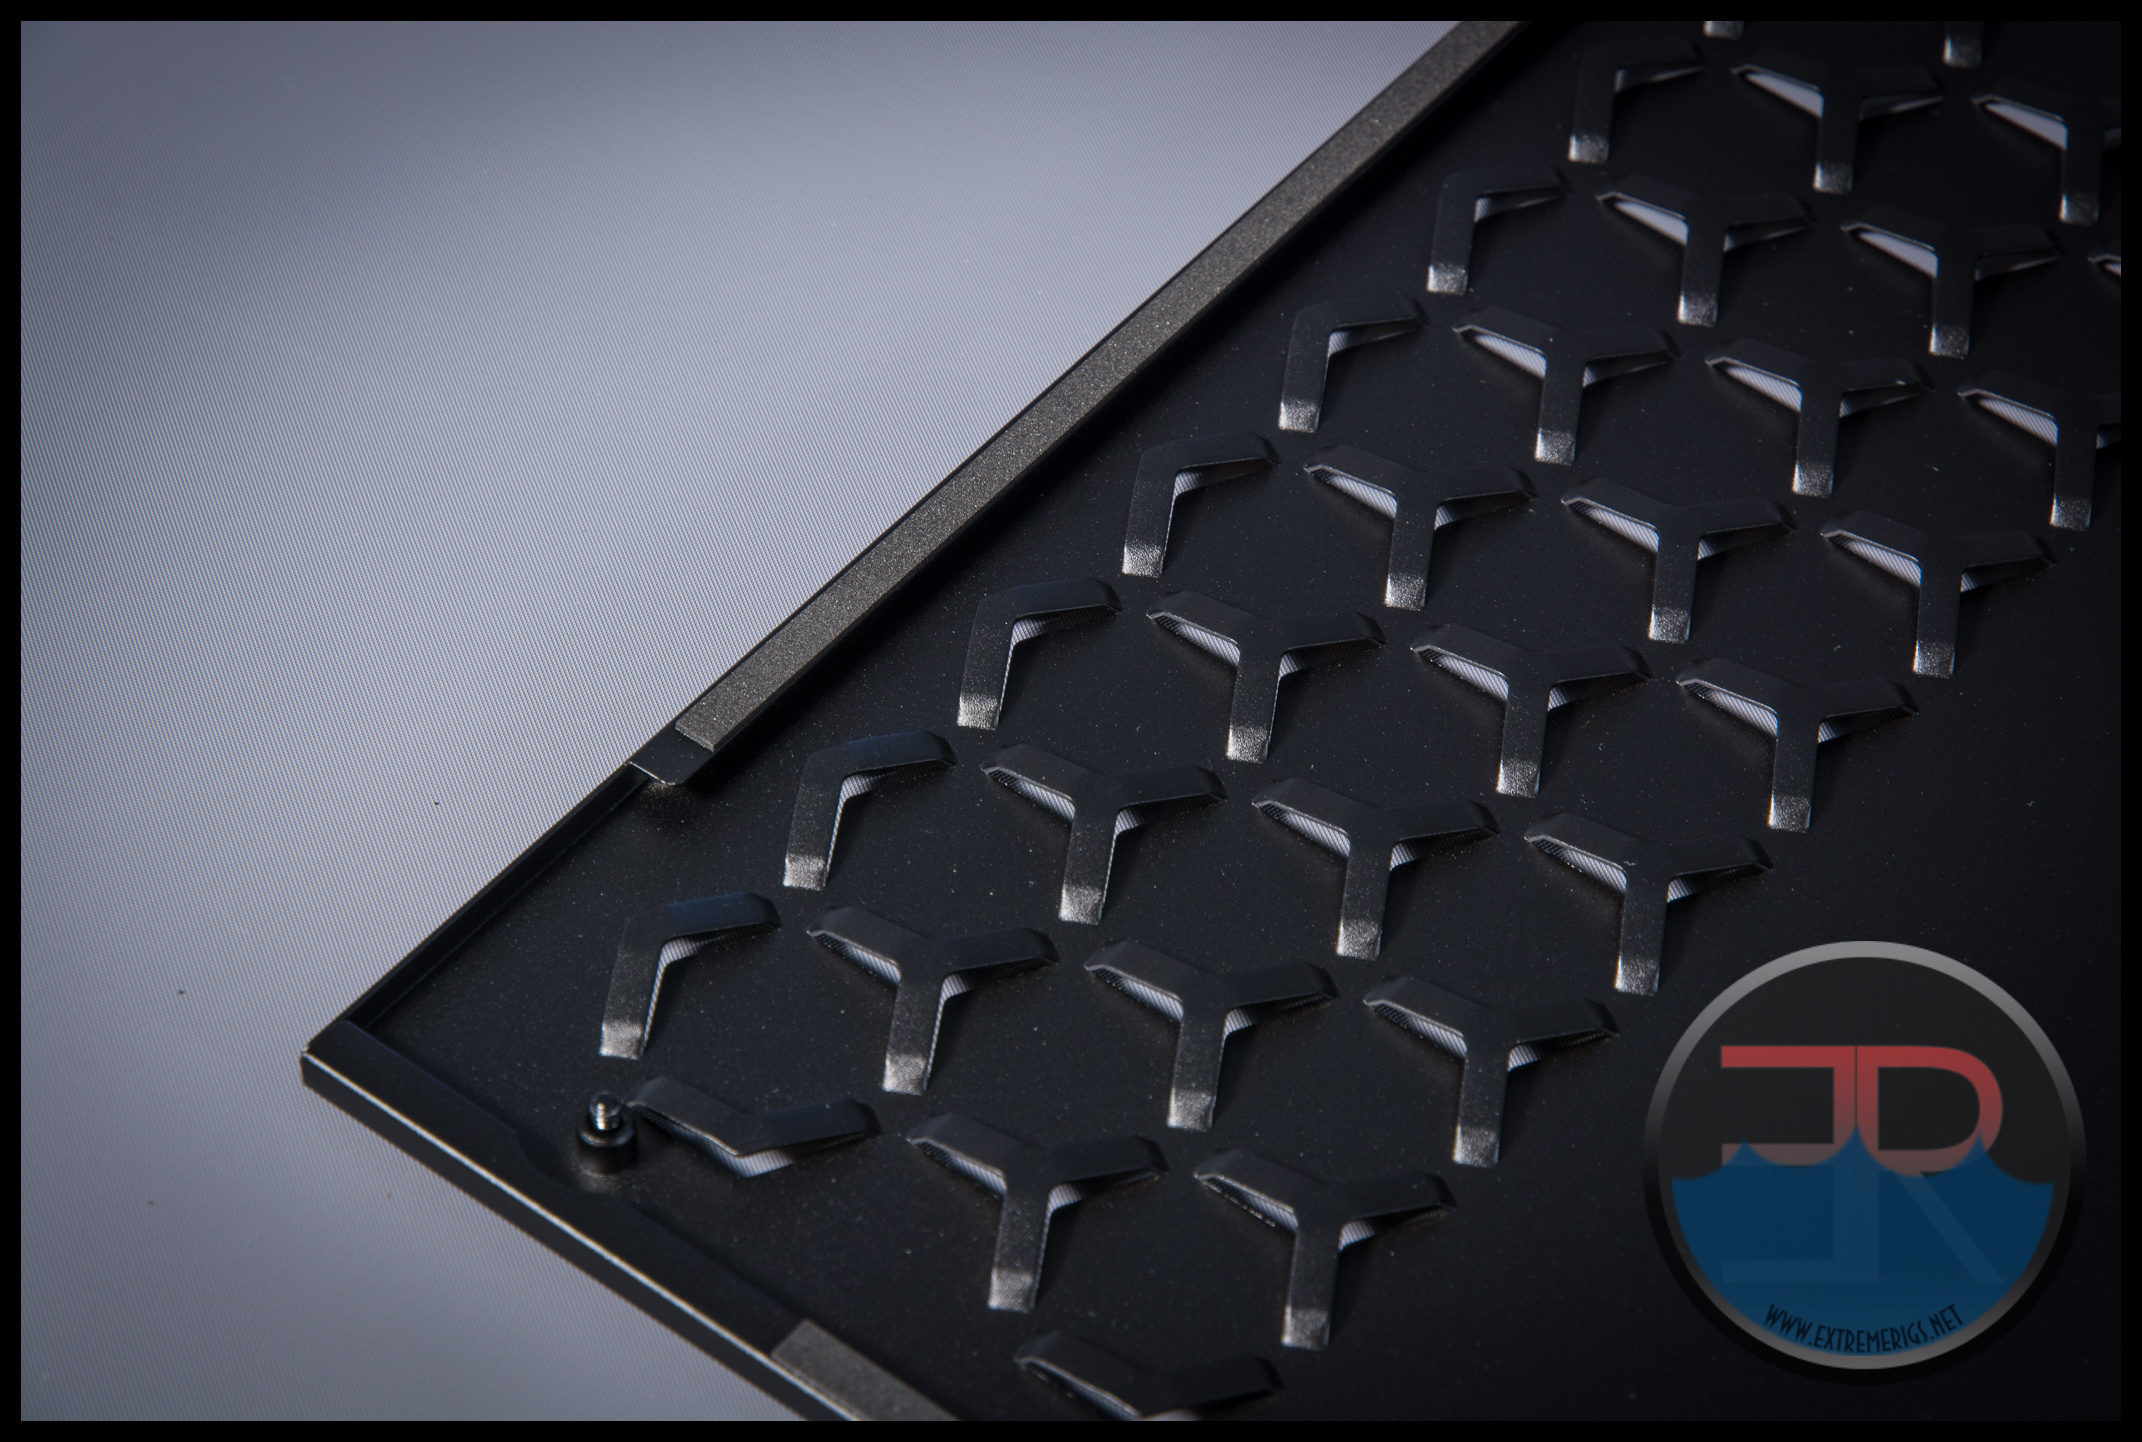
Of interest here is also the thin strip of foam. These are added to stop the panel vibrating as fans spin and is a nice touch that you do not see on many cases in this price range.
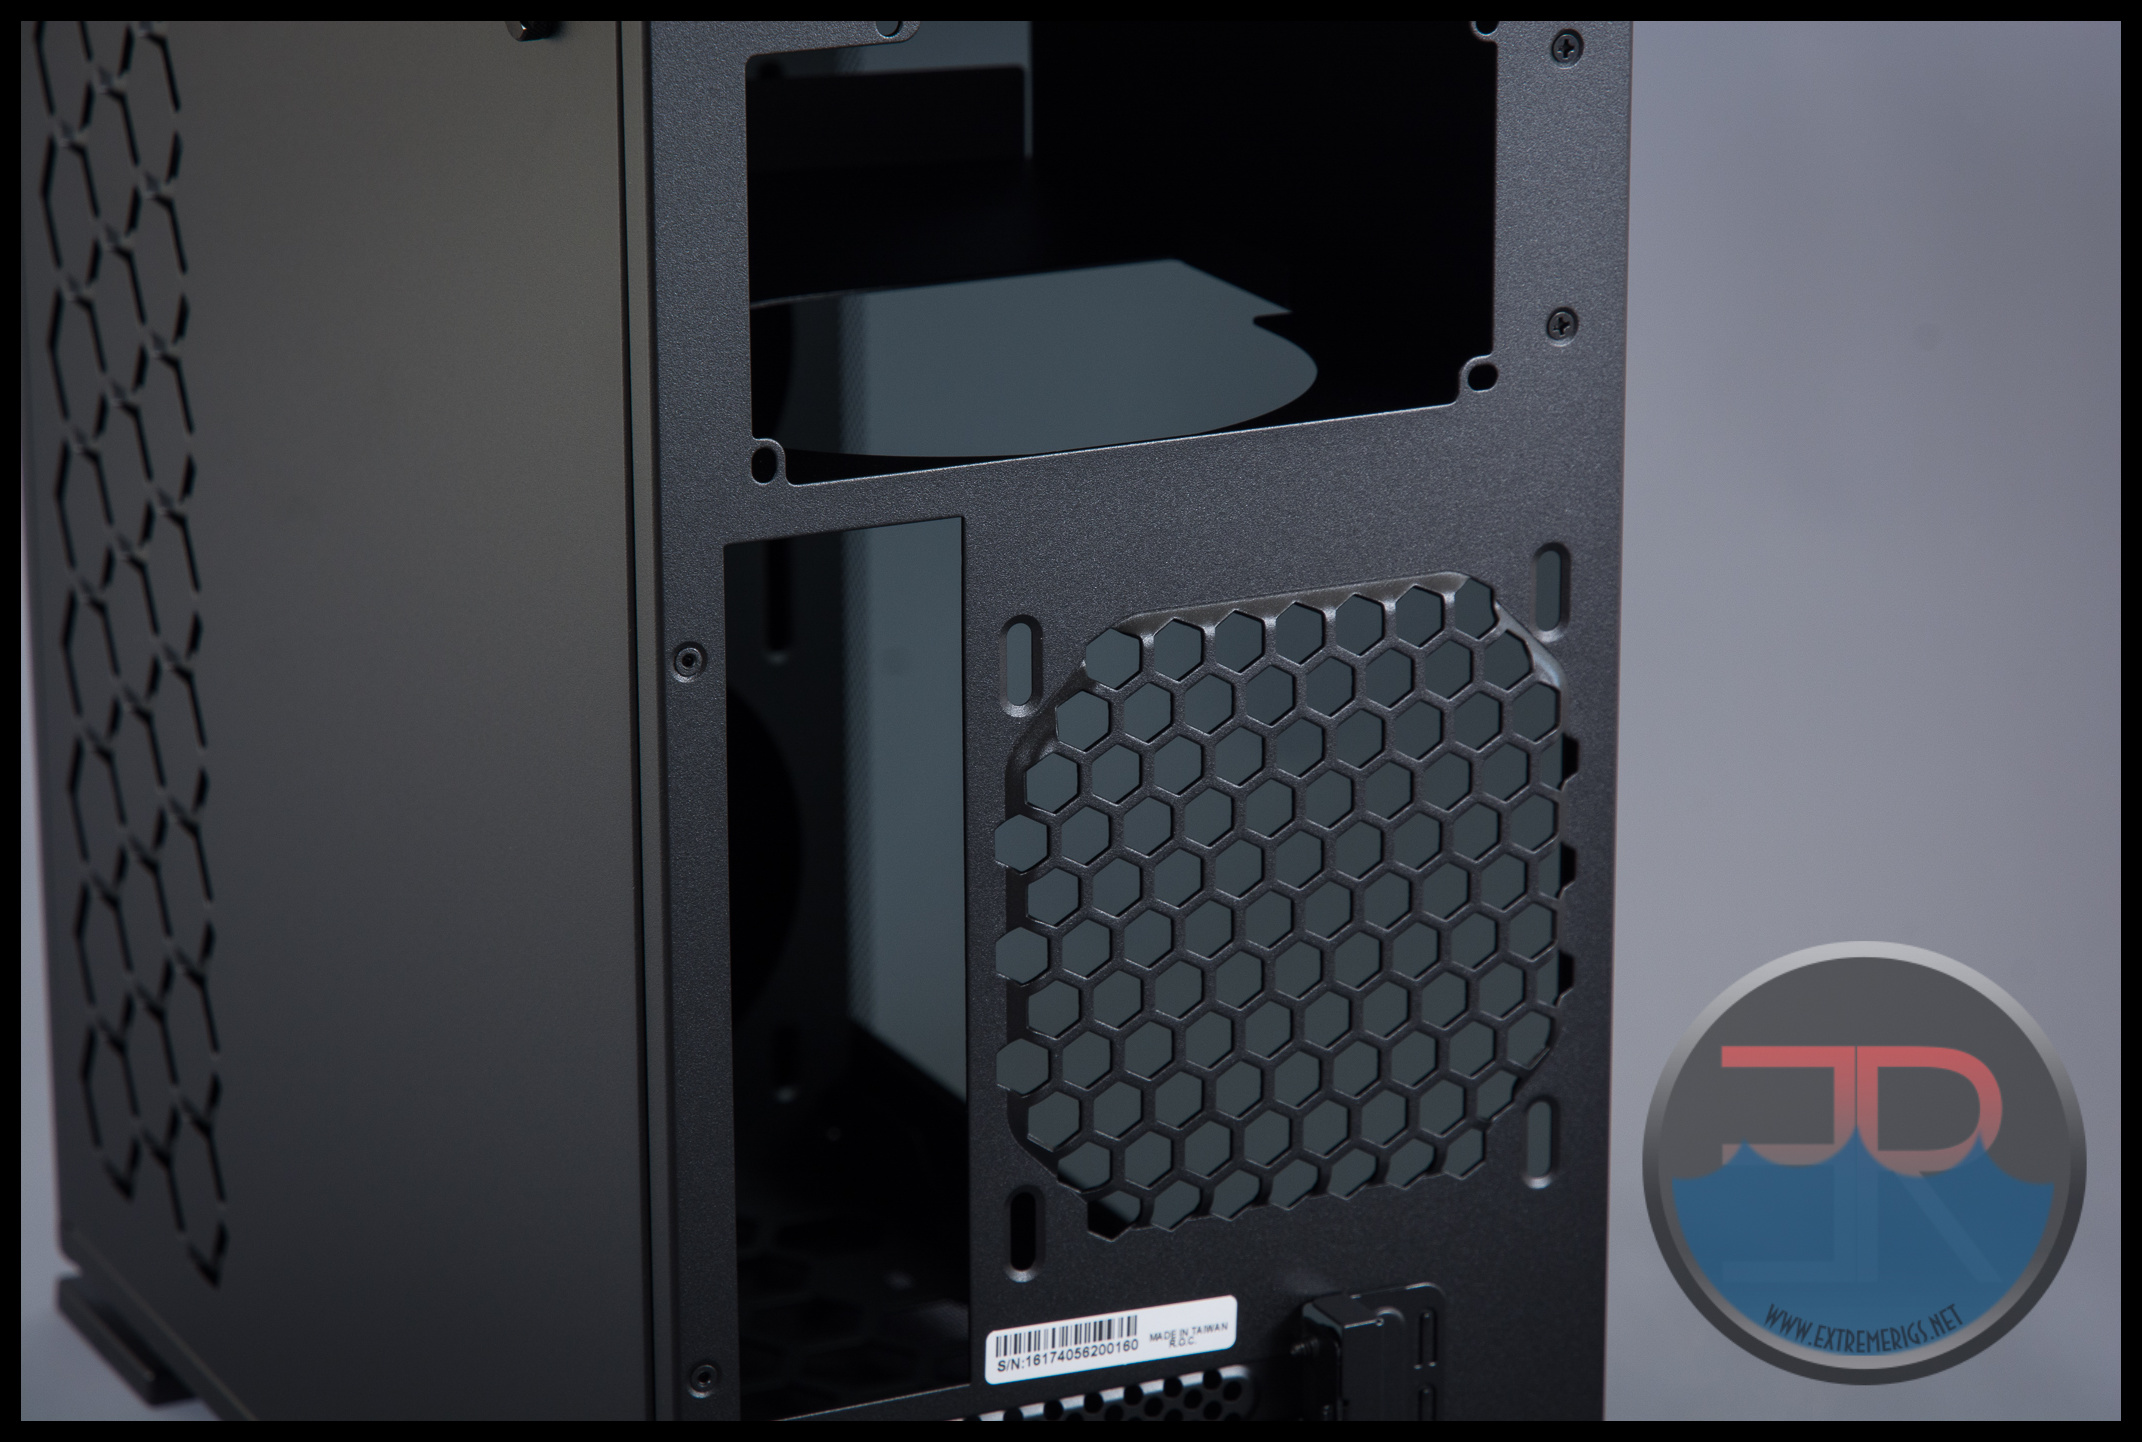
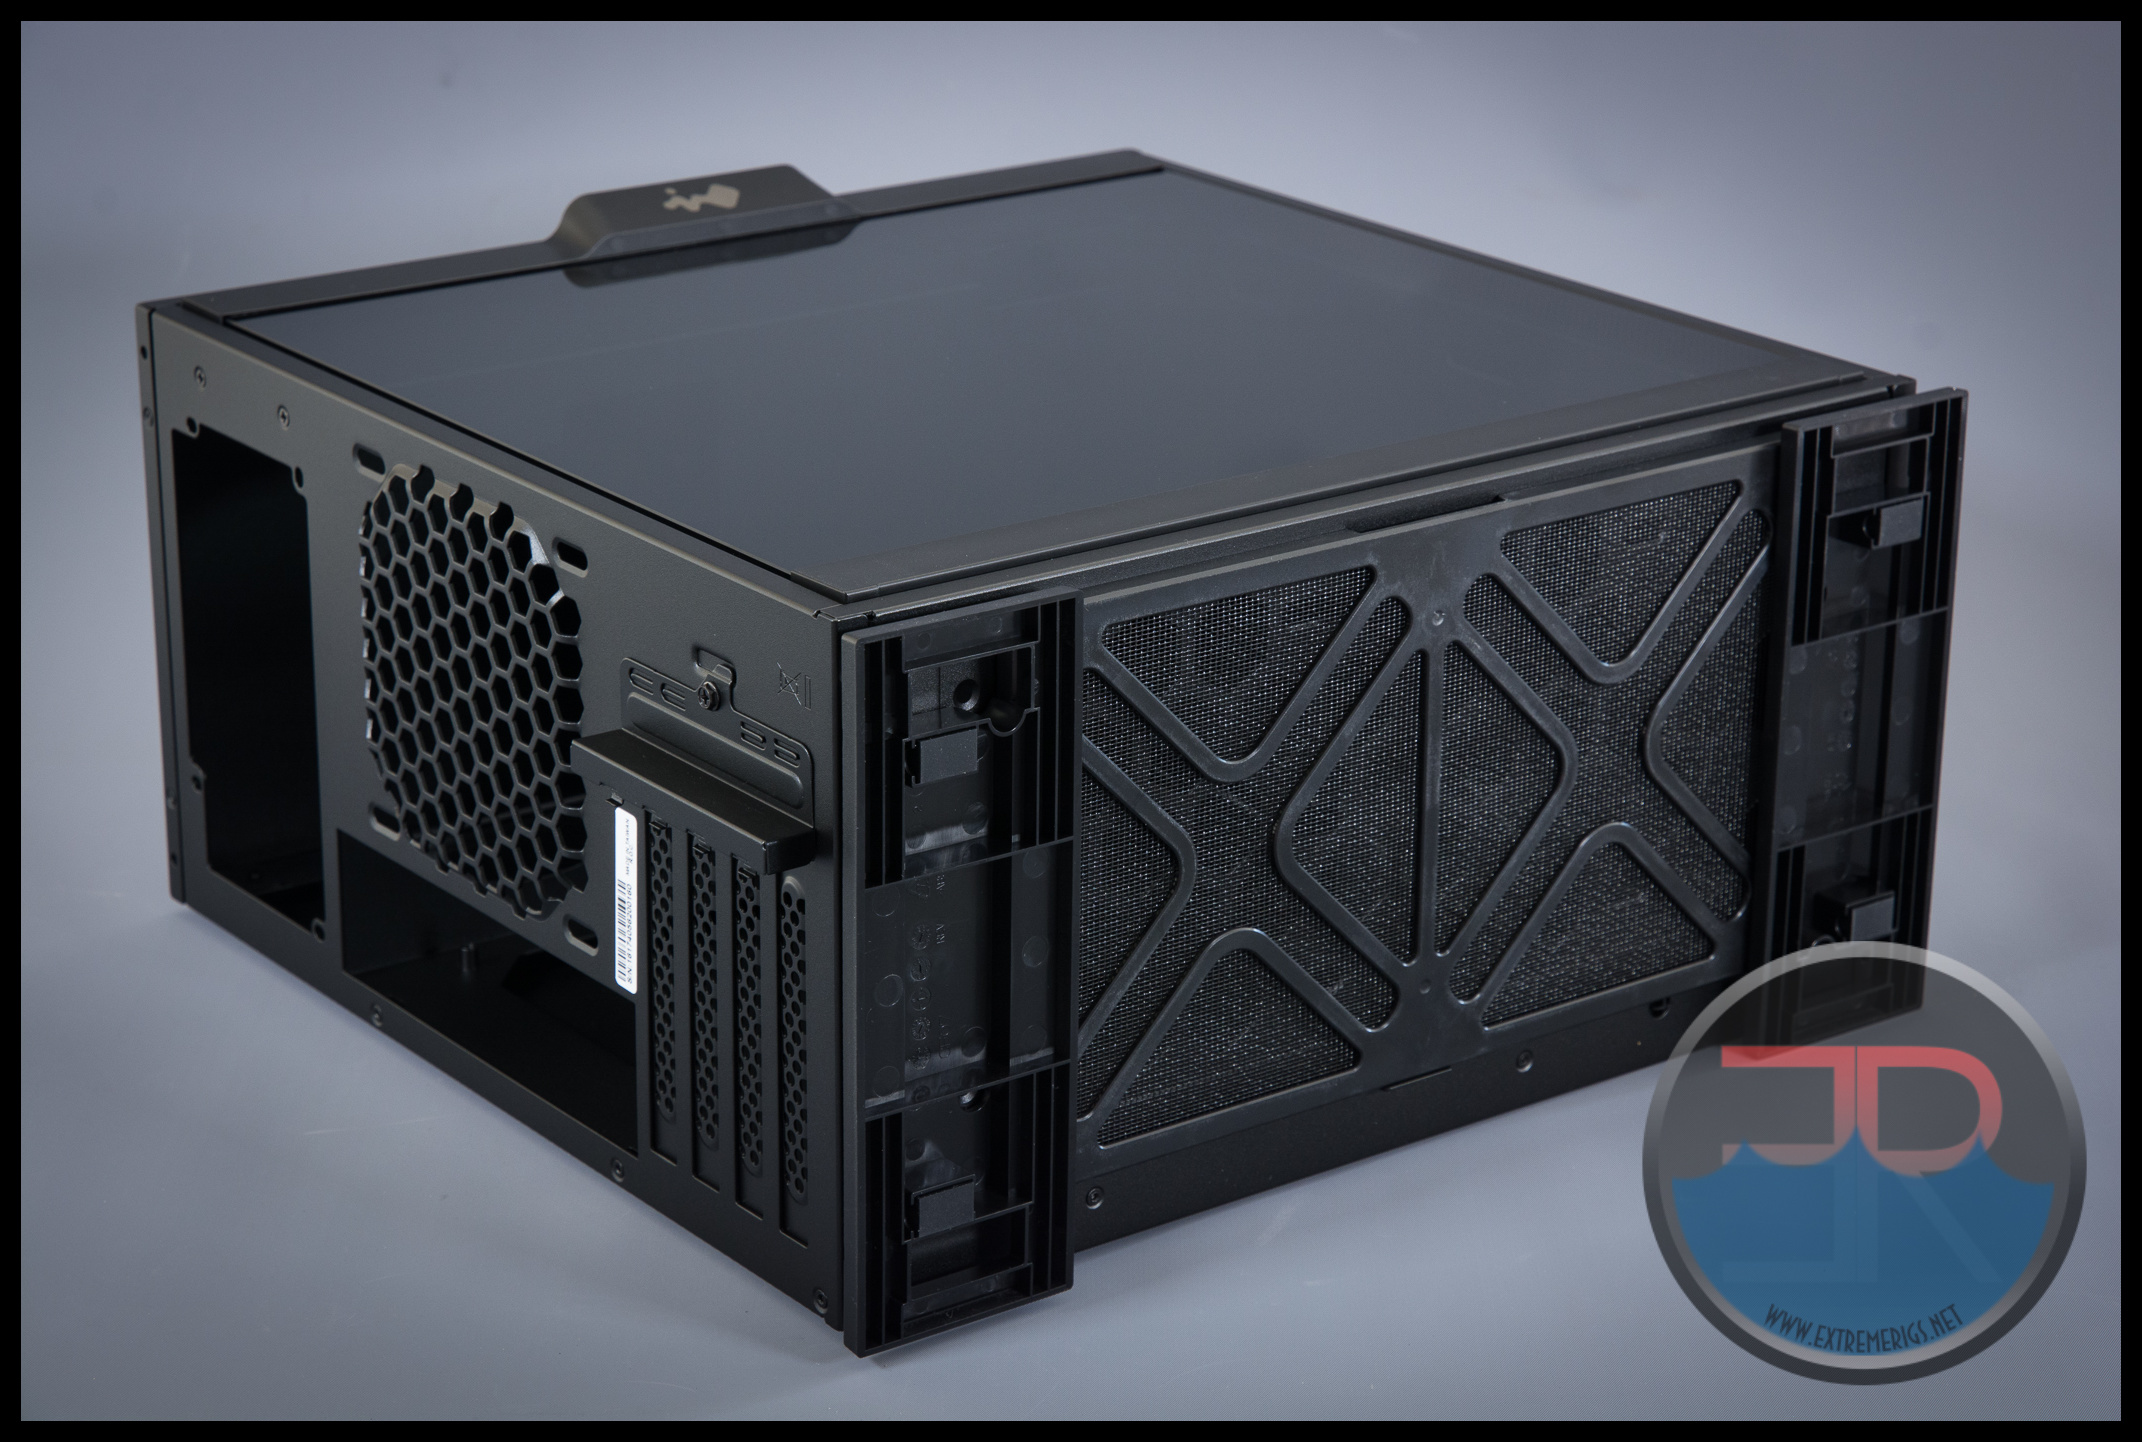
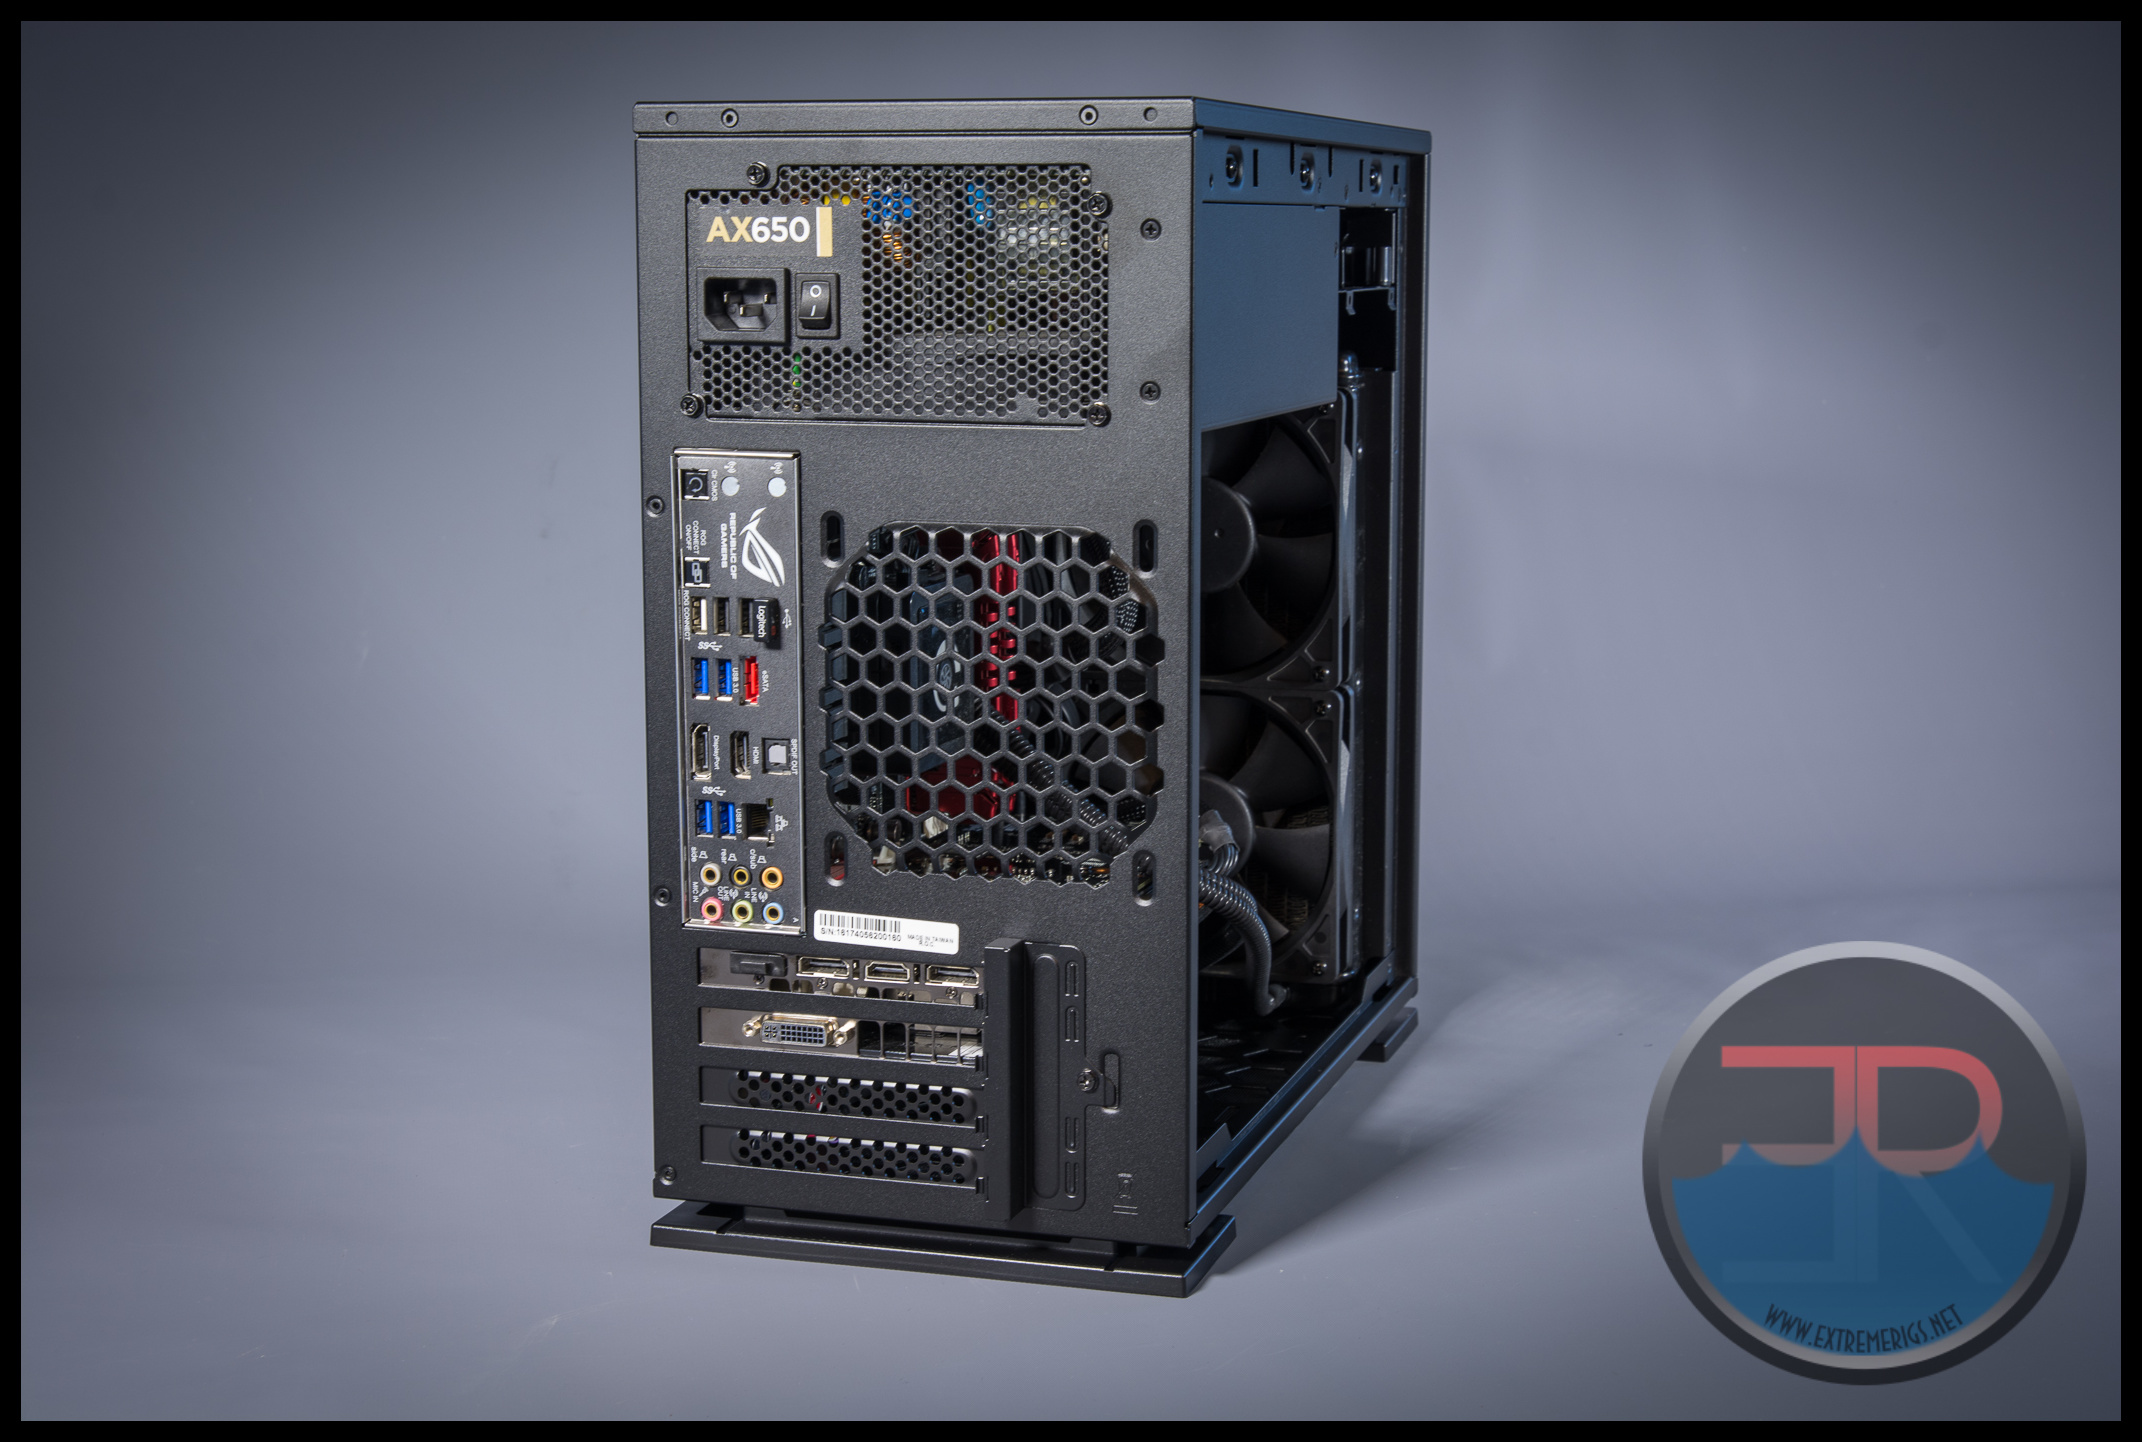
As we continue around the case we see that the rear of the case has standard cutouts for the motherboard, a 120mm fan and a power supply.
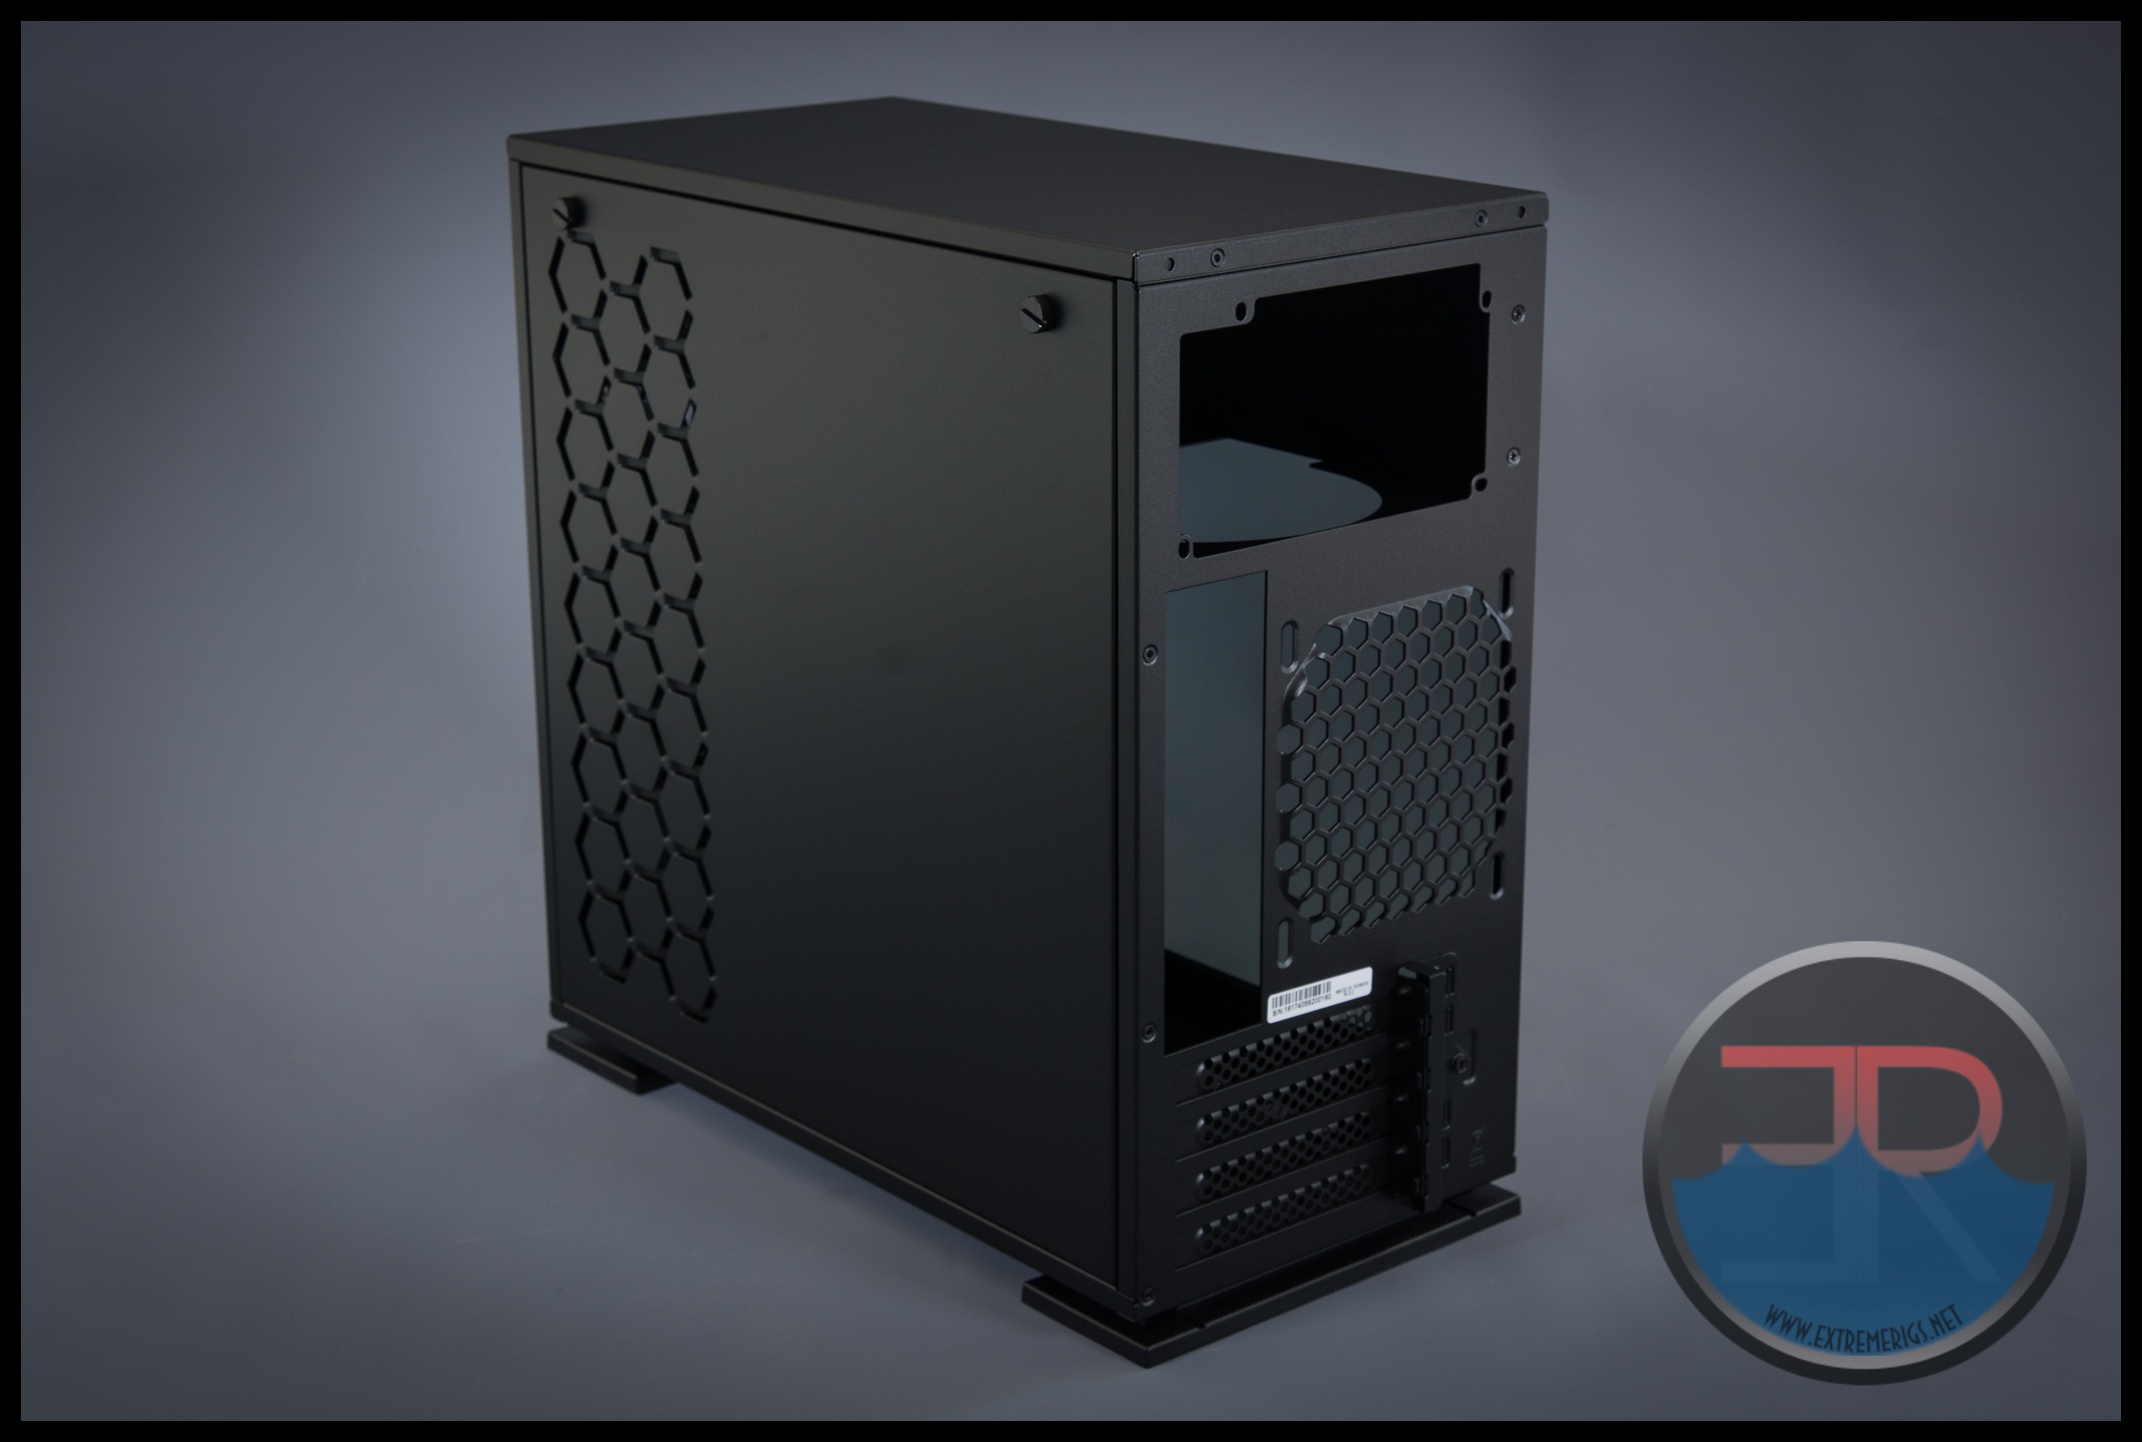 Those of you with eagle eyes will note that the IO cutout for the motherboard is not recessed. This no doubt saves money but does mean that therefore the PCI slot screws will protude behind the rest of the rear panel. This isn’t a big deal because the protusion isn’t visible from most angles.
 The underside photo shows the PCI screw protrusion best. There is a metal bracket that sits on top of it to ‘pretty it up’:
 Looking at the underside we also see a dust filter. This easily slides off:
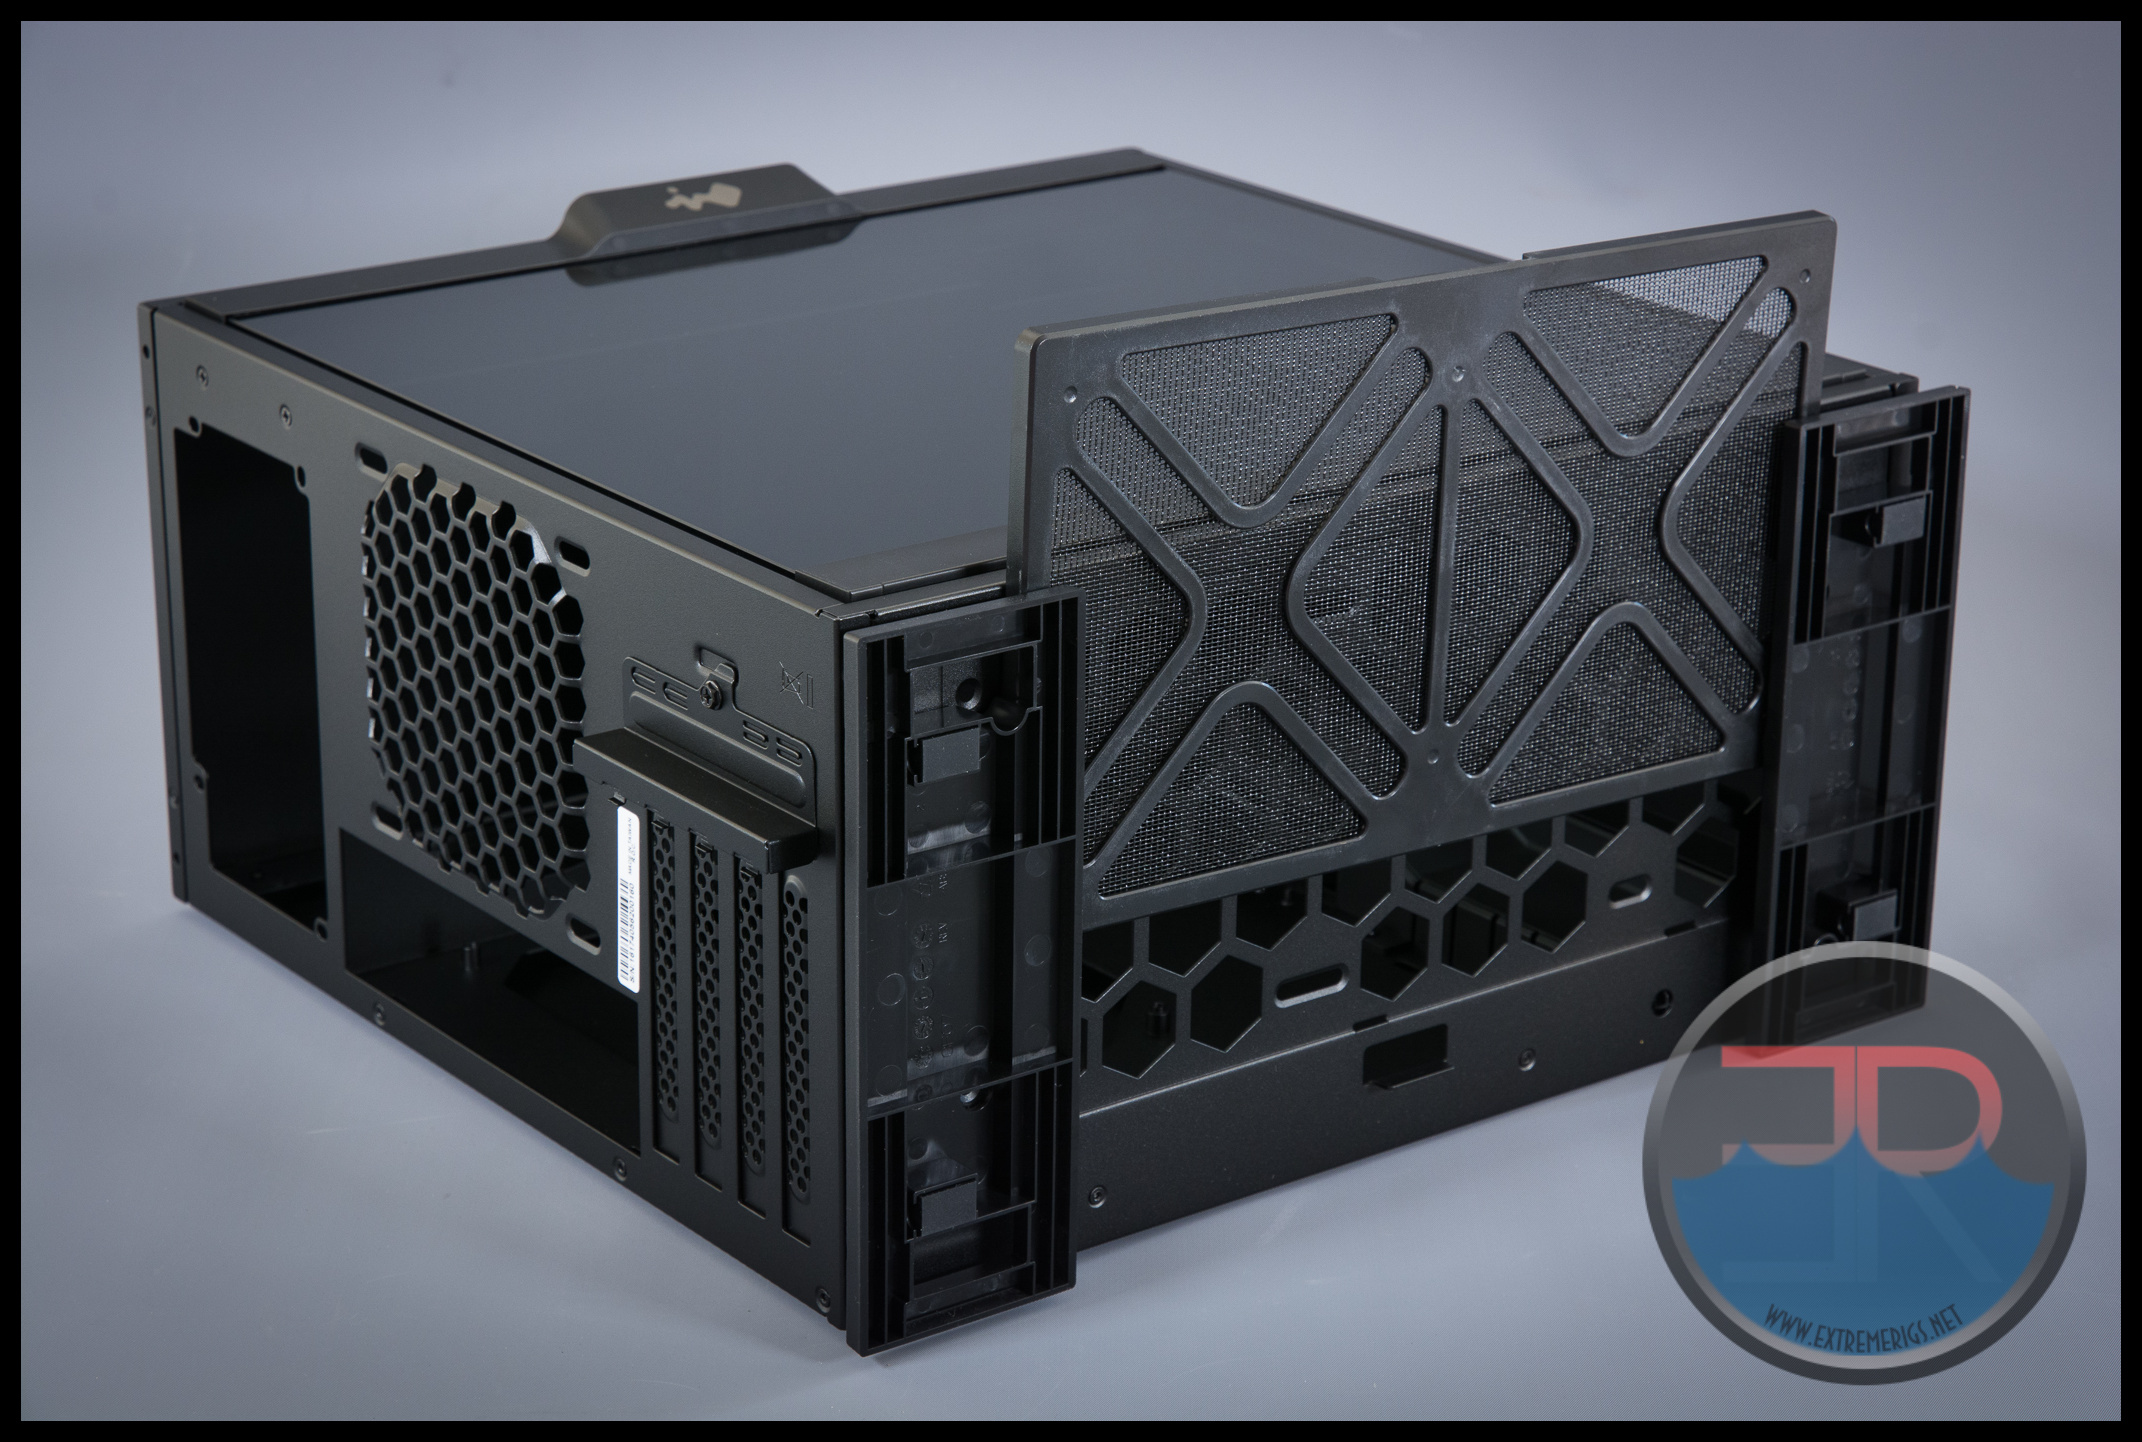
Revealing the 2x120mm fan mount
 While presumably you could mount an AIO here it might prove difficult to then fit any PCI cards. Indeed fitting 2 GPUs might also require some low profile fans. However we would recommend sticking with 1 GPU anyway for a few other reasons. 2 GPUs struggle for air when there are only 4 slots, and if you are considering water cooling I would personally consider a 240 rad too little for 2 GPUs + CPU. With only 2 intake fans and one exhaust fan the case is not really suited for high wattage builds anyway. I would suggest that this case is better suited to a single GPU and a mainstream CPU.
So let’s take a look at the inside of the case now to see and then put a build a rig with it.
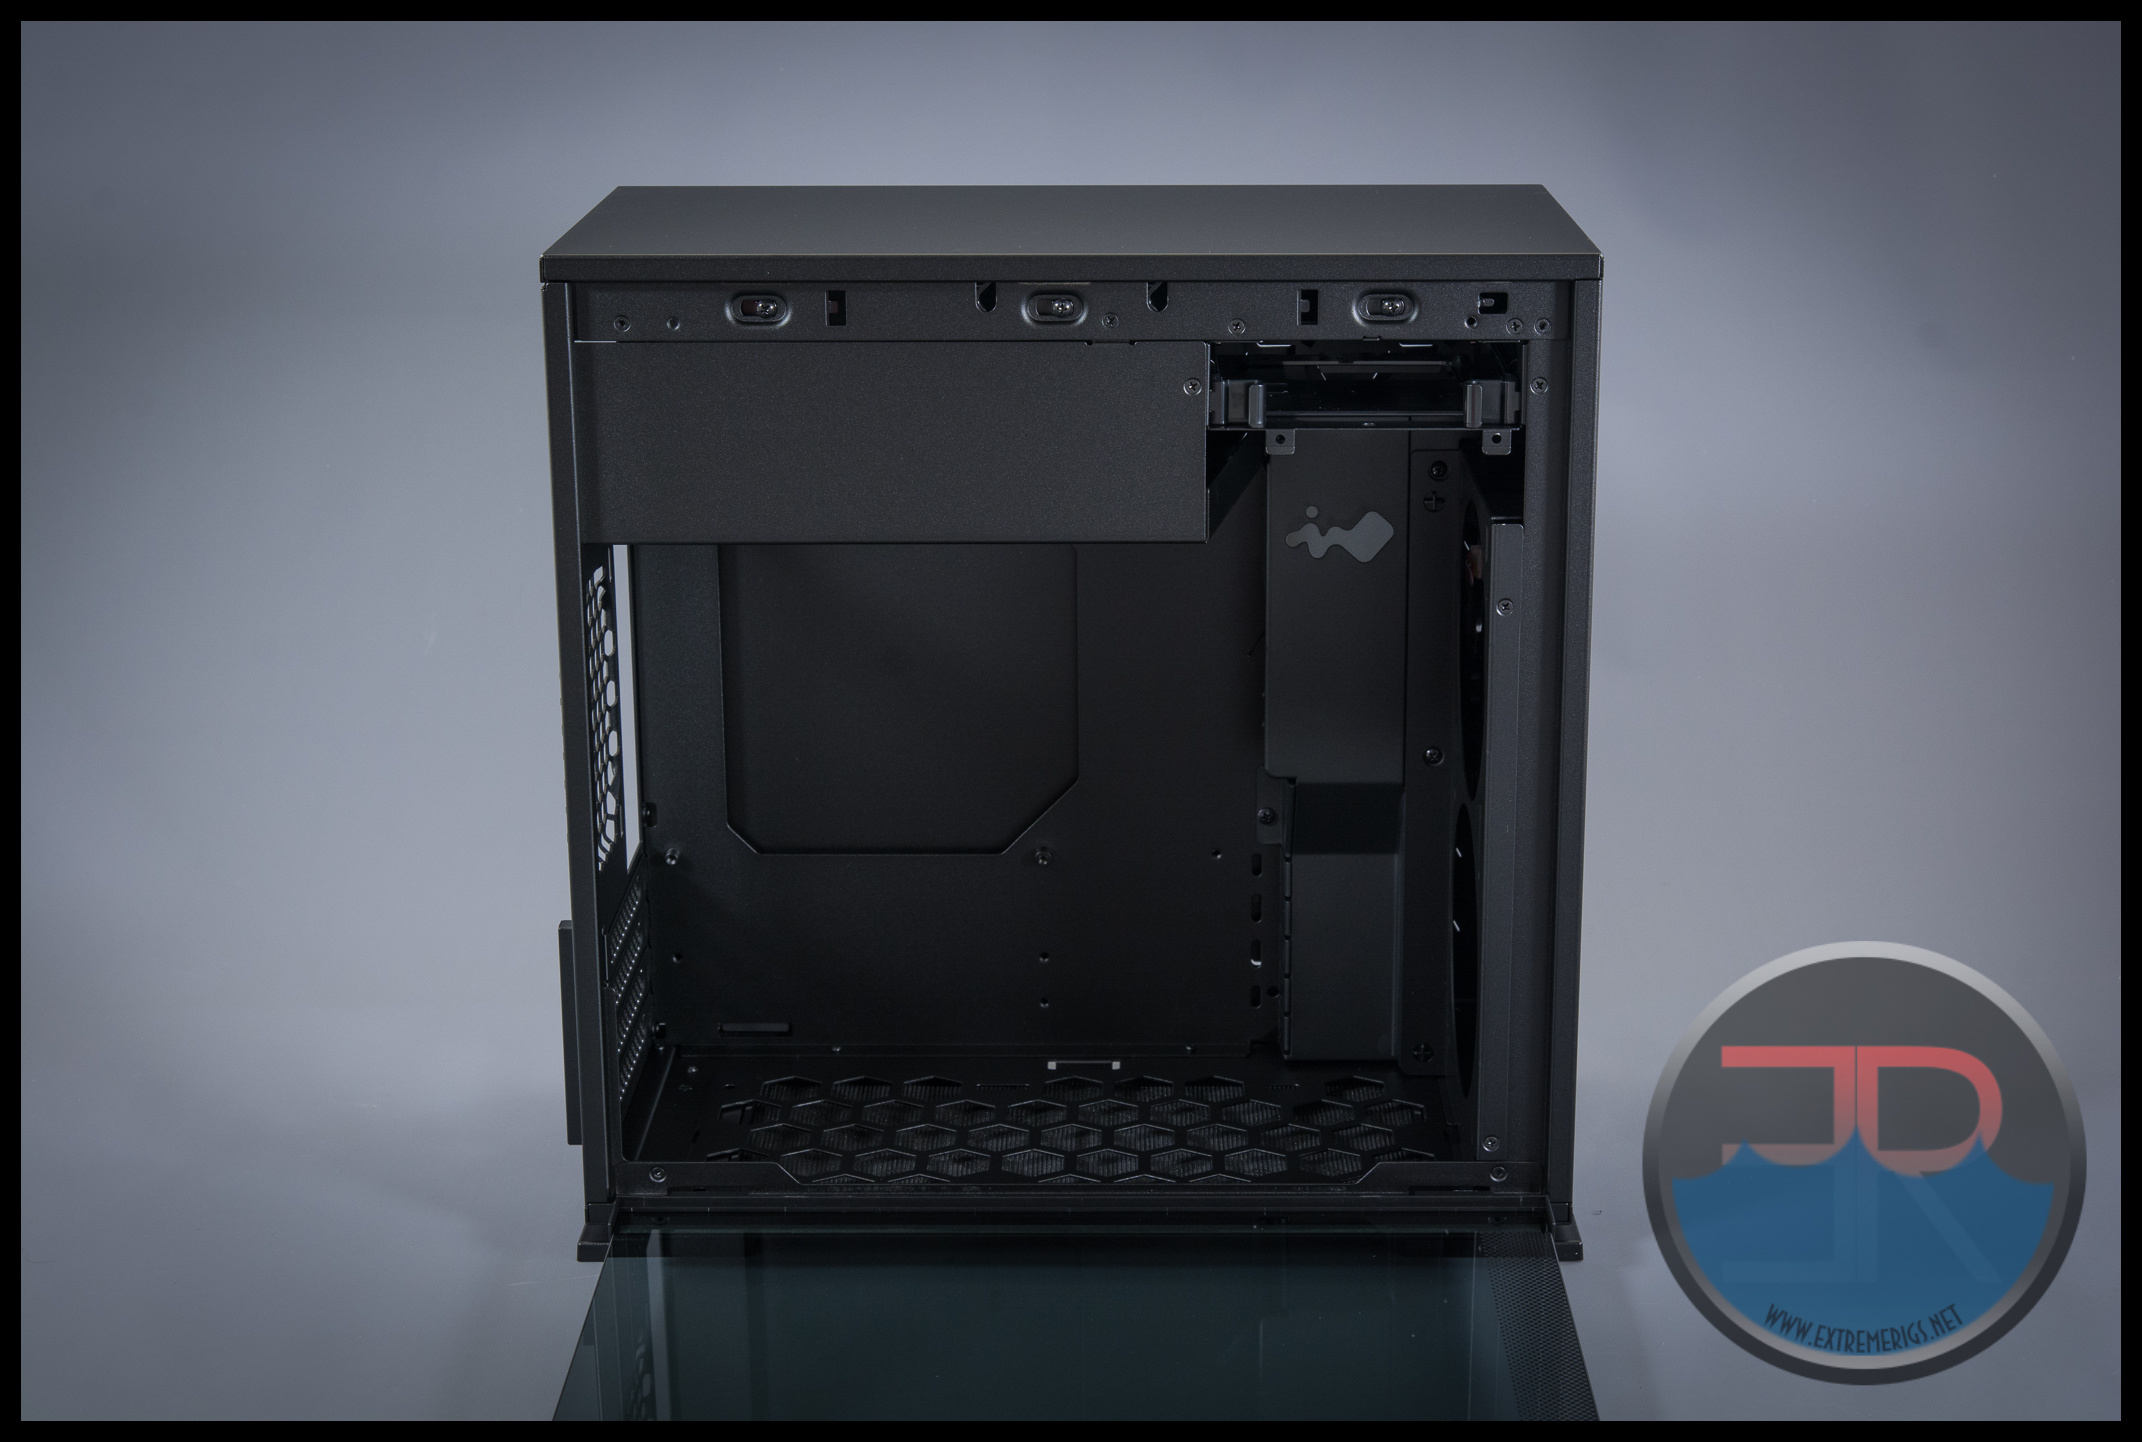
In the top left of the main chamber is the PSU cover. We love a PSU cover because PSU’s are ugly at the best of times unless you are willing to spend a man-month of hours sleeving and customizing the length of every individual wire strand (see lowfat’s Lian Li build on OCN if you want an example of that).
In the top right is a discrete HDD mount. Personally we are a fan of only using SSDs, particularly M.2 drives mounted to the motherboard and then having larger storage being taken care of by a seperate NAS with redundancy and/or backup. However this is a budget case and it’s reasonably to assume that a budget build will have a mechanical drive. Therefore we like the choice to include one single HDD mount.
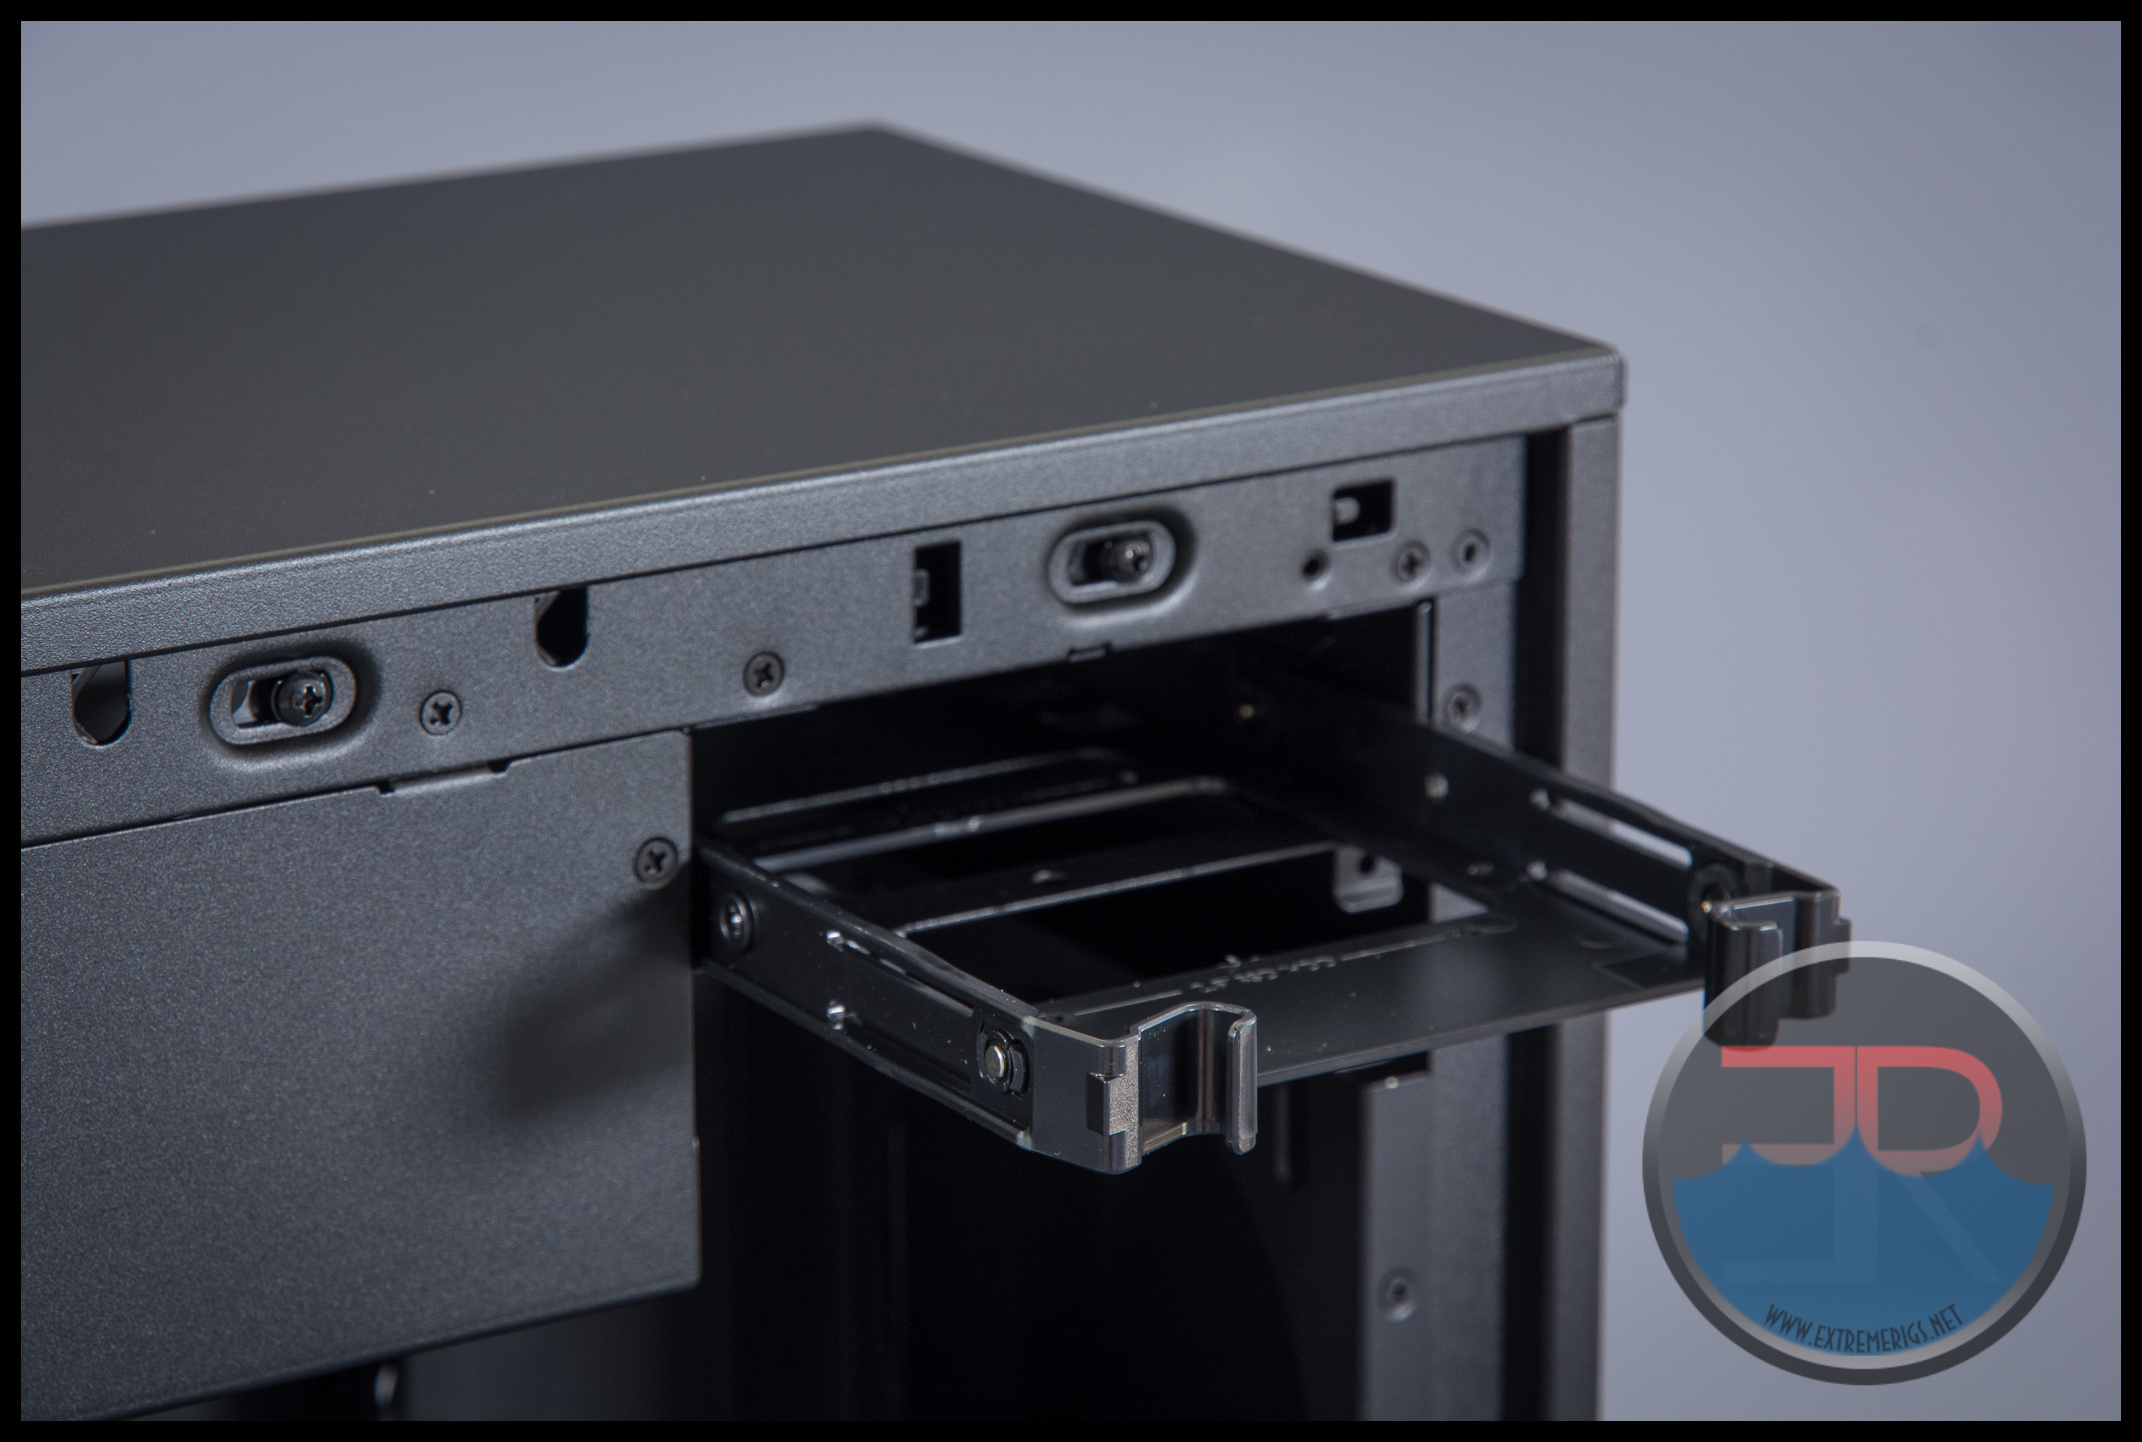
The mount is a pseudo quick release. The drive pulls out easily and screws are not required, but the cables must be plugged in by hand and removed from the rear every time the drive is pulled. Again this is good enough for this kind of case, this is hardly a server case that requires a legit hotswap setup.
The tray can also mount an SSD where the HDD would be, and two SSDs underneath the tray. Wiring might get tricky with all those drives though.
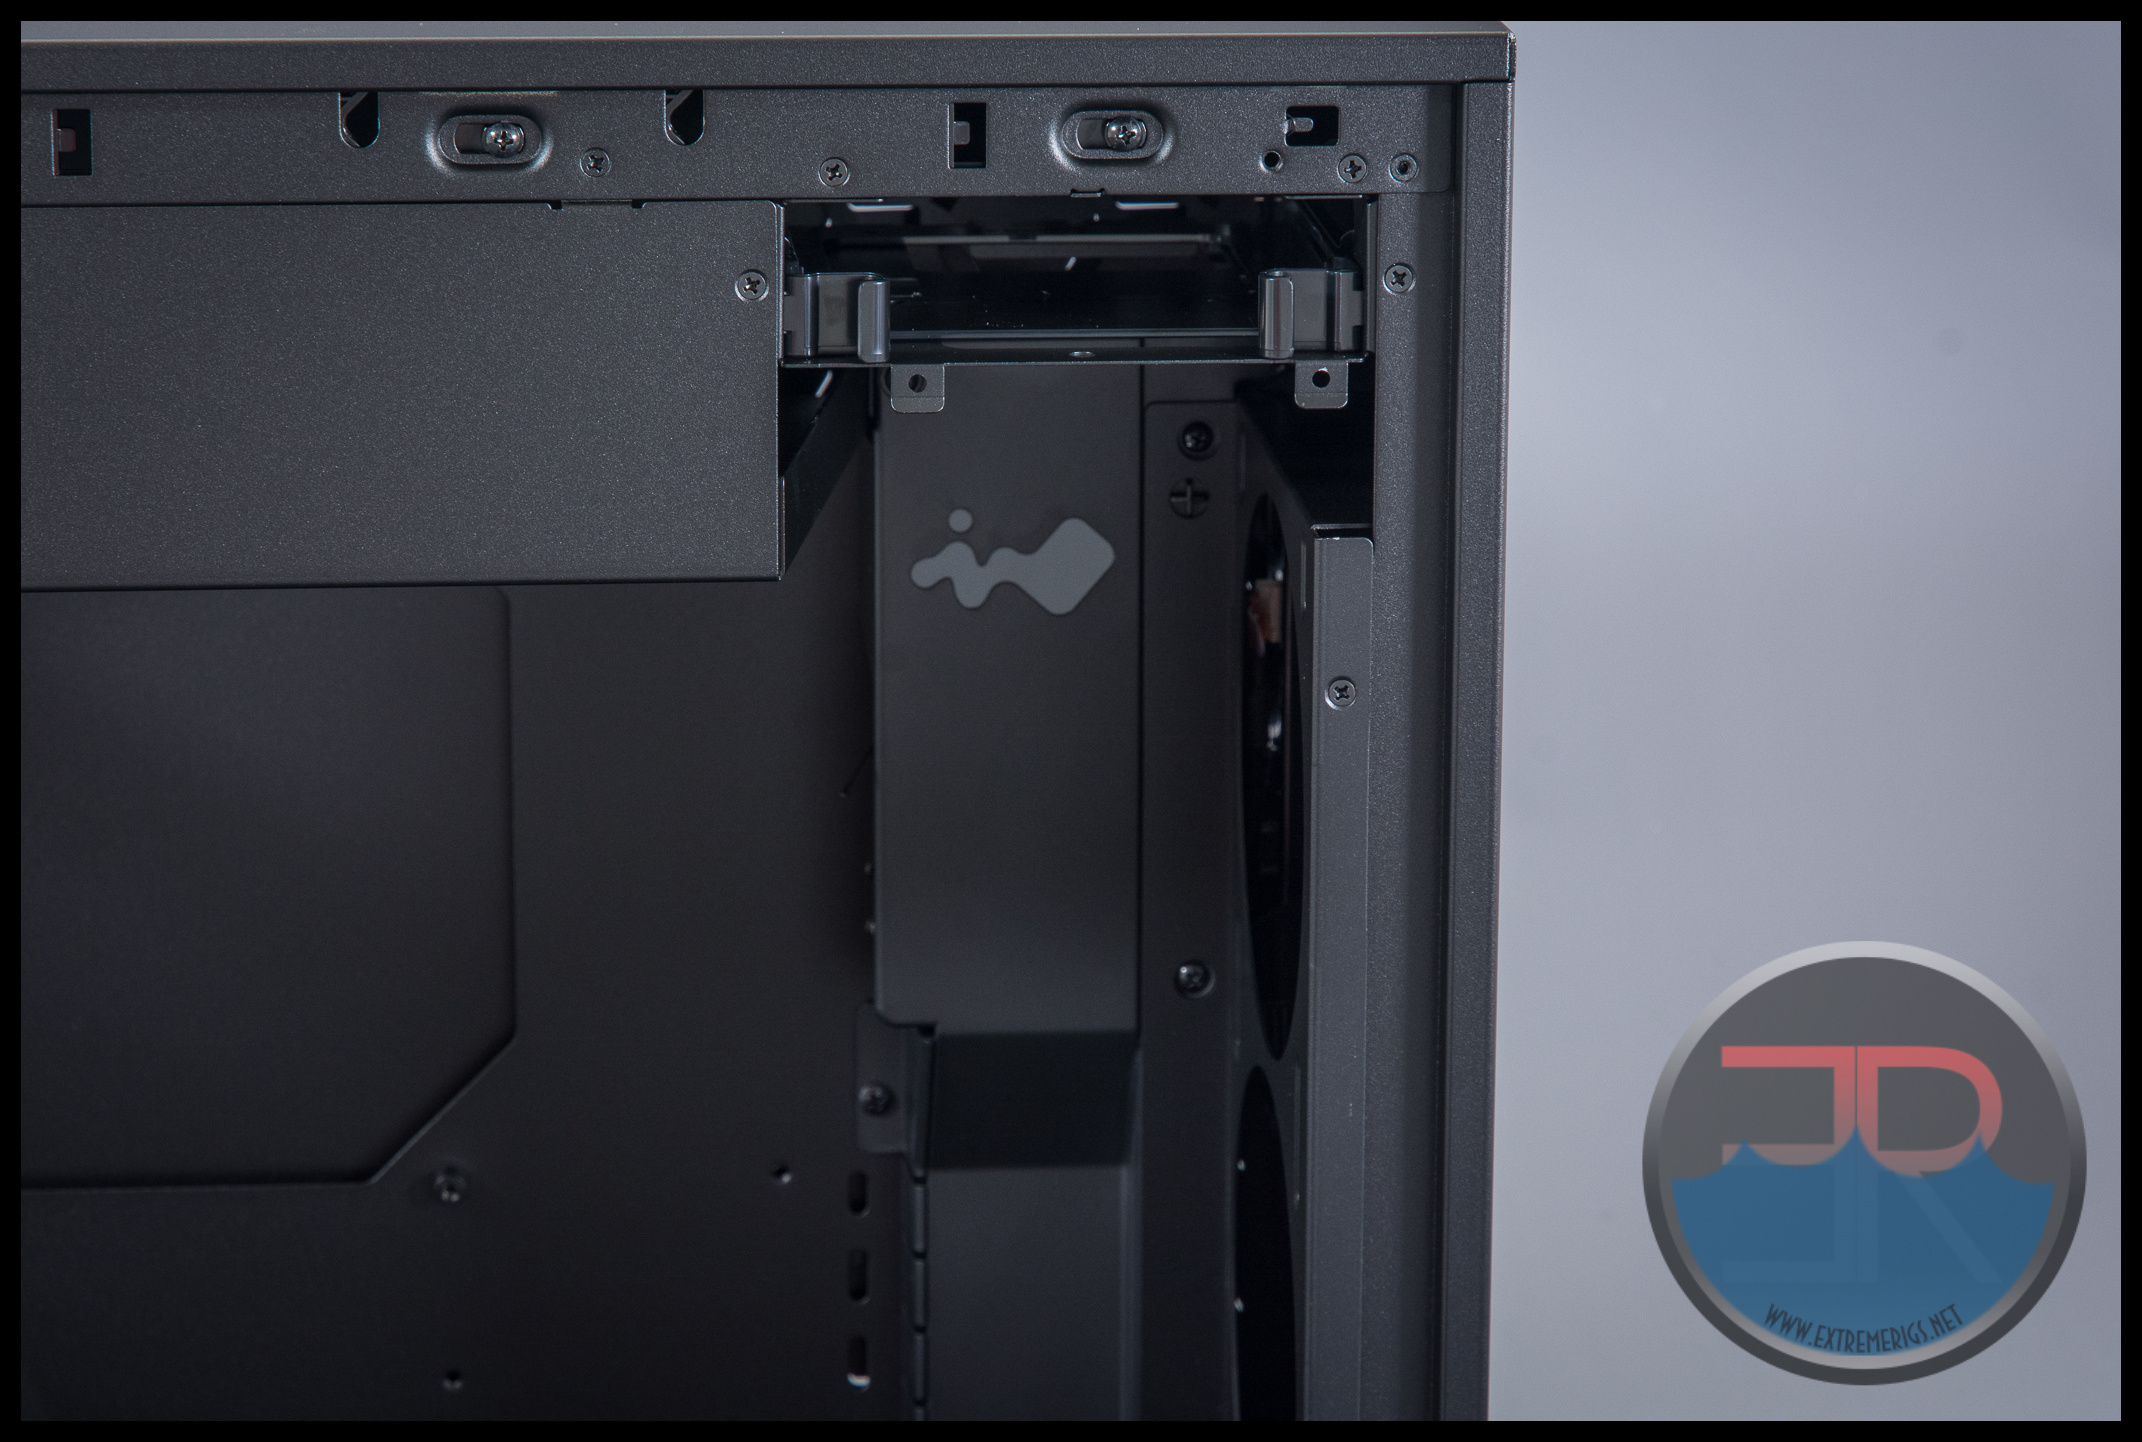 Just below the drive is a nice cover with another logo that attempts to hide the PSU wiring as it comes to the motherboard. While this is small there is another access hole for cabling lower down with removable covers so that GPU power cables do not also have to come from this spot. Here is a rotated shot of the same cover:
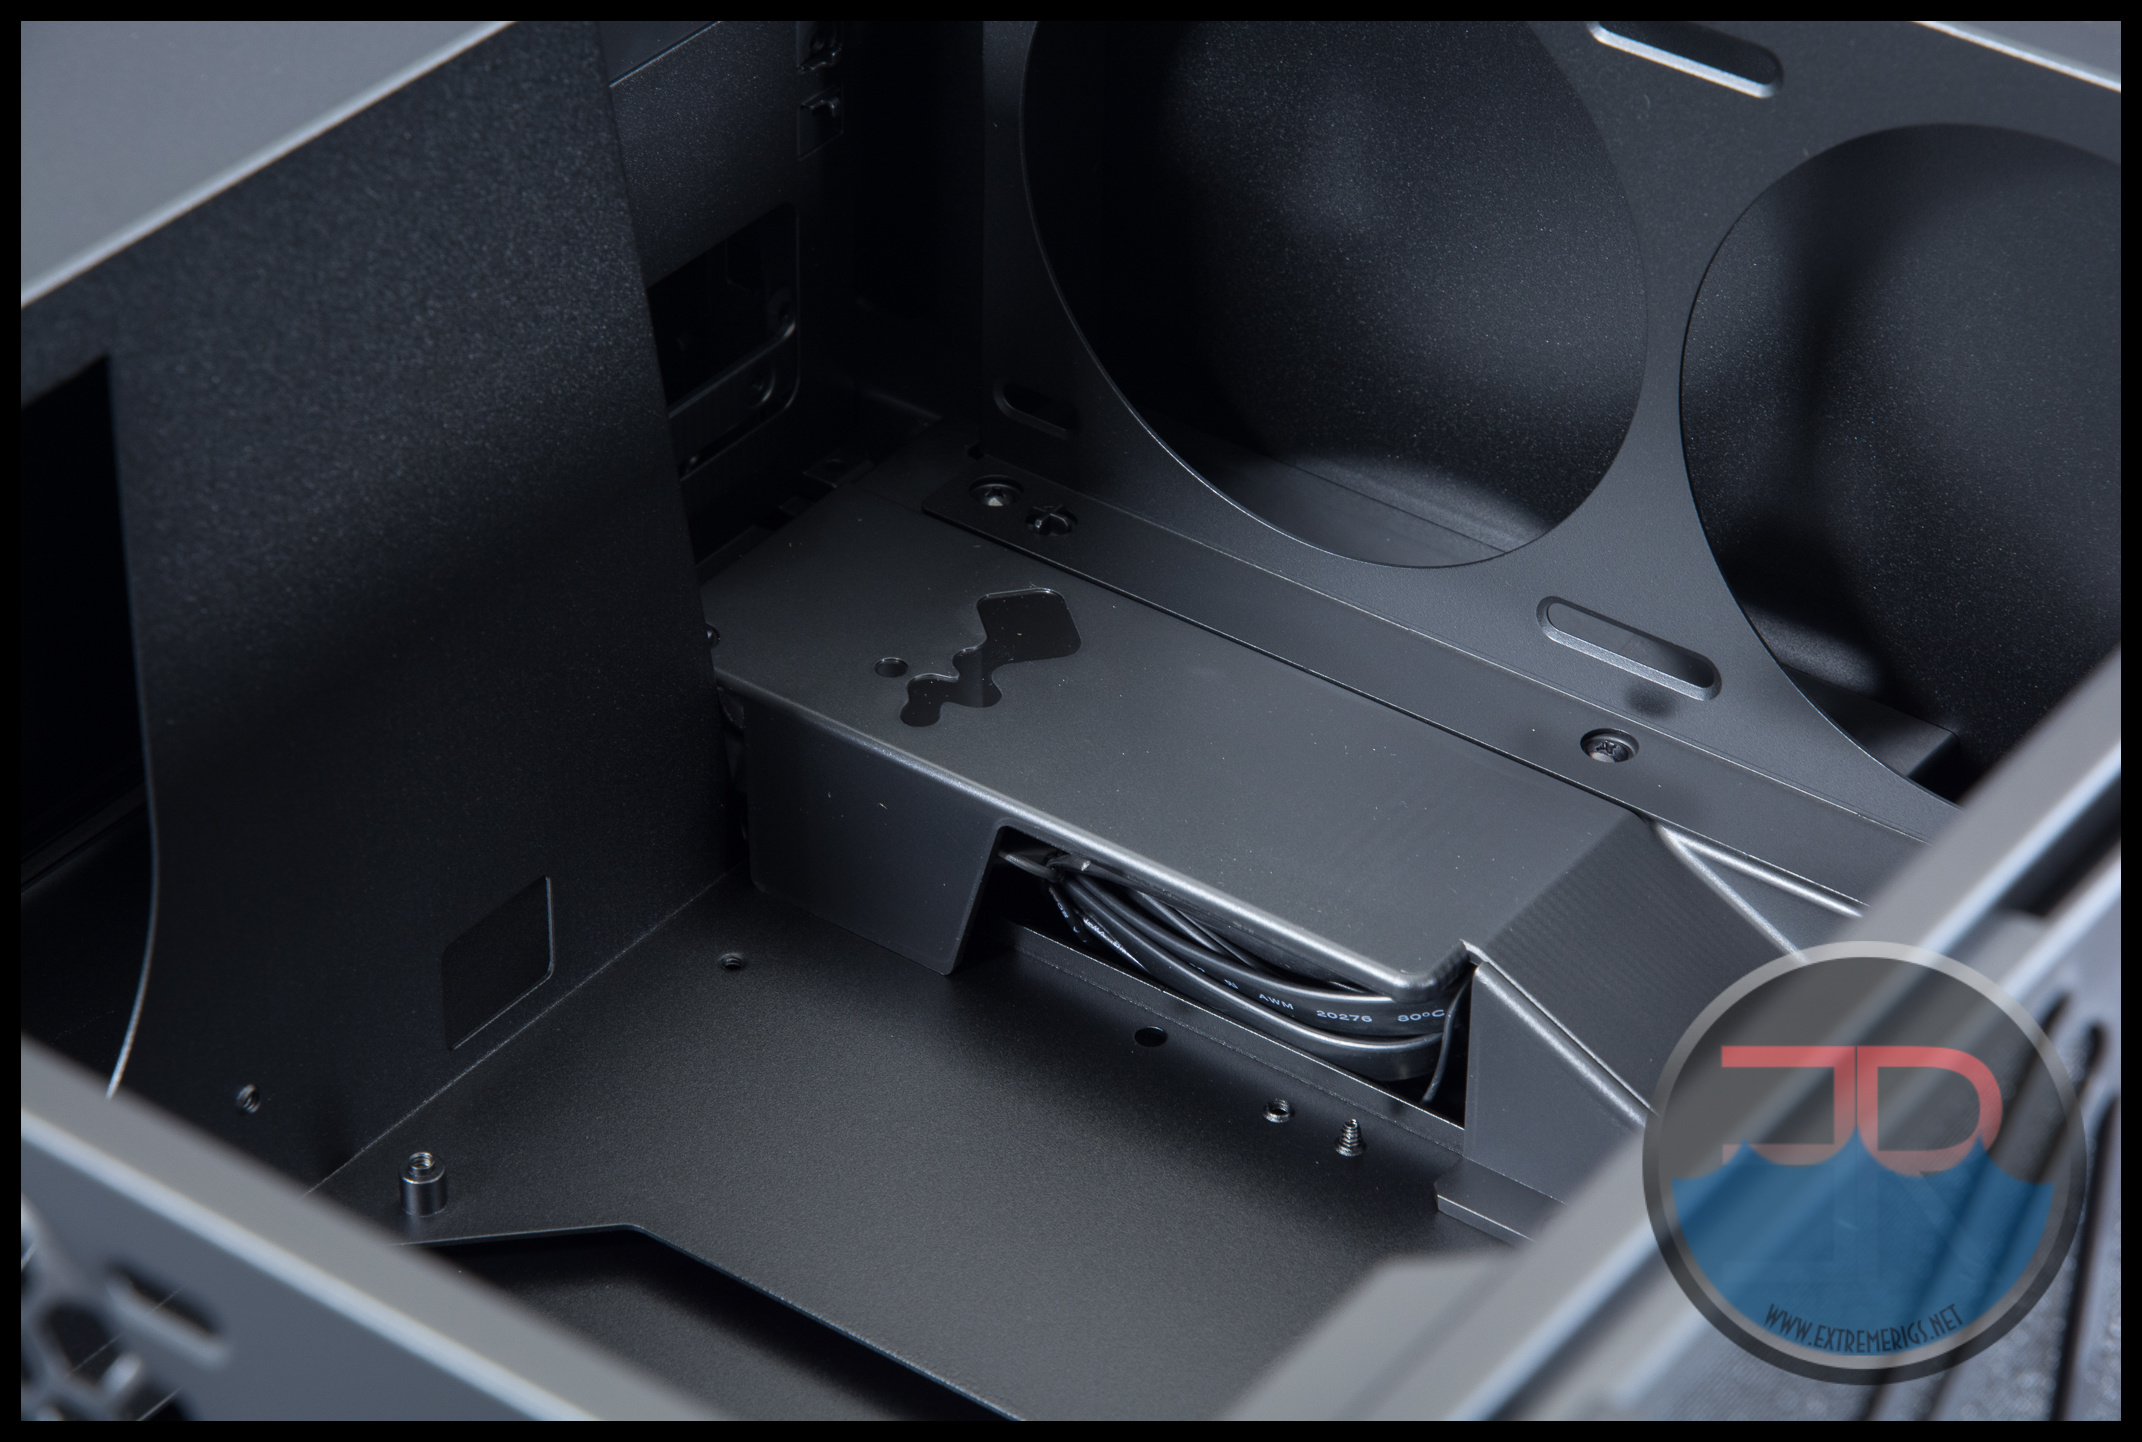 You may also have noticed a fan mount next to it. This is the front fan/radiator mount and it is removable with two screws.
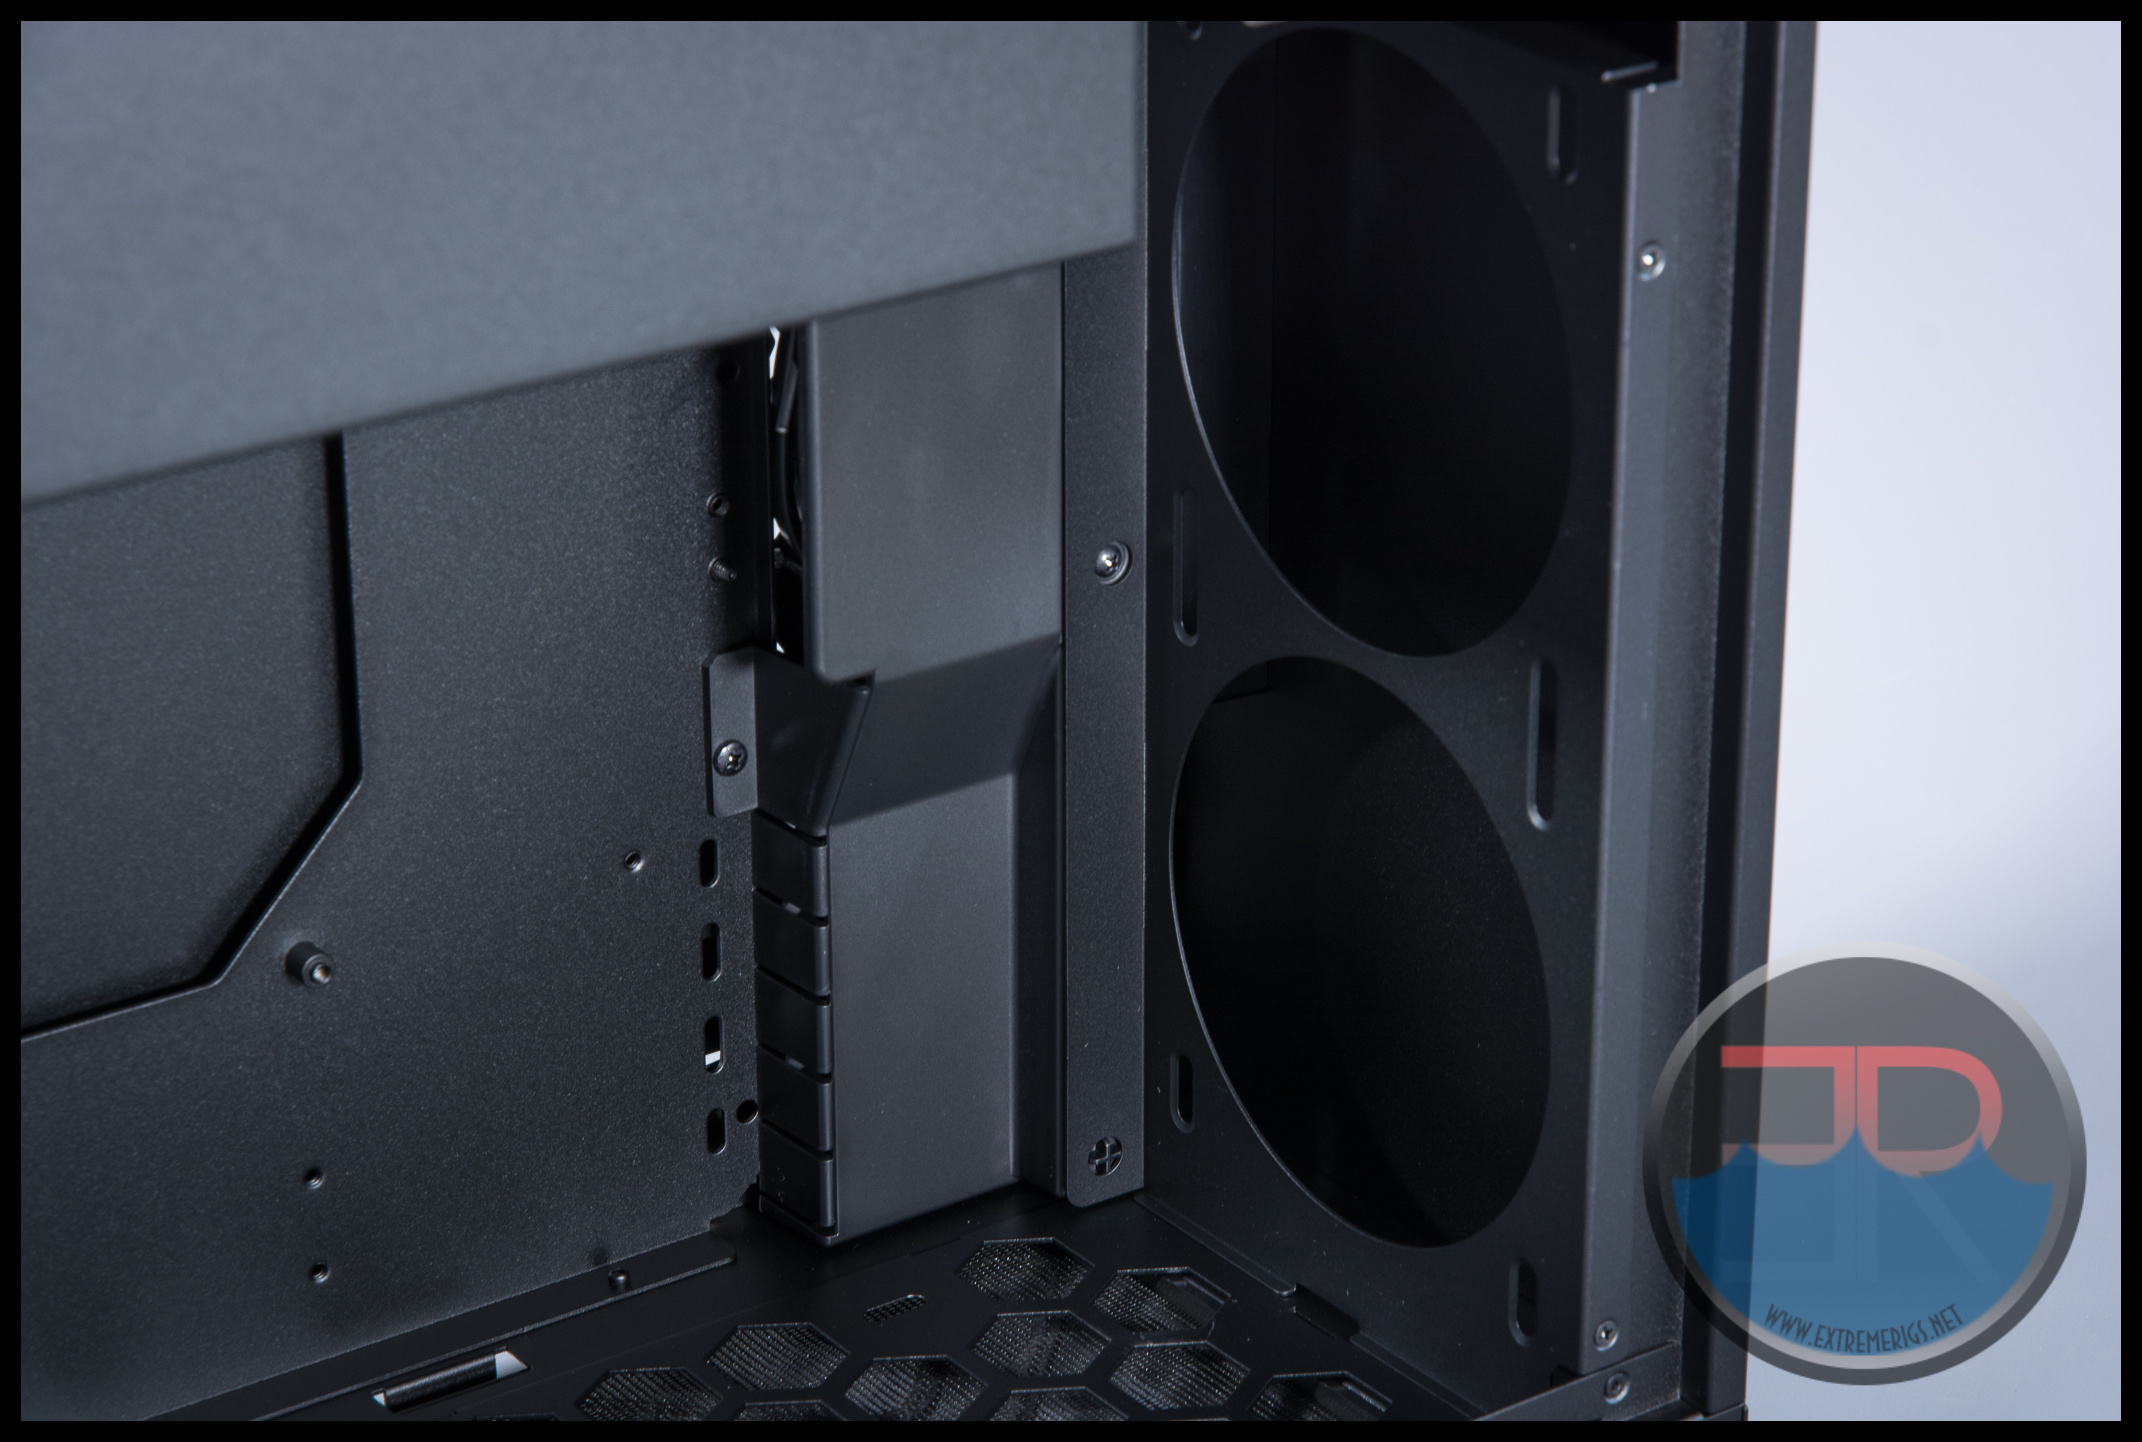
InWin’s 805 had a similar setup and we found that the 805 struggled to get cold air to the front of the radiator and the radiator instead could recycle it’s own air. We solved that problem when we did a 2nd build in the case by shifting the radiator further back and channeling as much air fresh to the front of the case as possible. We suspect this case would perform similarly, but it has far less space to move a radiator back. Therefor two intake fans are absolutely necessary we believe unless you are doing a very low power build.
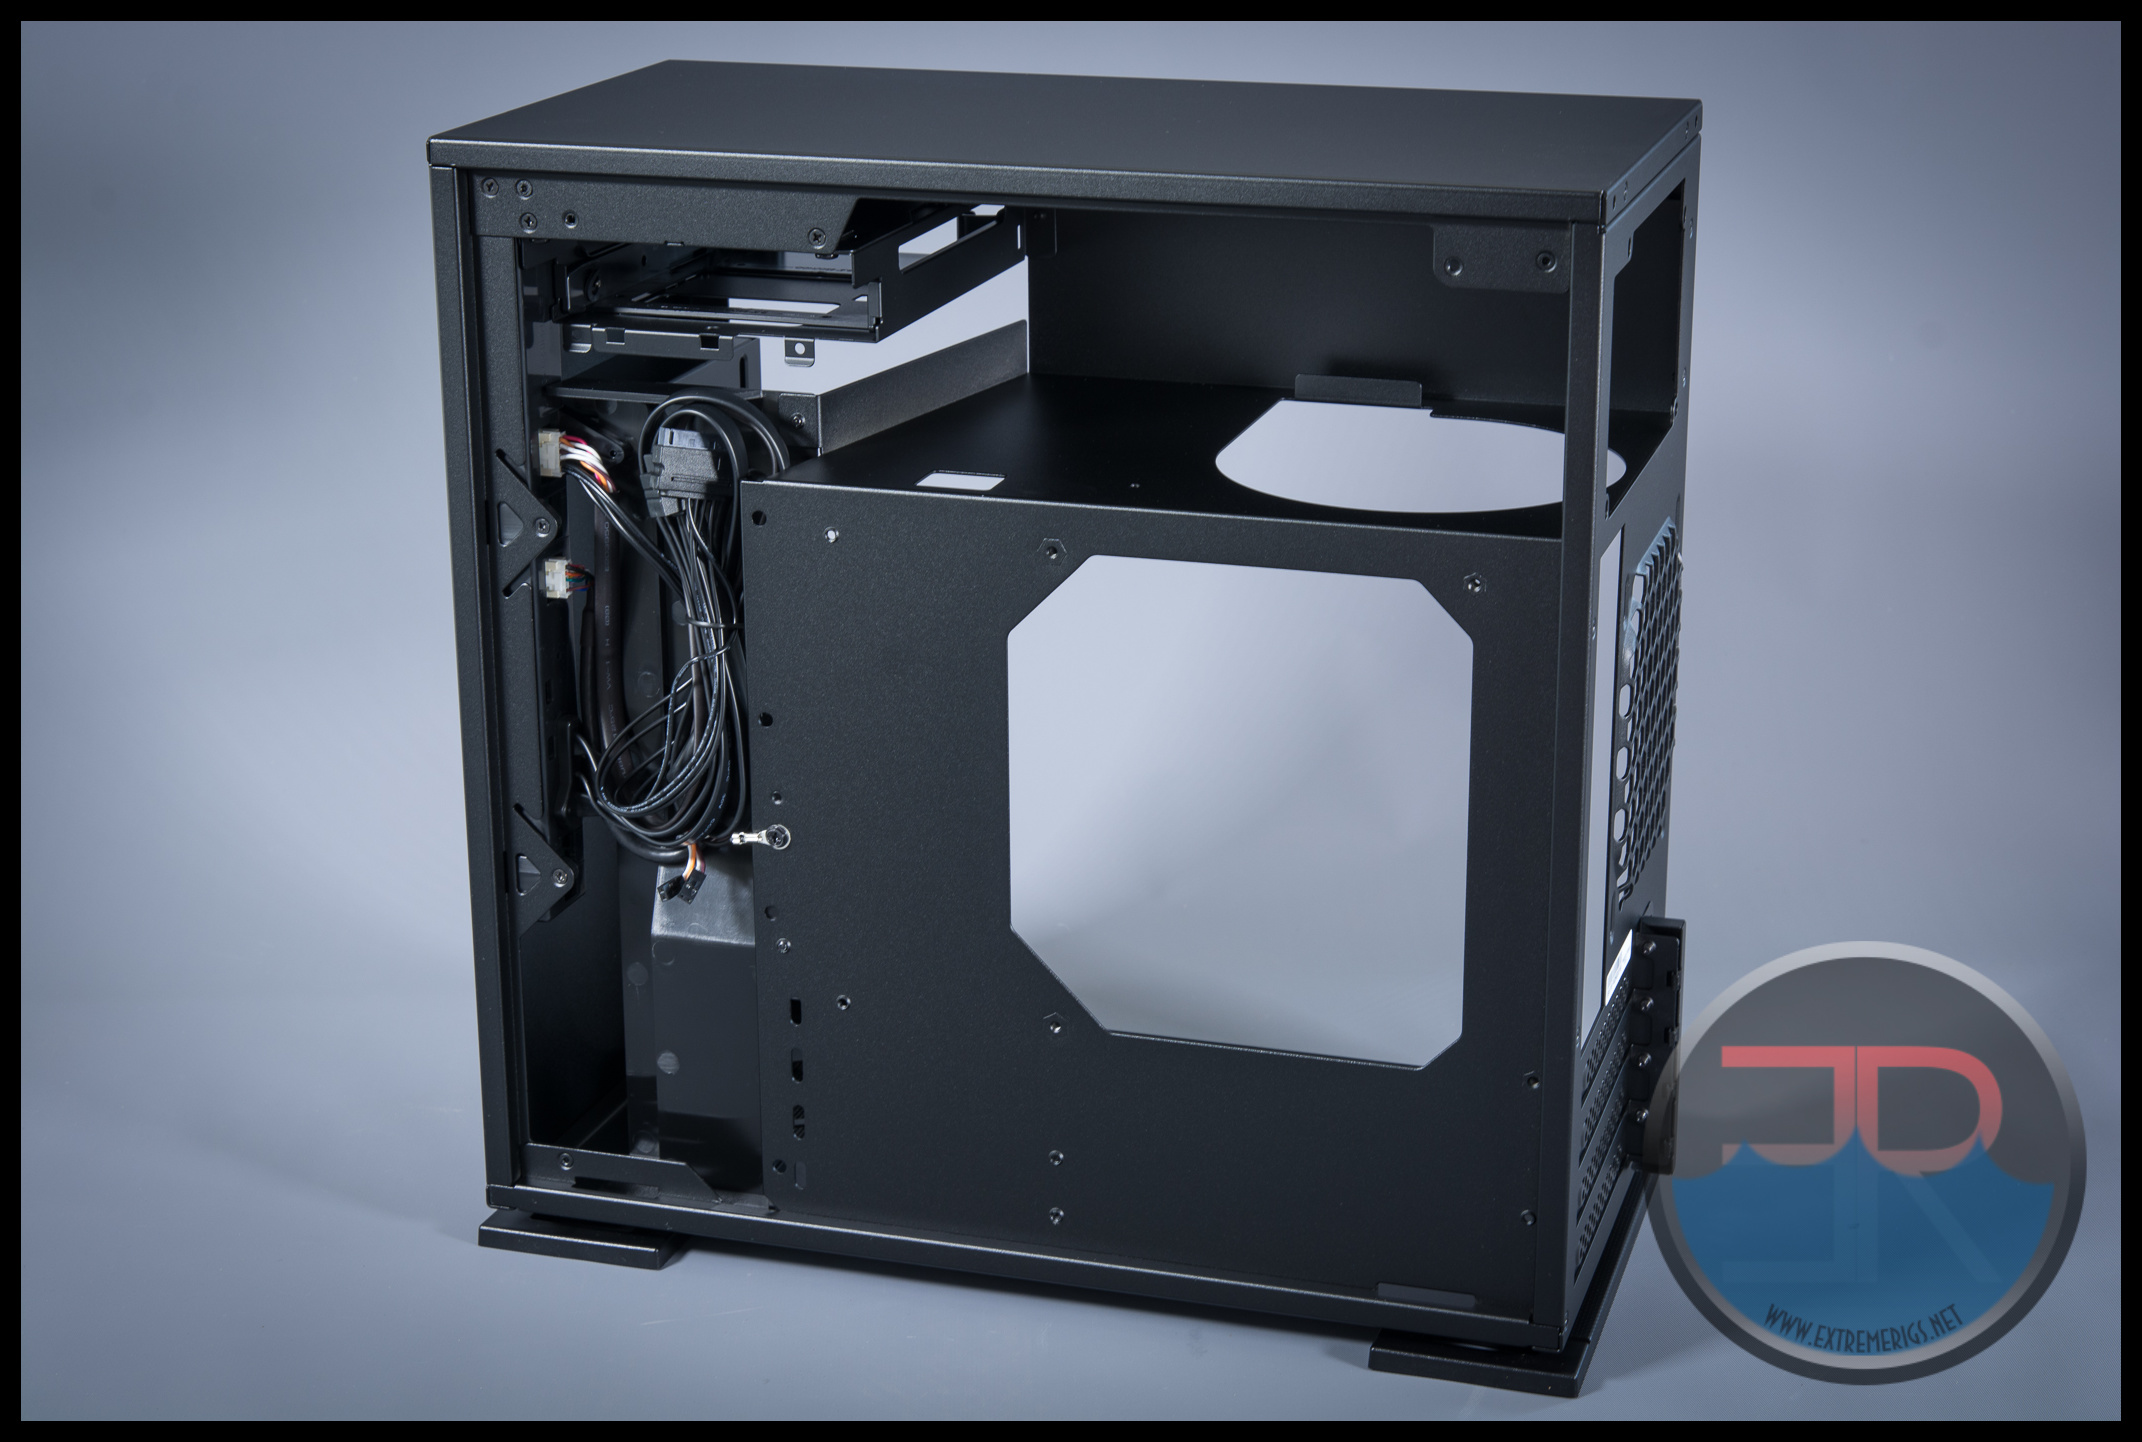
The rear of the case is well planned with as much space as possible given to cable management. The front panel cables are all black with the exception of the last 10mm of the motherboard headers:
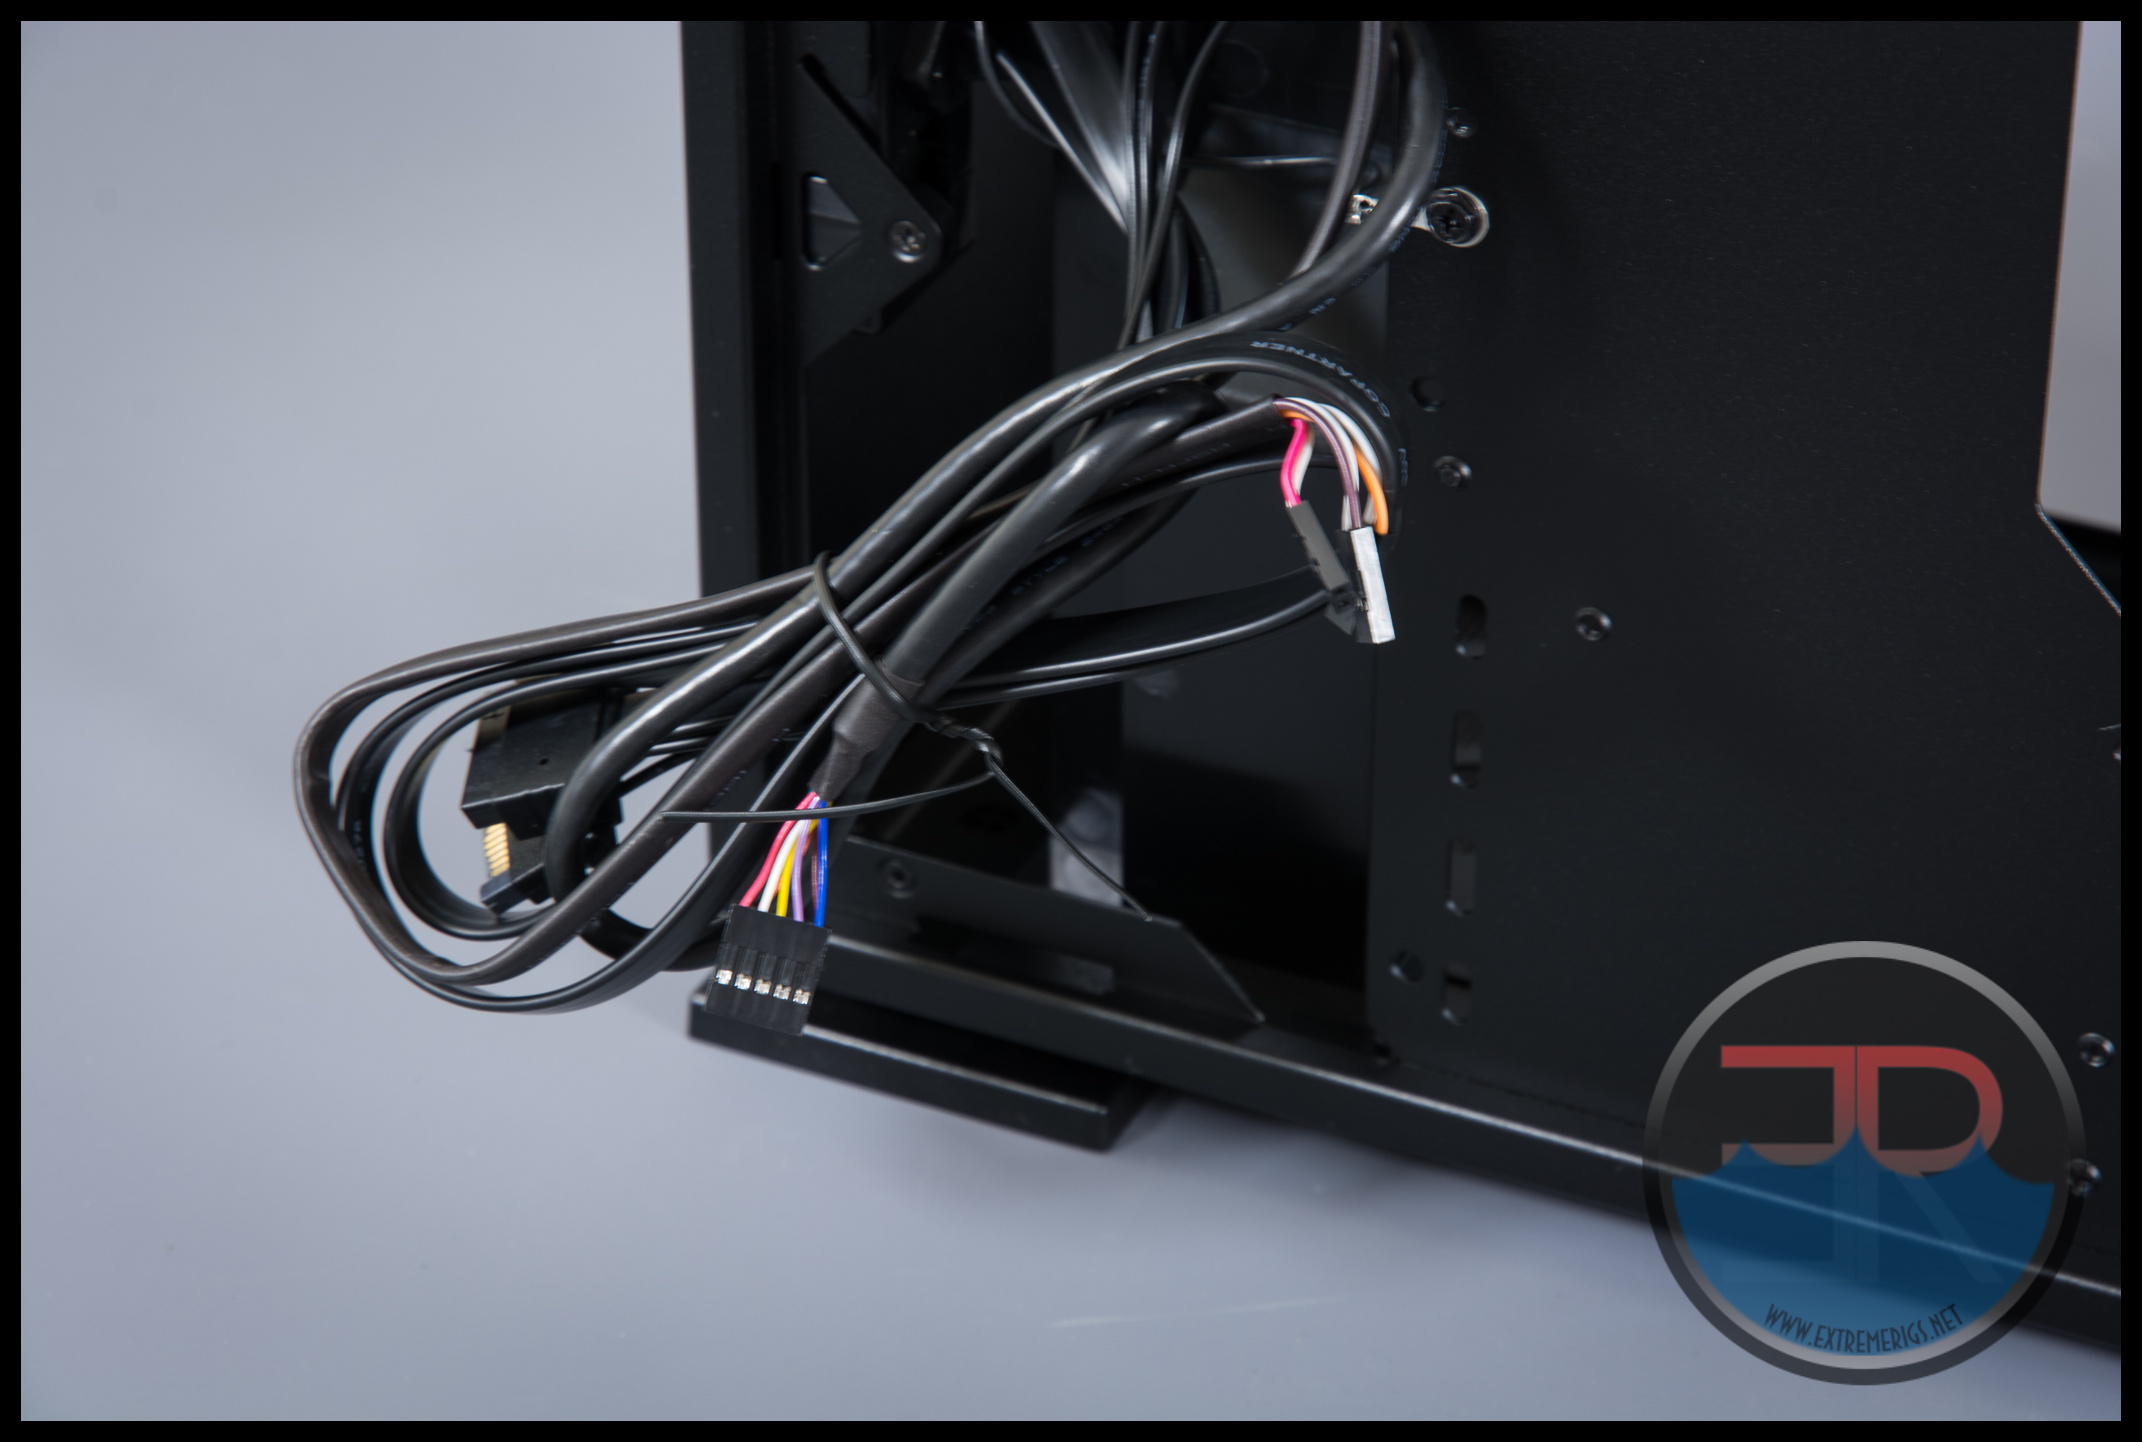
So many companies do this and it really bugs me. Why not sleeve all the way to the connector?
Now let’s finish up and review the accessories that come with the case.
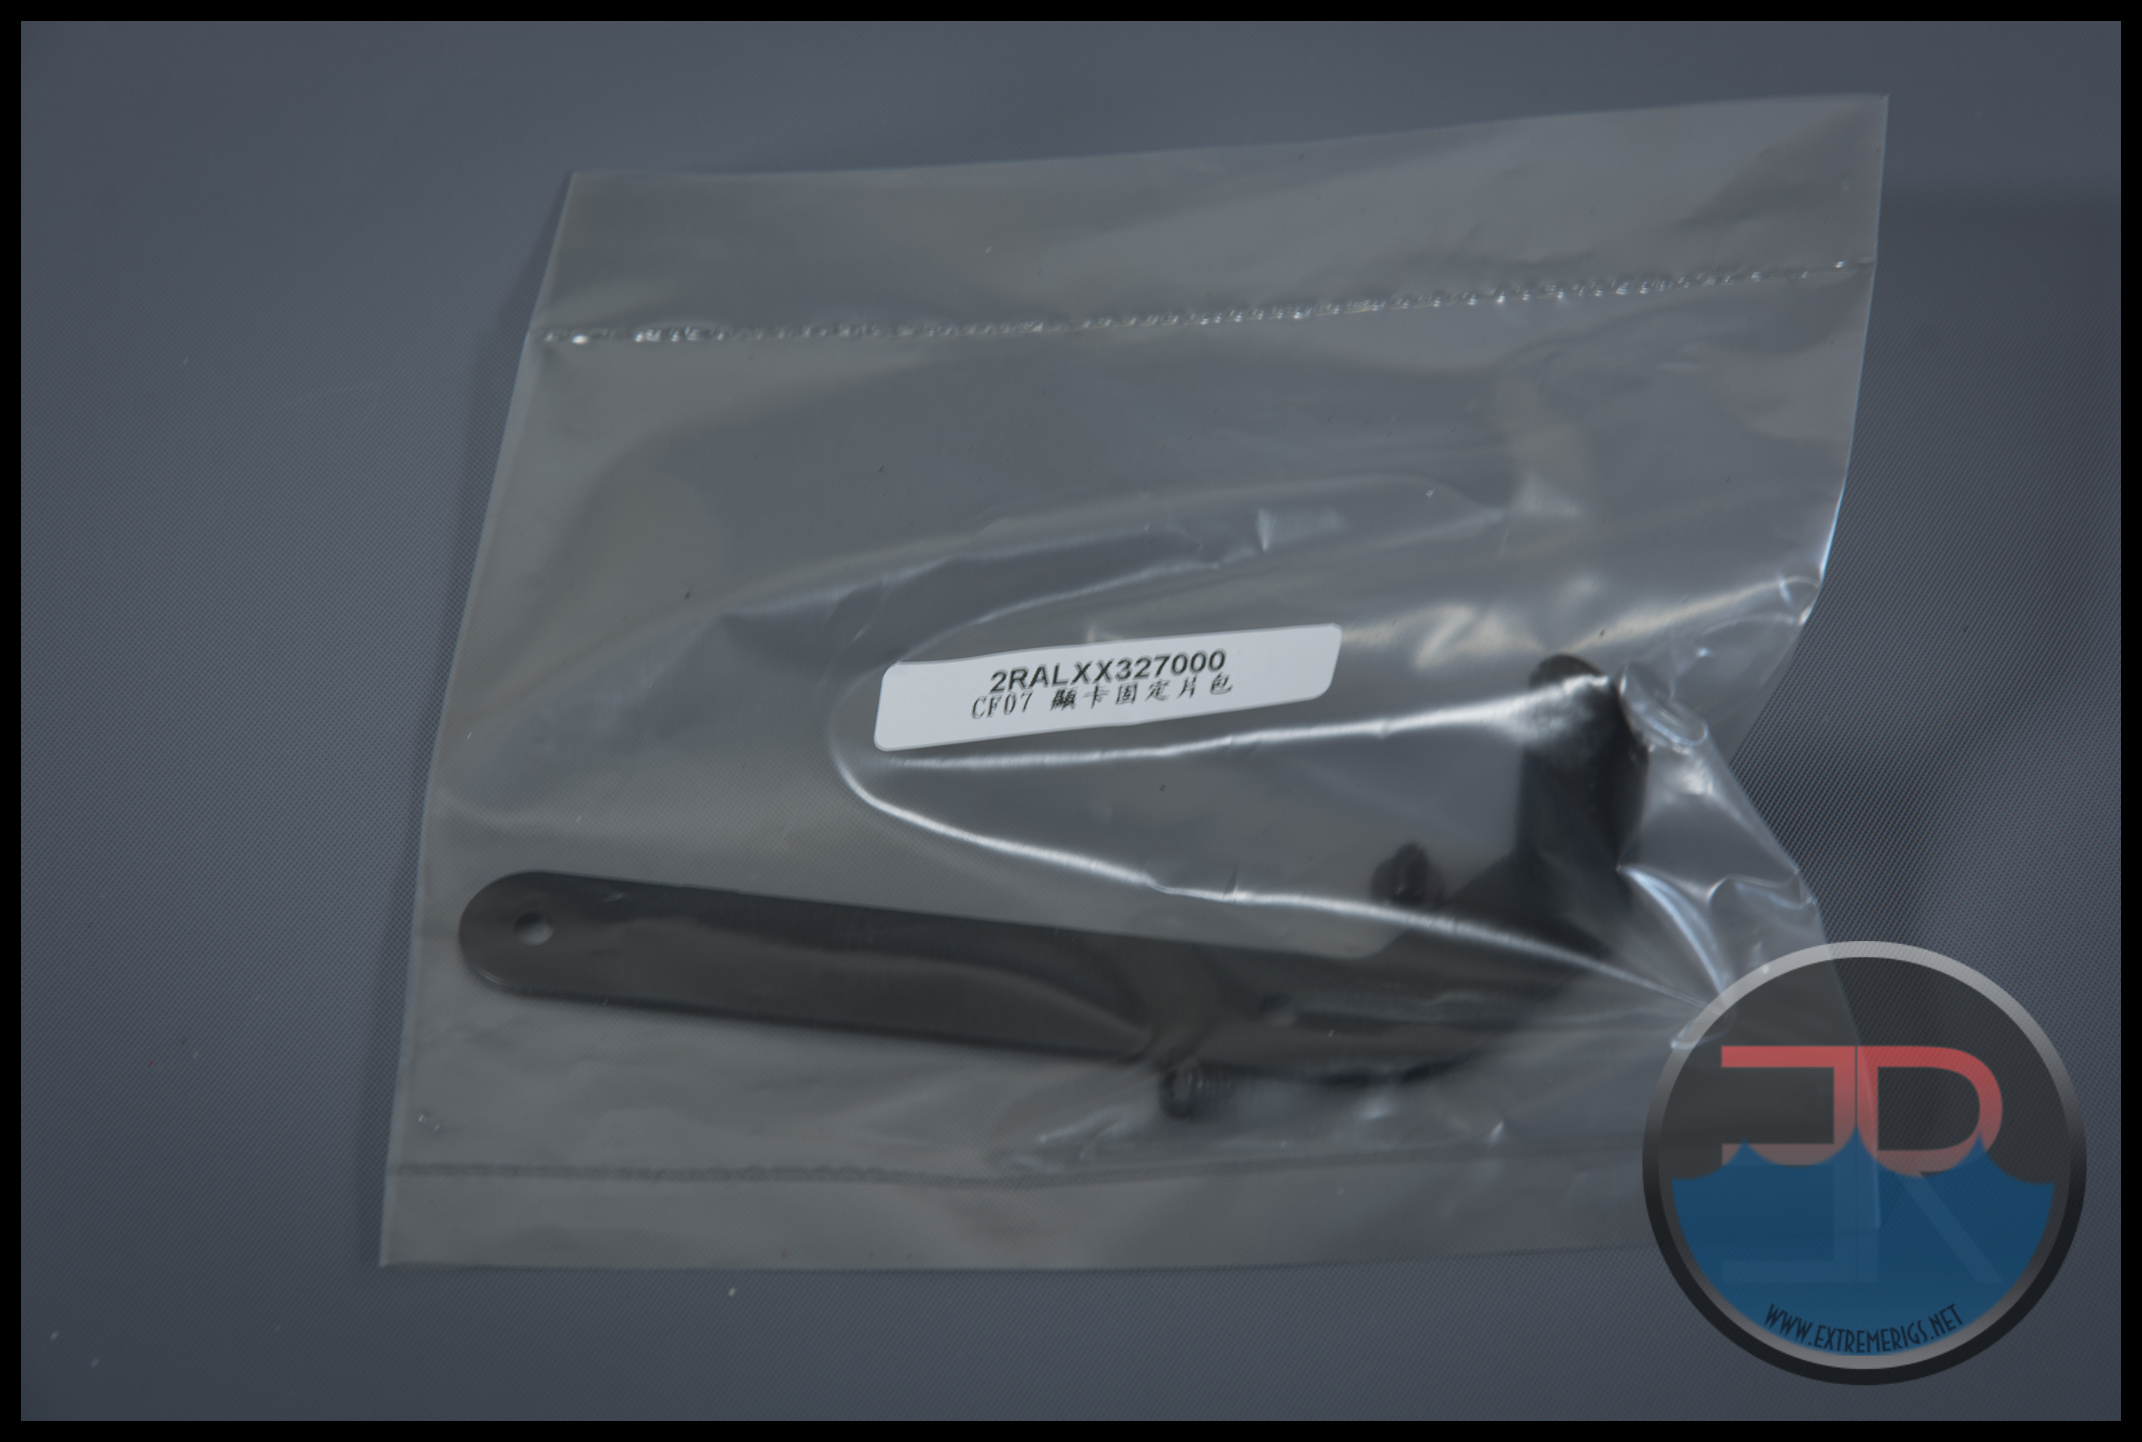
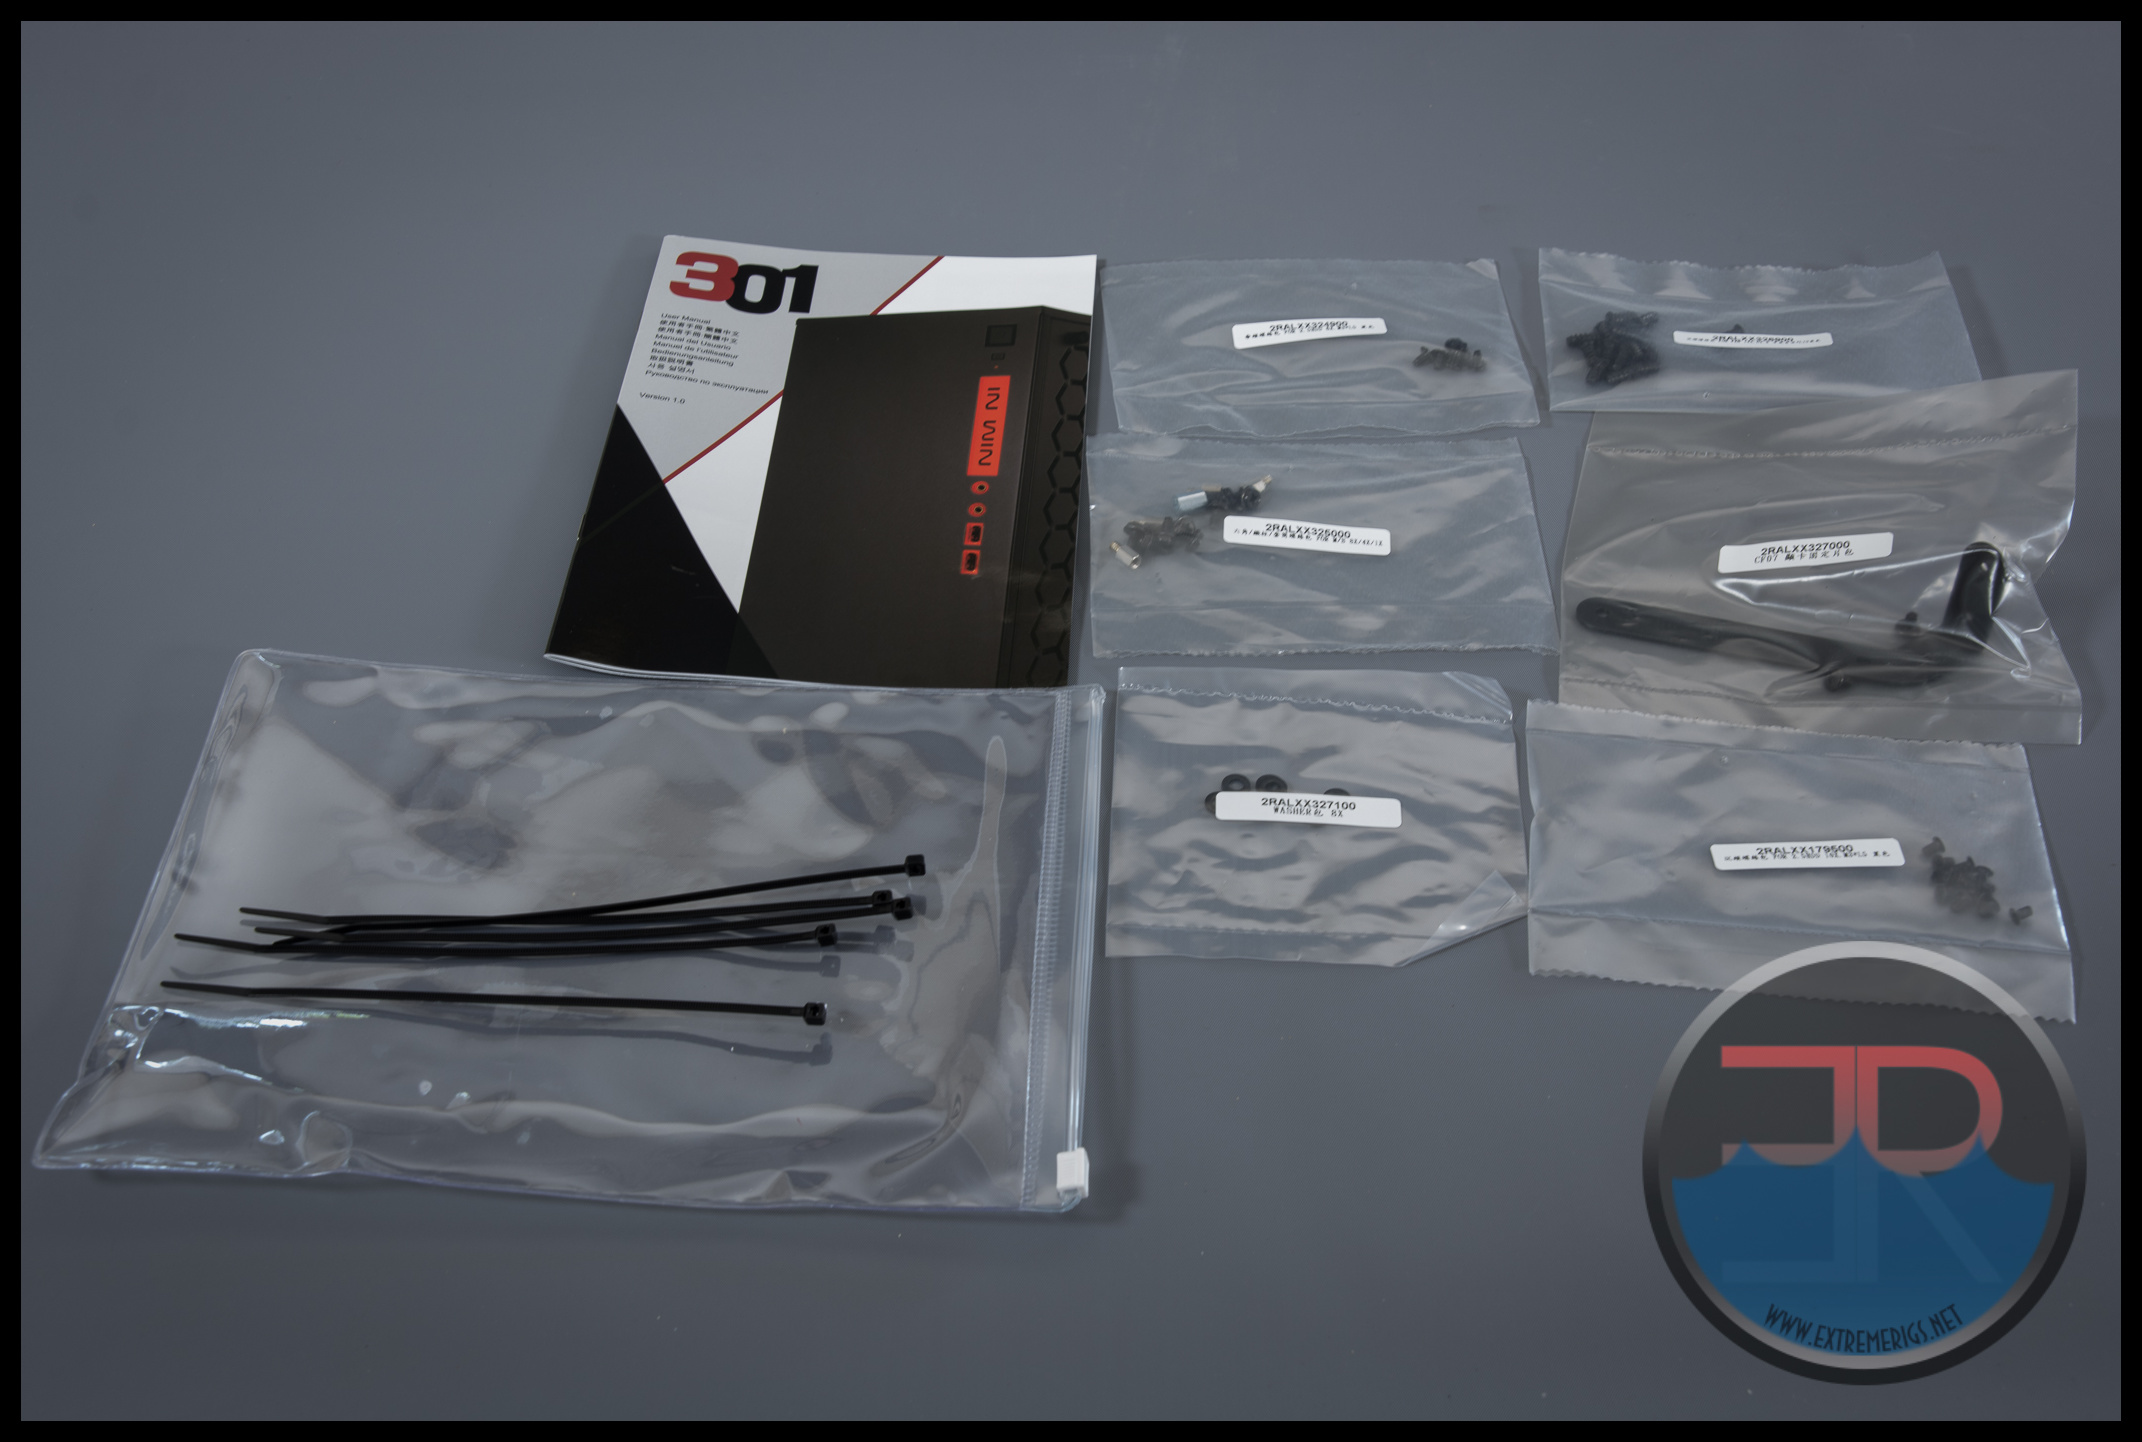 The user manual comes in many languages and spends most of its time describing the specifications of the case and only the last page describes how to assemble everything. It is about as good as I’ve seen though as many user manuals for cases are often missing o unintelligible. I always like that In Win provide zip ties for you. All the screws and washers we needed were provided, including for HDDs and fans and the extra bonus feature that we particularly liked was the GPU support bracket:
So now let’s build up a rig. For this build we used an old Asus ROG Maximus V Gene with a 3770 cooled by an old Corsair H100 AIO cooler. The cooler is a relatively tight fit, so certainly anyone attempting liquid cooling is going to need to use as small a 240 radiator as possible. Perhaps EK’s SE would be the best choice.
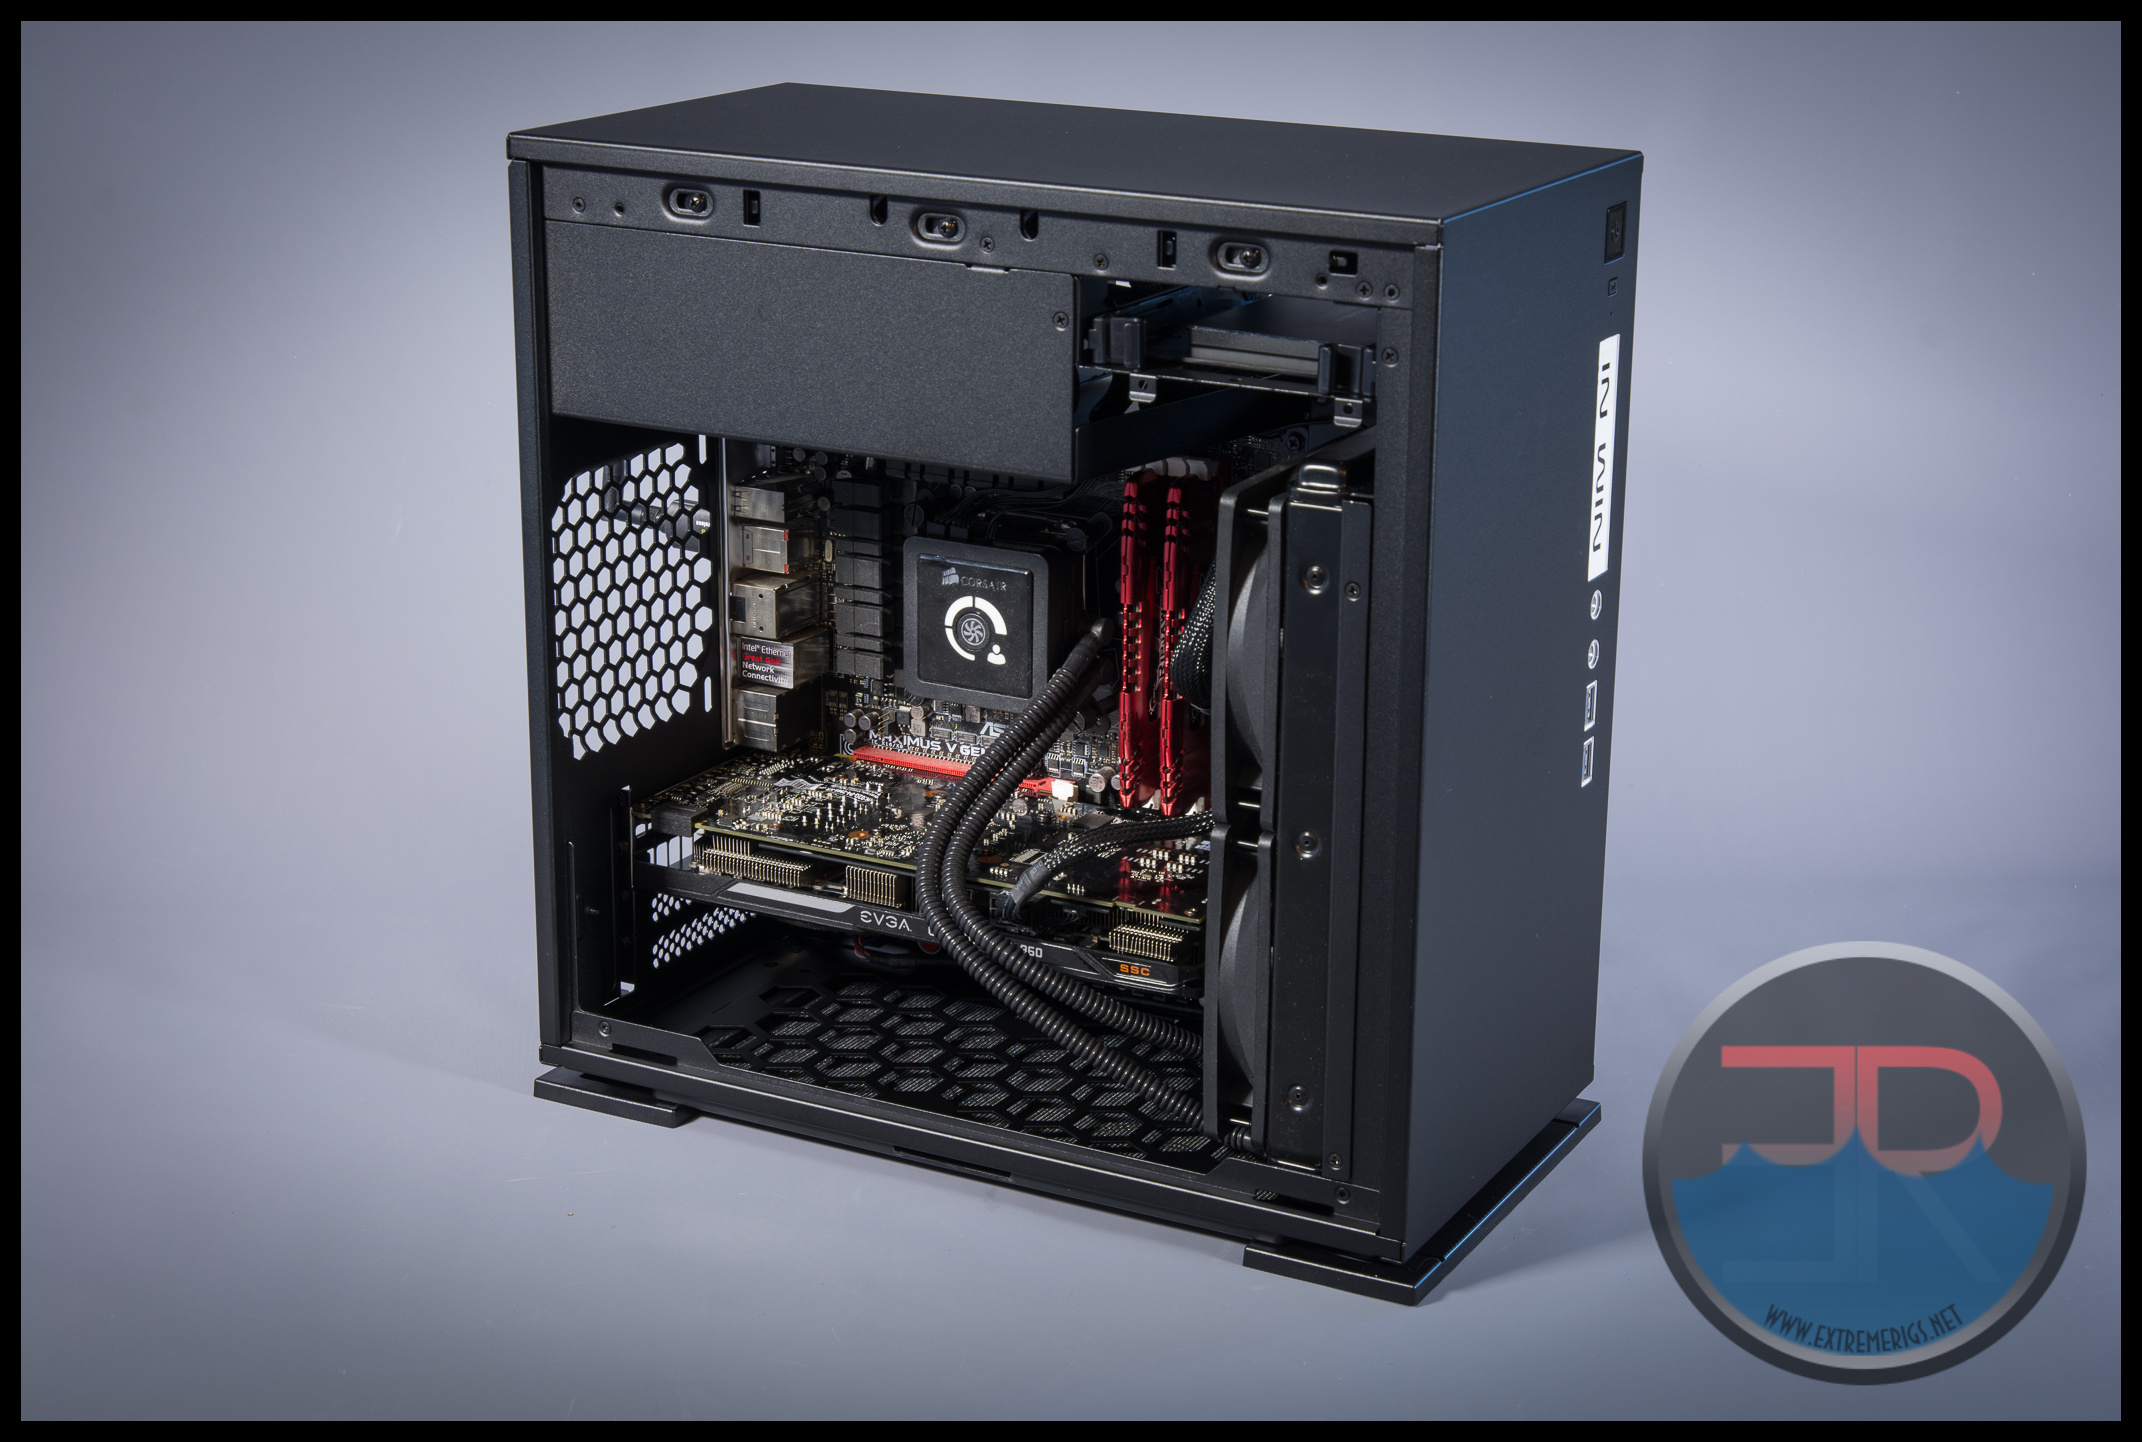 With the ‘standard’ size EVGA GTX 960 SSC card in there is some clearance left over but not a lot. Those wanting to use a larger graphics card either in length or height may wish to use a 120mm based AIO attached to the rear exhaust. That may also get rid of any problems with AIO tubing from the radiator. In this build it was easier to position the tubes at the bottom of the case as they struggled to get around the power supply when mounted at the top.
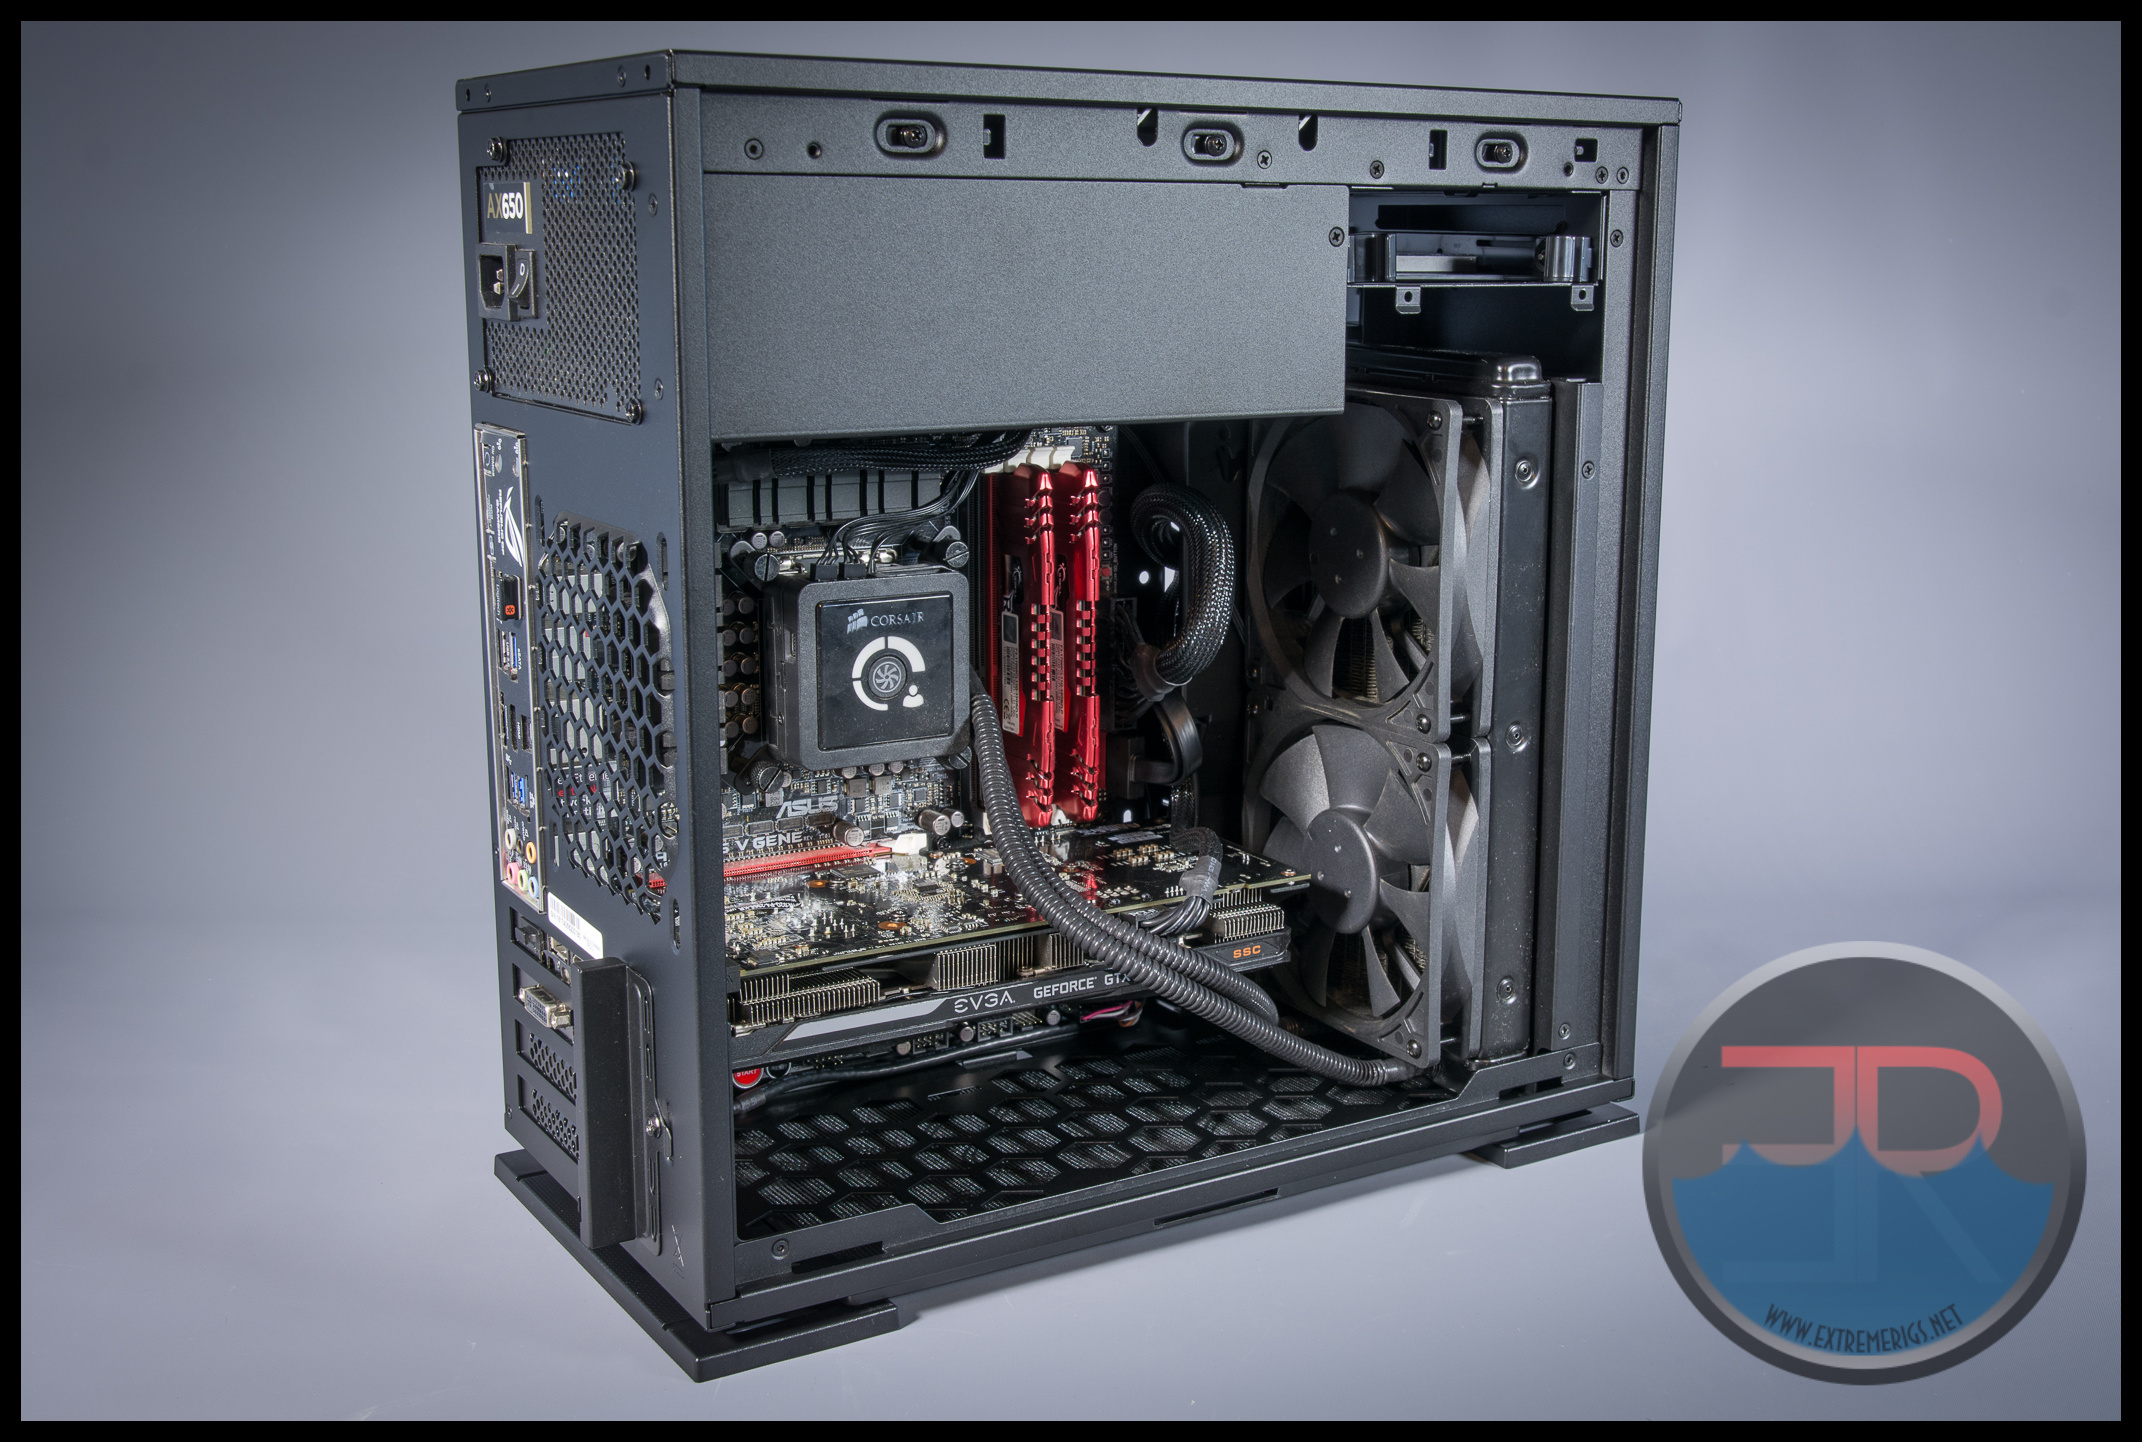 Even with the solitary 8 pin power for the GPU it was ok to fit all the cables through the single opening into the main compartment. So with a high power dual GPU card for example with 3×8 pin connectors and individual sleeving may really struggle to fit through.
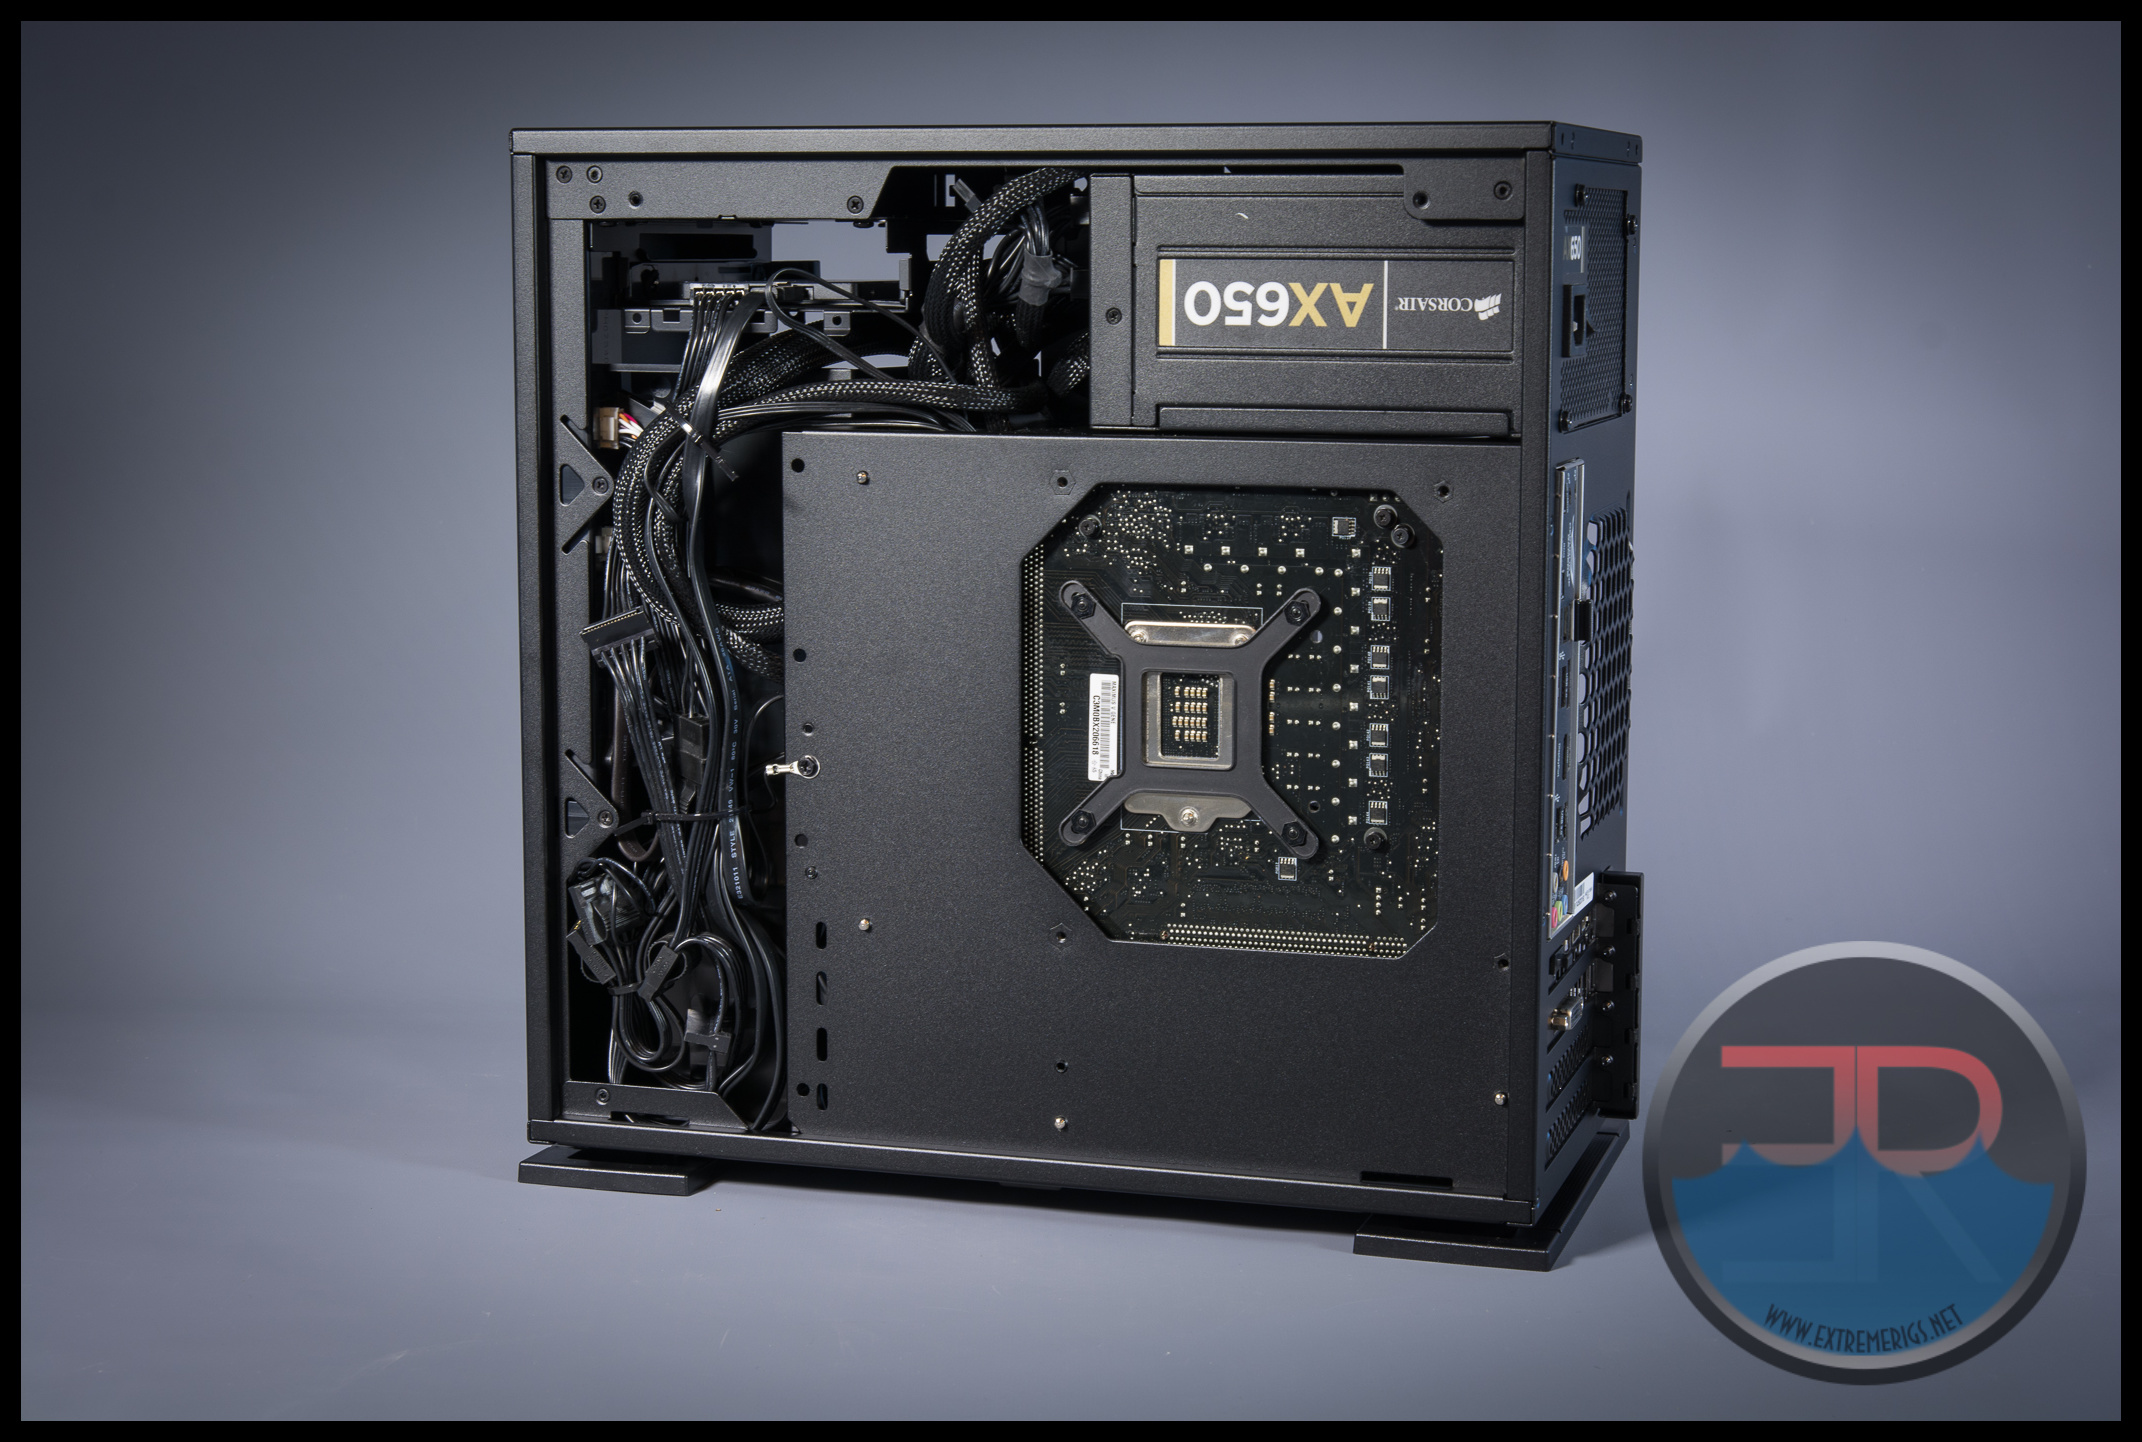
The Corsair AX650 power supply was also a tight fit once all the cabling was packed in. While a larger power supply would fit, I would definitely not want to max out the space usage unless you are willing to custom wire the case. This is also noticeable in terms of the cable management space which is also stuffed to the max. This being so full really renders the “breathing” holes on the back panel ineffective as there is just no airflow. In fact this much cabling was enough to cause the back panel to struggle to close and to bulge slightly:
We would therefore heavily recommend a modular power supply.
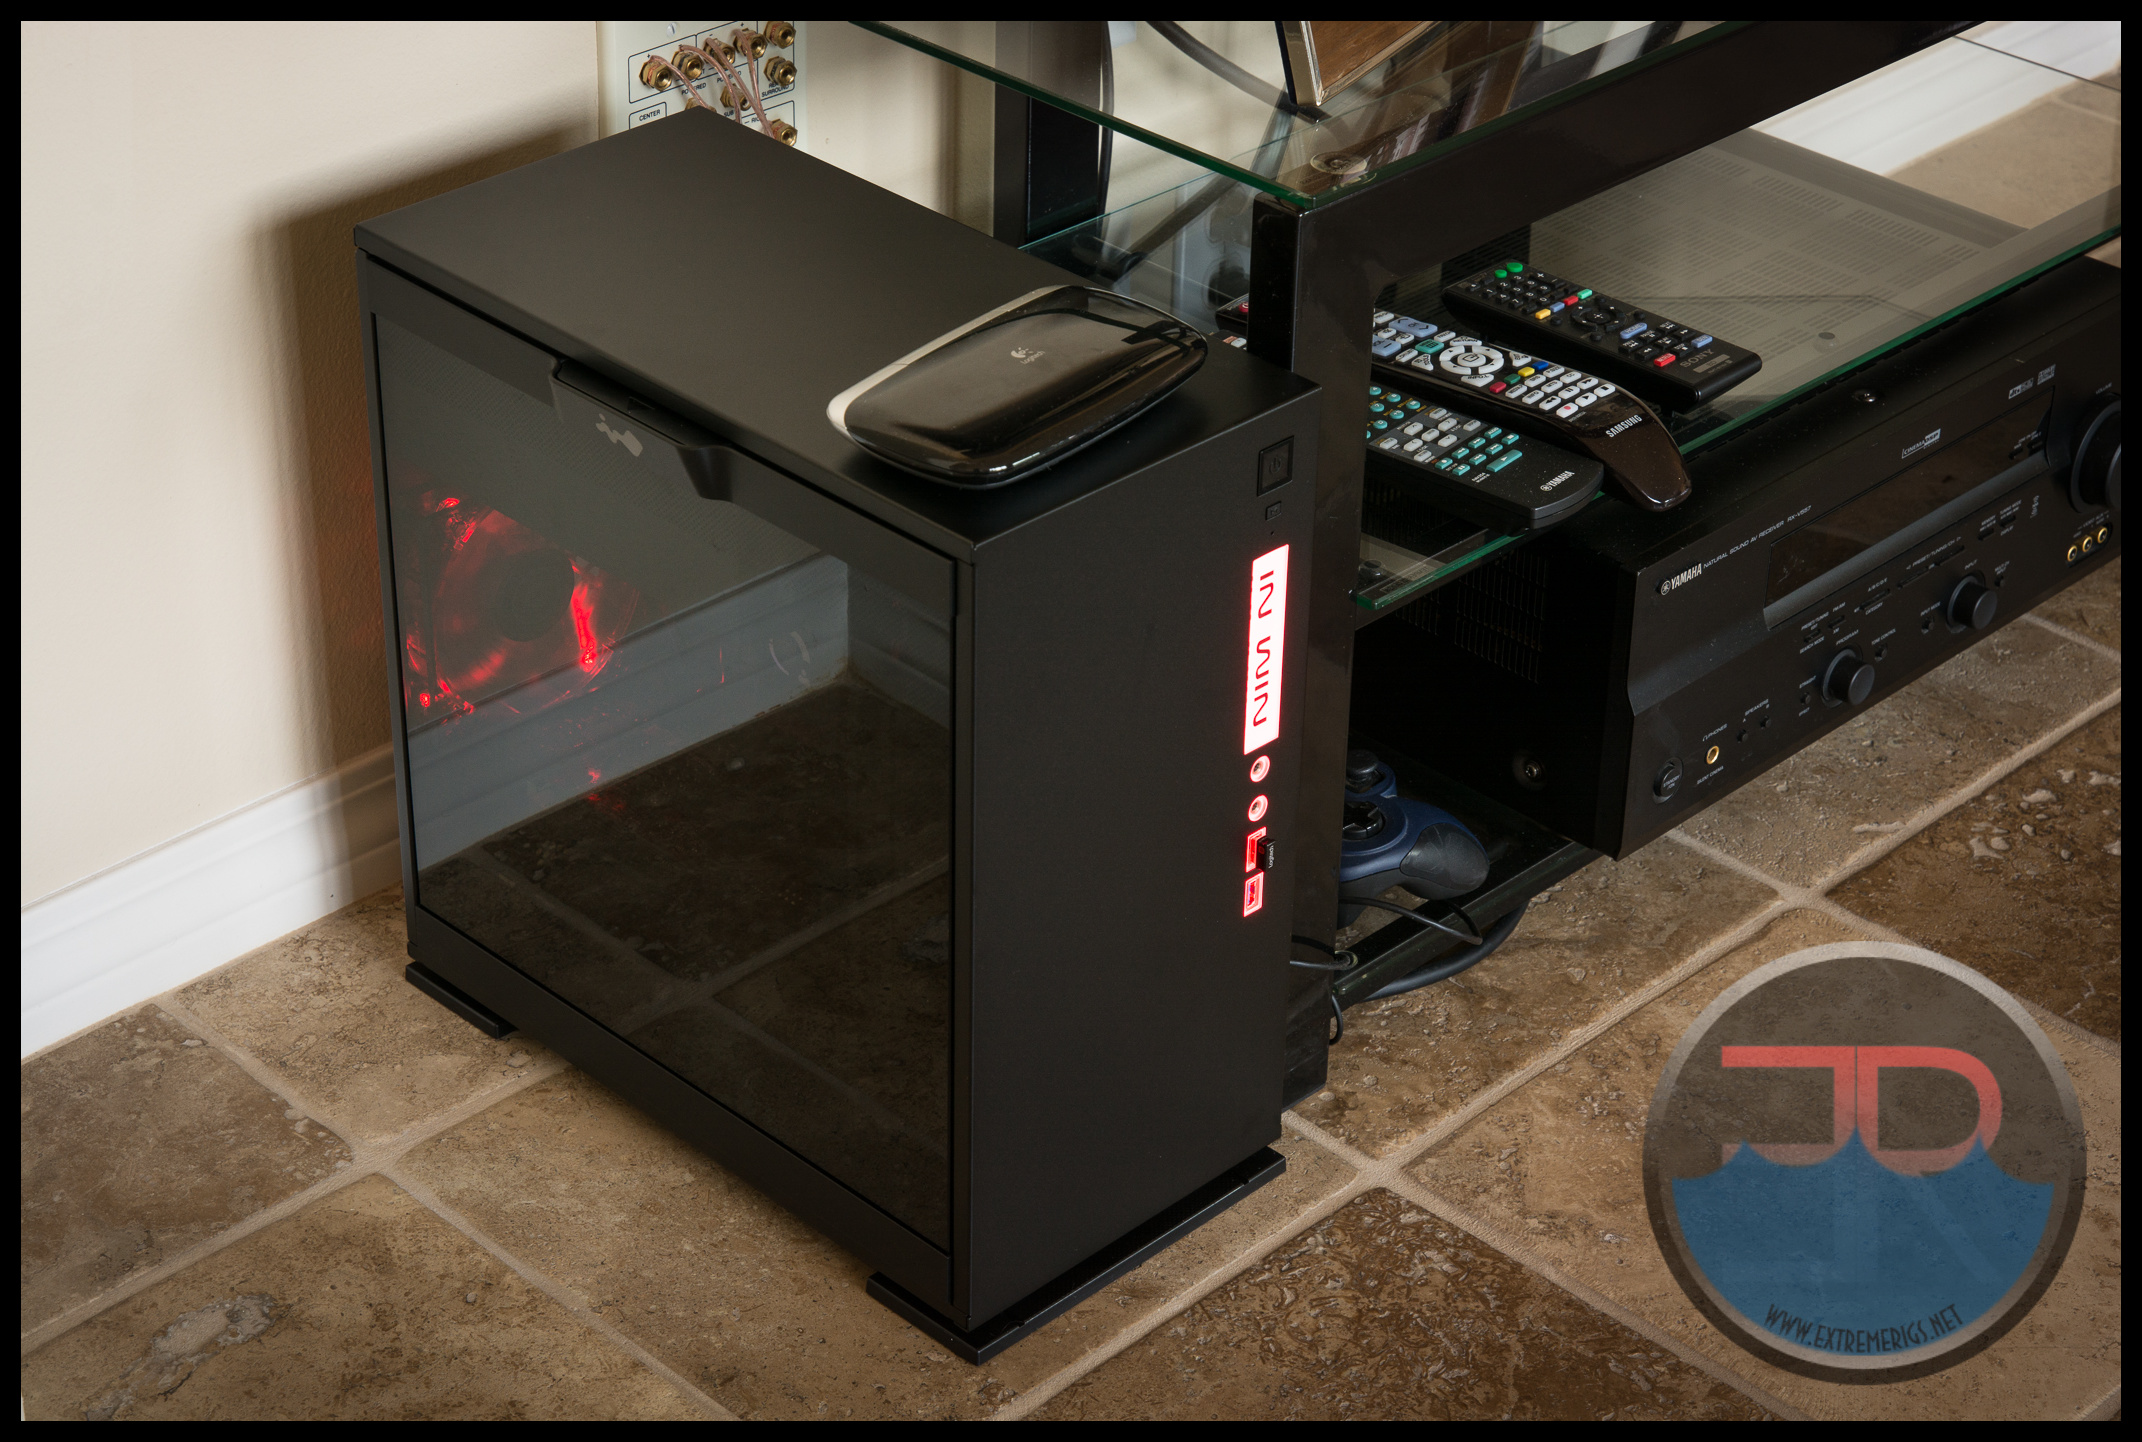
 Overall despite many things that were nearly too tight in the end everything worked out just fine and it was actually a fun build to put together. Essentially I’d say that’s because we didn’t push the limit as to what would go in the case. We didn’t try to fit a ton of water cooling, or an oversized GPU, or a large power supply. The case is really designed to be used for this “normal” mid to low budget kind of build and stretching it to a high end build is going to cause you more headaches than it’s worth.
 Once powered on the only case lighting is in the front panel, where everything that is white plastic gets lit up by a red led. The red light inside the case is from an led exhaust fan (not supplied) that is not shown in previous photos.
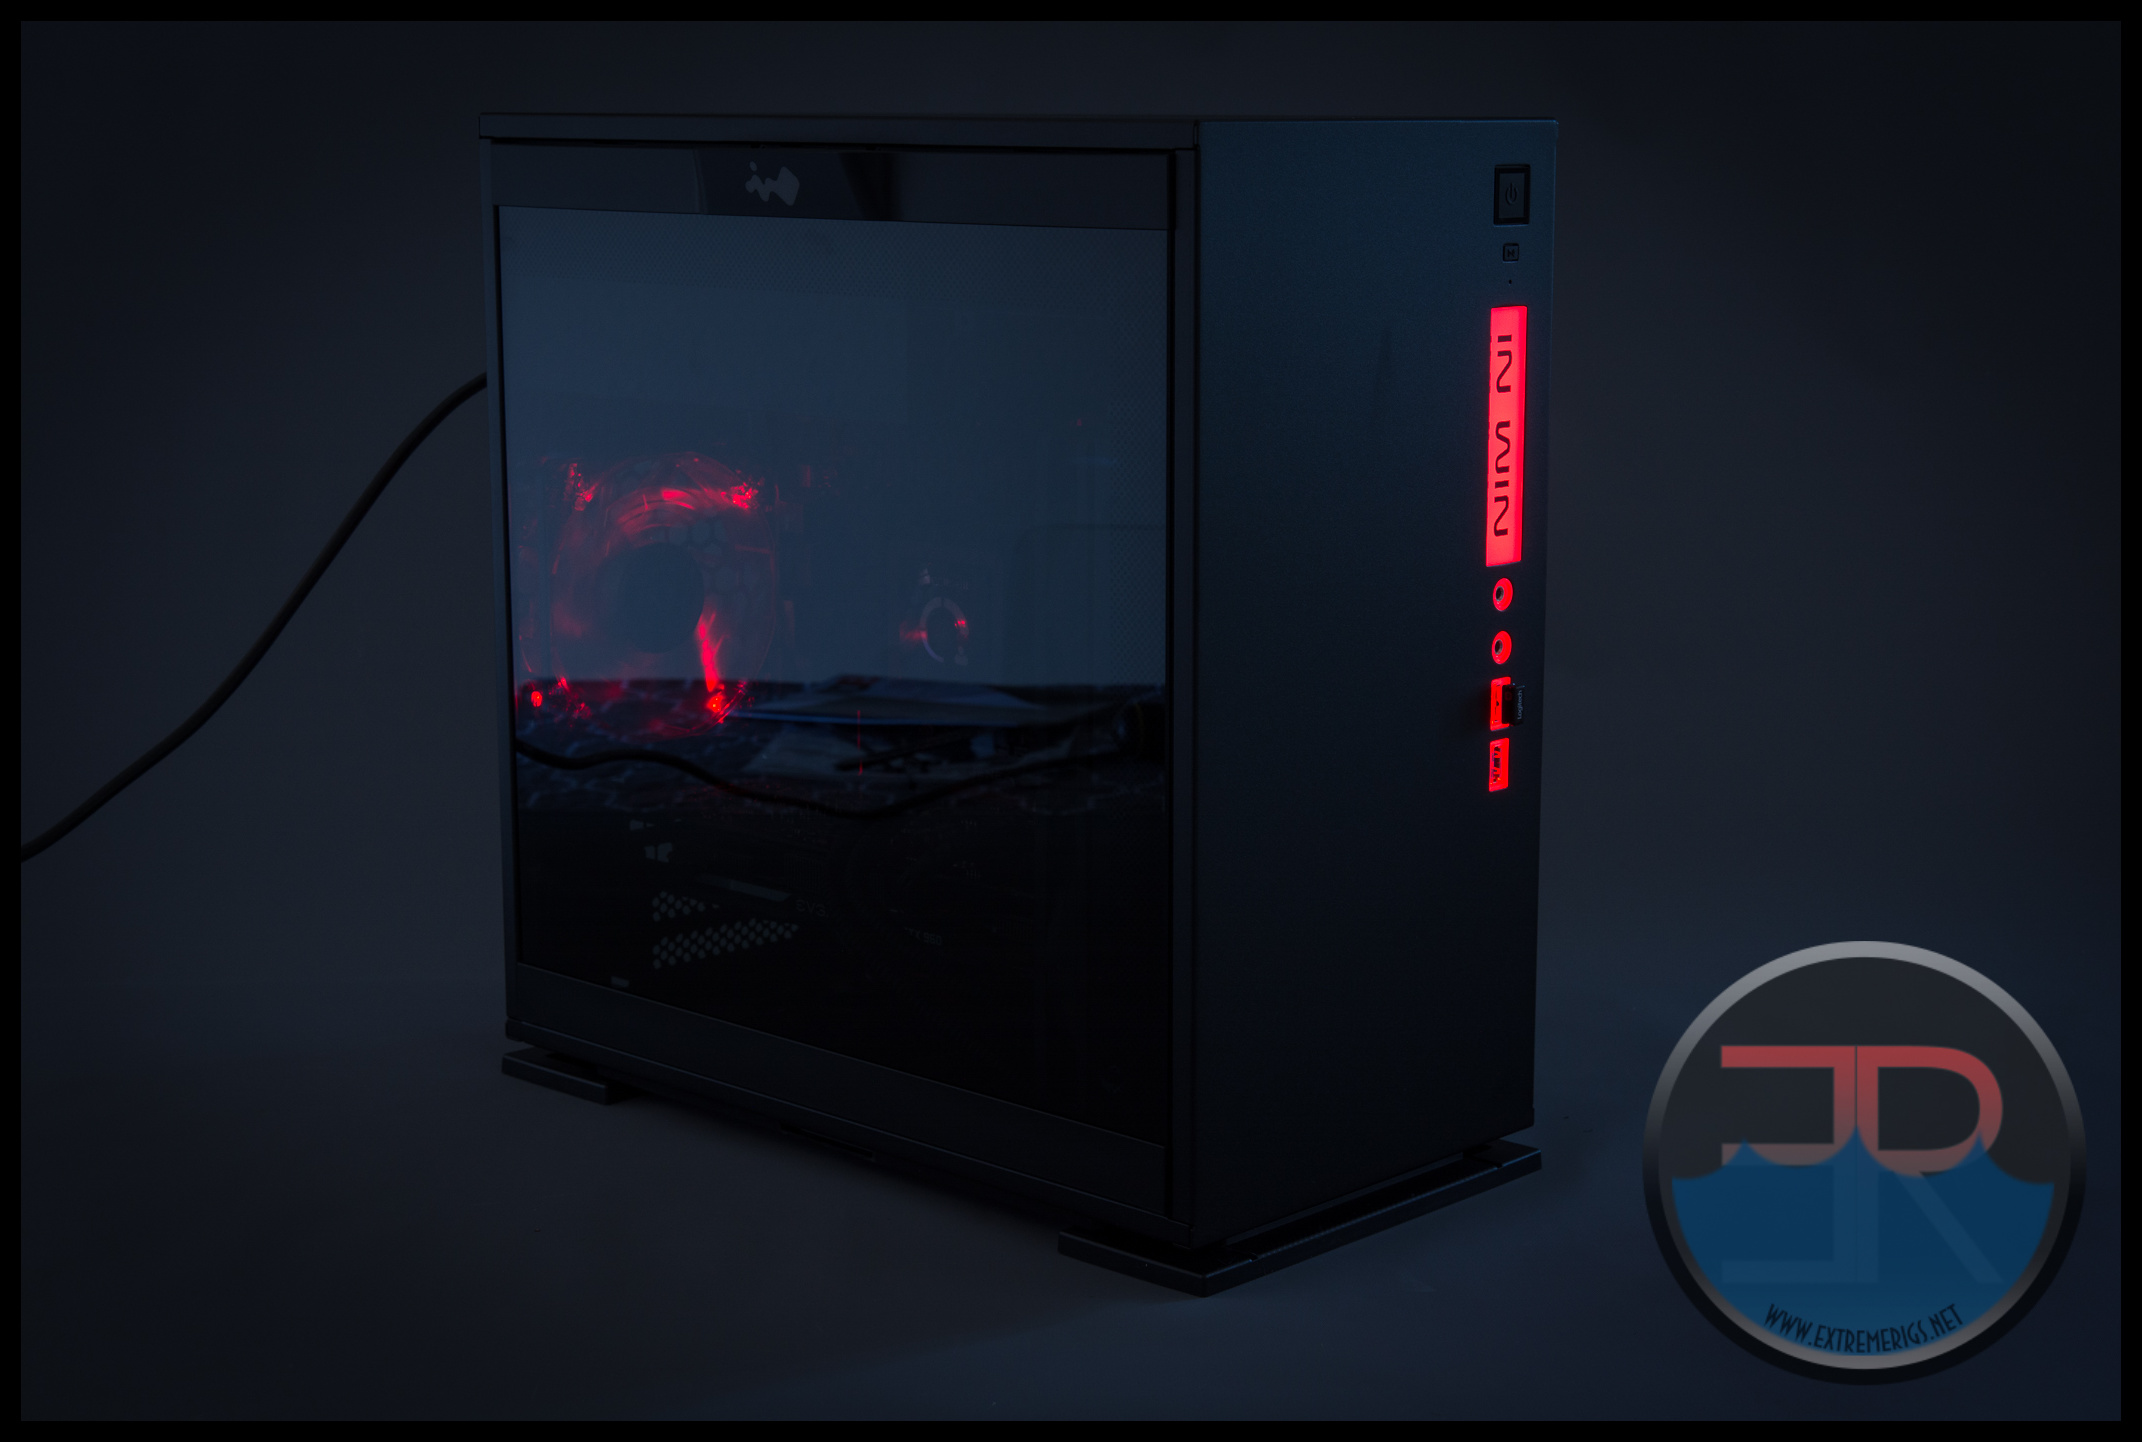 While this particular model of the case doesn’t vary the color of the lighting from red, there is an updated model of the 301 called the 301-C that replaces the fixed LED with an RGB led and also adds on a USB type C next to the existing front panel USB.
The vanilla 301 itself is also available in white with a blue LED:

Summary

Overall the InWin 301 is a good looking mATX case that gives you everything you need to make a simple, modest build. It also doesn’t make you pay for features that you don’t need for that same type of build. I feel like In Win specified this case perfectly because of that. It doesn’t support many hard drives, or large radiators. It supports just enough performance and just enough cooling while taking up the minimum space for that. The only missing features are “nice to haves” and are those that would upsize the case size and/or price.
Speaking of price – it is only $70 at newegg right now which to me is a bargain for a case that is this well featured and well designed and comes with glass. The 301C is a mere $10 more and adds the USB type C port and upgrades the LED to RGB. We wish that the 301C in particular also added in more internal lighting to the case as smoked glass really demands internal lighting to show off the build inside.
So overall we have found it hard to find fault with the design and because of the great value that it really deserves a gold award. So congrats to In Win on a winner of a case.


