


Putting The Tools To Use
It might be an appropriate spot to link the XSPC Instruction Sheet as provided with the kit. The step by step guide is a very, very streamlined guide and appears to make the world of bending and preparing PETG hard-line tubing easy. Steps 1-4 are on Page 1 and leads right up to the point of bending the tube. Page 2 has steps 5-10 and offers instructions on completing the bend up to installing a tube into a fitting.
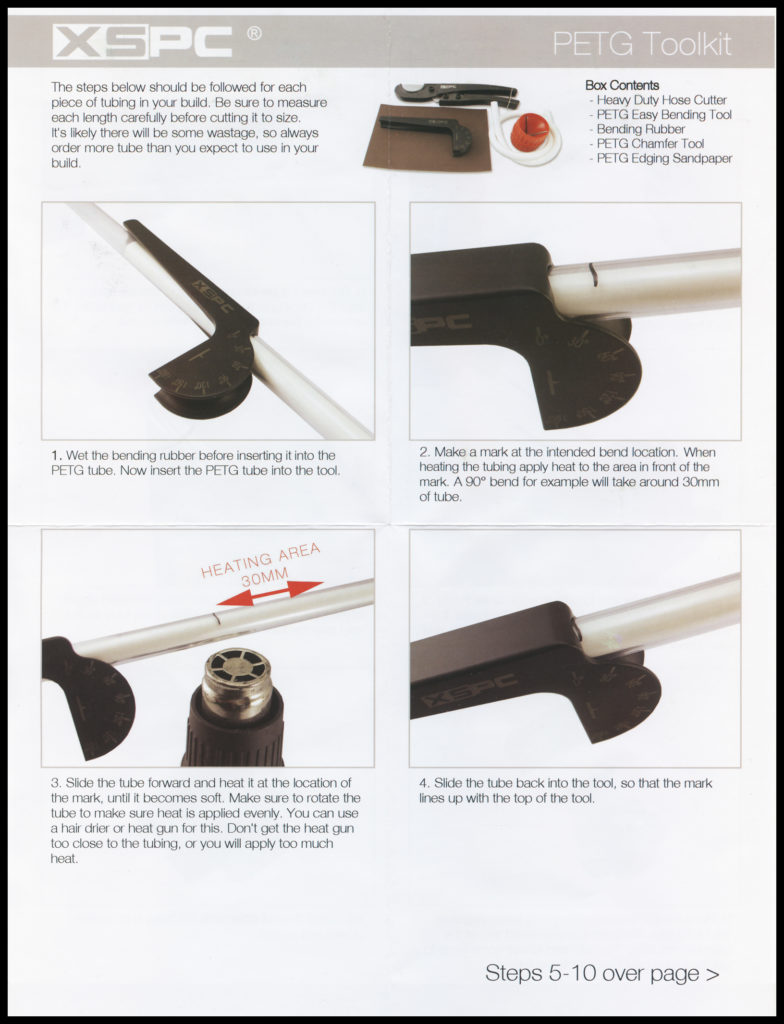
We decided to follow the guide step by step and see how we went.
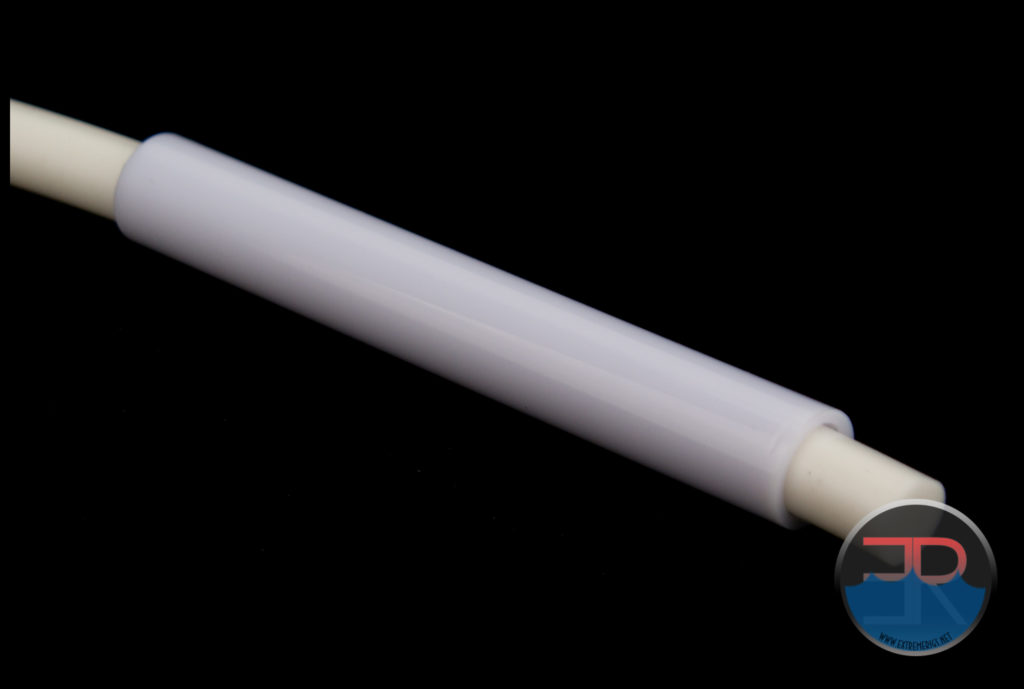
1. “Soak the bending rubber in warm water before inserting it into the PETG tube. Now insert the PETG tube into the tool.”
 We had never tried the hot water soak before, but since we were following instructions we gave it a go as well as “ambient” water straight from the tap. To be honest no difference was noticed between the two either for inserting the cord or when removing it after the bend was complete.
EDIT: After writing this review was complete we noticed the following on PPCs website regarding the hot water tip. It also seems to clear up the rubber Vs. silicone question we had in the unboxing:
“** NOTE” Silicon bend chord can shrink by nearly 4% with drops in the temperature from 35C to 15C. On a loose fit in your tube, XSPC’s advises customers to soak the chord in warm water before use.”
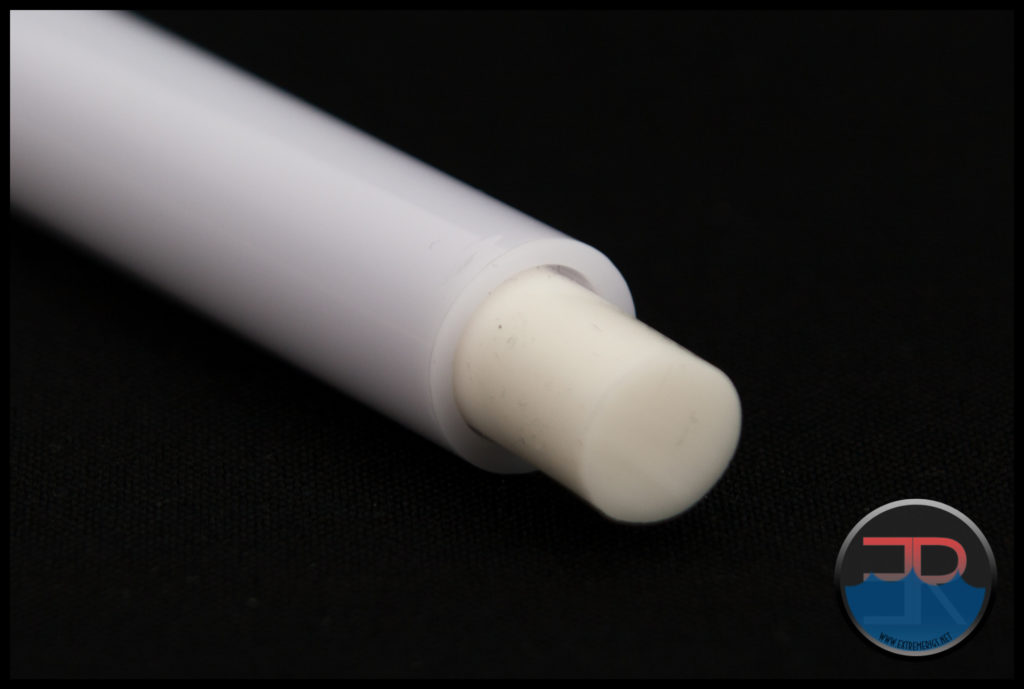 Our tip for easy insertion and removal: add 3 drops of dish washing liquid to a (rinsed out) 2 Lt juice bottle, fill to near the top with tap water. Before inserting the cord each time dunk the cord into the mix and you’ll never struggle to remove the cord again, even from multi-bend tubes. Also remember to make sure the internal lip is smooth and the tube has been rinsed out before inserting the cord.
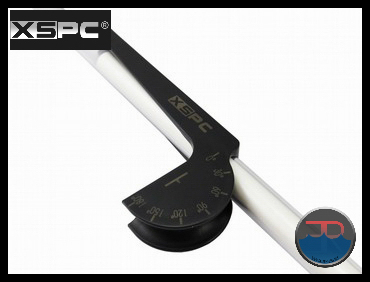
Inserting the tube into the tool – no problems.
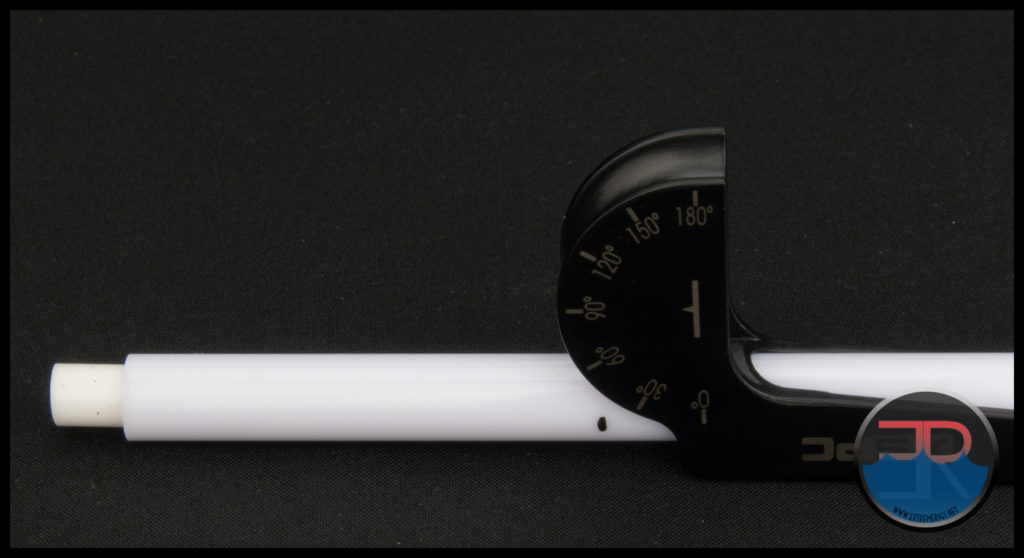 We chose to mark our tube at approximately where we wanted the bend to start prior to inserting the tube into the tool as instructed in step 2.
2. “Make a mark at the intended bend location. When heating the tubing apply heat to the area in front of the mark. A 90° bend for example will take around 30mm of tube.”
 We wondered what the shortest length of tube could be used. You could probably use an off-cut shorter than 10cm, but we don’t recommend any less than 4cm going into the handle.
“3. Slide the tube forward and heat it at the location of the mark, until it becomes soft. Make sure to rotate the tube to make sure heat is applied evenly. You can use a hair drier or heat gun for this. Don’t get the heat gun too close to the tubing, or you will apply too much heat.”
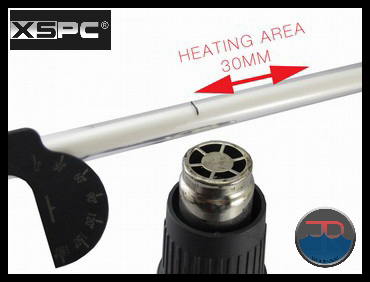
Here was probably our biggest concern going into the bending process using the XSPC bending tool. Rotating the tubing to heat the tube up while a portion of the tube is within the handle leaves potential for scuffing or scratching the tube surface. It turned out we could not notice any scratching on the surface of the white PETG tubing that we used. If you’re using clear tubing and notice that scuffing is occurring, an option to consider trying is to try rotating the tool and tube together
The time taken to heat up the tube until it gets “soft” will vary depending on the strength of the heat source. We heated the tube about 5cm above our heat gun, moving back and forward while rotating the tube for about 45 seconds.
Working alone photography was rather difficult at this point with hands pre-occupied and lighting less than ideal, so none were taken.
4. “Slide the tube back into the tool, so that the mark lines up with the top of the tool.”
The mark you made on the tube is not at the start of the bend, this is simply an indicator. You will almost certainly always have to trim each end of the tube so allow yourself enough spare tube and don’t try to get the marking or length perfect at this stage.
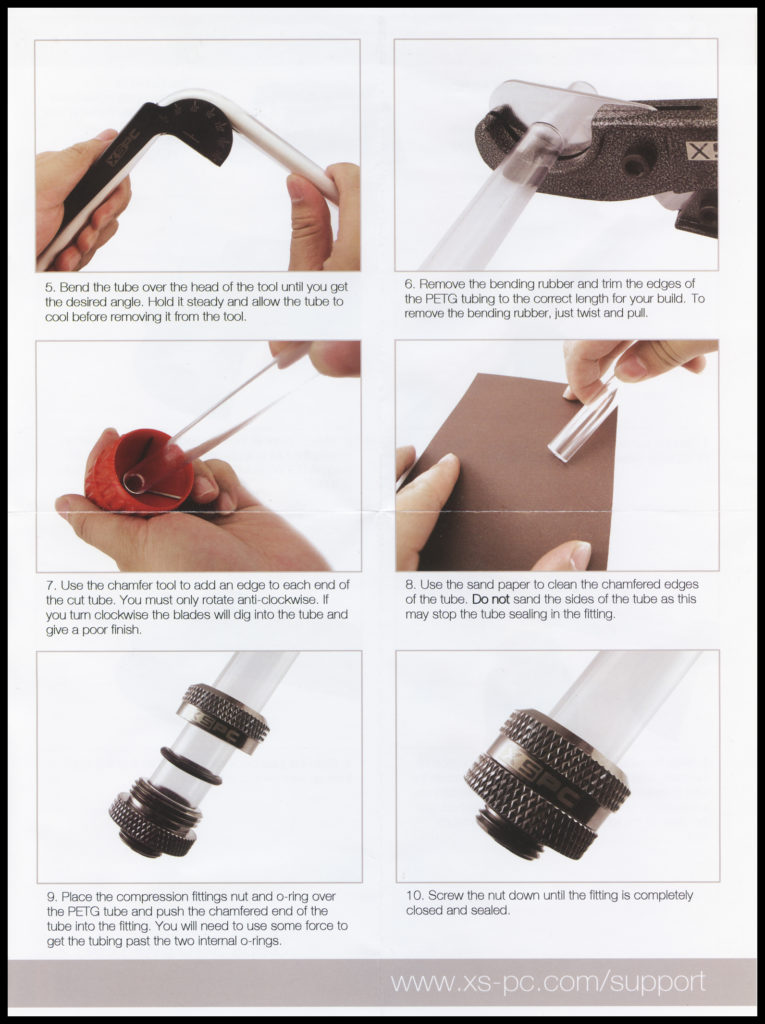
5. “Bend the tube over the head of the tool until you get the desired angle. Hold it steady and allow the tube to cool before removing it from the tool.”
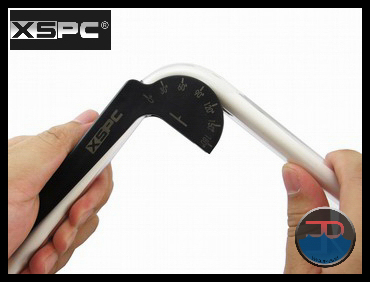 The way the tool is designed, leaves a lot to the user’s eye in deciding where exactly 90° is and how far to bend the tube. During the cooling process even when being held in place the tube will always try to straighten out. We recommend slightly over-bending the tube and slowly releasing pressure so that it straightens back to where you think 90° is as the tube cools.
This is the biggest problem with this tool. You’re stuck hoping that the bend will end up being 90° and there’s nothing you can do to check it until the tube has cooled enough so that it no longer tries to straighten out. Perhaps a second dedicated 90 degree version of the tool, or an addon piece would help to improve this.
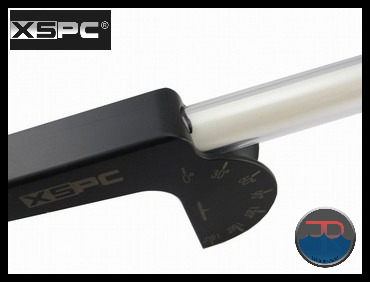
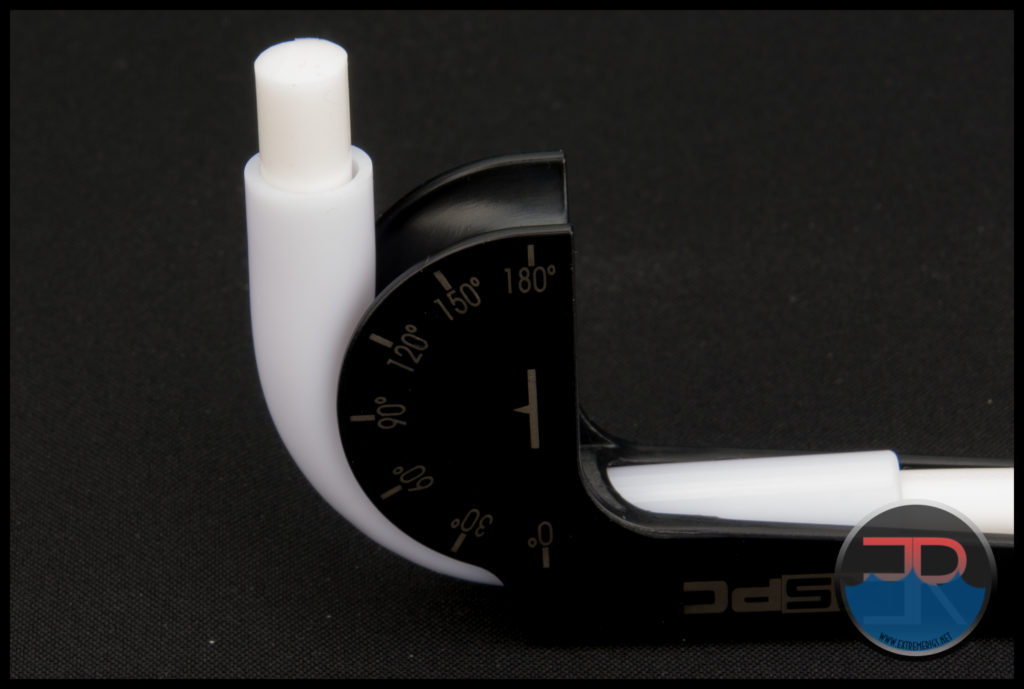
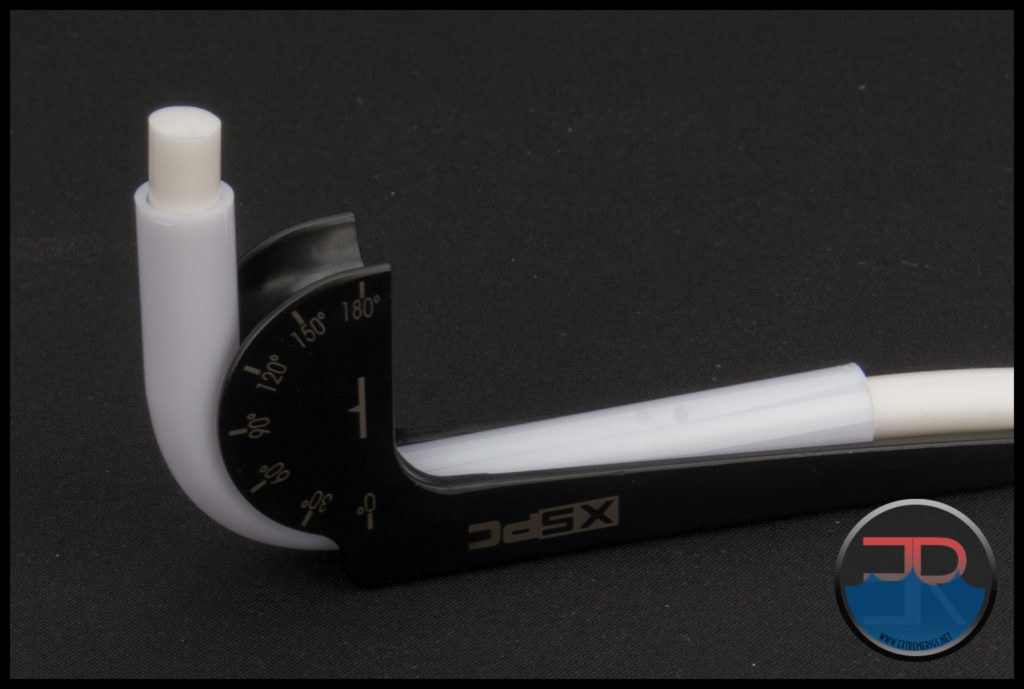
The hollow of the handle is tapered along the sides as we saw when we checked it out in the previous page. Annoyingly it is also angled so the tube is further away from the LHS edge at the start of the bend than it is at the end of the handle.
What this means is that a set square can not be used to true up the bend to exactly 90° while the tube is in the tool. You have to do it all by eye against the 180° marker on the tool. You risk losing the bend radius if removing the tube prior to having cooling enough to not straighten back past 90°, but the chances of getting an exact 90° bend is very slim.
For our bends to be exactly 90° as desired, after the tube cooled enough to not spring back we removed it from the tool, reheated the tube a bit (with the insert still in place) and then used a set square to get the 90° just right before holding the pressure and allowing to cool again.
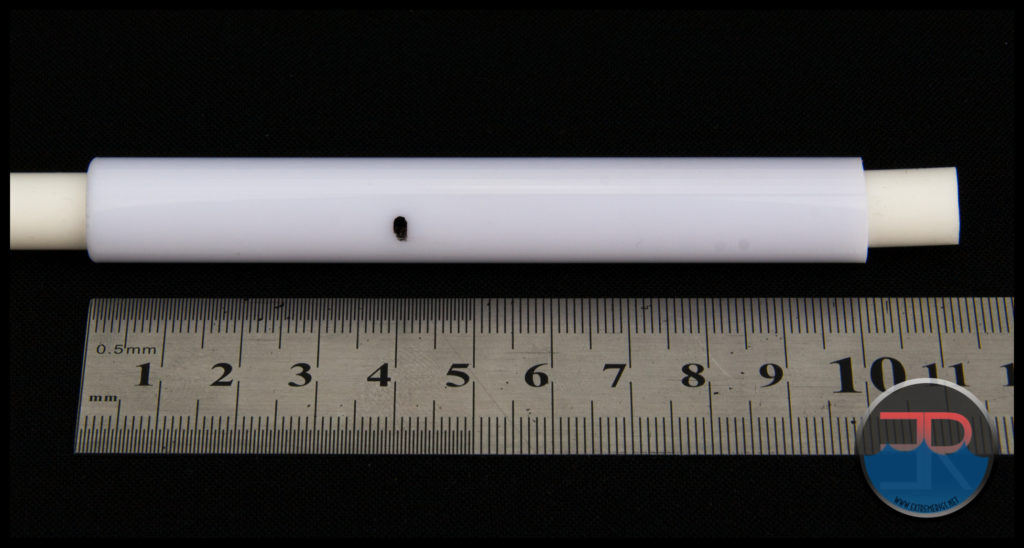
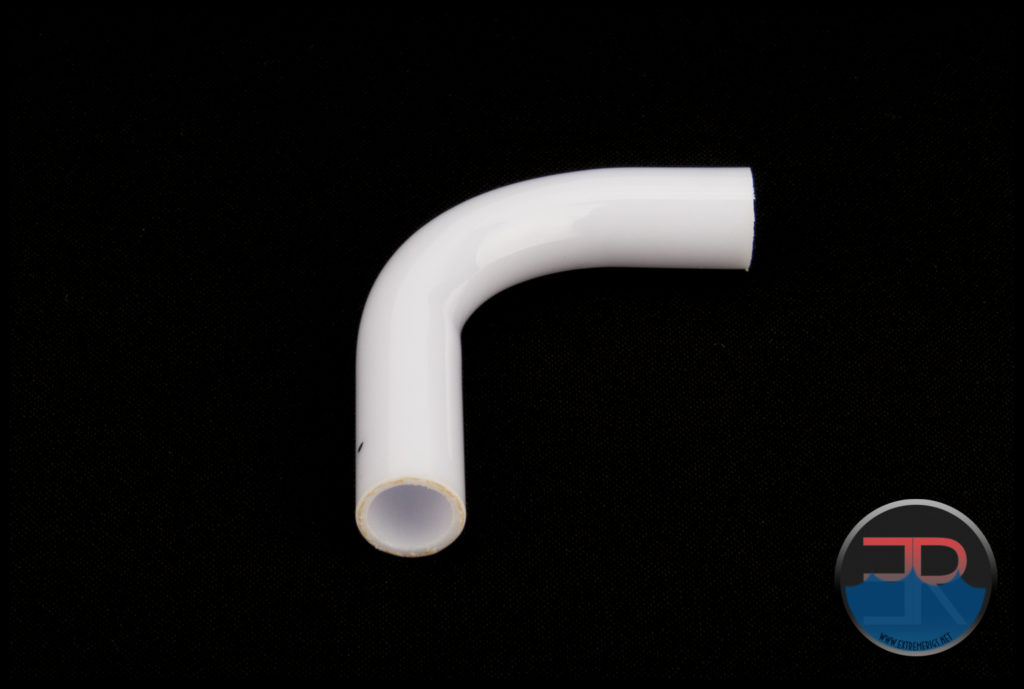
Pictured first is the short 10cm length we showed marked out earlier.
 While a 10cm length was doable, we recommend 15cm as the ideal minimum length to use.
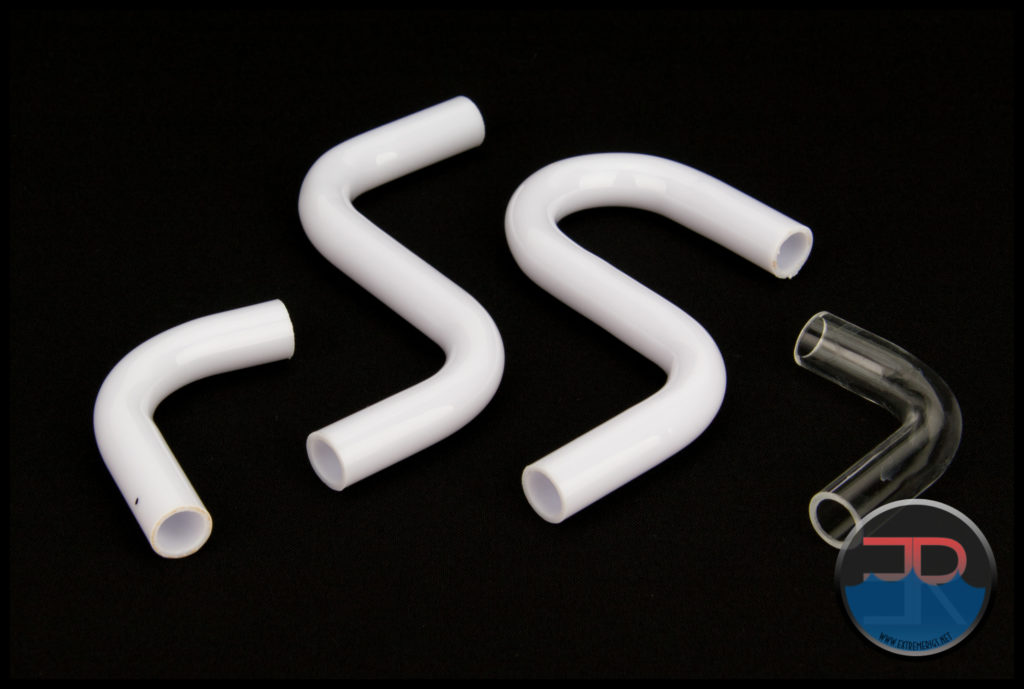
 While we were at it, we tried with a length of acrylic tube also.
While the results were for the most part acceptable, none of the bends we achieved were exactly perfect. Most of the imperfections are caused by the two wings at the rear of the handle and perhaps we heated up too long a section, or inserted the tube a bit too far.
The tool is easy to use and the results were really very good. With a short learning curve a new user could be achieving great bends with very little time or material wasted.
Double bends were easily enough to achieved using the tool.

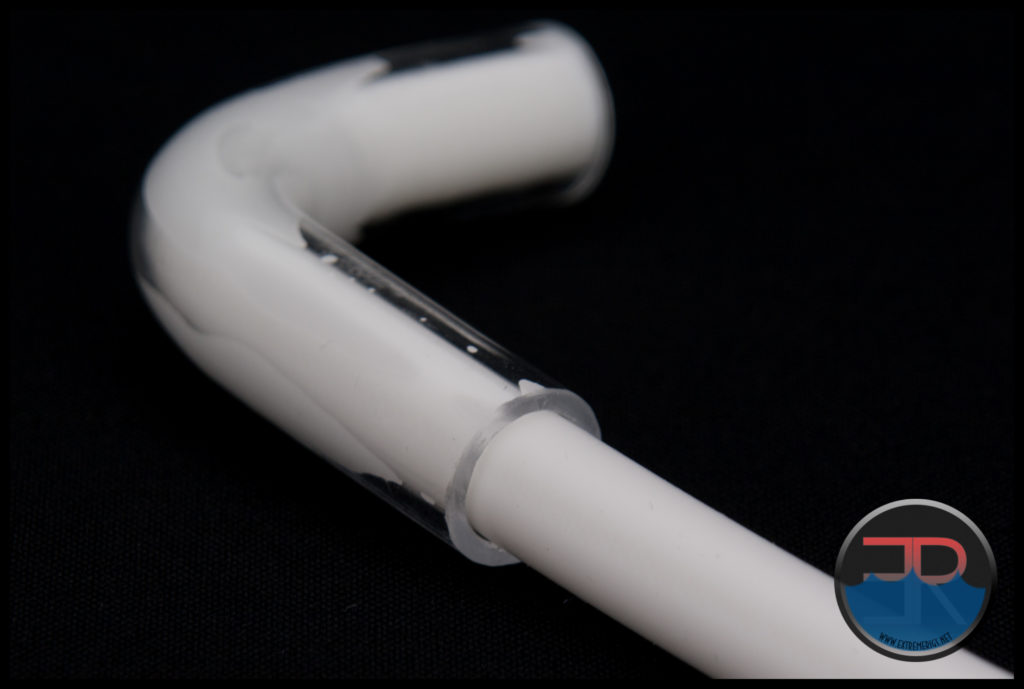
We even gave the 180° bend a shot. On this bend we noticed a degree of thinning out nearly the start of the bends. The radius is probably a bit too tight for perfect results here, but acceptable none the less.
 For 99% of users these bends would be a great end result, and only under close scrutiny can minor imperfections be noticed.
6. “Remove the bending rubber and trim the edges of the PETG tubing to the correct length for your build. To remove the bending rubber, just twist and pull.”
Removing the rubber insert from a single 90° is effort free, for any multi bend pieces, our tip shared earlier about the dish-soap dunk will be appreciated.
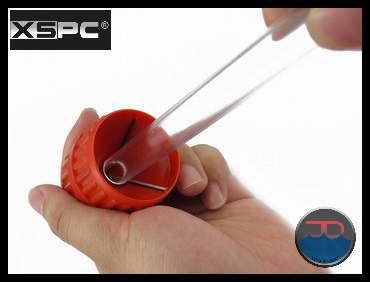
Having only ever used acrylic tubing, the idea that PETG tubing could be cut using tube cutters instead of a saw seemed a bit far fetched. Acrylic is brittle and PETG is not, so we were certainly willing to give it a go.
We marked out a couple of cuts, the short one being 10mm which we thought would be the shortest cut possible without any deformation of the tube.
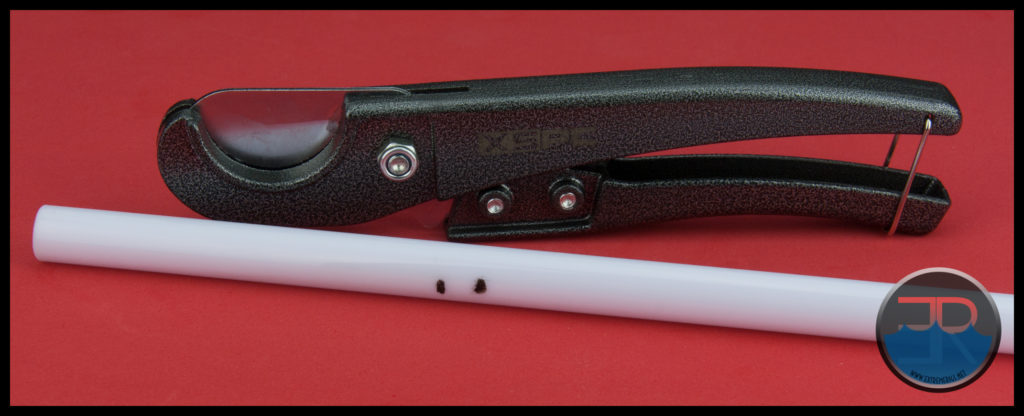
The XSPC HD Tube Cutters certainly do the job. A little force is required to start the cut, then it just glides right through.
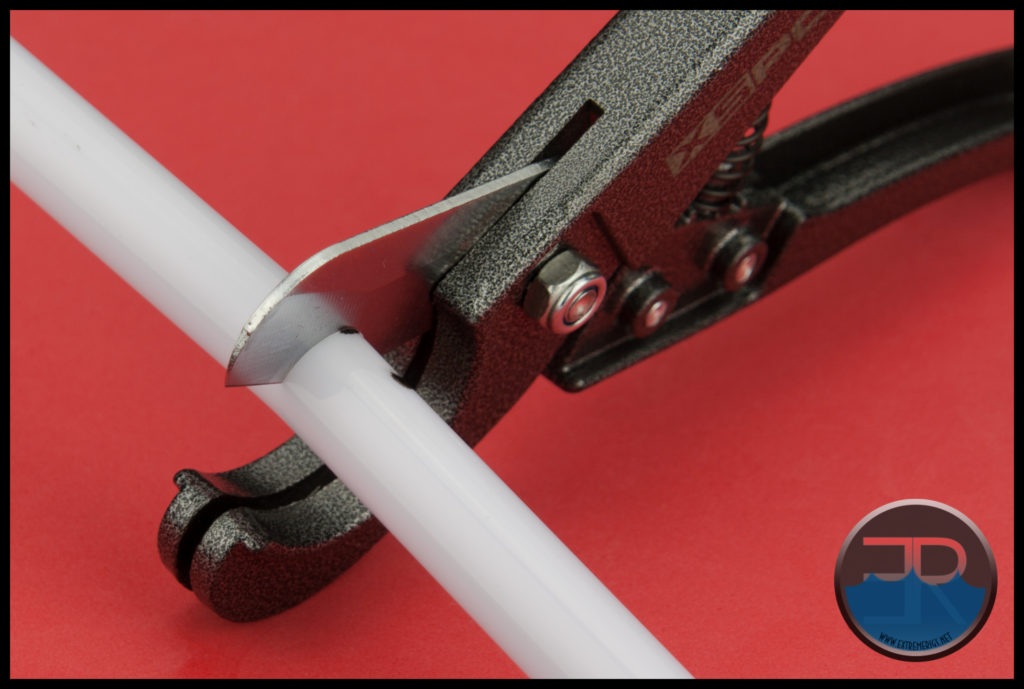
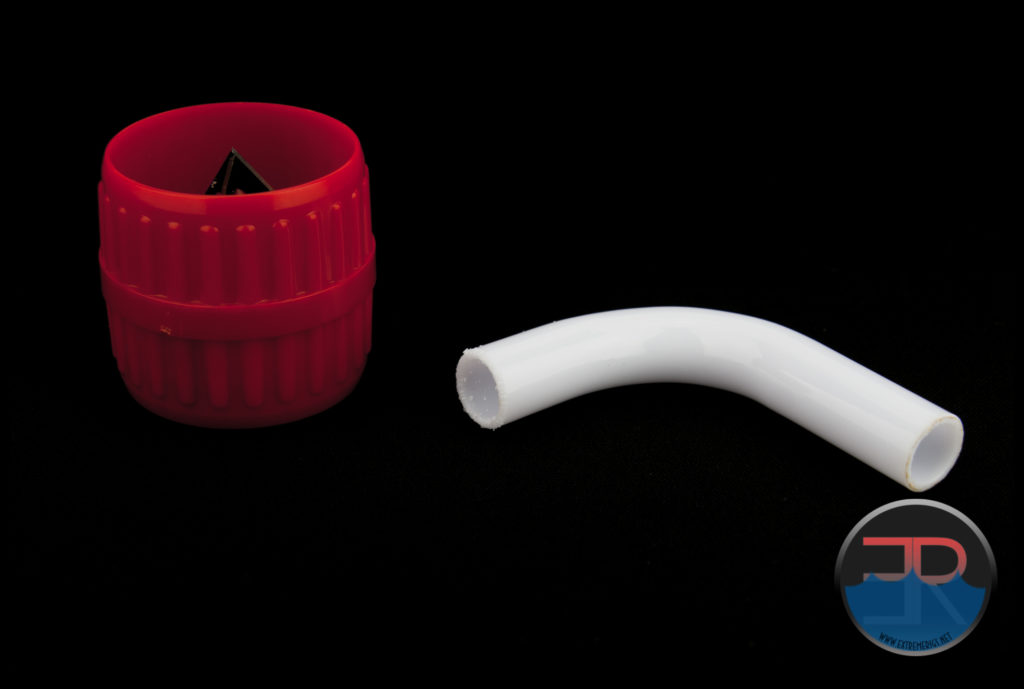
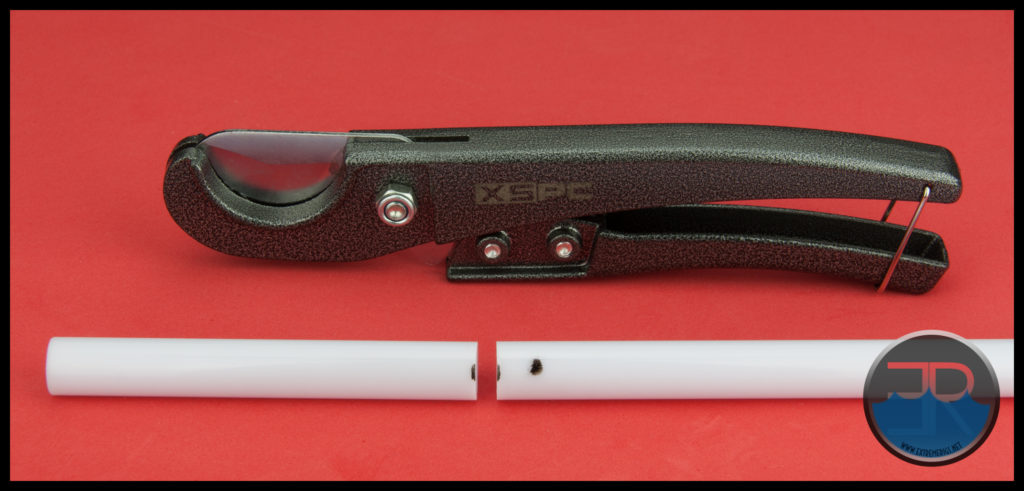 With the first cut being surprising effortless with a good result we moved onto the short 10mm section.
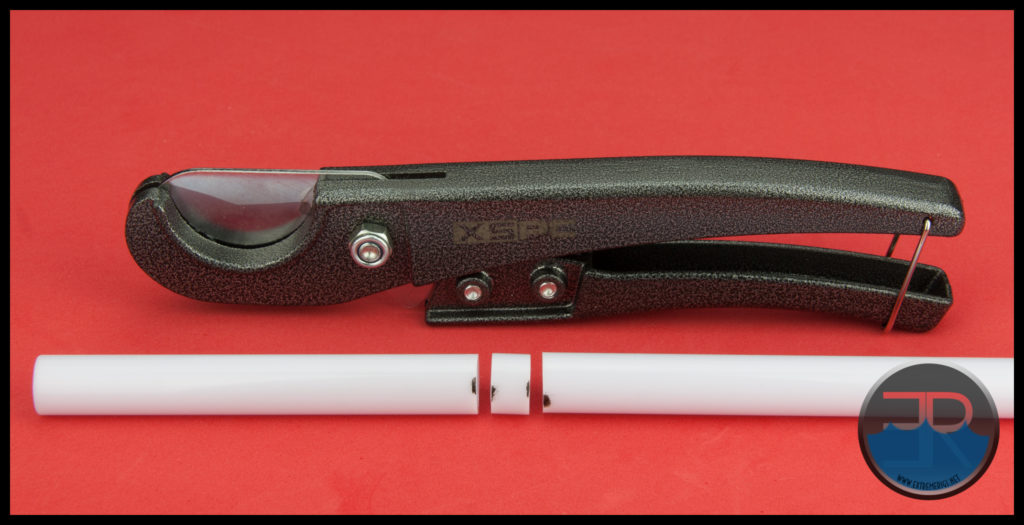 Again no problem at all. Later on we tried cutting even shorter sections and determined that 6mm was the minimum that could be cut off with deforming the roundness of the remaining tube.
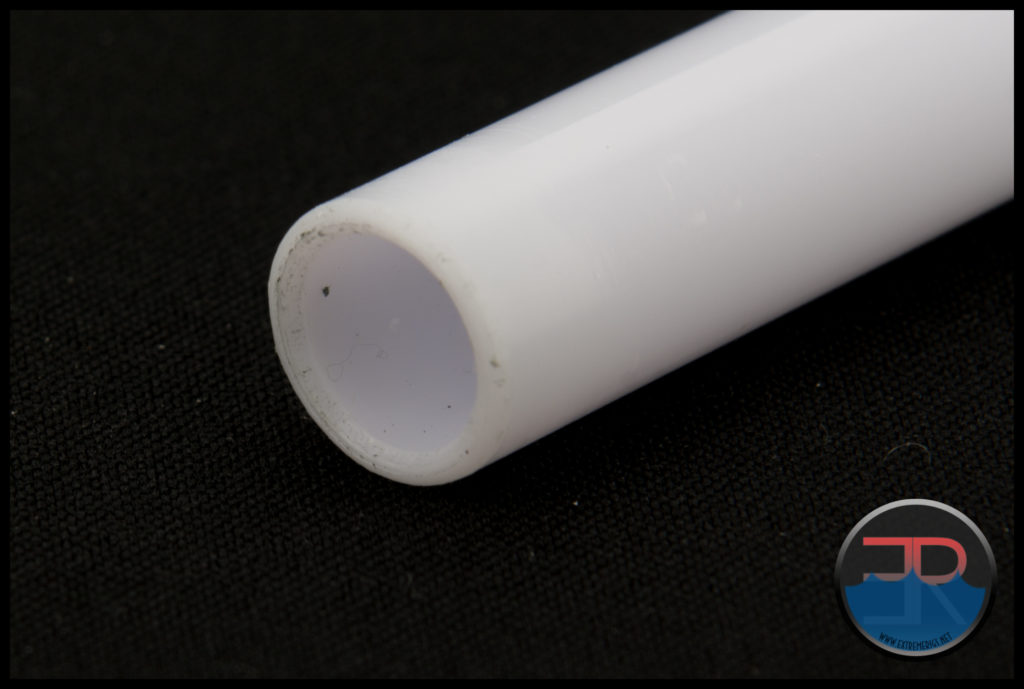
After cutting the edges of the tube end are reasonably clean, and ready for the next step, chamfering the edges.
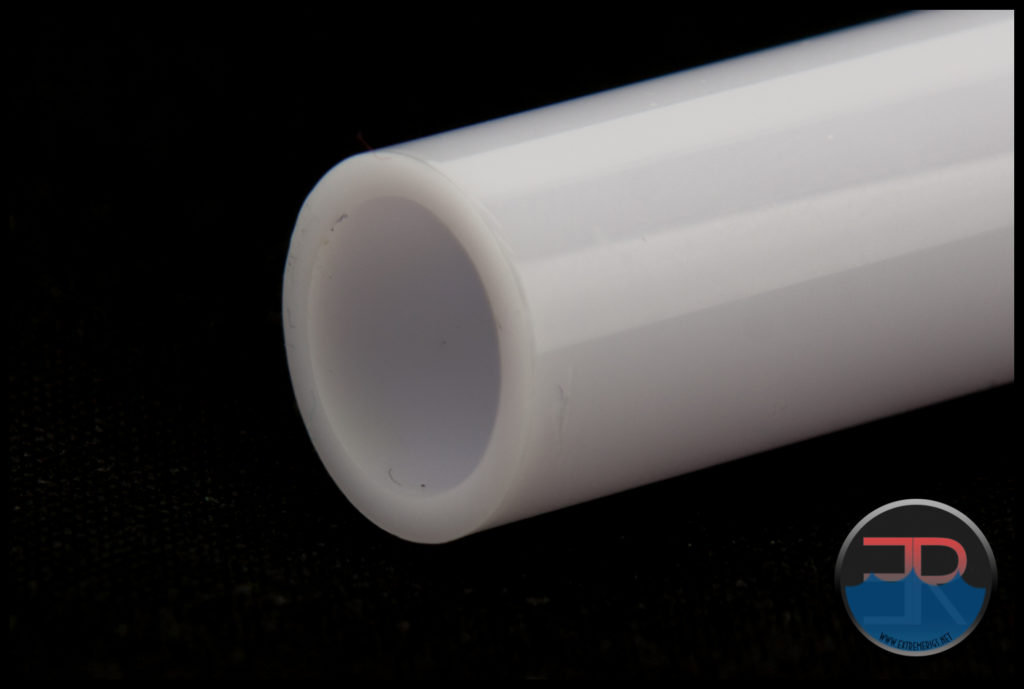
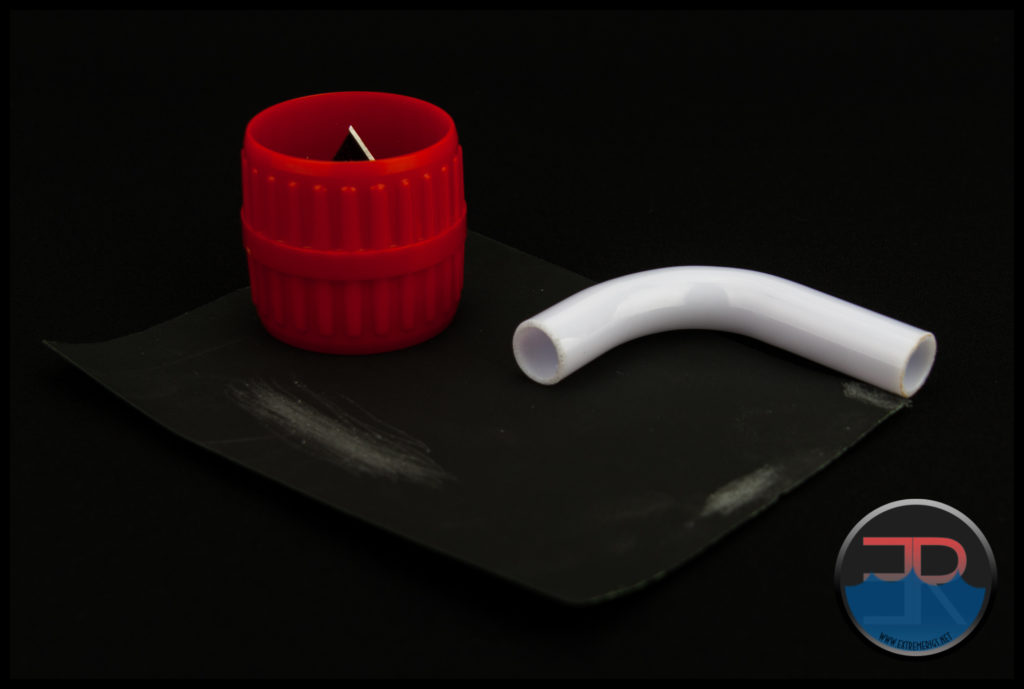
7. “Use the chamfer tool to add an edge to each end of the cut tube. You must only rotate anti-clockwise. If you turn clockwise the blades will dig into the tube and give a poor finish.”
Holding the chamfer tool (or reamer) with the 14mm tube is quite humorous, it just seems such a mismatch in size which the image in the instructions does not seem to convey.
 About that instruction: “You must only rotate anti-clockwise”. This is lacking one very crucial piece of information, which without it will catch out beginners and seasoned hard-liners alike the first time they use the tool. They way XSPC have worded the instruction the tube needs to be rotated anti-clockwise so the tube runs over the honed edges of the blades (NOT the vertical edges)
However, we suggest putting the tool on a hard surface, placing the tube in the tool and applying some light downward pressure. Then turn the tool clockwise on the hard surface. After one complete rotation of the tool apply slightly more downward pressure for another complete turn of the tool. Repeat this at each end of the tube with the appropriate blades and the job will be done.
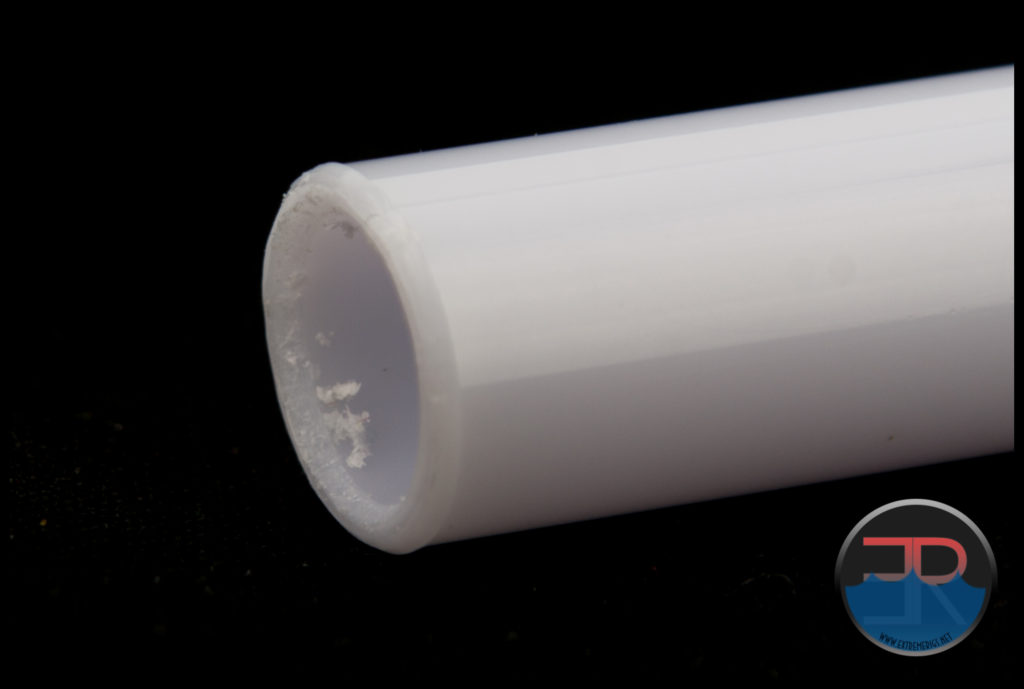 After both inner and outer edges have been chamfered using the tool, the finish is still quite rough and the next step should definitely not be skipped.
8. “Use the sand paper to clean the chamfered edges of the tube. Do not sand the sides of the tube as this may stop the tube sealing in the fitting.”
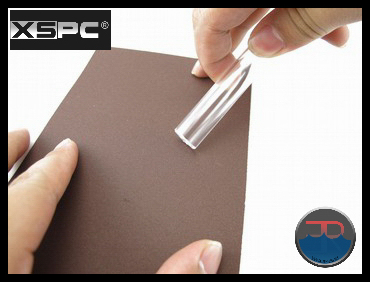
 The sandpaper is effective, but a little fiddly, and we think we still prefer to smooth off using a little diamond needle file.
In a close up zoom, the edged may still look a little rough after sandpapering, but if the edges feel smooth after sanding off, then you’re good to go. As instructed be careful not to sand back up the tube, you only want to be smoothing over where the chamfer tool made the angle on the inner and outer edges.
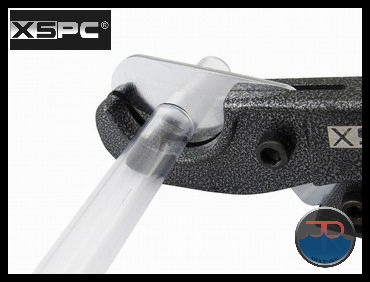
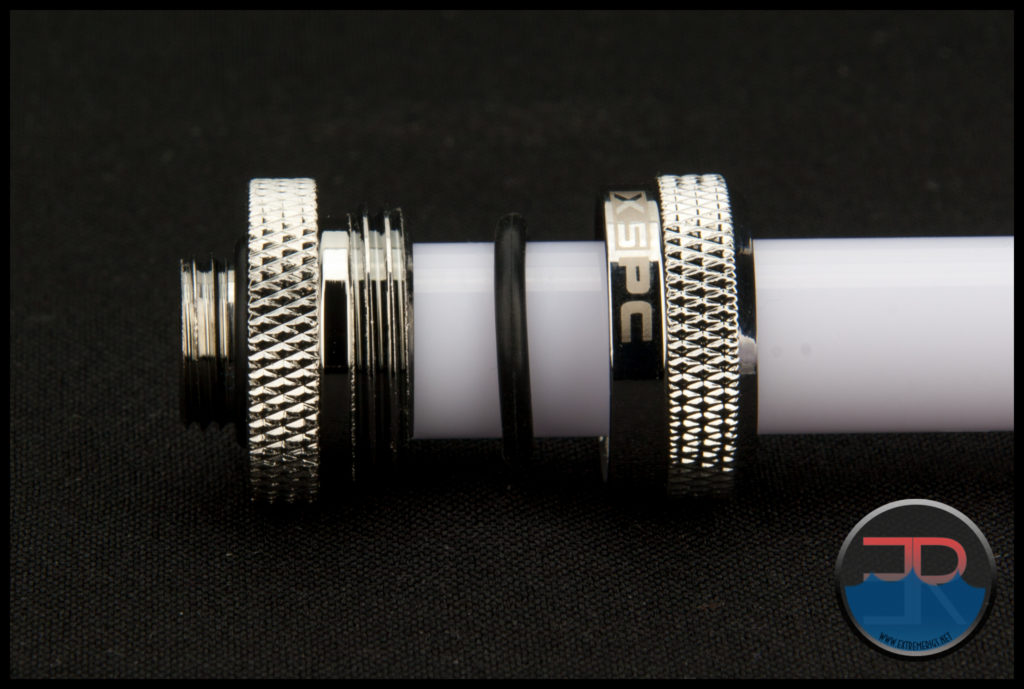
9. “Place the compression fittings nut and o-ring over the PETG tube and push the chamfered end of the tube into the fitting. You will need to use some force to get the tubing past the two internal o-rings.”
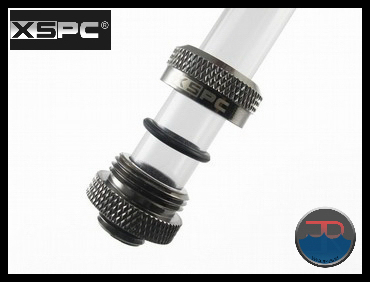 With the bend complete, the tube cut to length, chamfered and sanded, it’s time to do what you probably wanted to do right from the very beginning, insert the tube into a fitting.
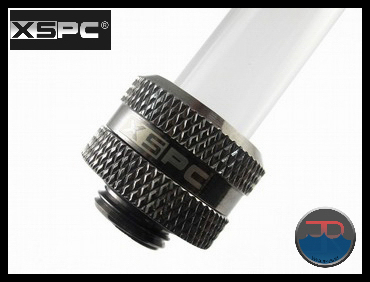
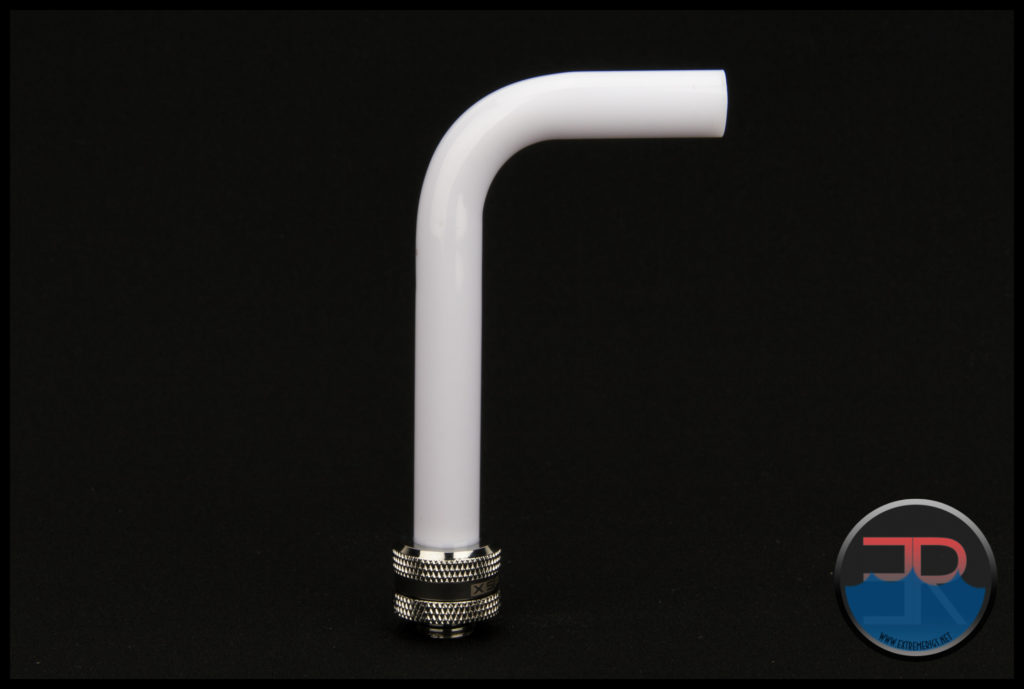
10. “Screw the nut down until the fitting is completely closed and sealed.“
 Hopefully at this point you are placing the tube between two fittings already installed in you rig and not staging it for a photograph.


