


XSPC XS-GTX-980 Review – XSPC’s GTX 980 Razor Water Block & Backplate
In this review we’ll be taking a look at XSPC’s after market watercooling block for the NVidia’s GTX 980 reference card – the Razor 980 aka the XS-GTX-980. This is part of our GTX 980 water block round up. As always a big thanks to XSPC for supporting ExtremeRigs with a test sample.
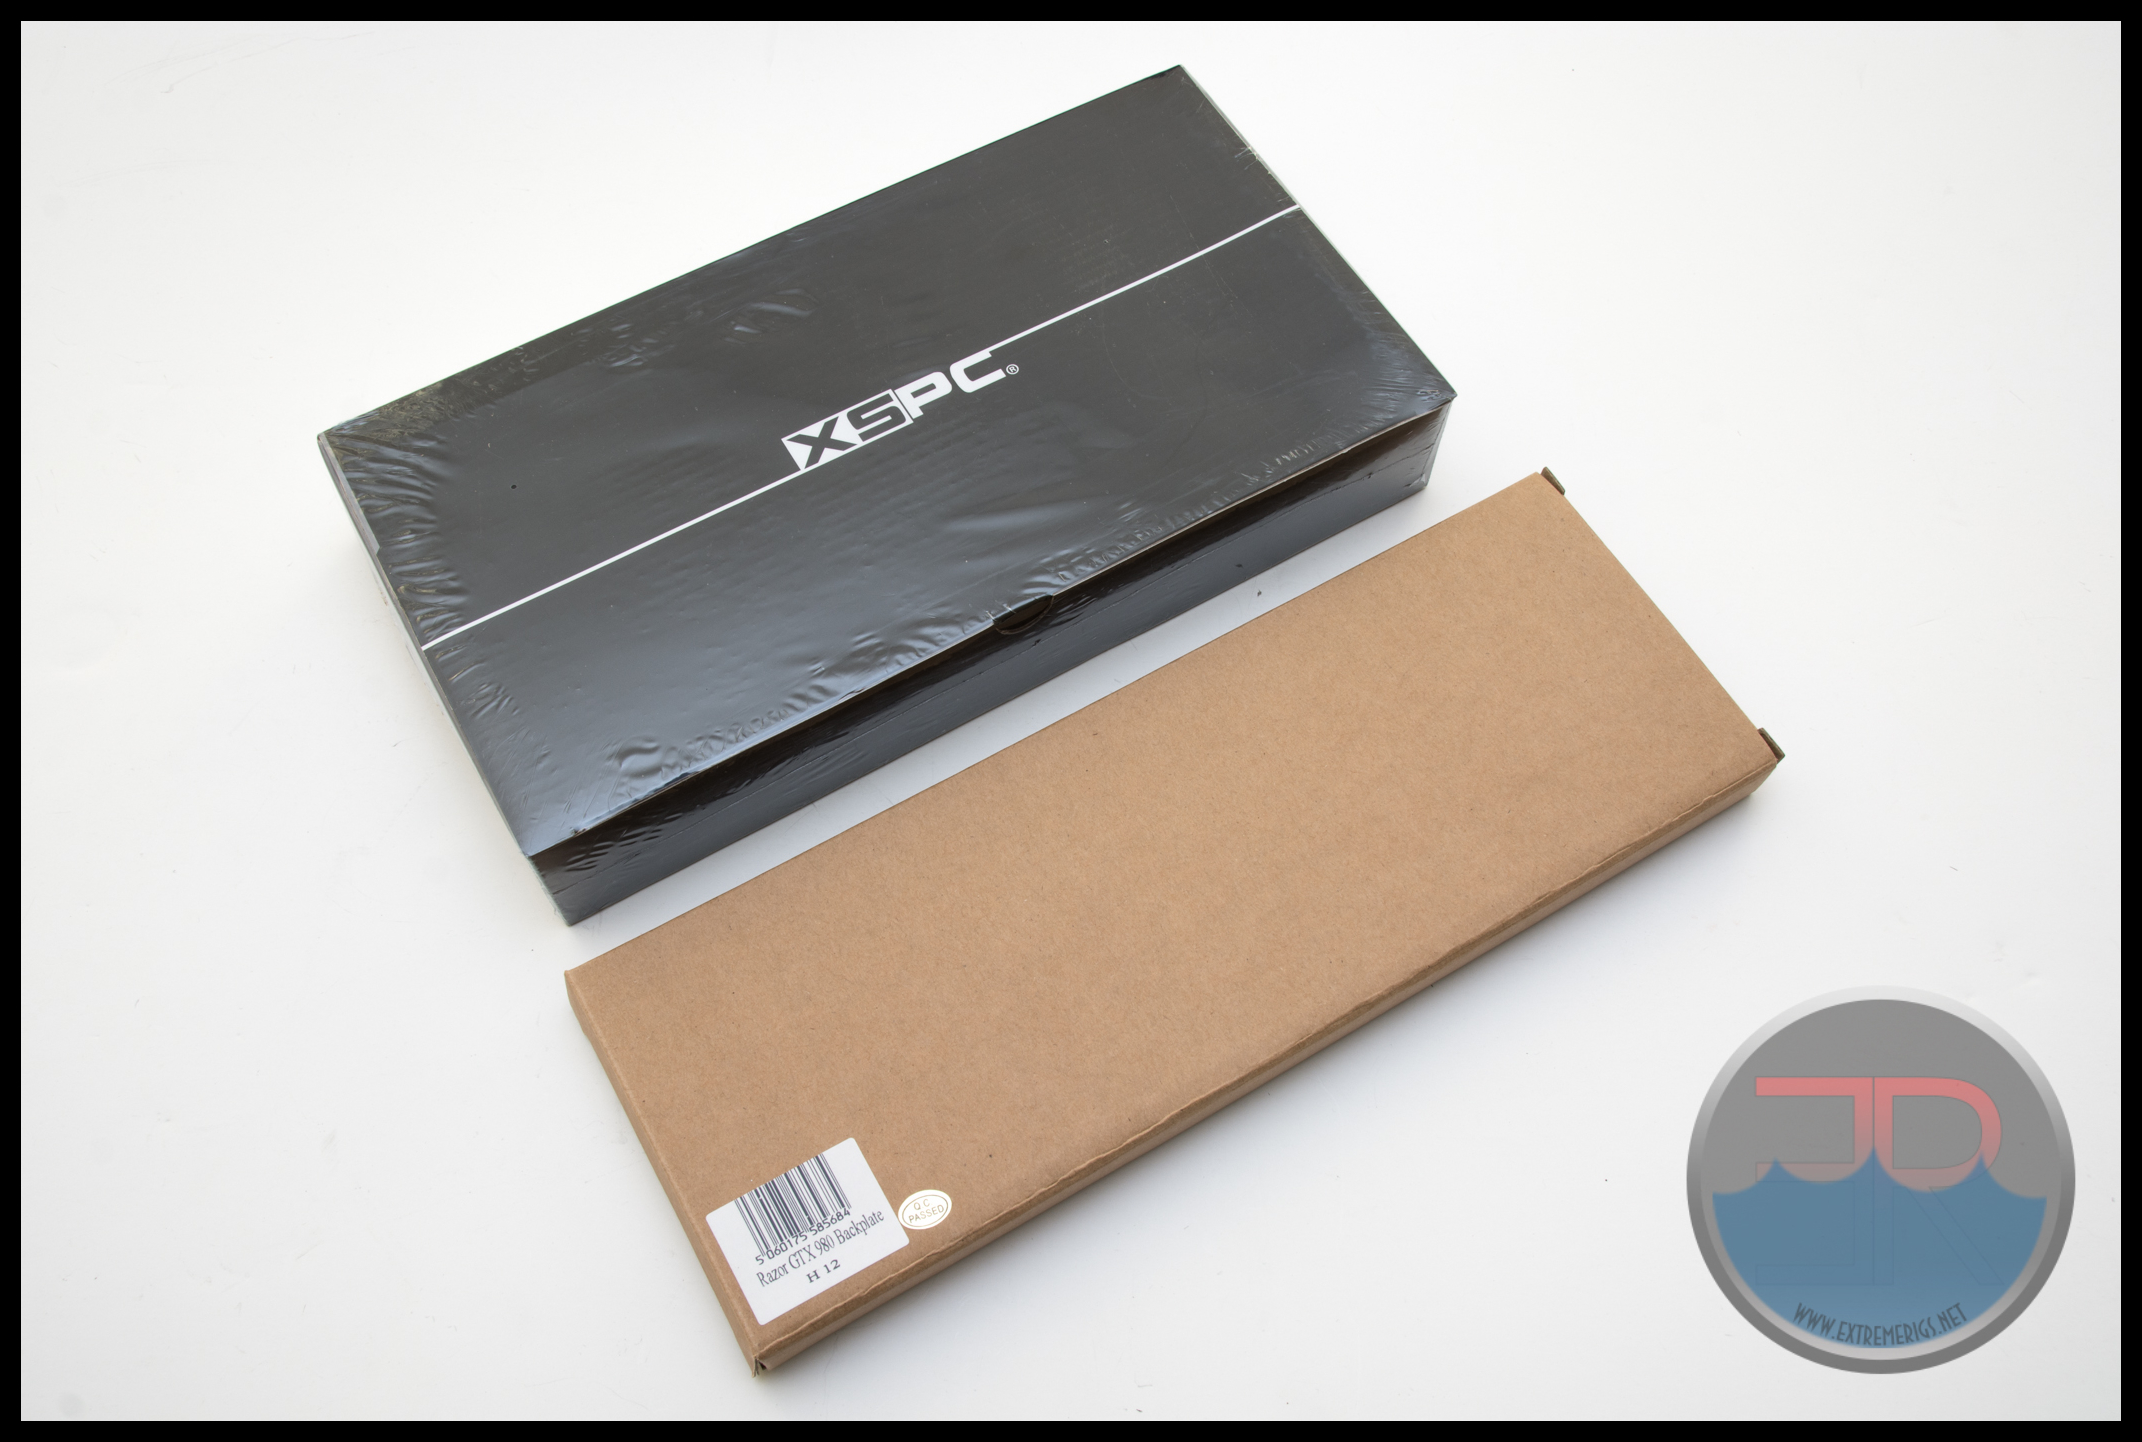
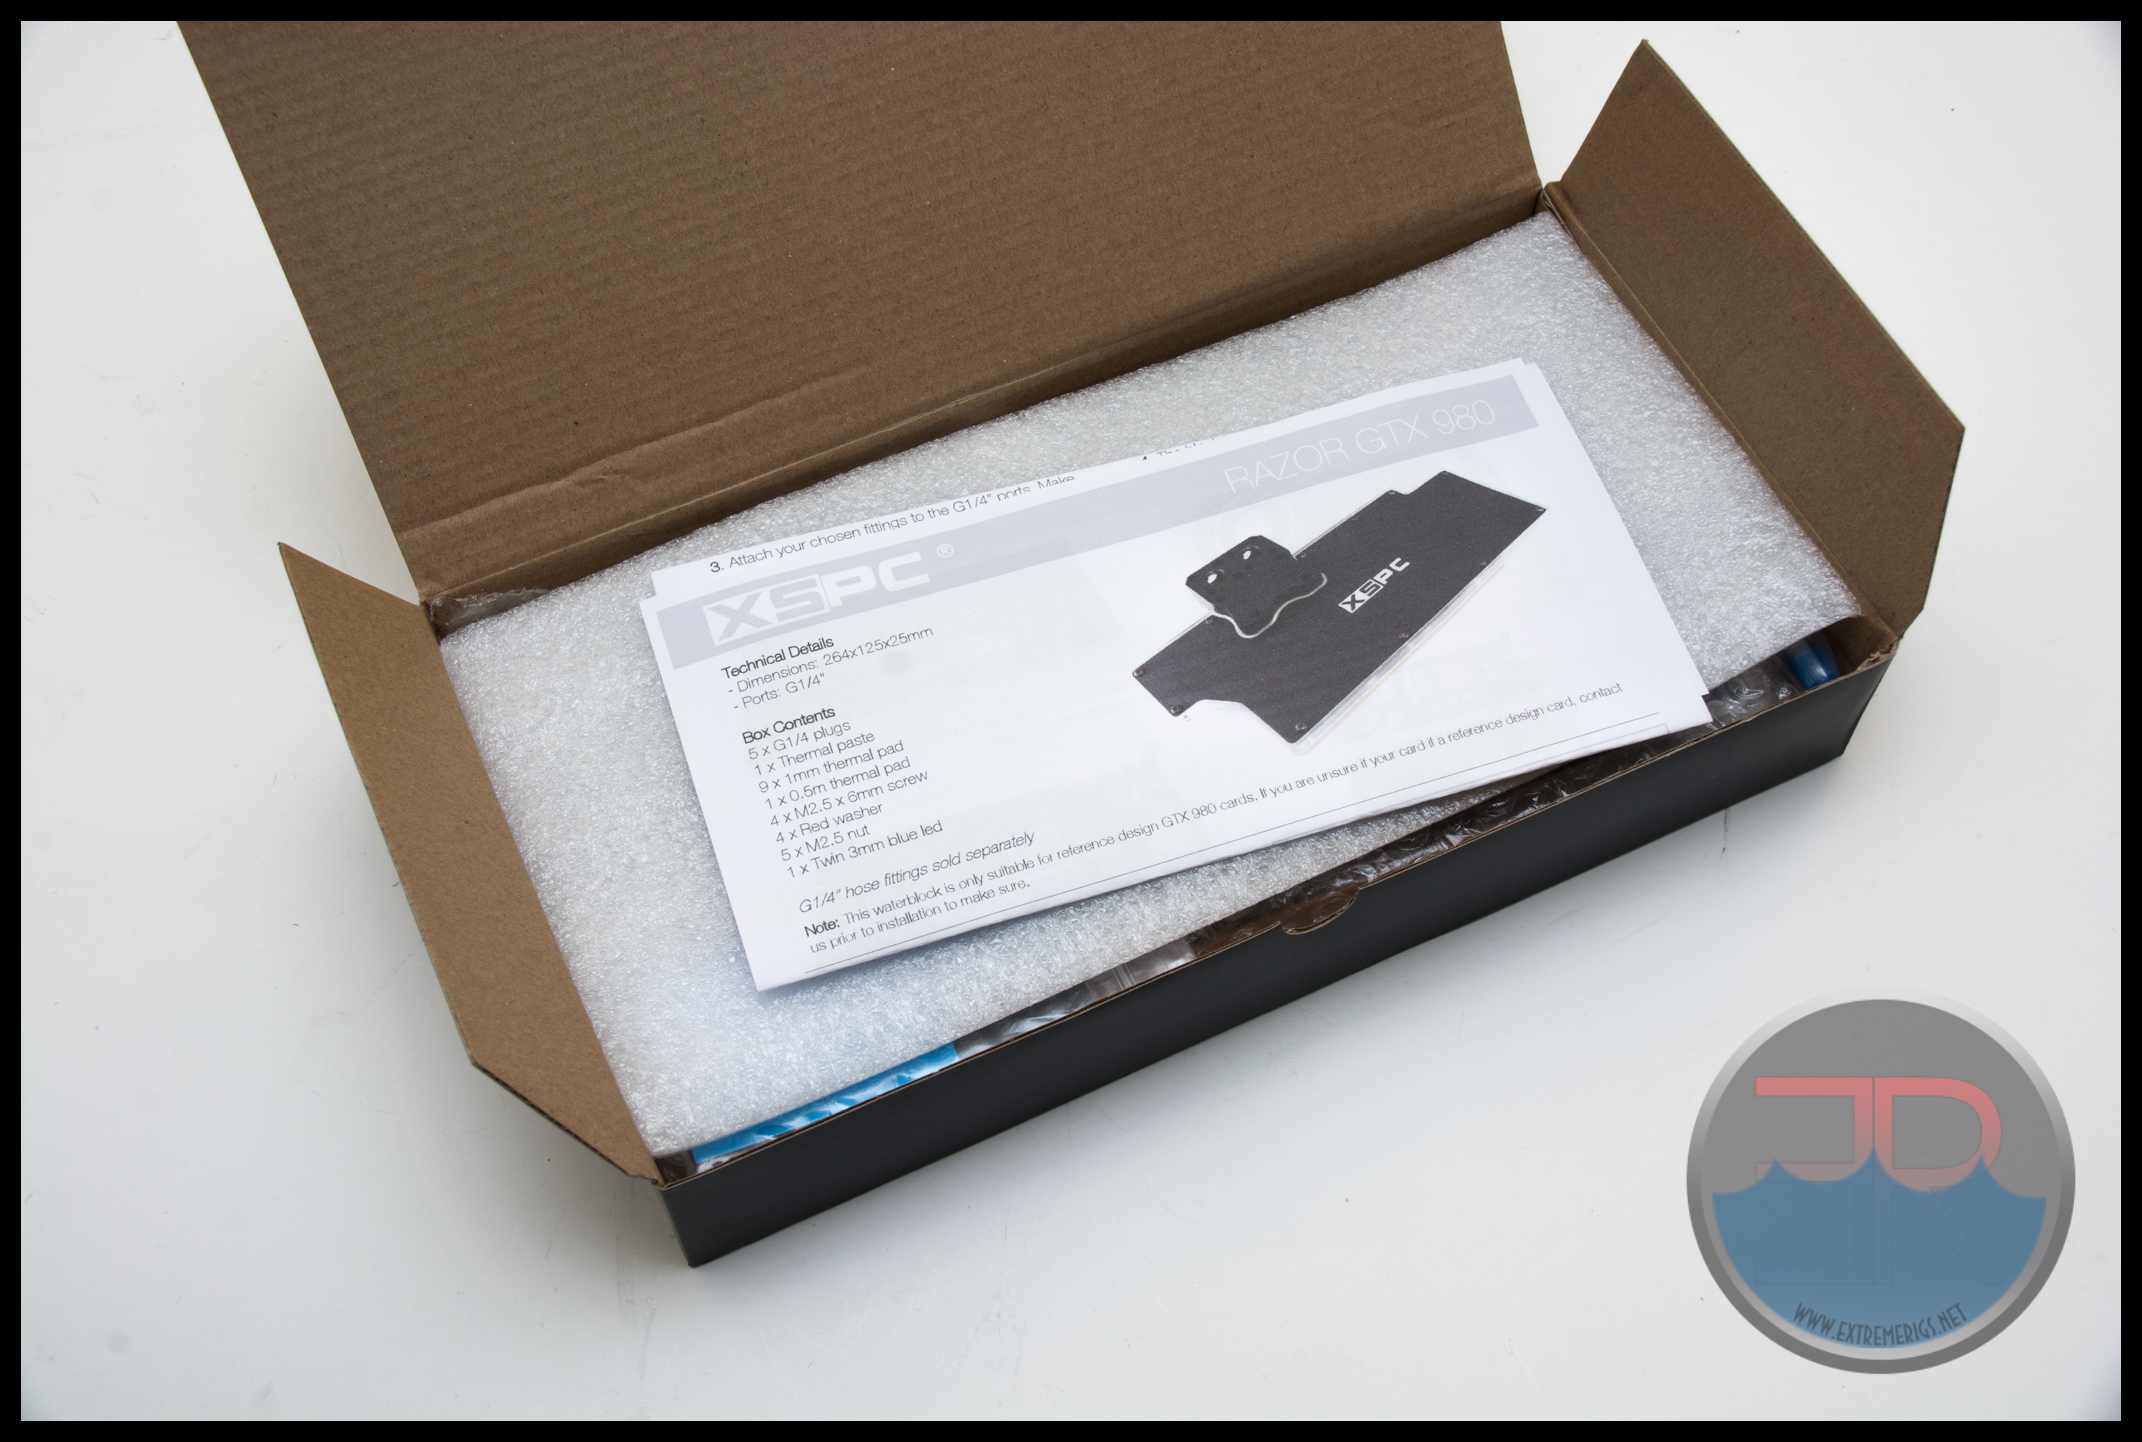
XSPC’s box for the water block is simply and classy. Underneath there is a sticker with SKU and bar code info. It’s nice that it’s plastic wrapped to protect against dust and water damage. The backplate on the other hand comes in a plain brown box with no plastic wrap. On opening the box instructions are immediately presented:
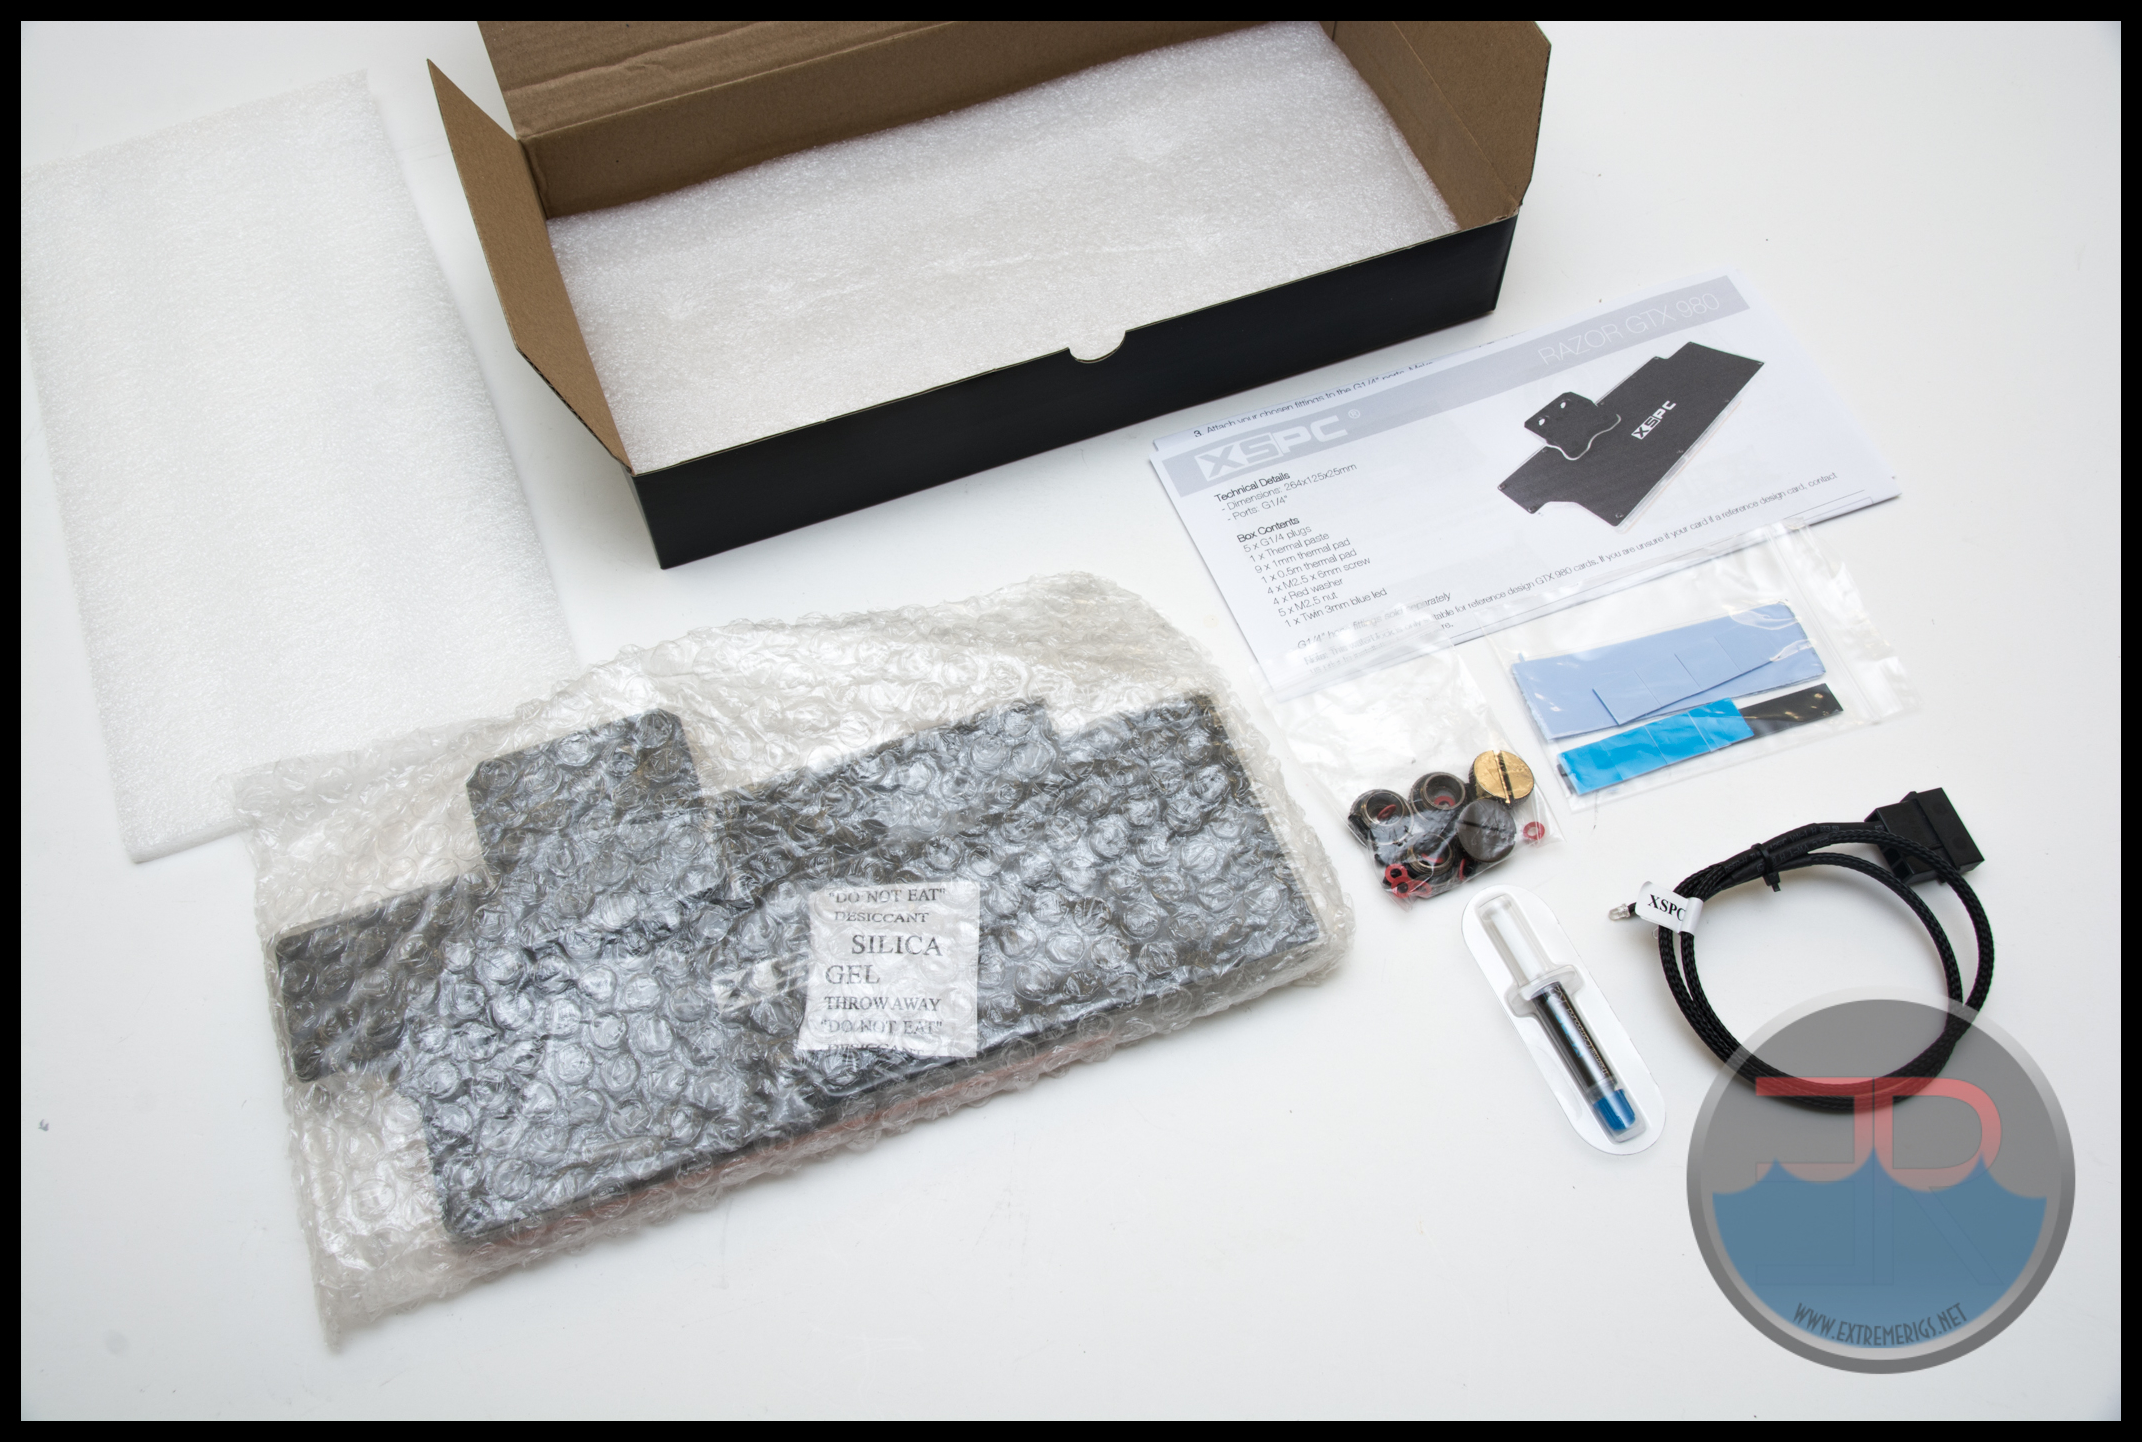
The rest of the accessories are underneath a protective piece of film. The accessories include:
– Instructions
– Stop Fittings
– Screws/Washers/Nuts
– TIM
– LEDs
– Thermal Pads
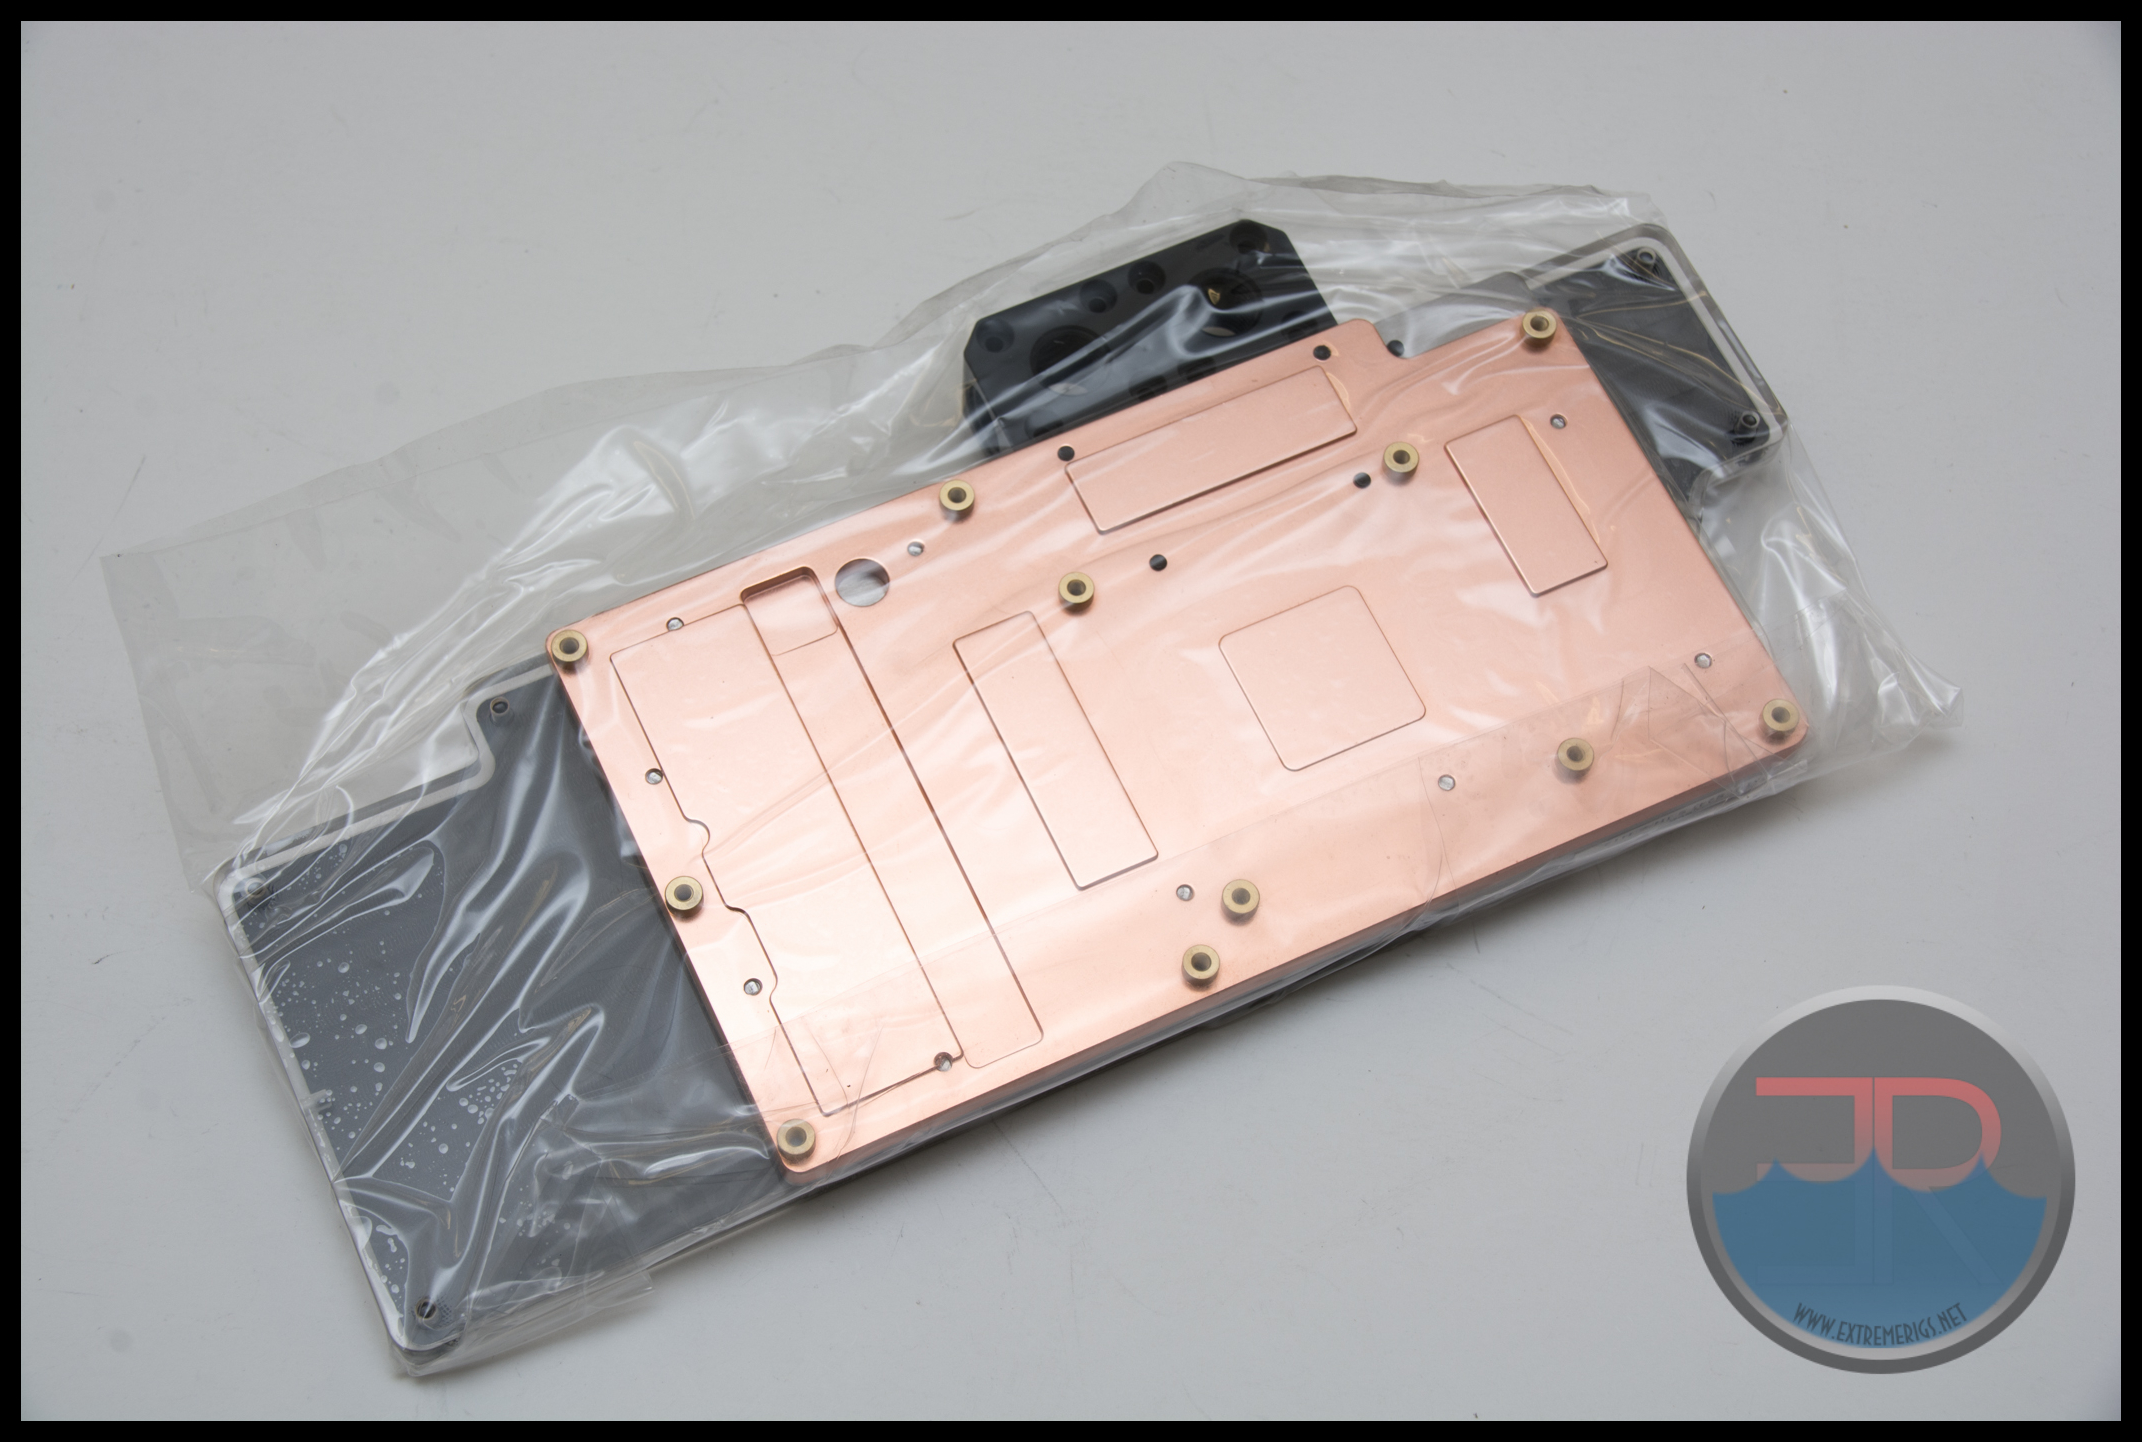
The block itself is protected from the accessories with an additional bubble wrap bag and is then wrapped in a further layer of plastic wrap:
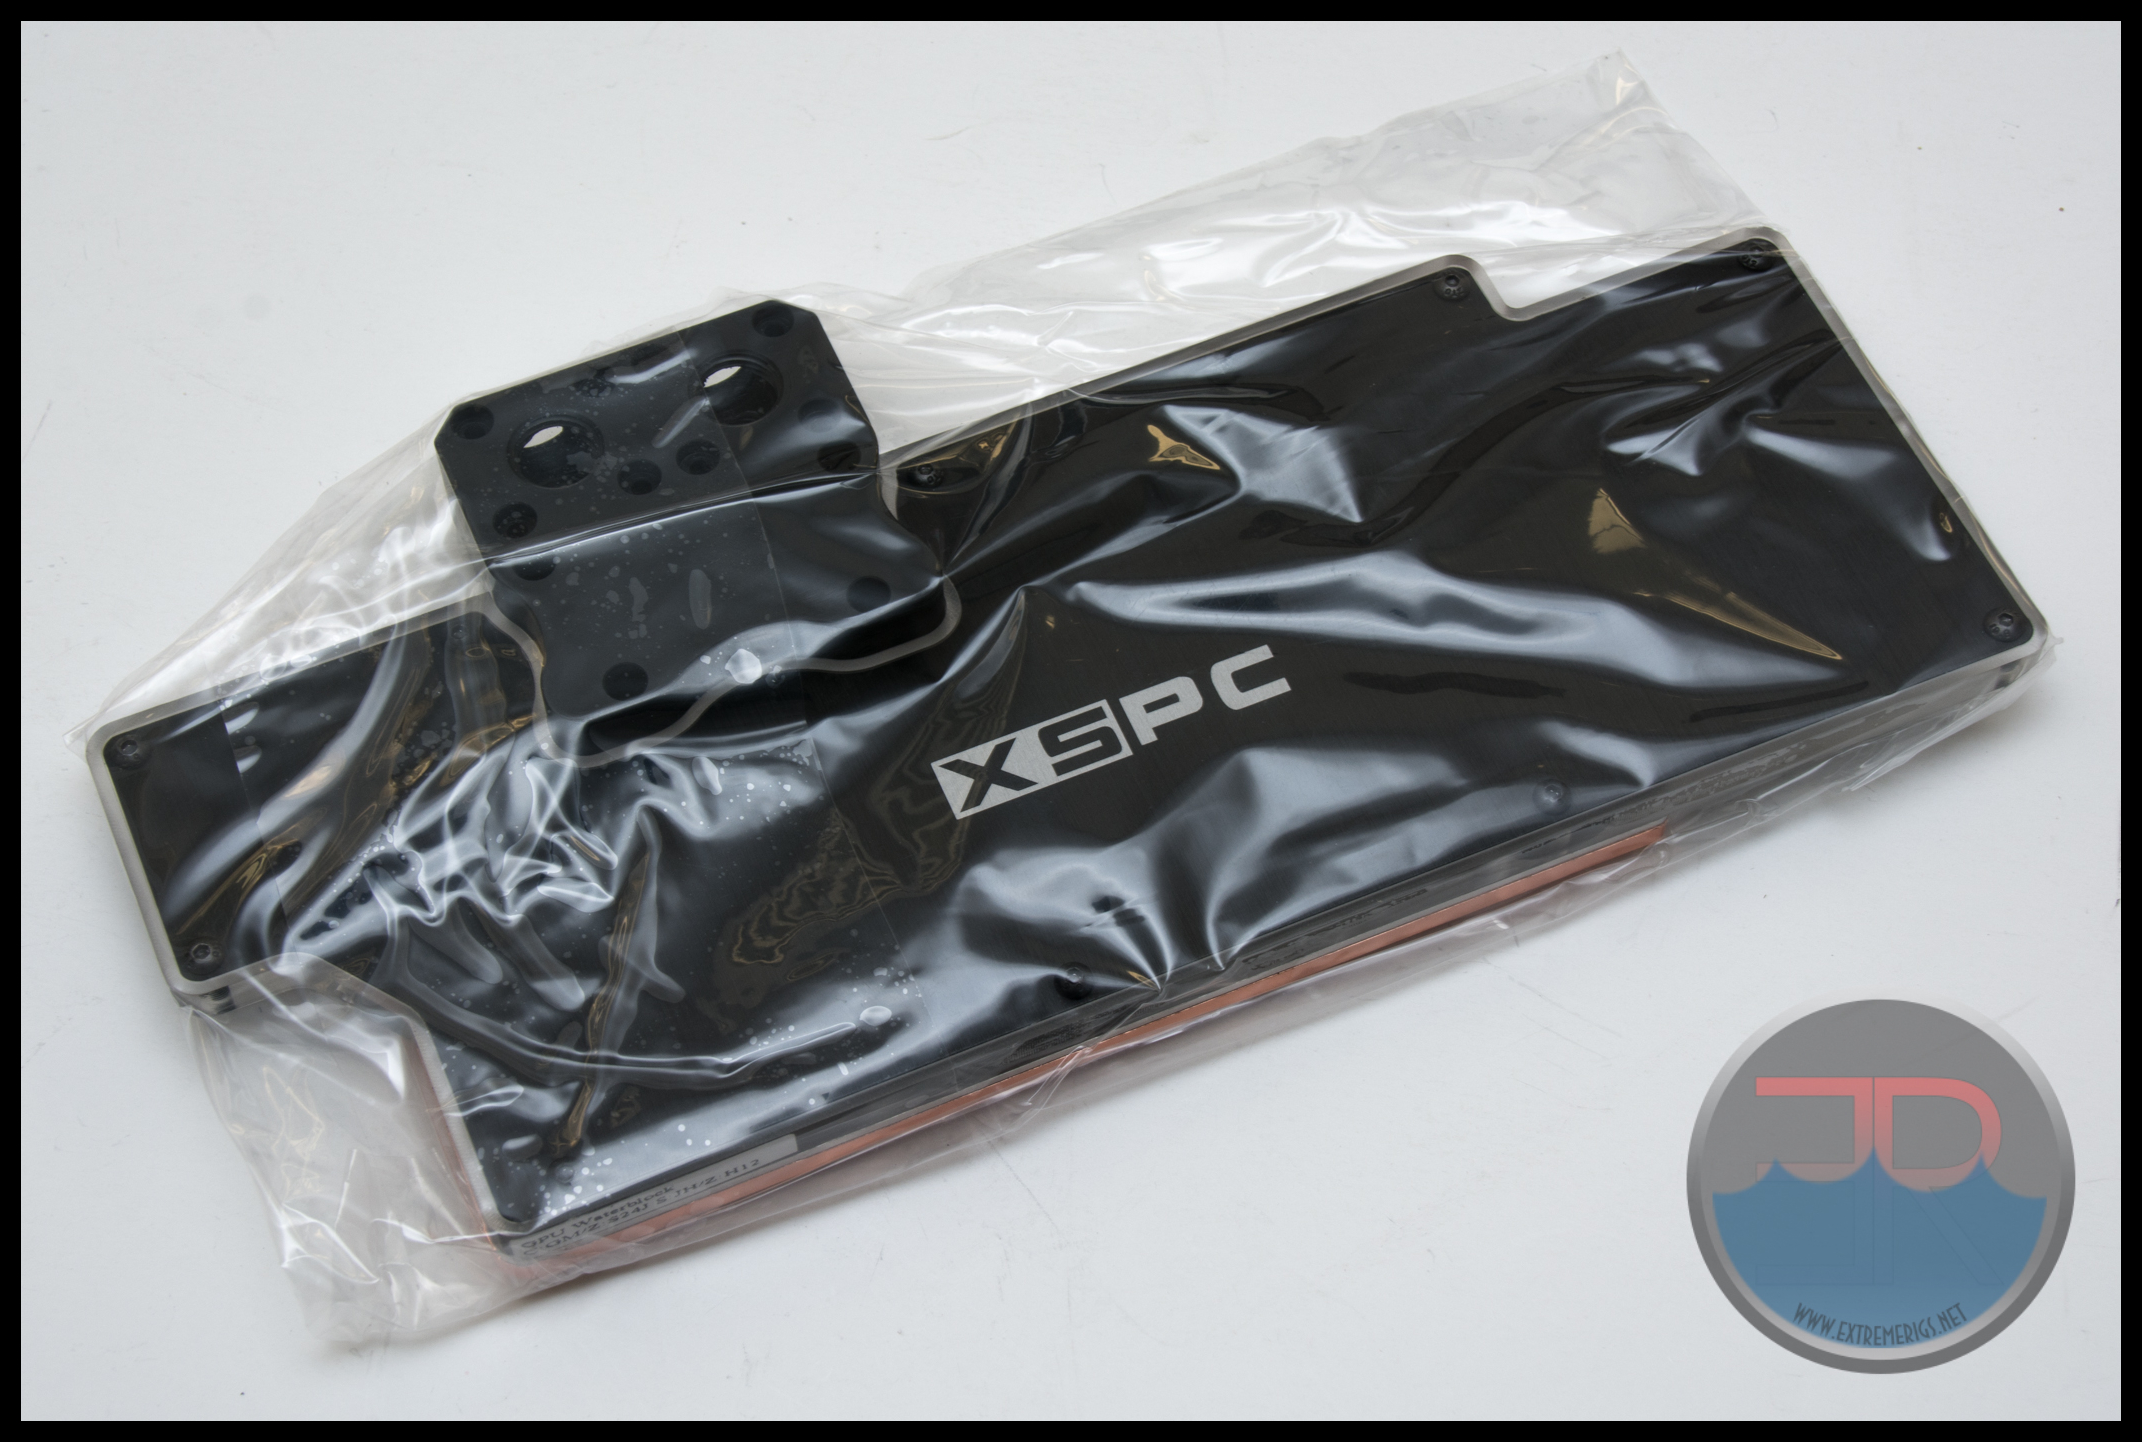 This level of protection is great, and perhaps overkill. The copper as a result has no tarnish and looks great:
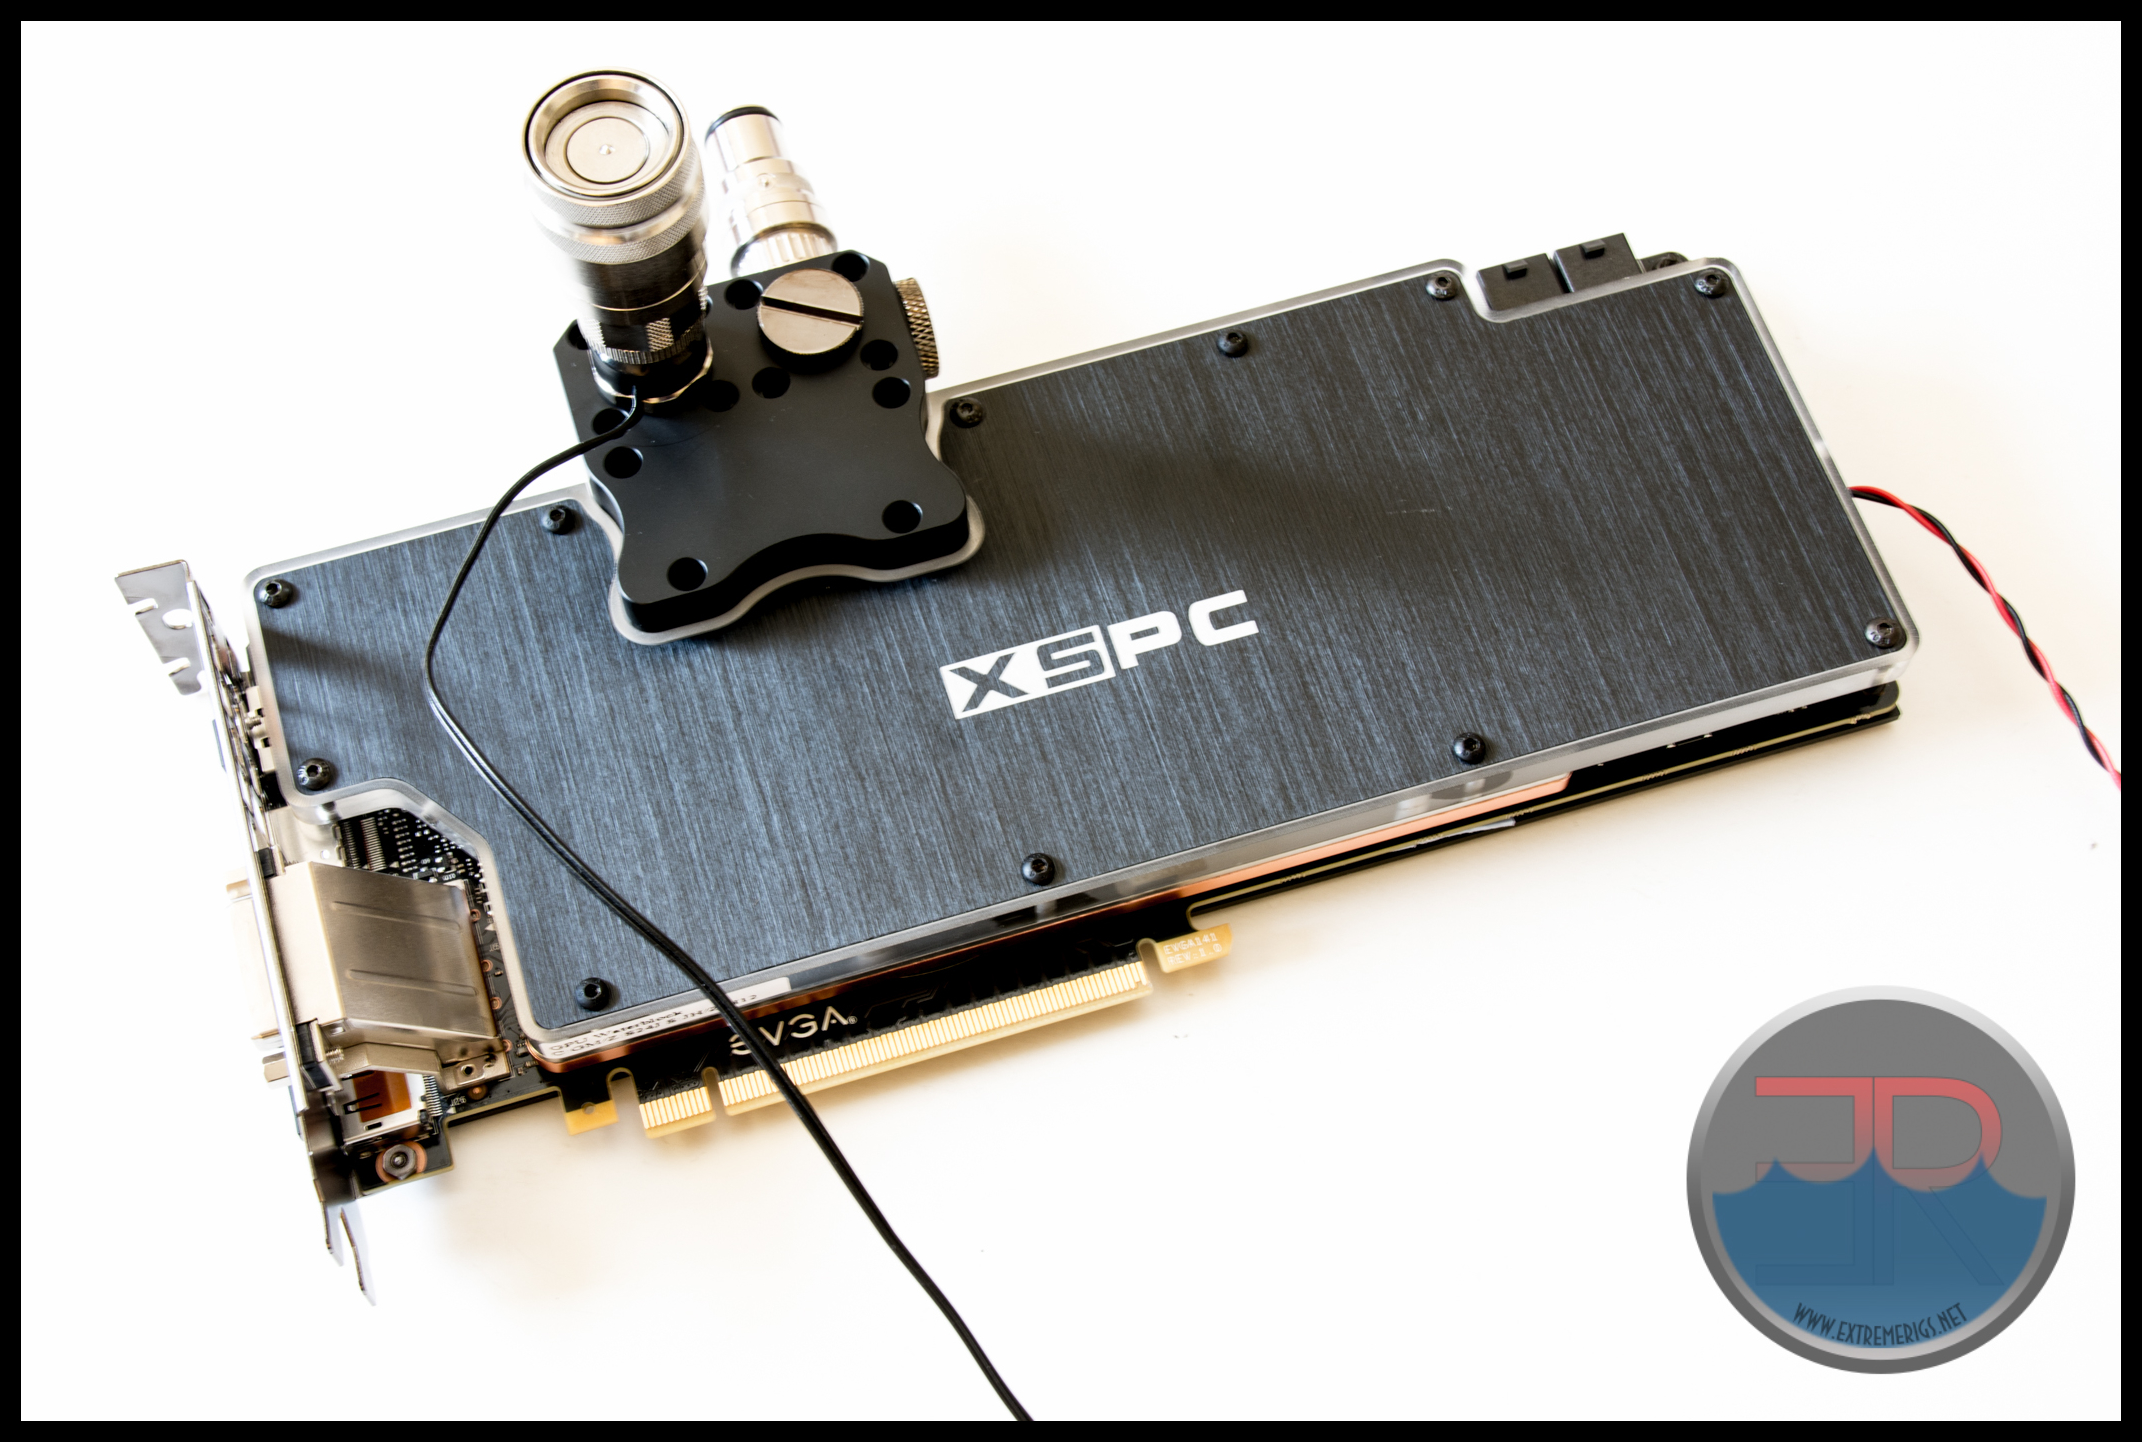
 The block is consistent in style with all of XSPC’s recent designs meaning you can acheive a nice consitent look across your build:
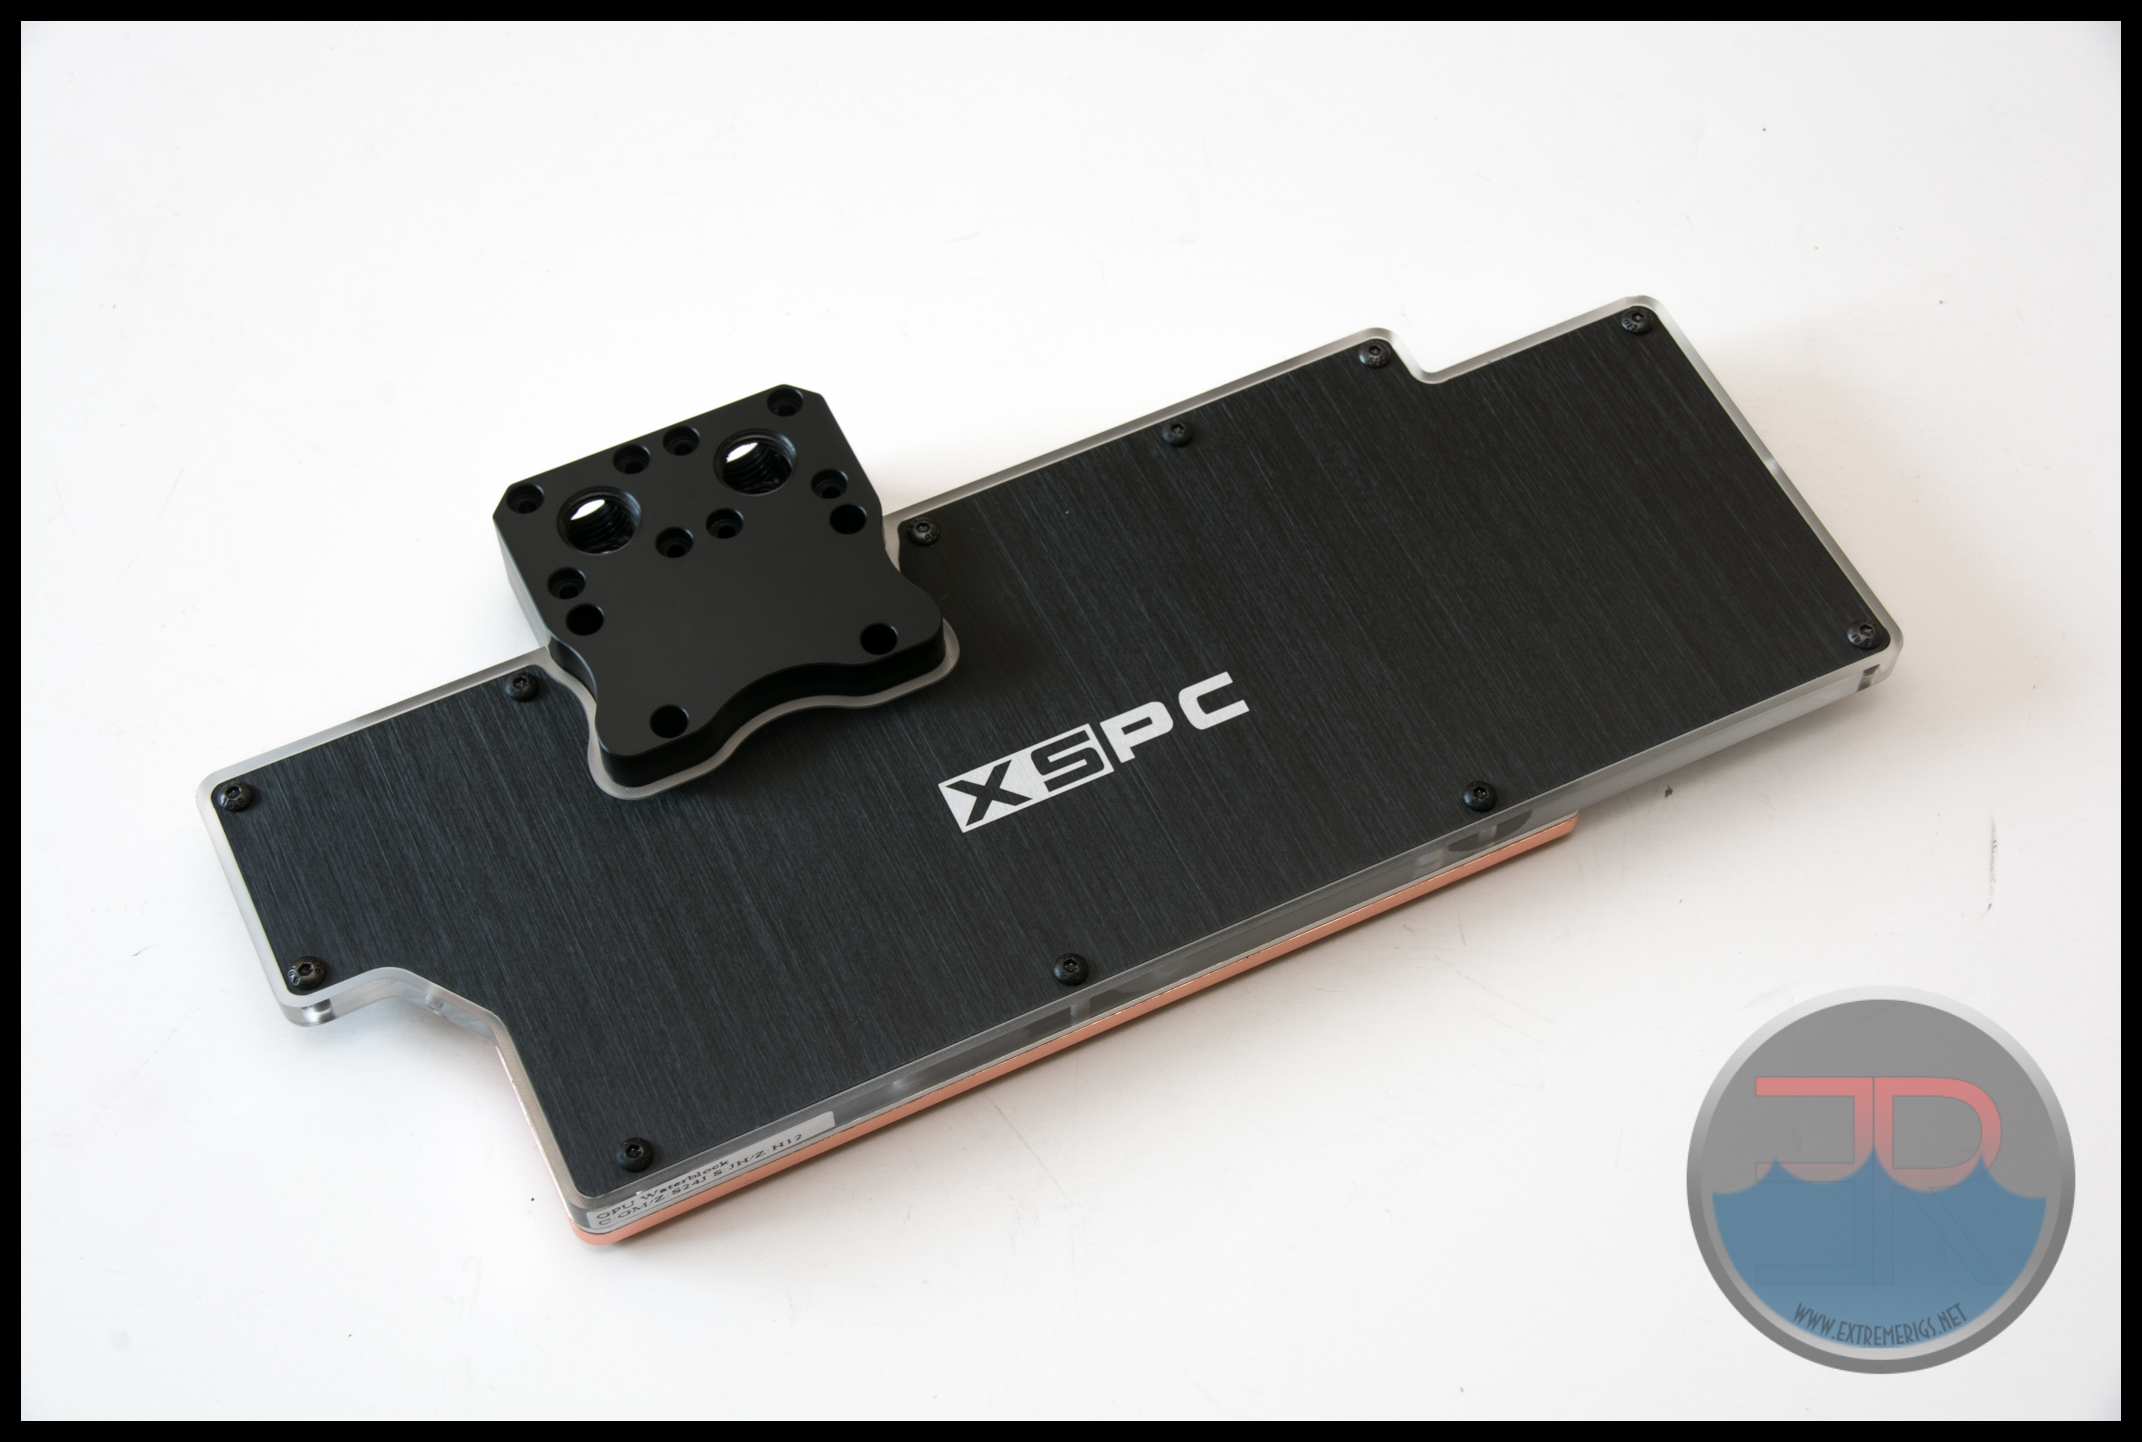
The top is a brushed aluminum plate on top of acrylic. This part is non functional and purely is there to give the aesthetic.
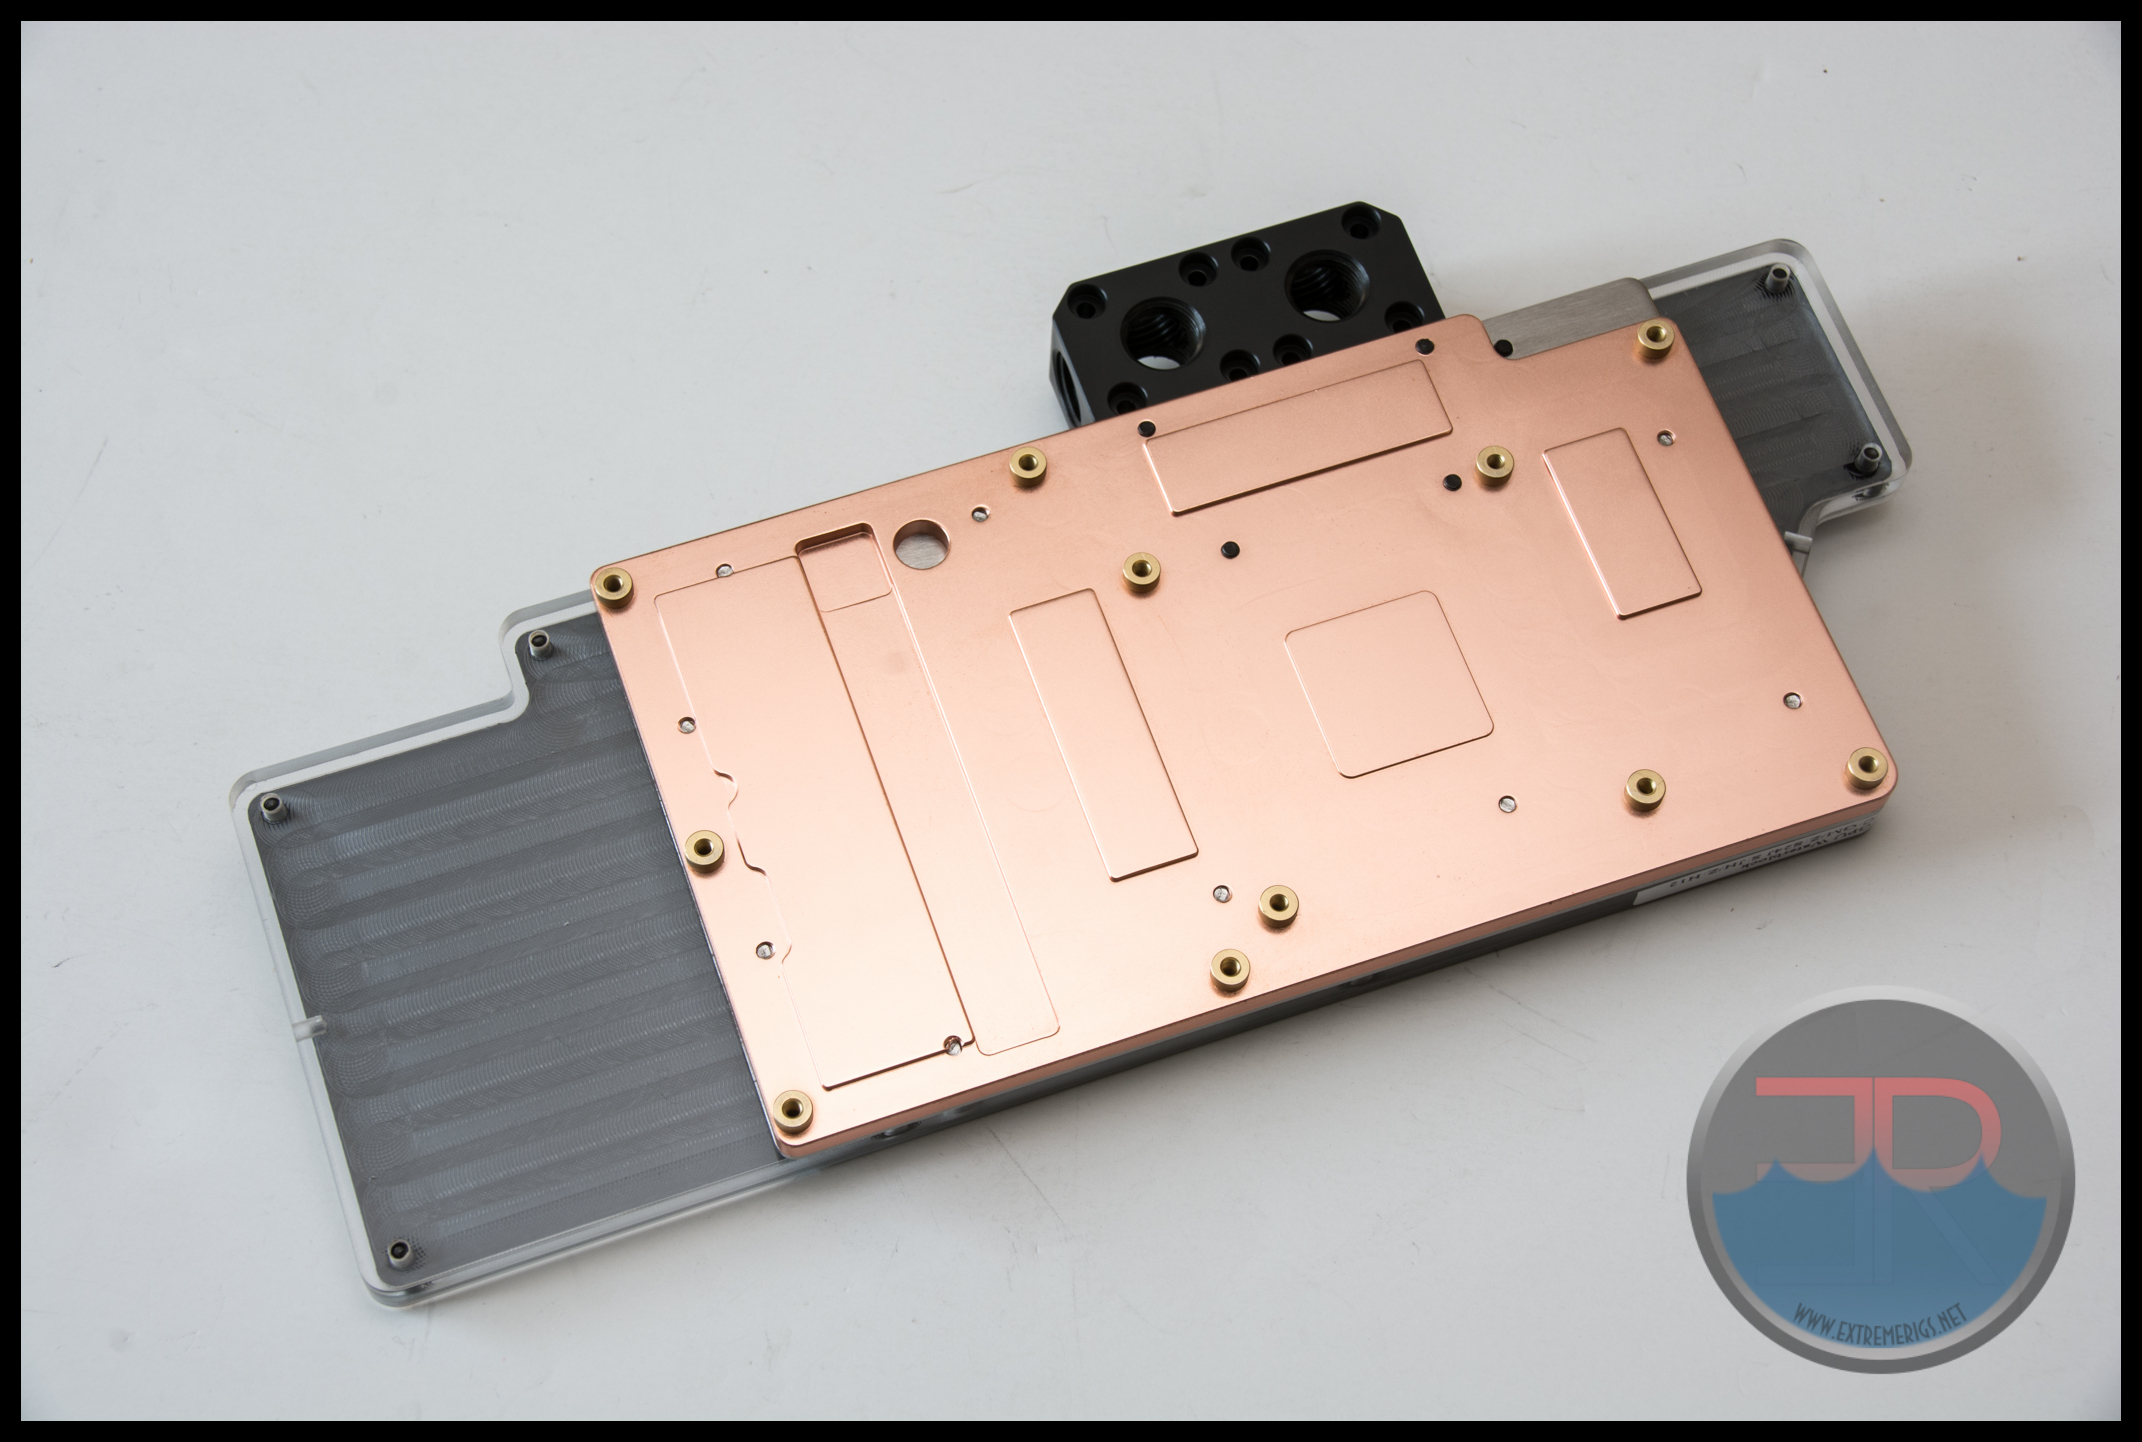 The block is full cover meaning that aesthetically it hides the often ugly PCB. The block itself cools the core, memory, VRMs and chokes. We were excited to see the latter because it’s something we’ve been suggesting should be done since EK did it on the Titan and achieved great VRM temperatures.
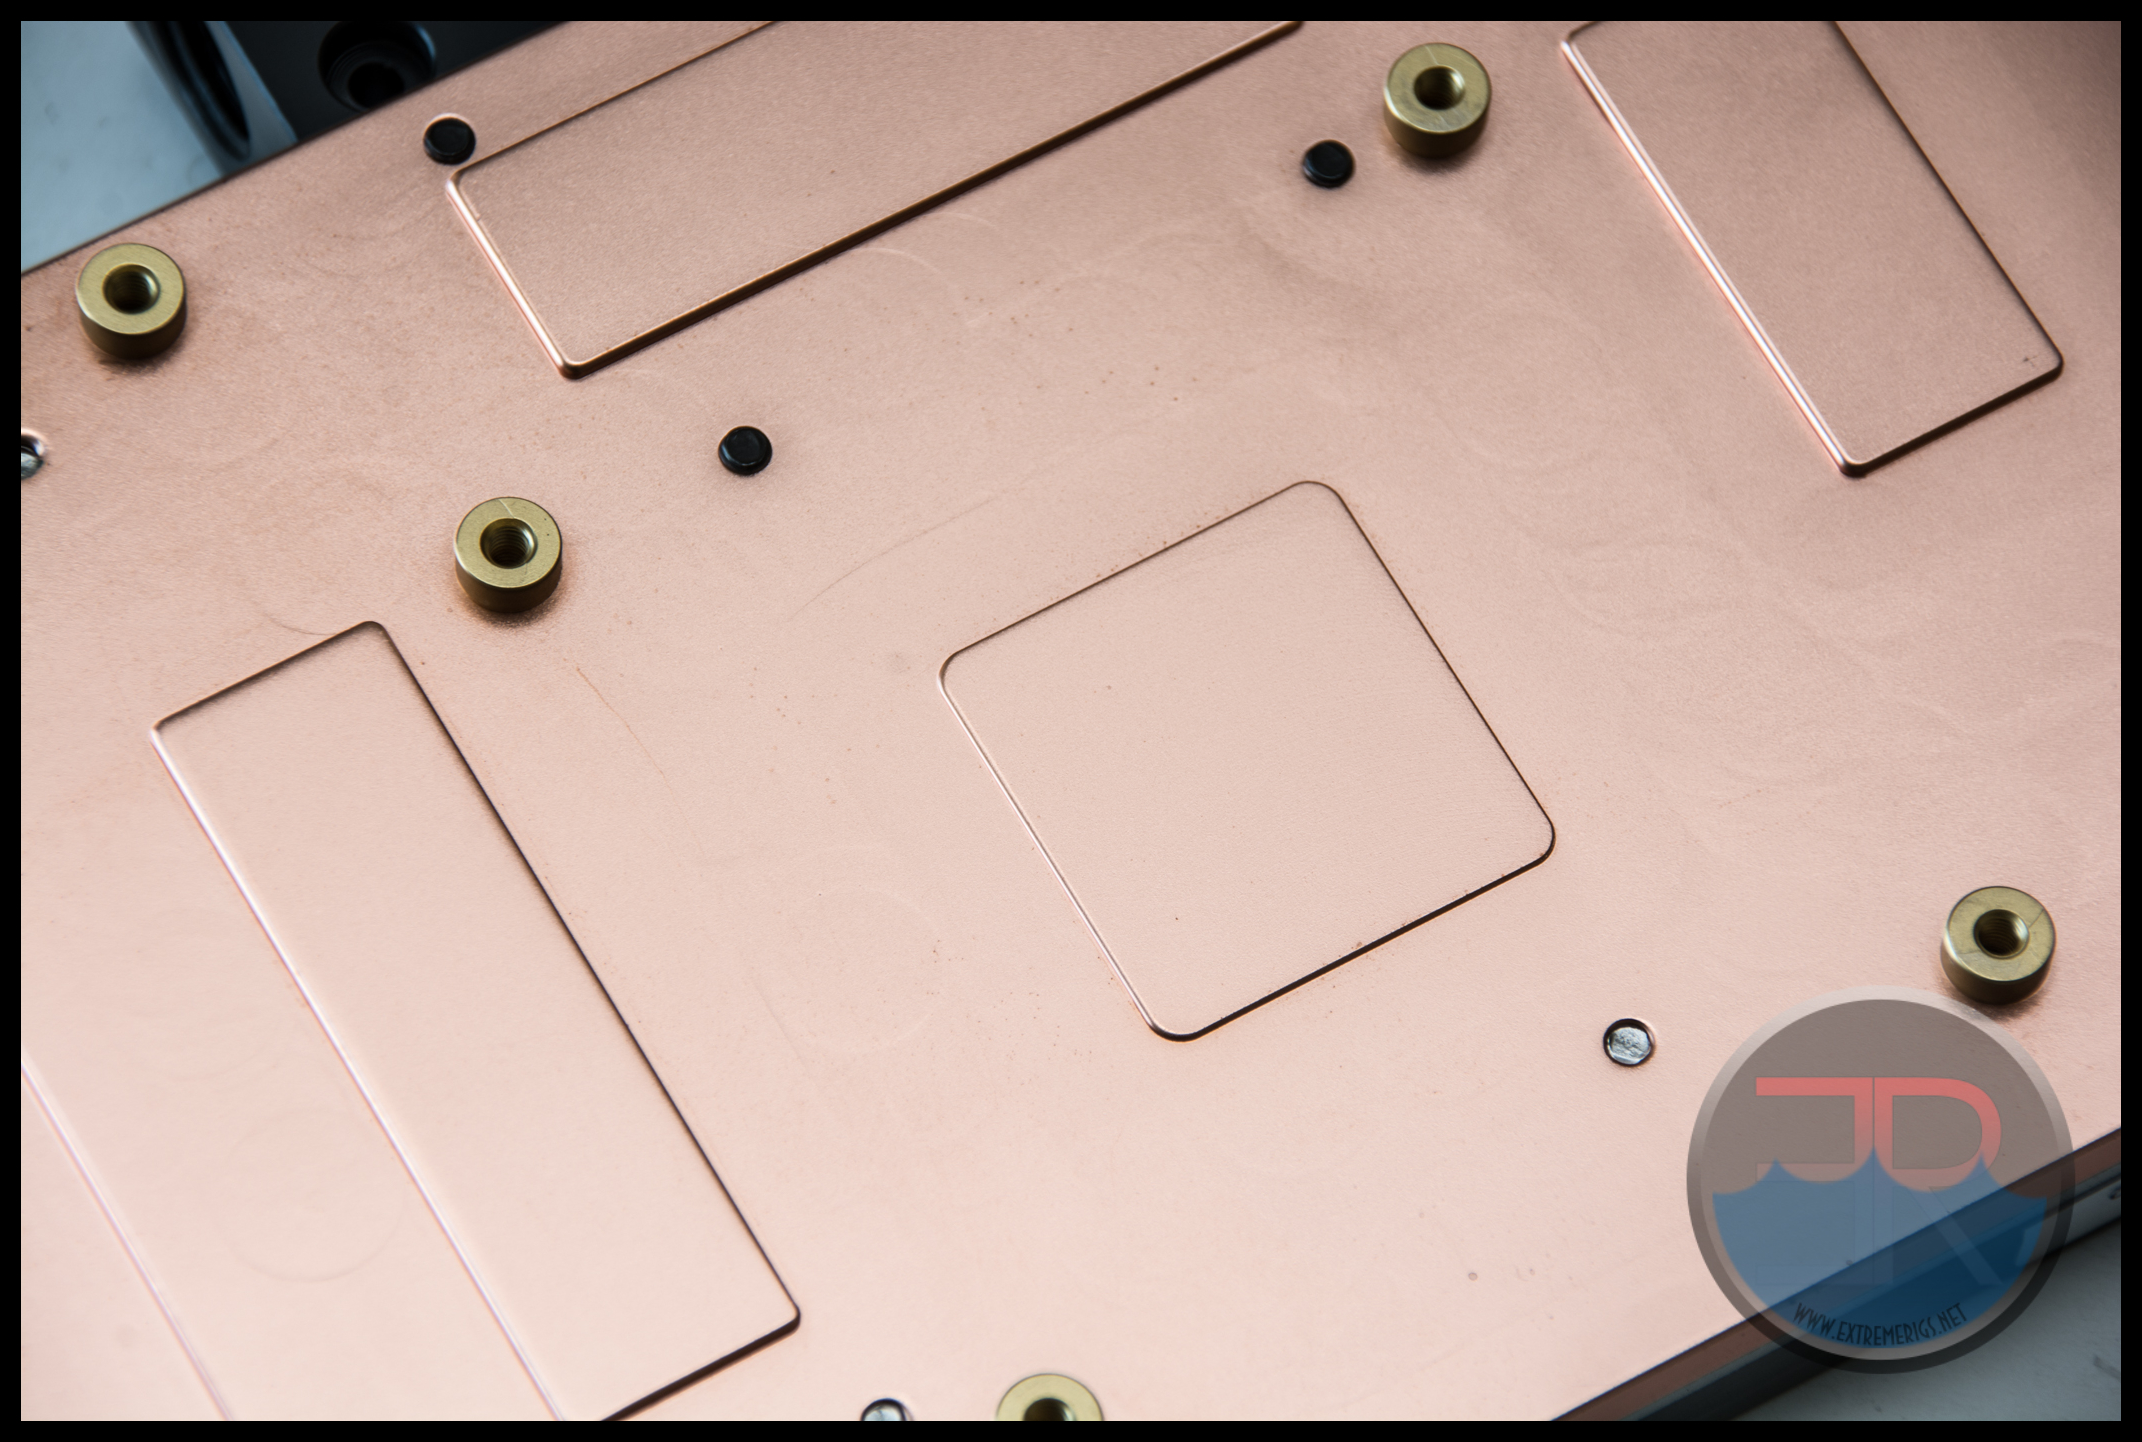
The machining of the copper is visible but slight, and has almost been etched away to give a smooth professional finish:
XSPC are unusual in their bridge design:
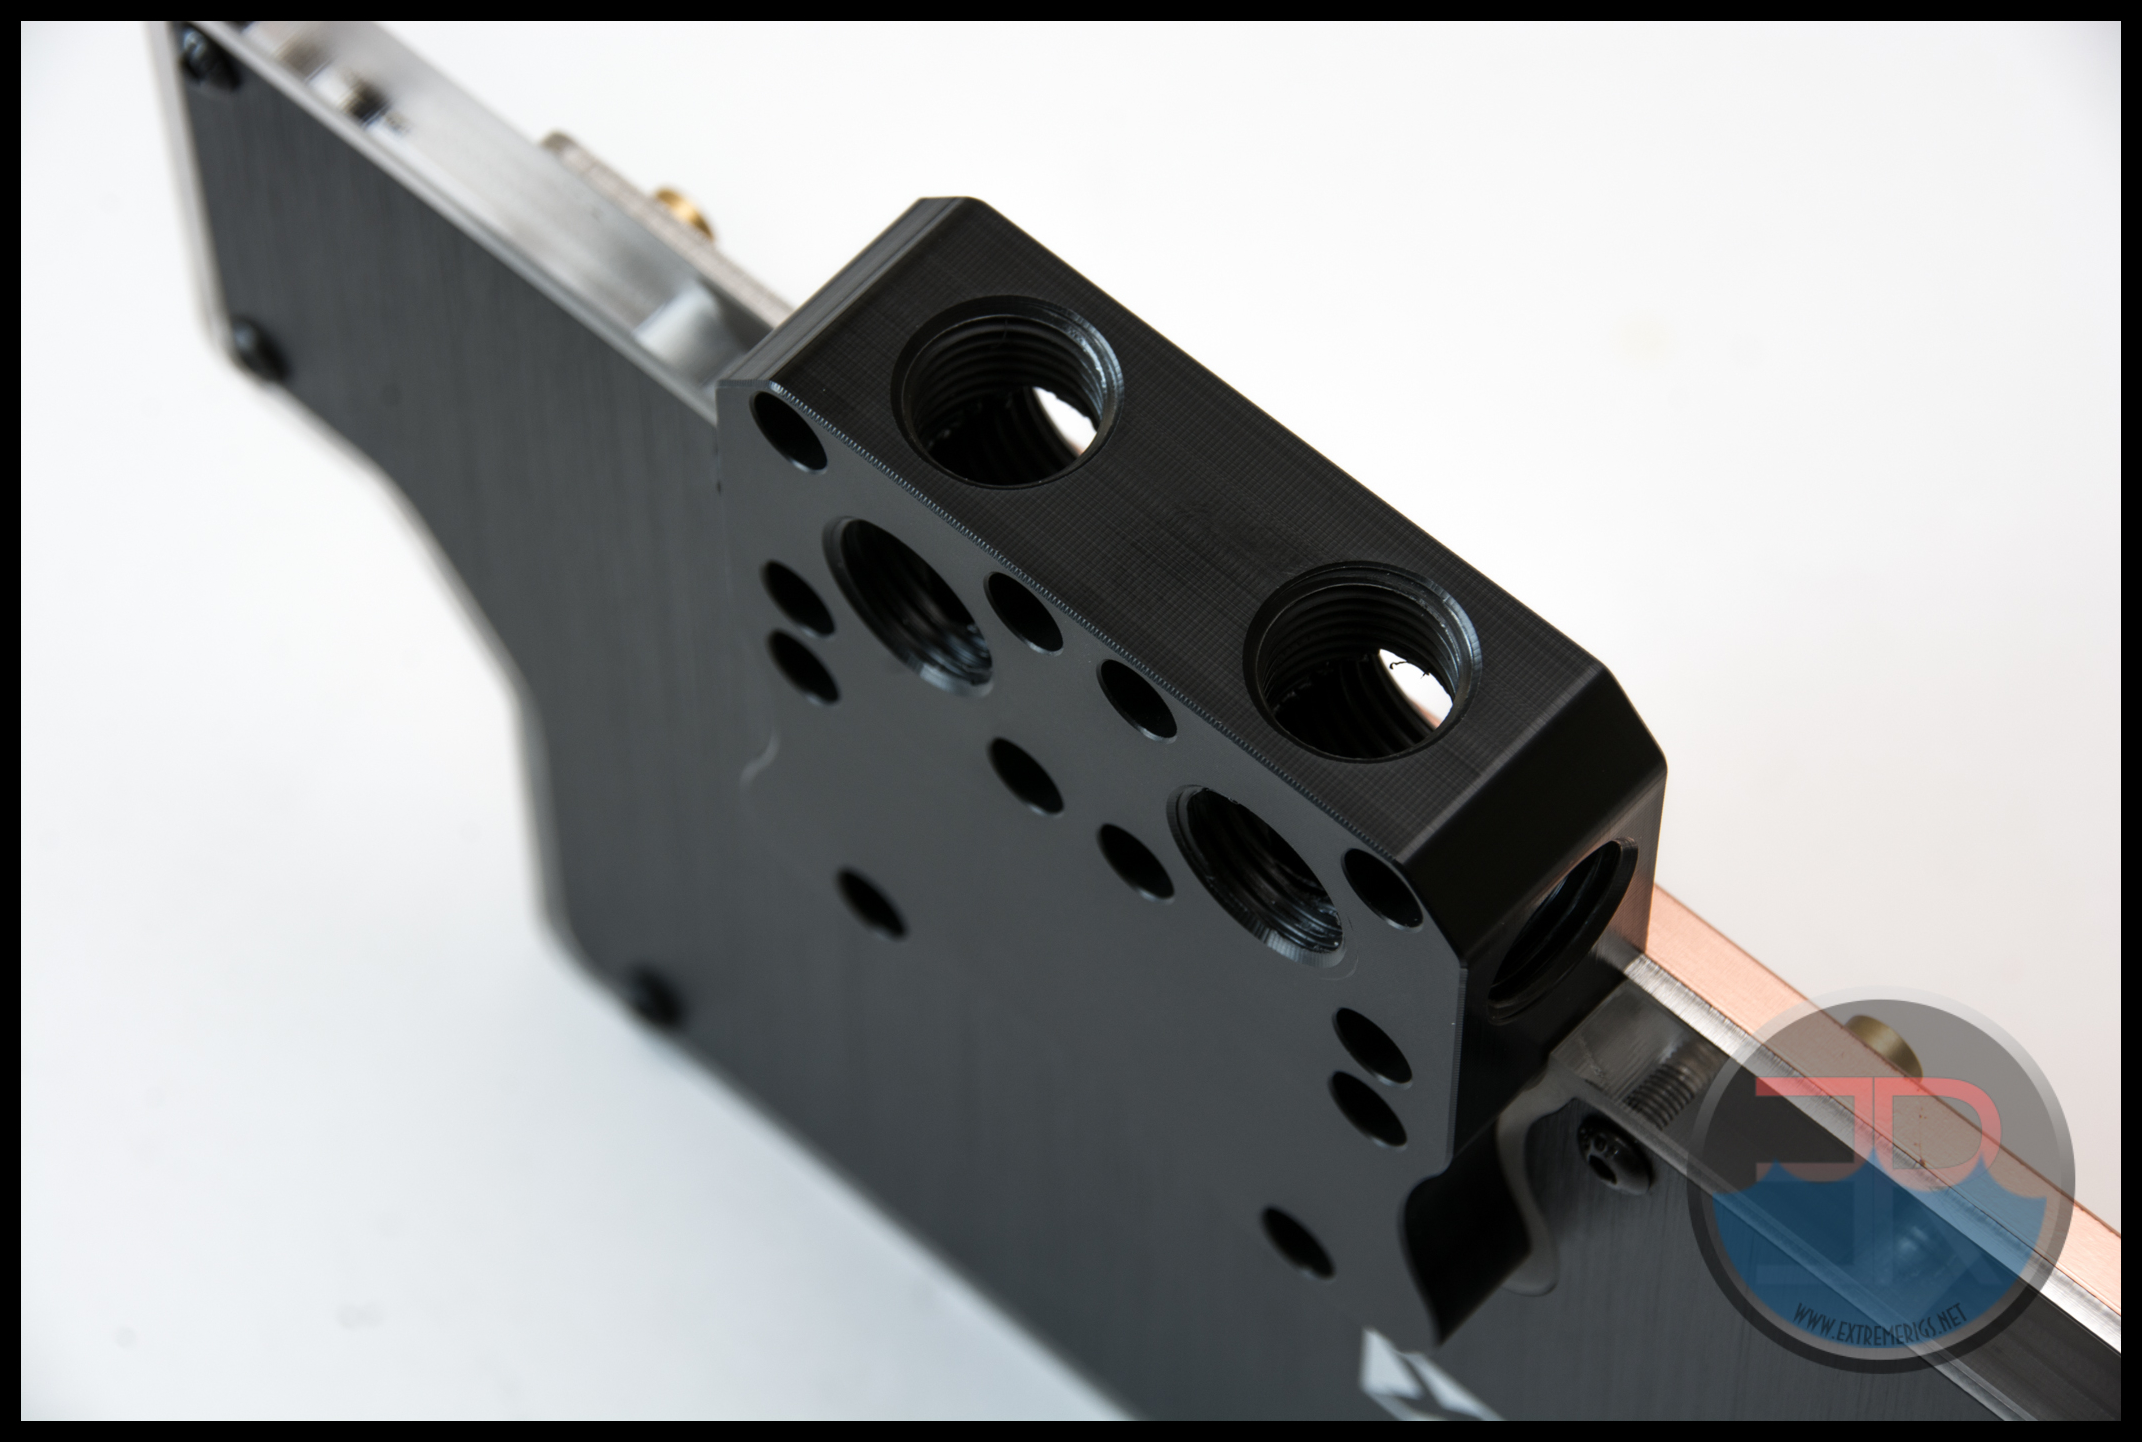 Most manufacturer’s use 2 port options for each input and output yielding a total of 4 ports. XSPC increase this to 3 and 4 giving a total of 7! While this gives a great a mount of flexibility in hook up I’d debate how often they are necessary. The end result ends up looking quite busy and ugly in my opinion. A good idea might be the use of black stop fittings that will blend in more than the supplied ones:
Now let’s take a look at the backplate…


Wait, aren’t you supposed to put washers *under* the back plate?
Well that’s the interesting thing – the backplate doesn’t come with instructions so it wasn’t clear. I’m used to a methodology that a washer gets inserted between the part that can turn and the part that is fixed e.g. between the screw and the backplate, or the nut and the pcb etc. So that’s what I default to if the instructions don’t tell me otherwise. In addition putting the washer between the PCB and the backplate means that you have to hold the block and pcb together, align the 10+ washers, then drop the backplate on top without shifting any of the washers. Either it looks ugly with washers out, or it’s hard to mount with washers internal. Looking at the XSPC’s website – it shows the washers in between the backplate and the PCB. I don’t think this affects performance testing at all, but it does negate my aesthetics comments. However I do think the hassle of putting them under the backplate is a negative so the overall rating would be the same even if the points shift from one category to the next!
[…] XSPC XS-GTX-980 Review – XSPC’s GTX 980 Razor Water Block & Backplate […]
Comments are closed.