


Swiftech Komodo-NV-GTX9 Review – Swiftech’s Full Cover GTX 980 Water Block
In this review we’ll be taking a look at Swiftech’s after market watercooling block for the NVidia’s GTX 980 reference card – the Komodo-NV-GTX9. This is part of our GTX 980 water block round up. As always a big thanks to PPCs for supporting ExtremeRigs with a test sample.

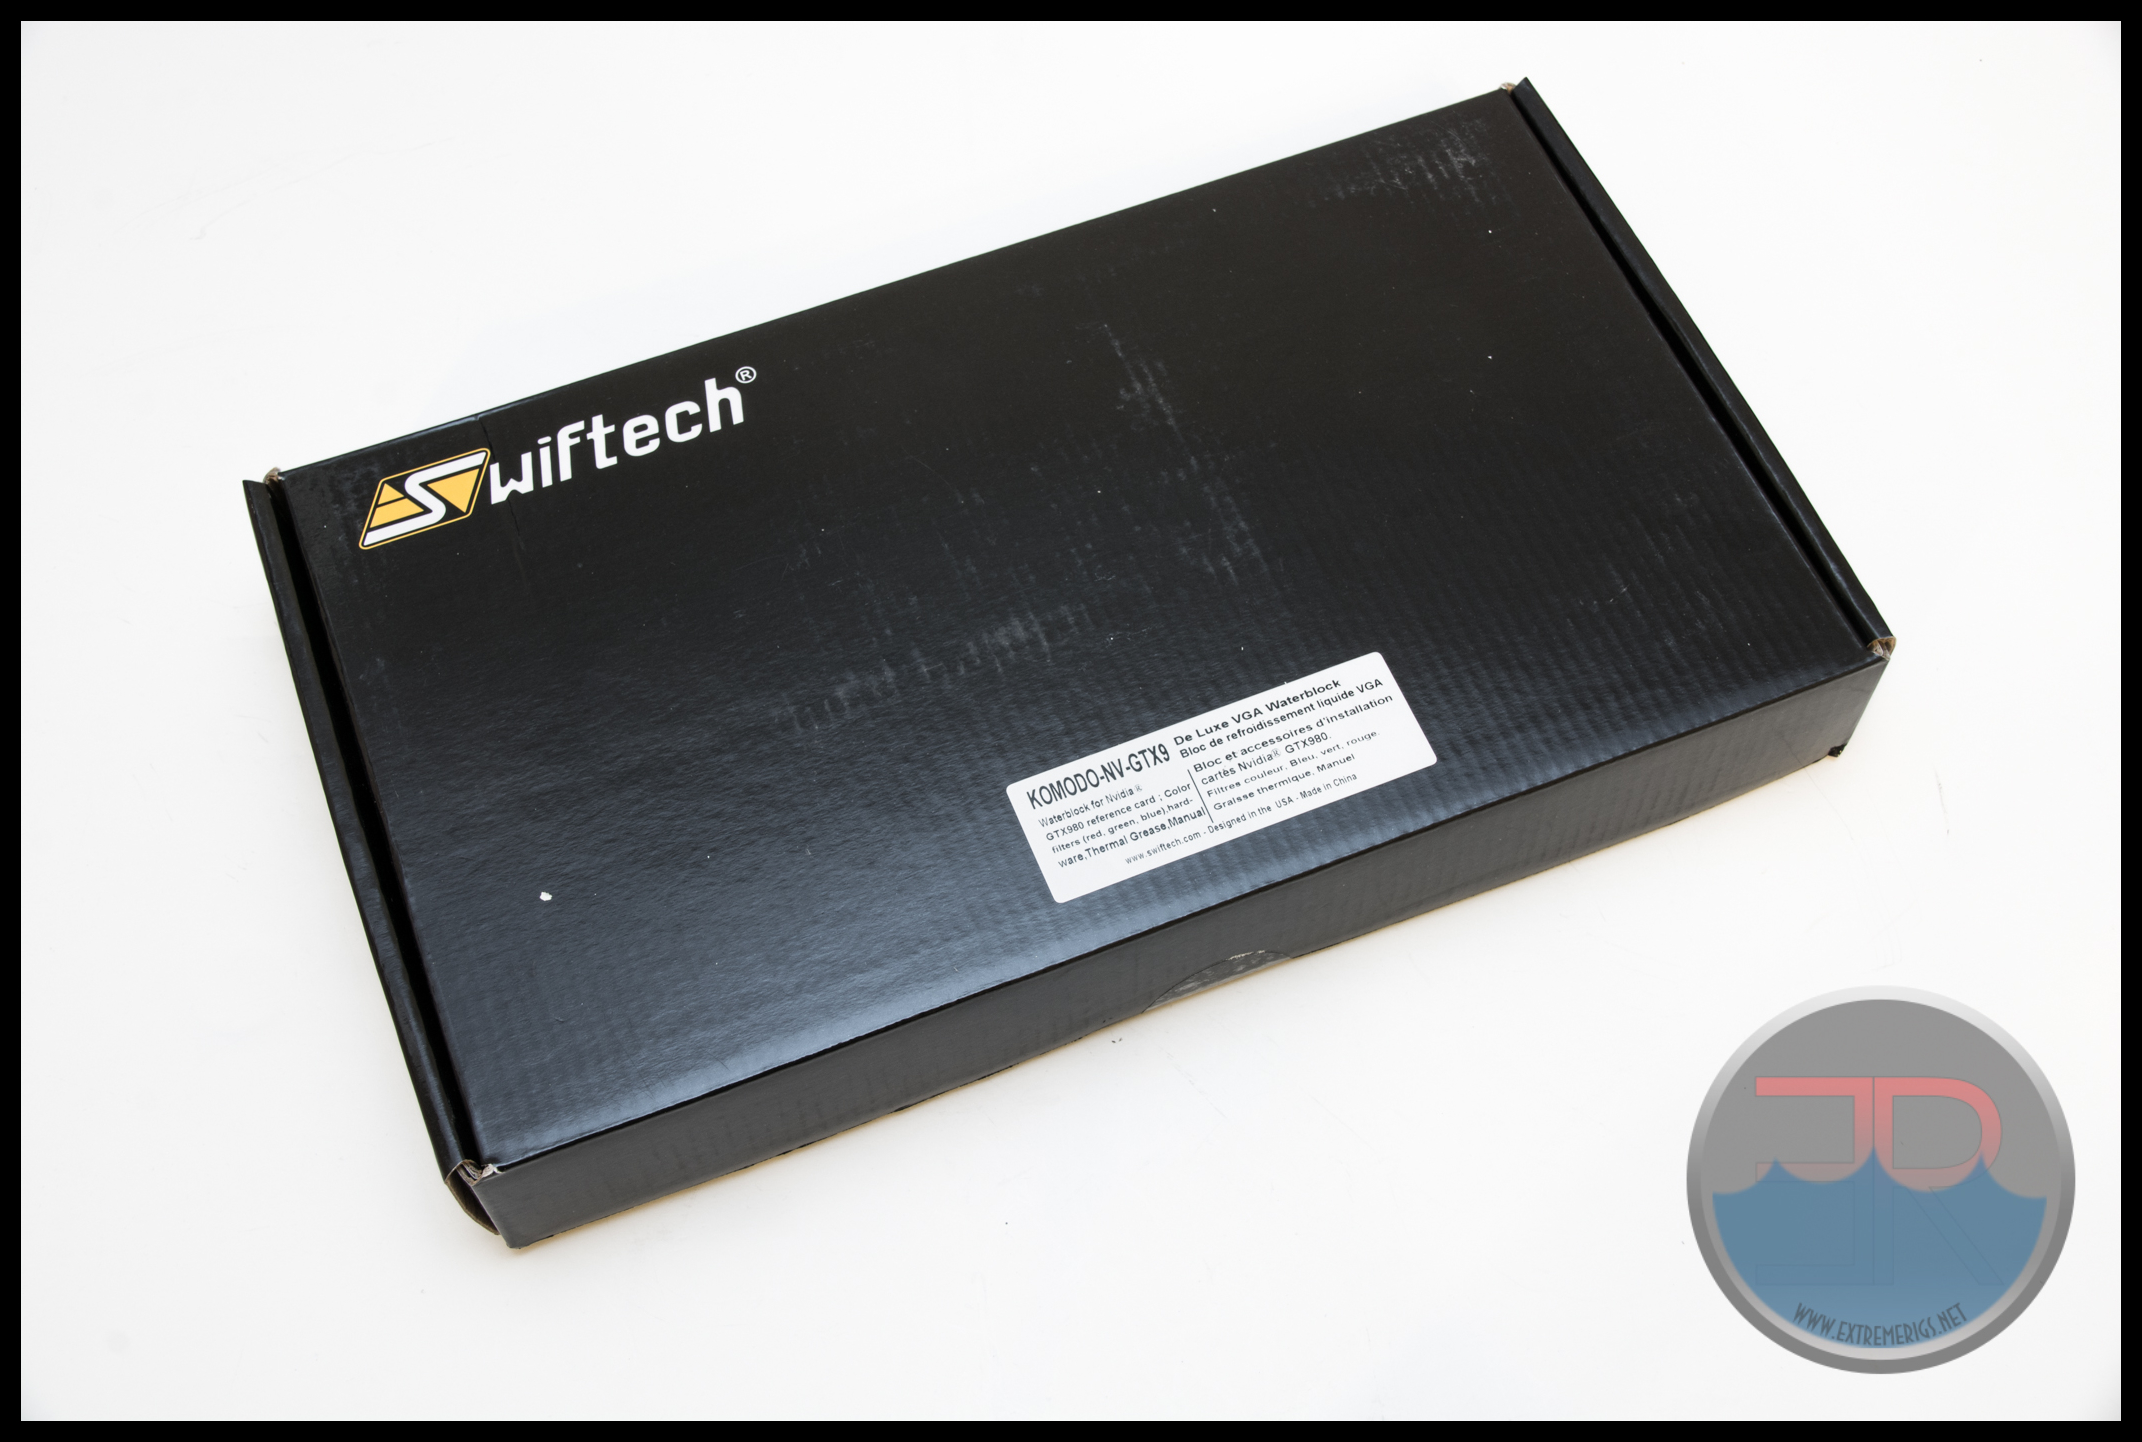
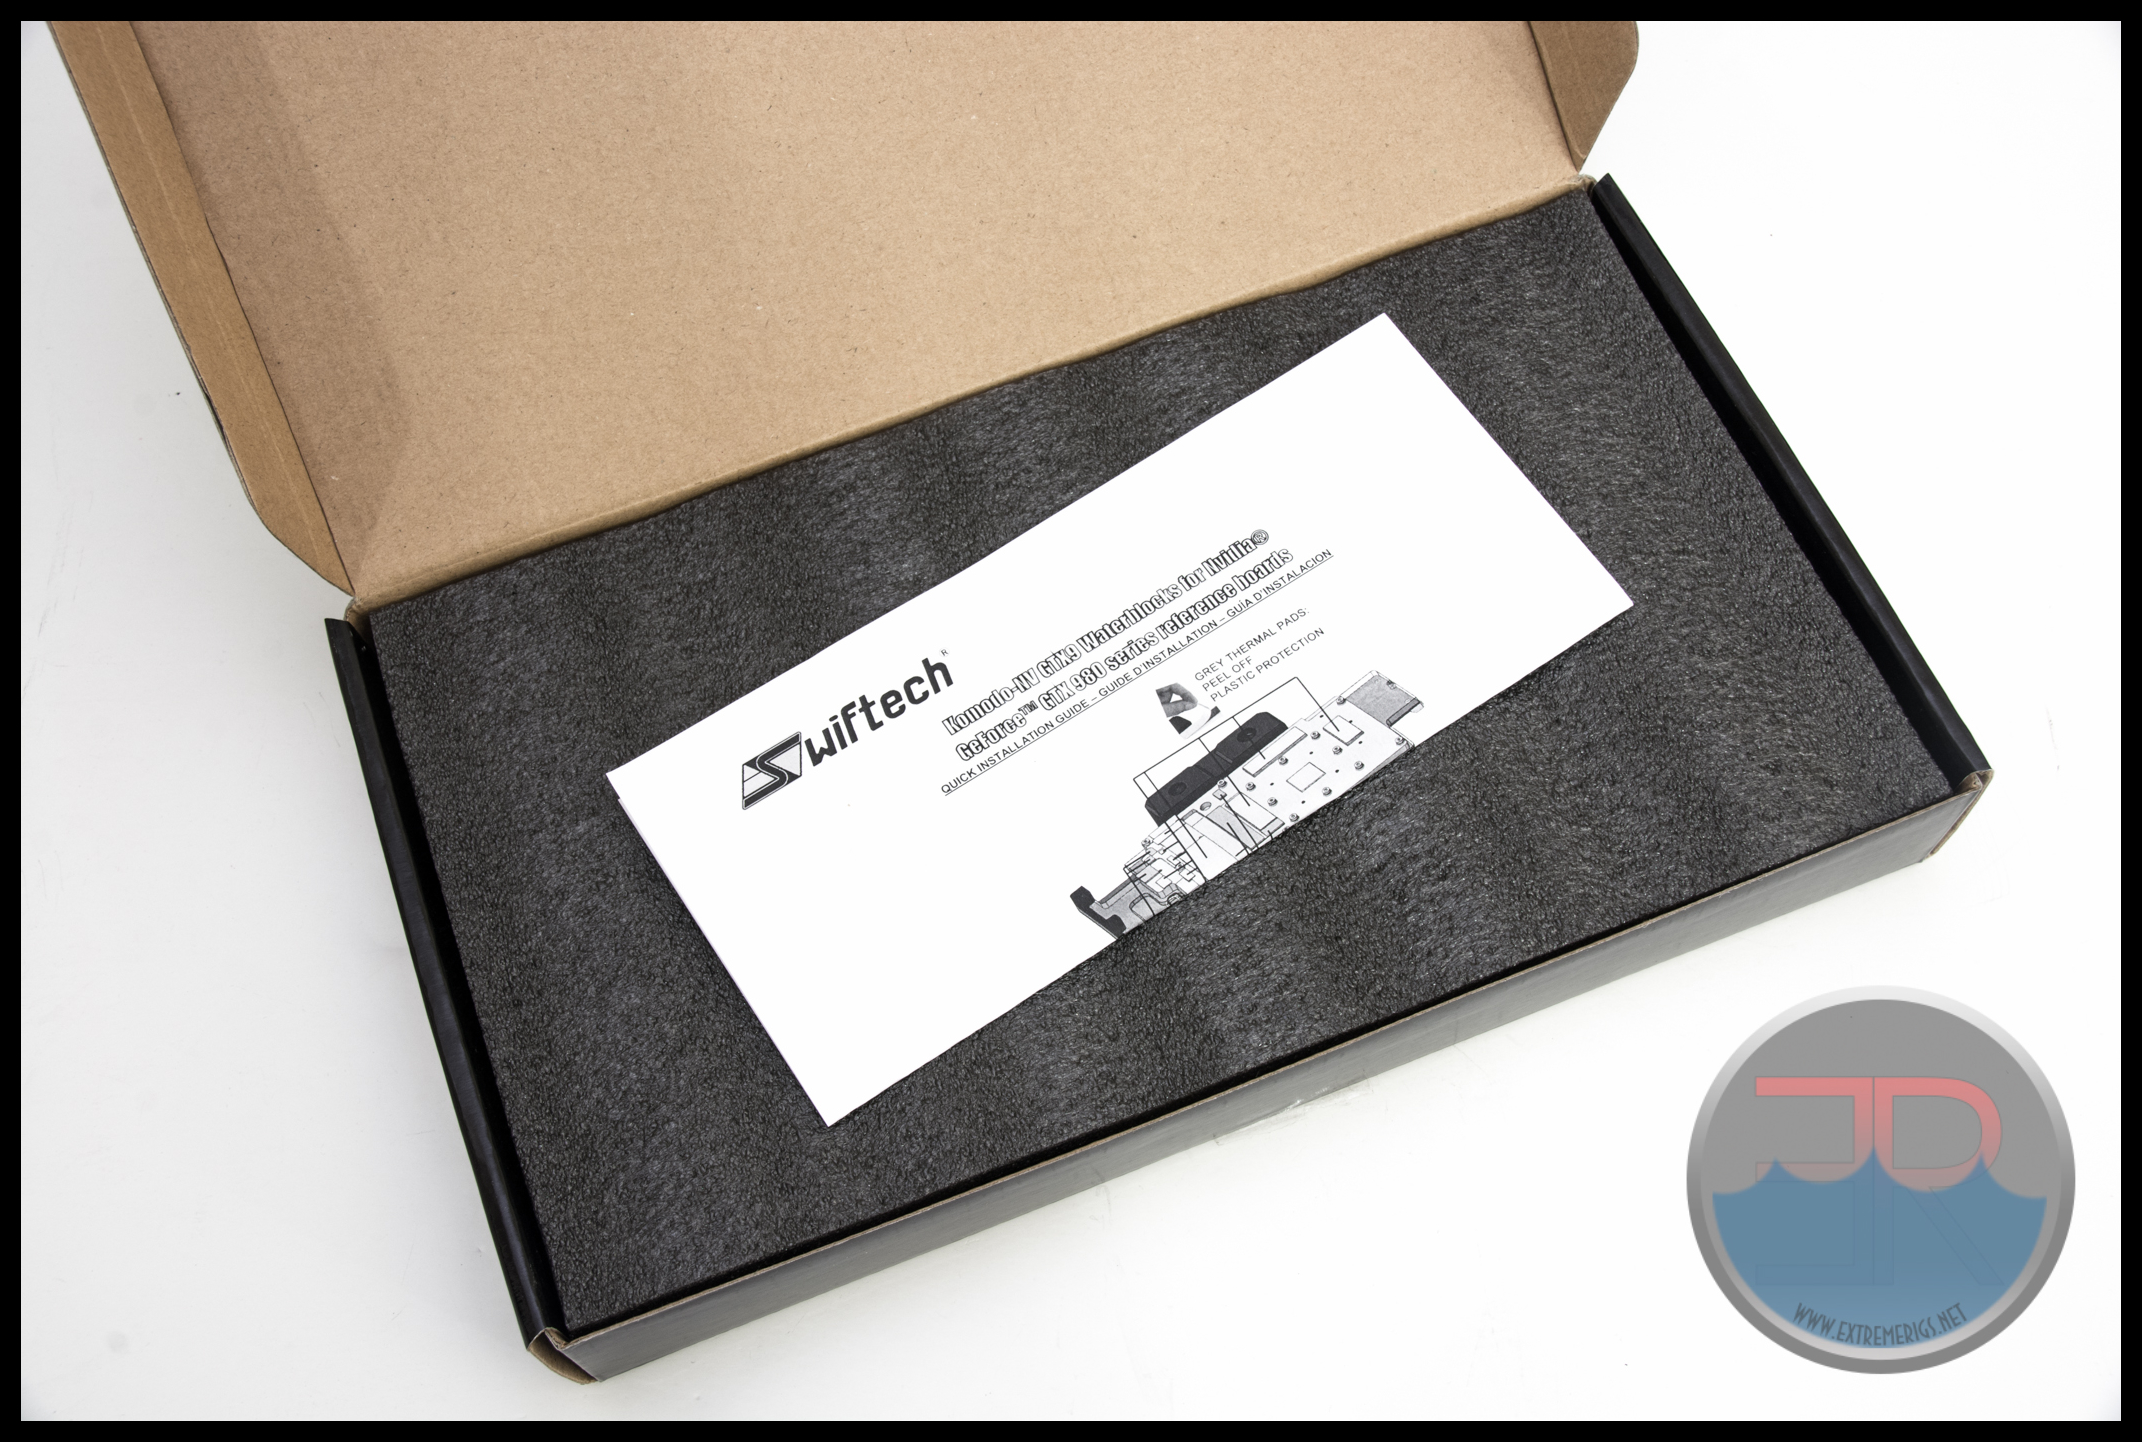
Swiftech’s box is simple and the same as previous generations just with a sticker to denote the exact model. Inside you’re greeted by the instructions while everything else is hidden behind protective foam:
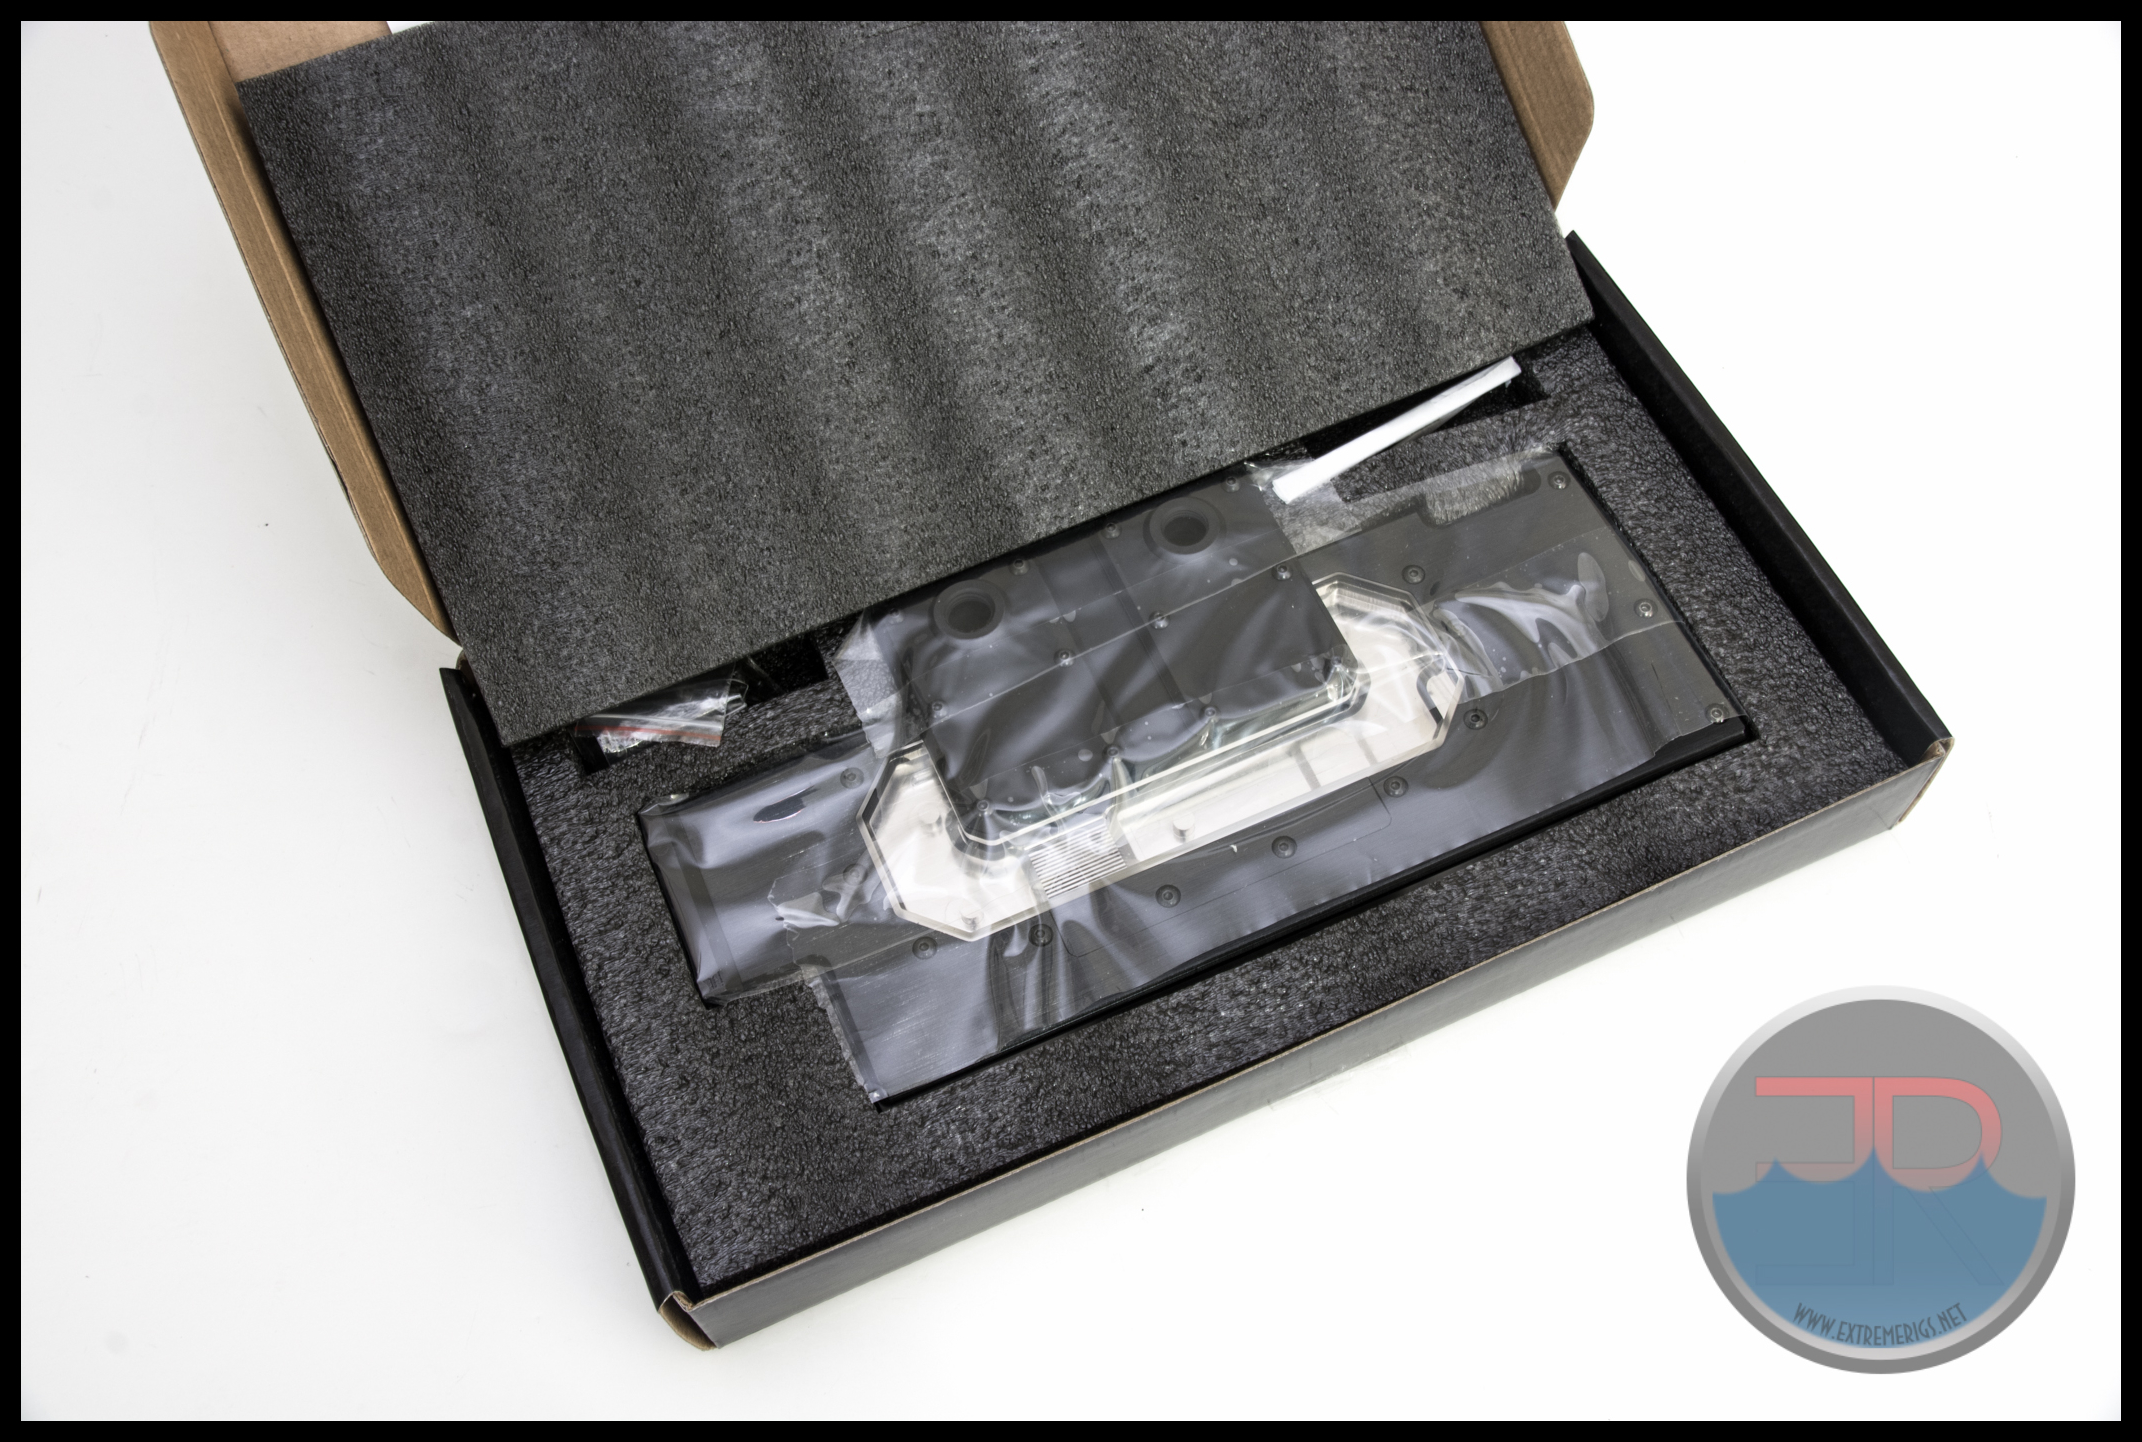
It’s nice that the foam is cutout to hold the block securely and there are separate cut outs for the accessories:
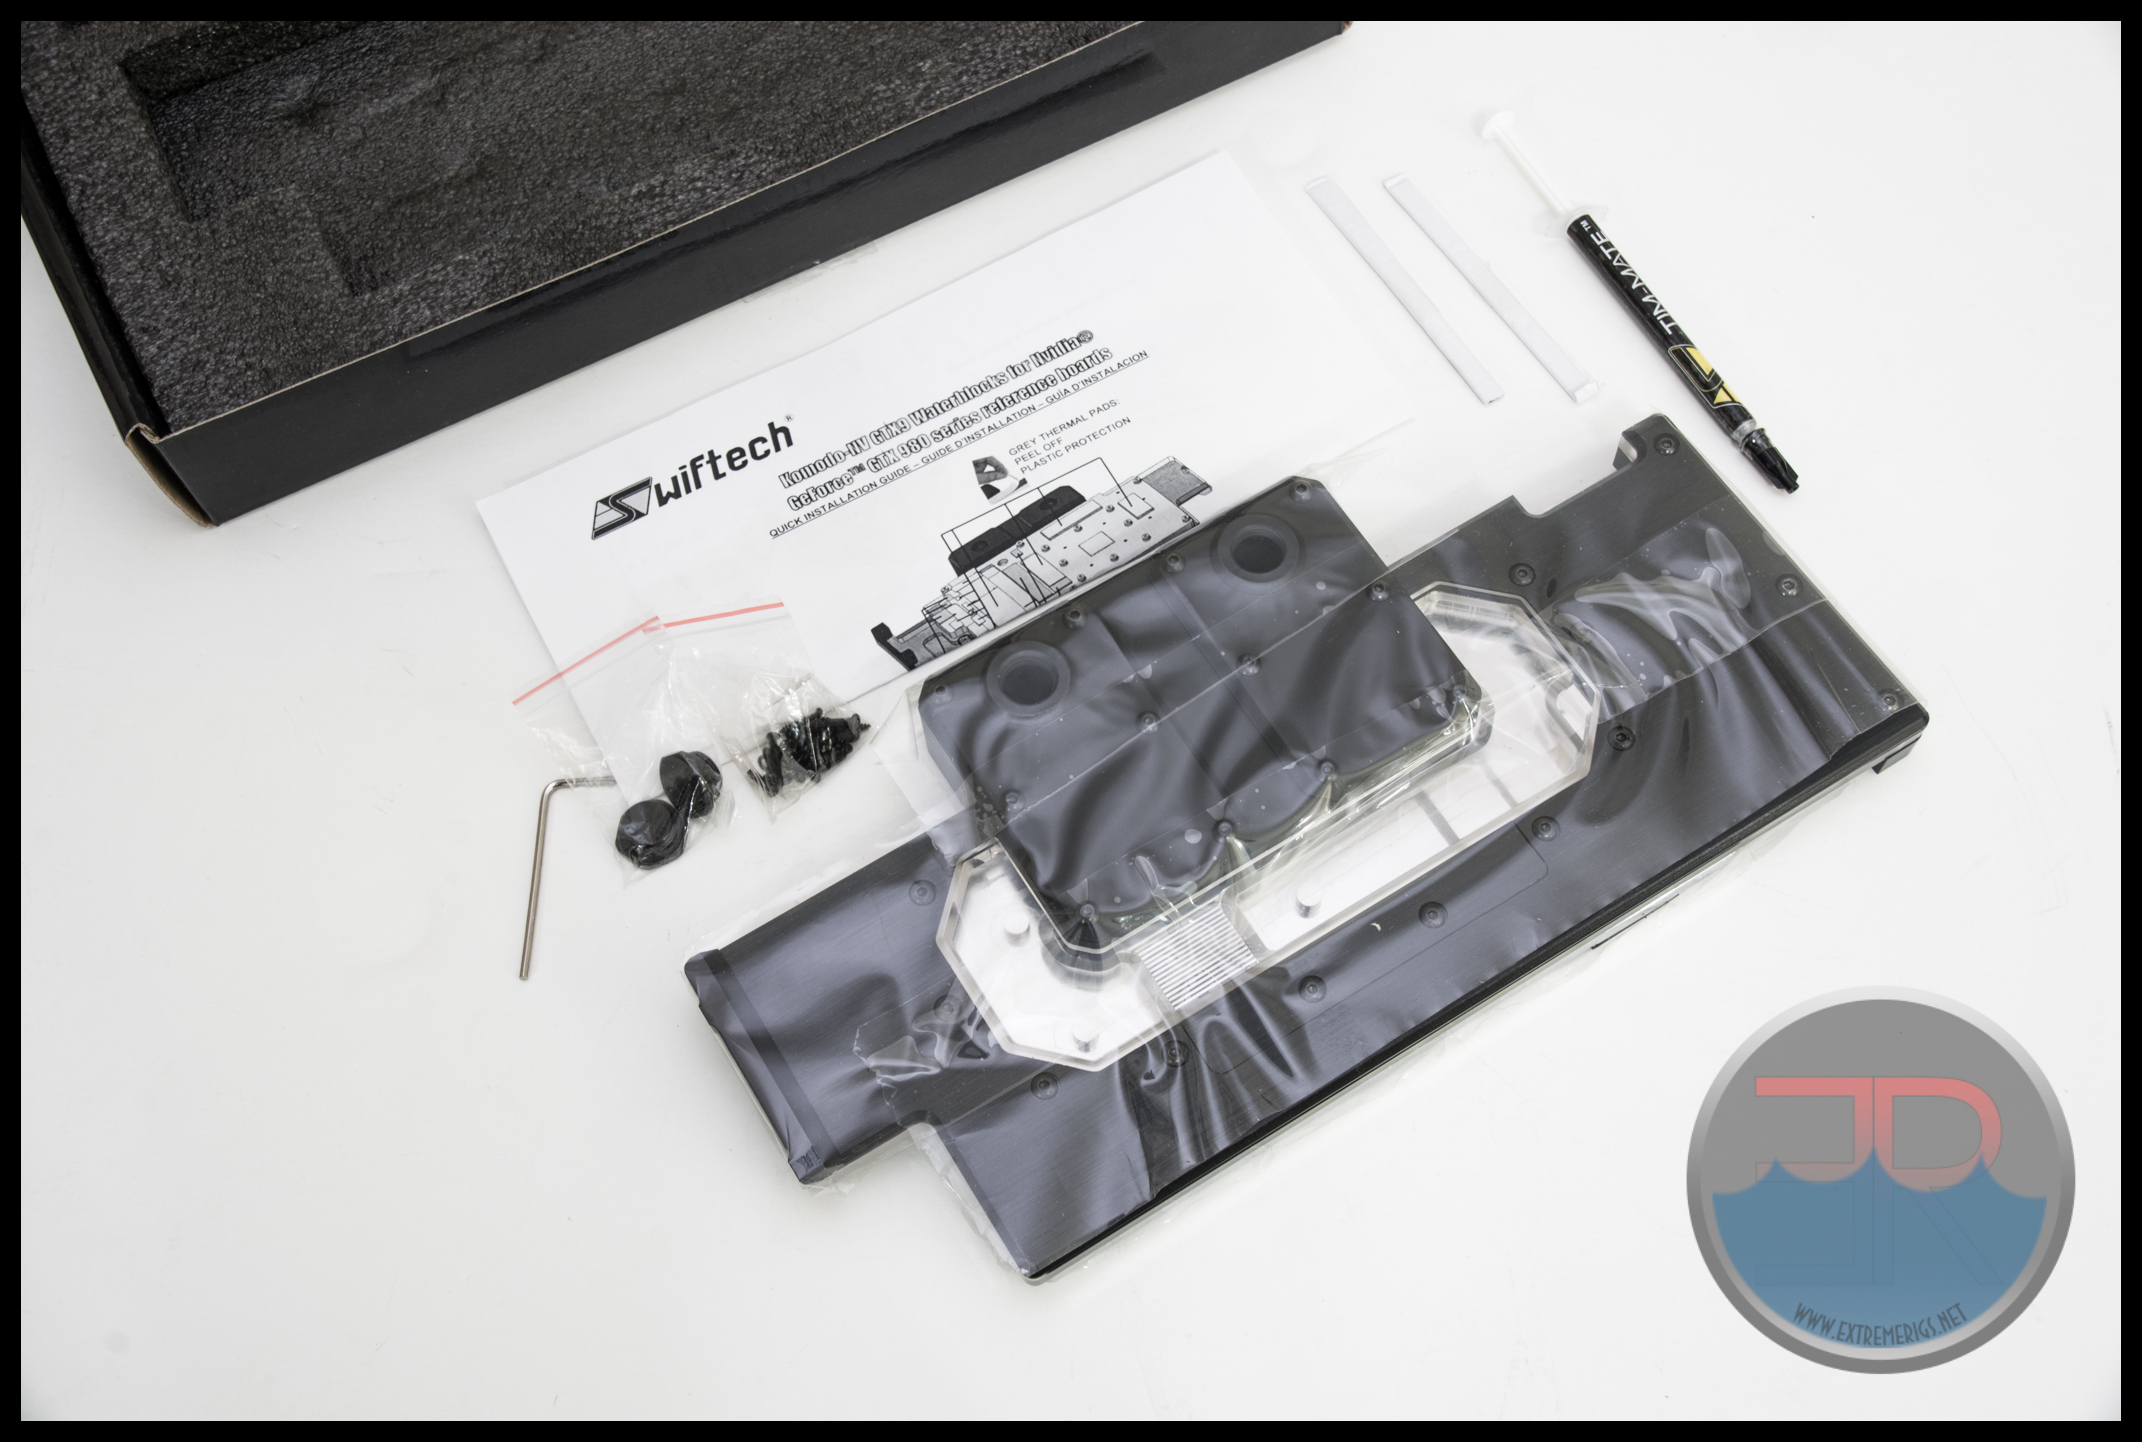
 Included in the box are the following accessories:
– Instructions in English and French
– Screws and an allen key (used to change the LED colors)
– Stop fittings
– LED “gels” to change LED color manually
– “TIM-MATE” Thermal Interface Material (“TIM” aka thermal goop)
 The block itself is covered in plastic wrap to protect it:
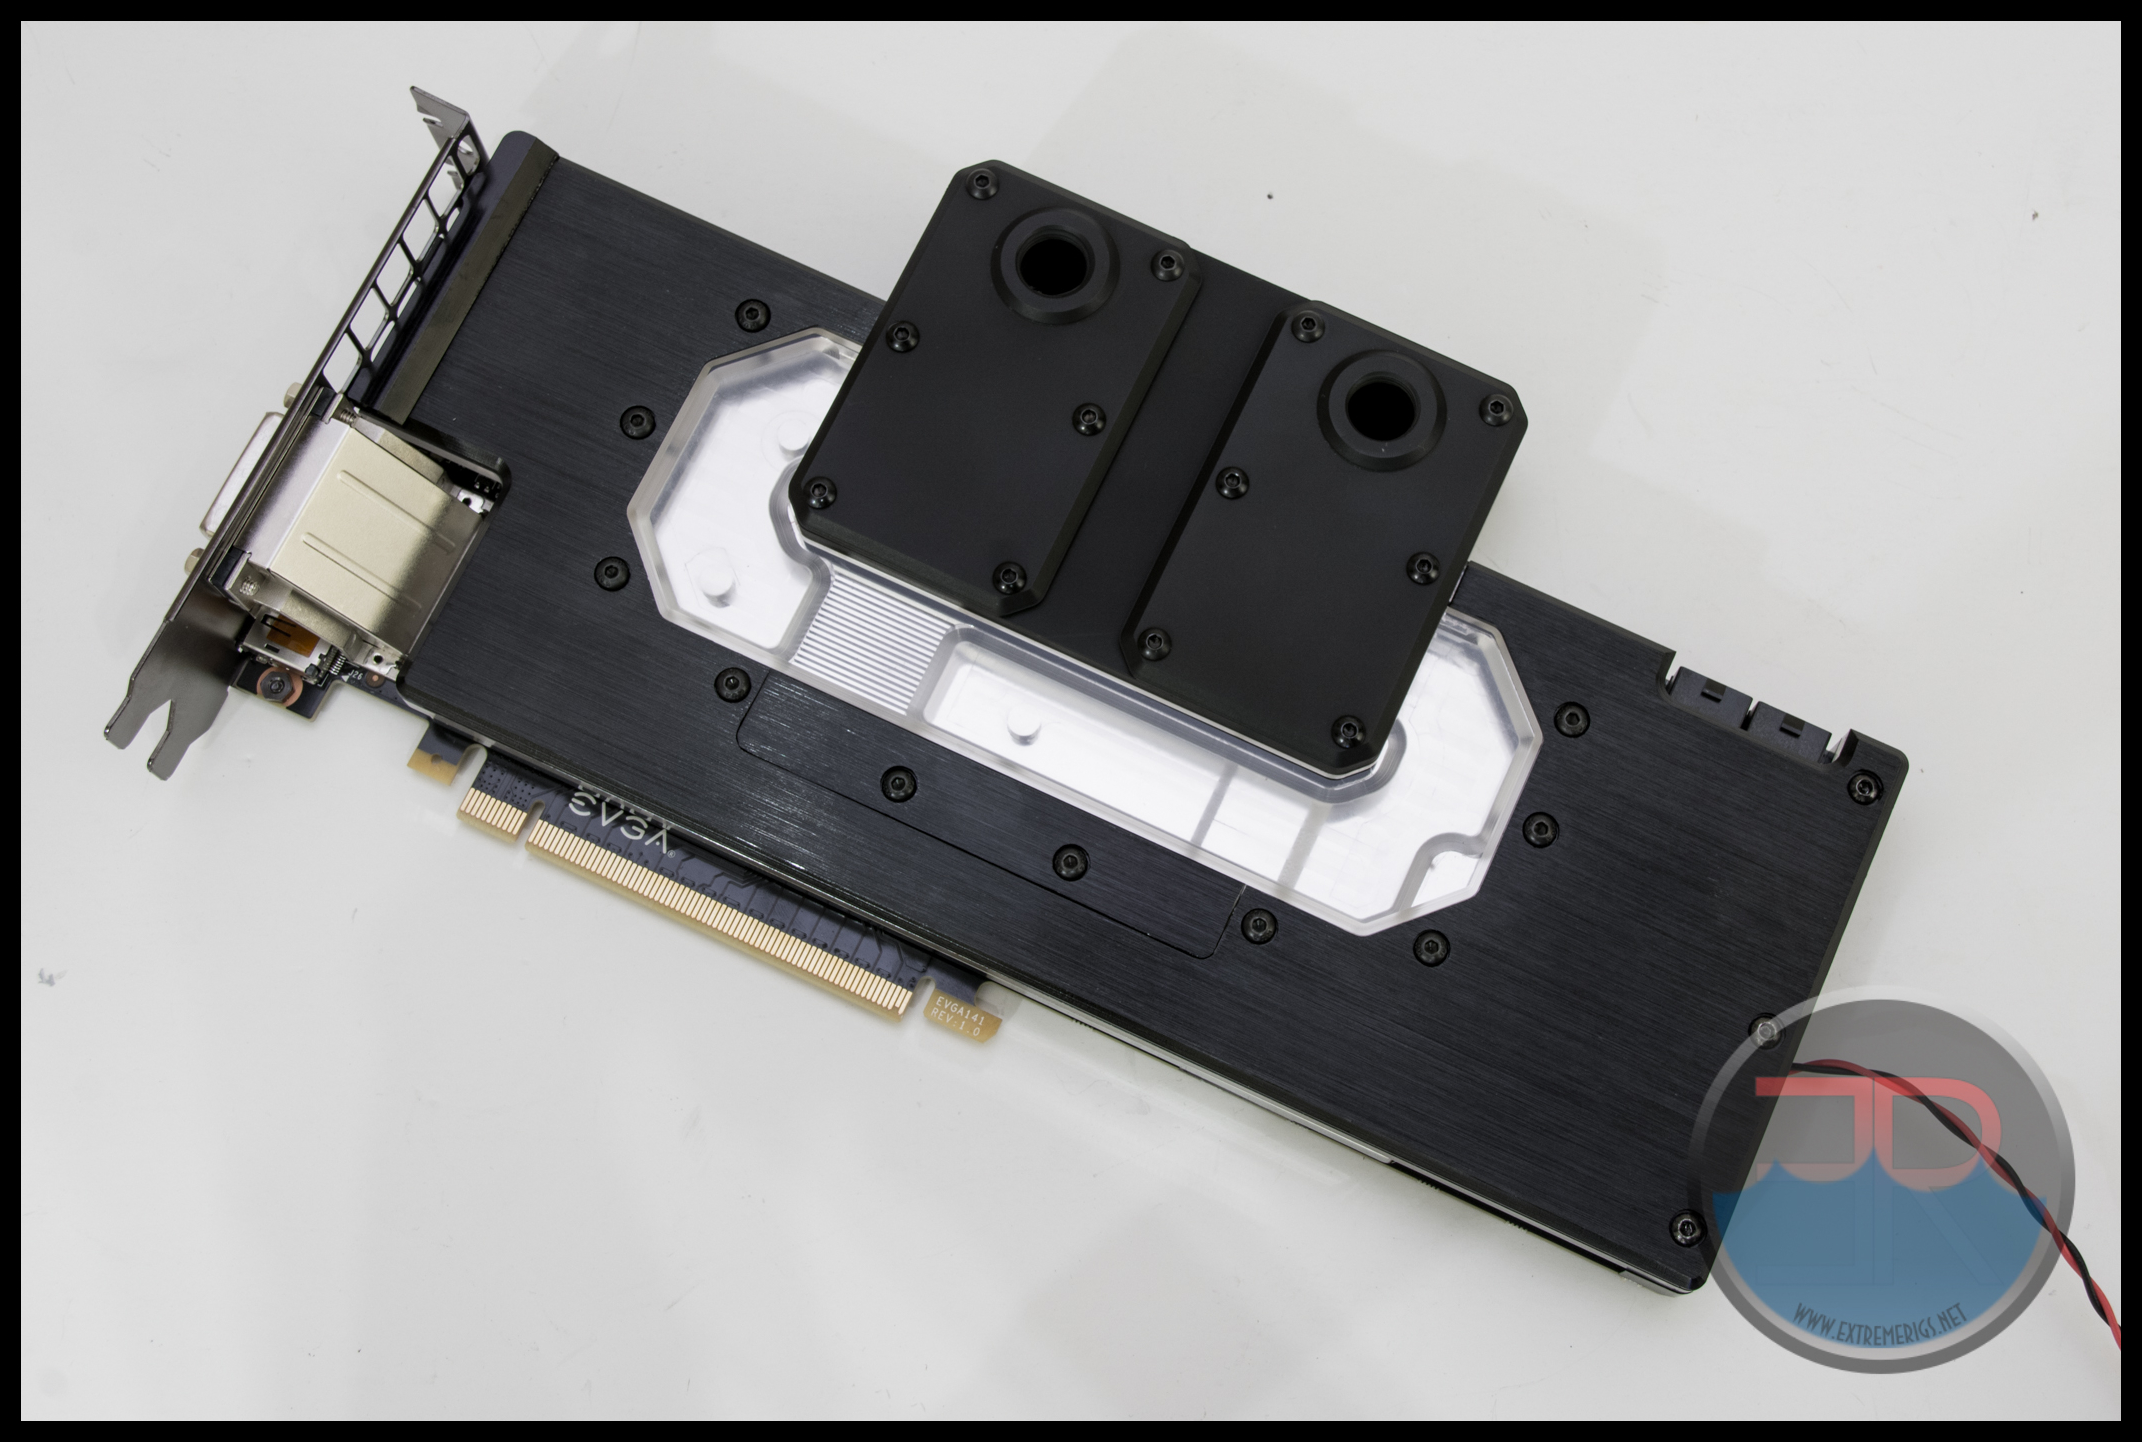
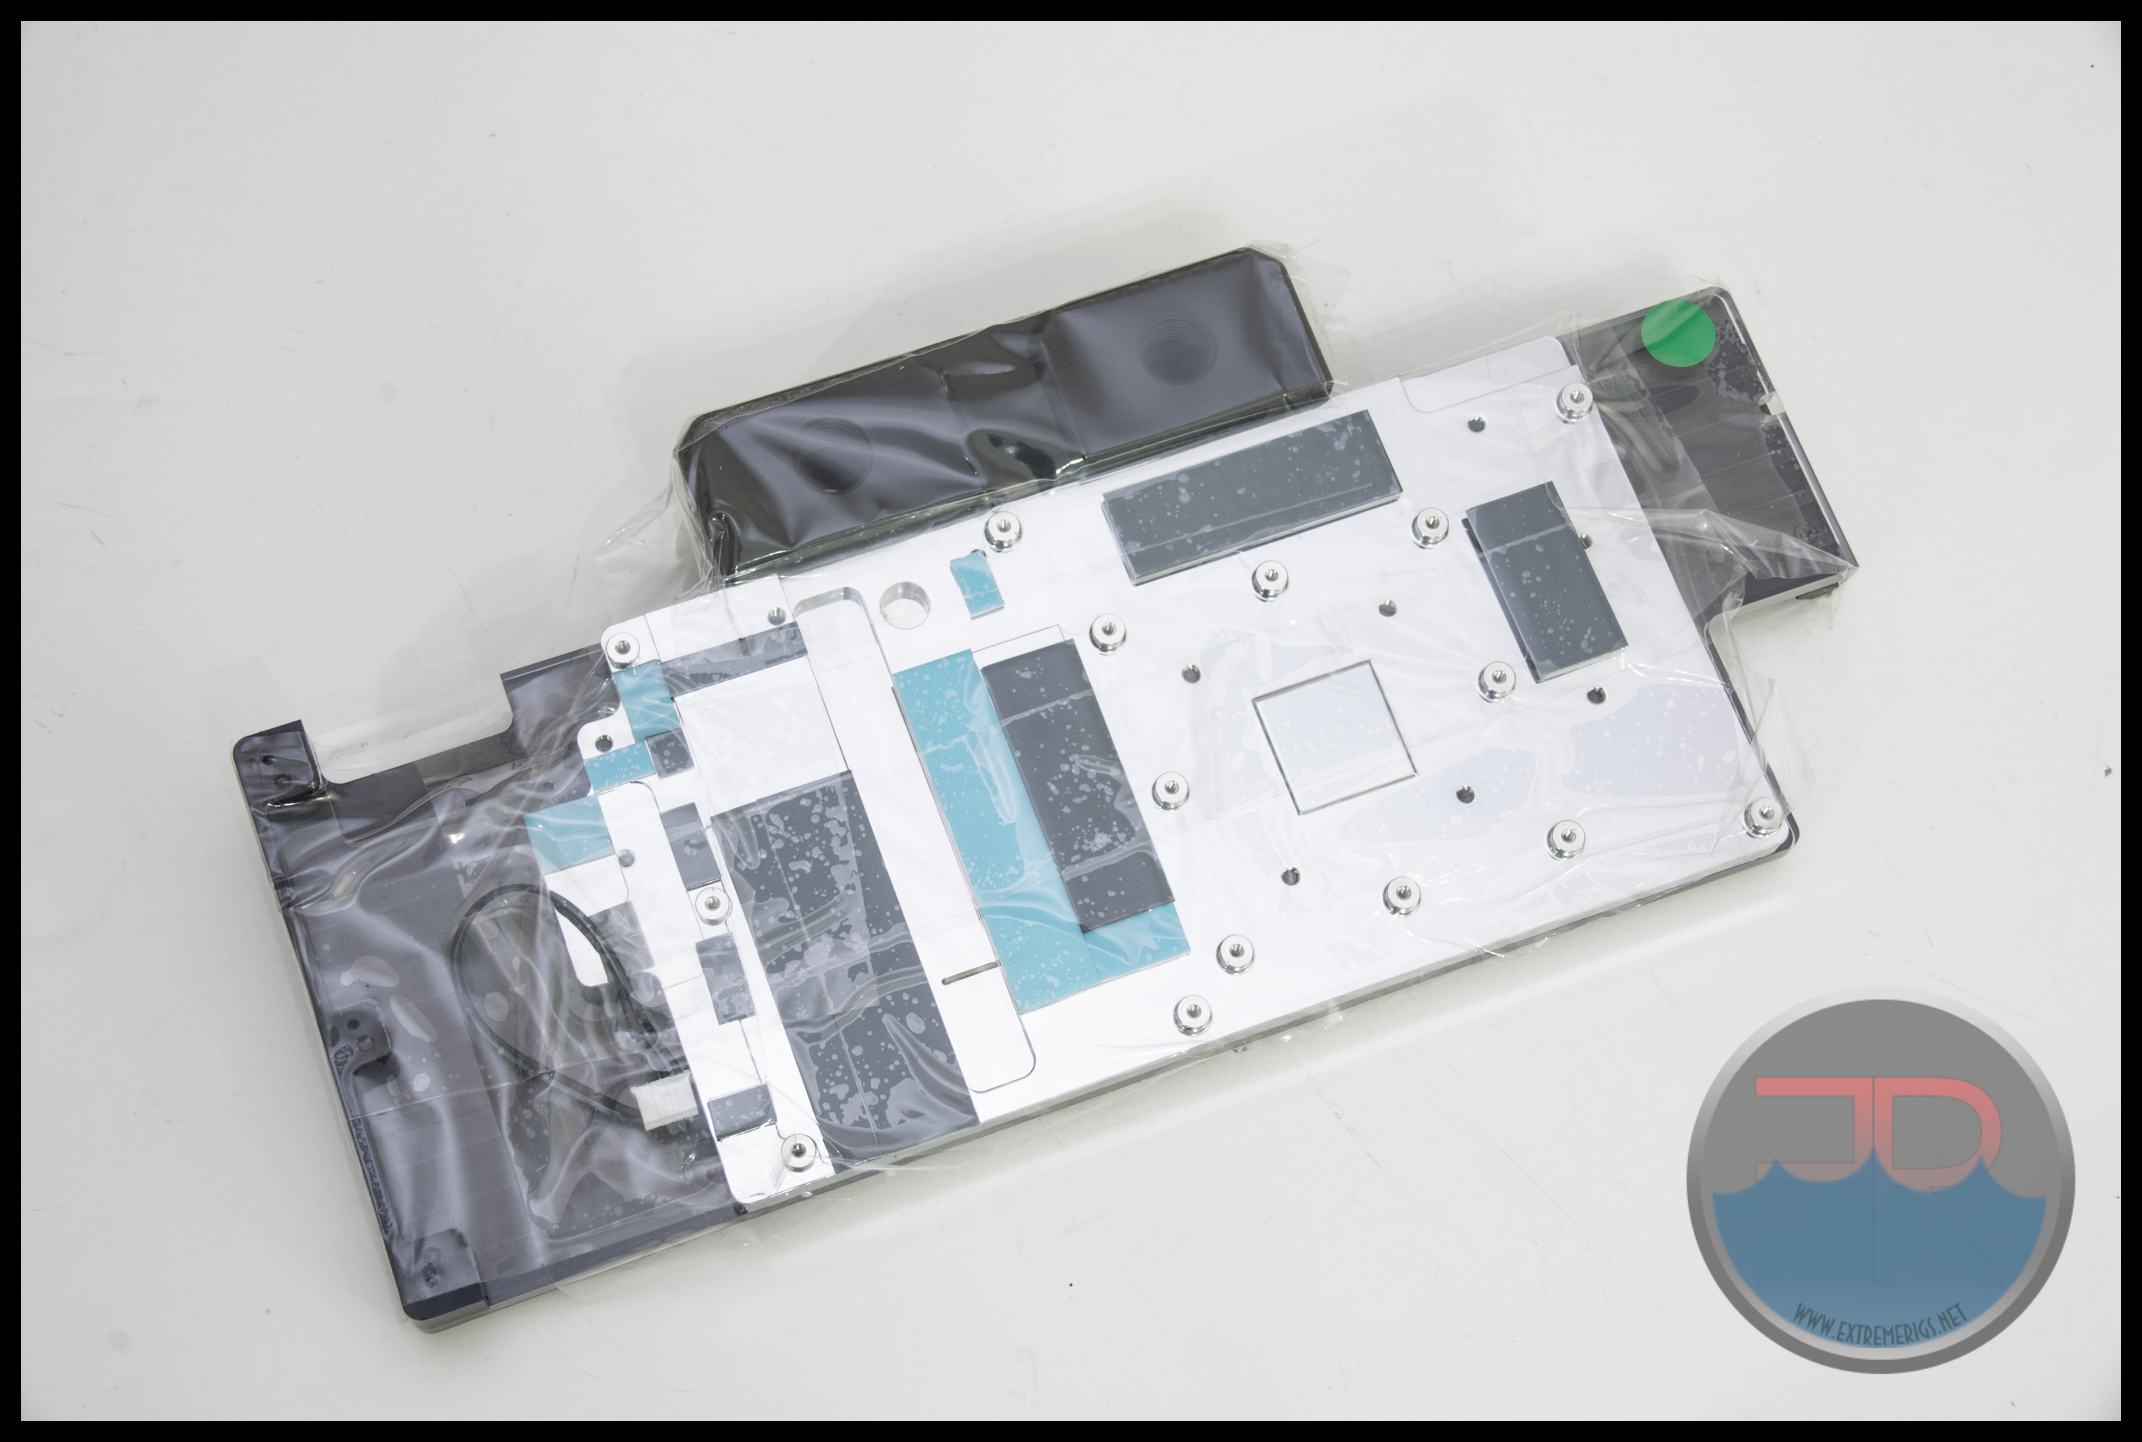 As usual Swiftech fit the thermal pads for you. This is great if you’re lazy, and it also reduces the risk of messing up the install. The block covers the entirity of the PCB which gives a very clean look.
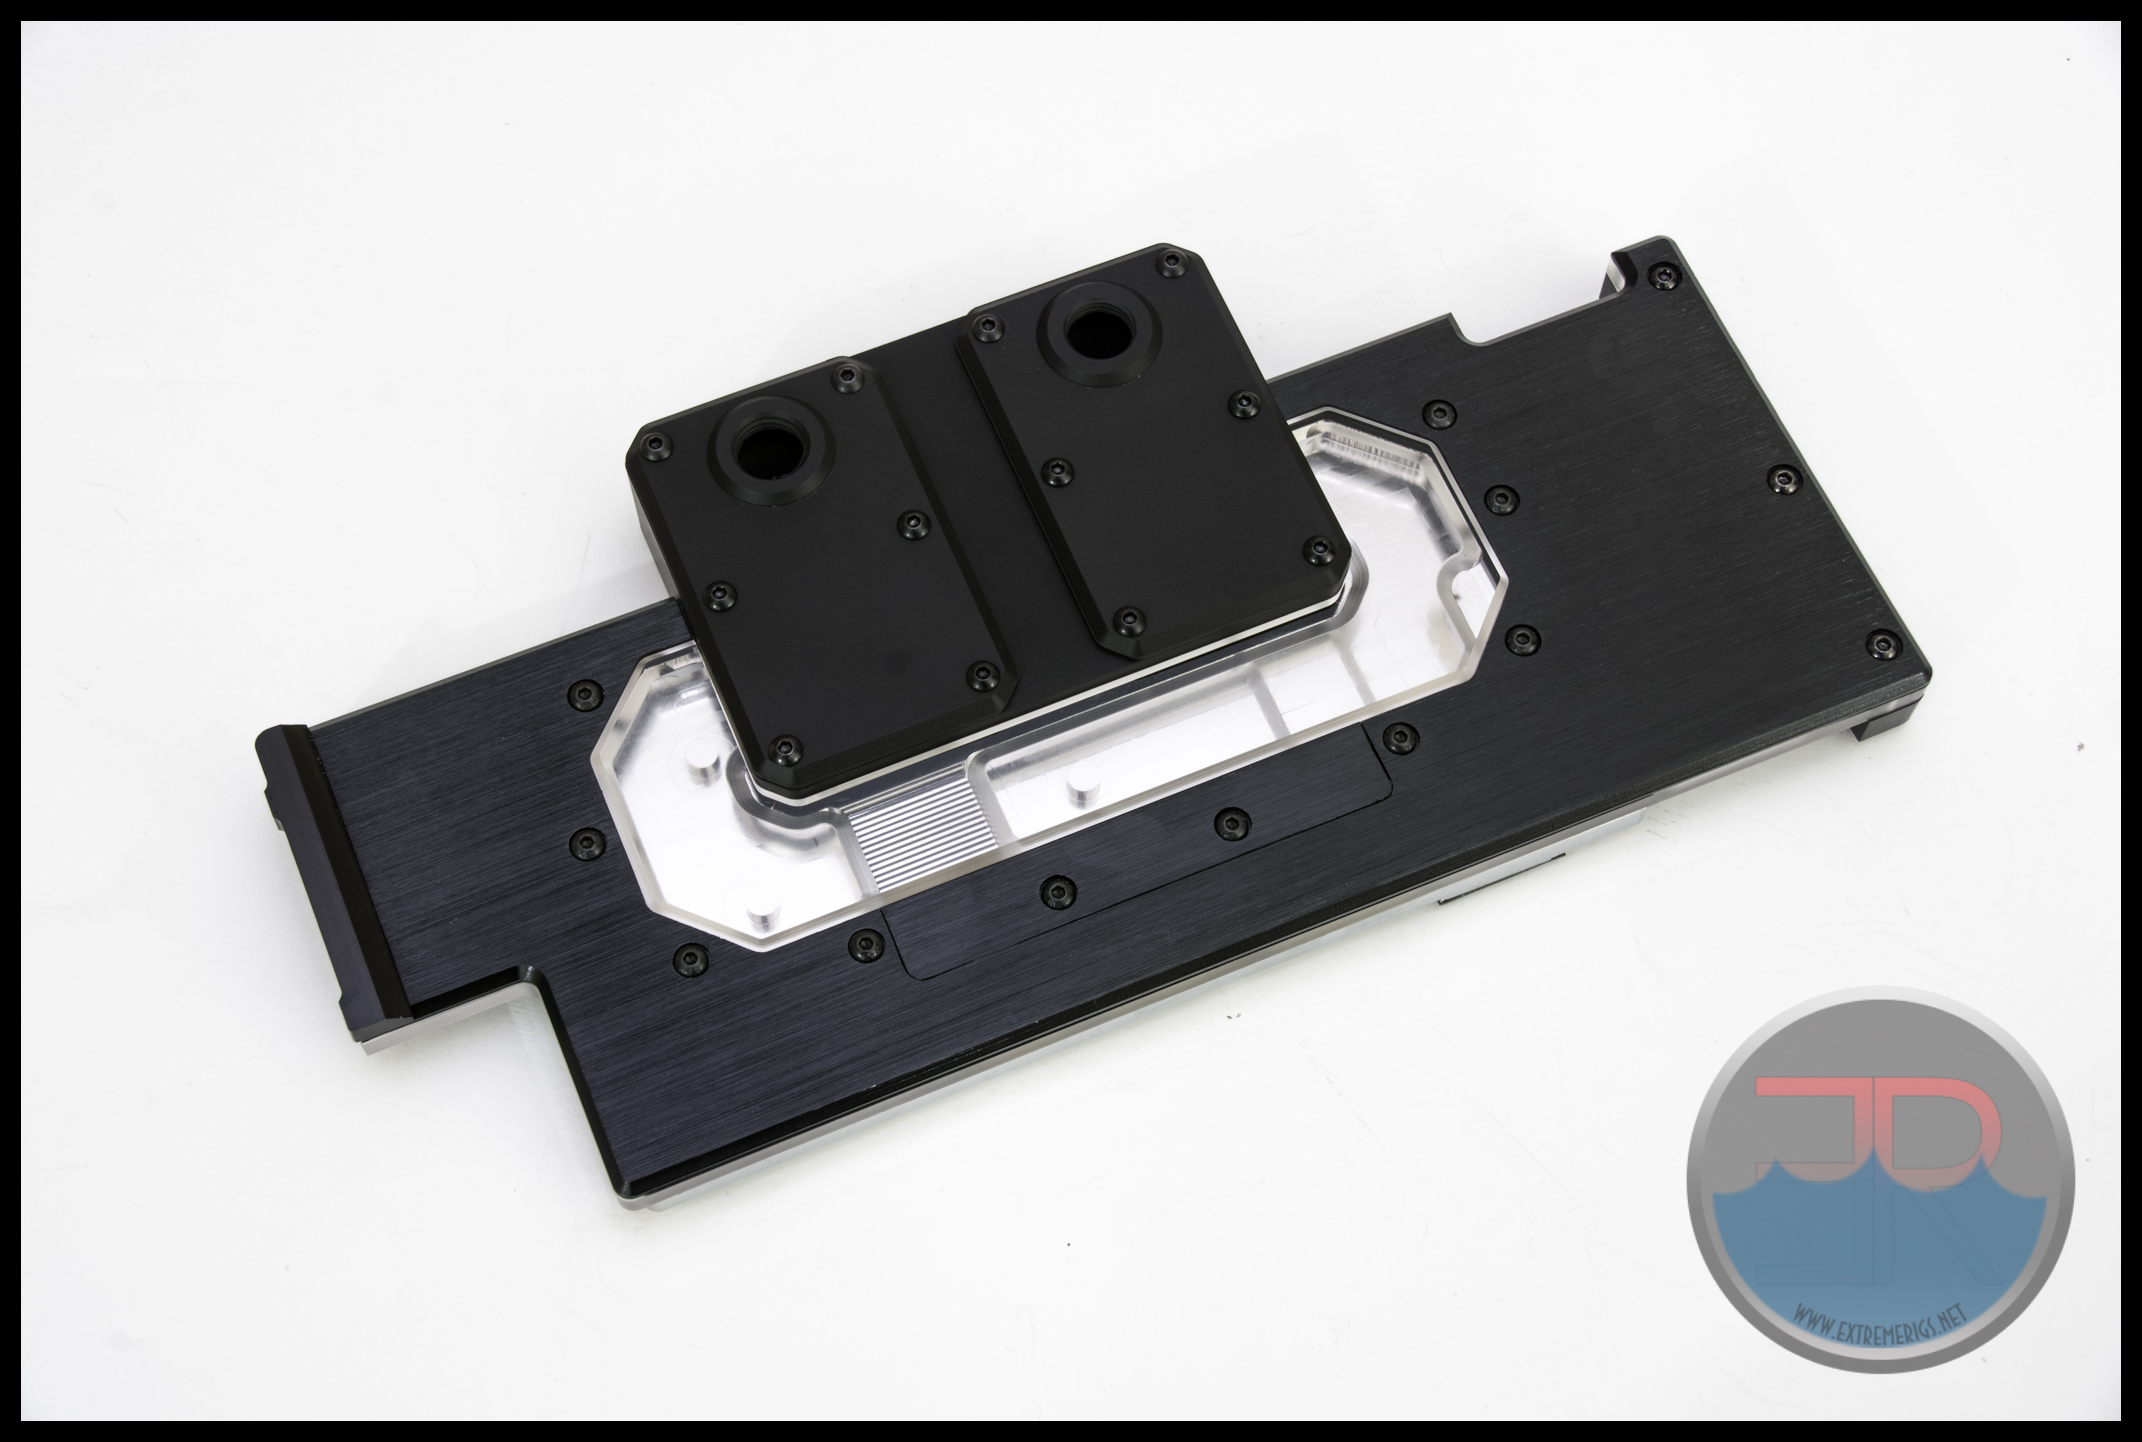 The chunkyness of the huge port block however detracts from the overall slickness of the design using brushed aluminum and the window. The brushed aluminum also is sectioned with a removable cover for some hidden integrated LEDs that get powered from the PCB fan header. This is a nice touch – after all some companies only pre drill holes for LEDs but don’t supply them. Others, such as XSPC supply LEDs but they are not mounted.
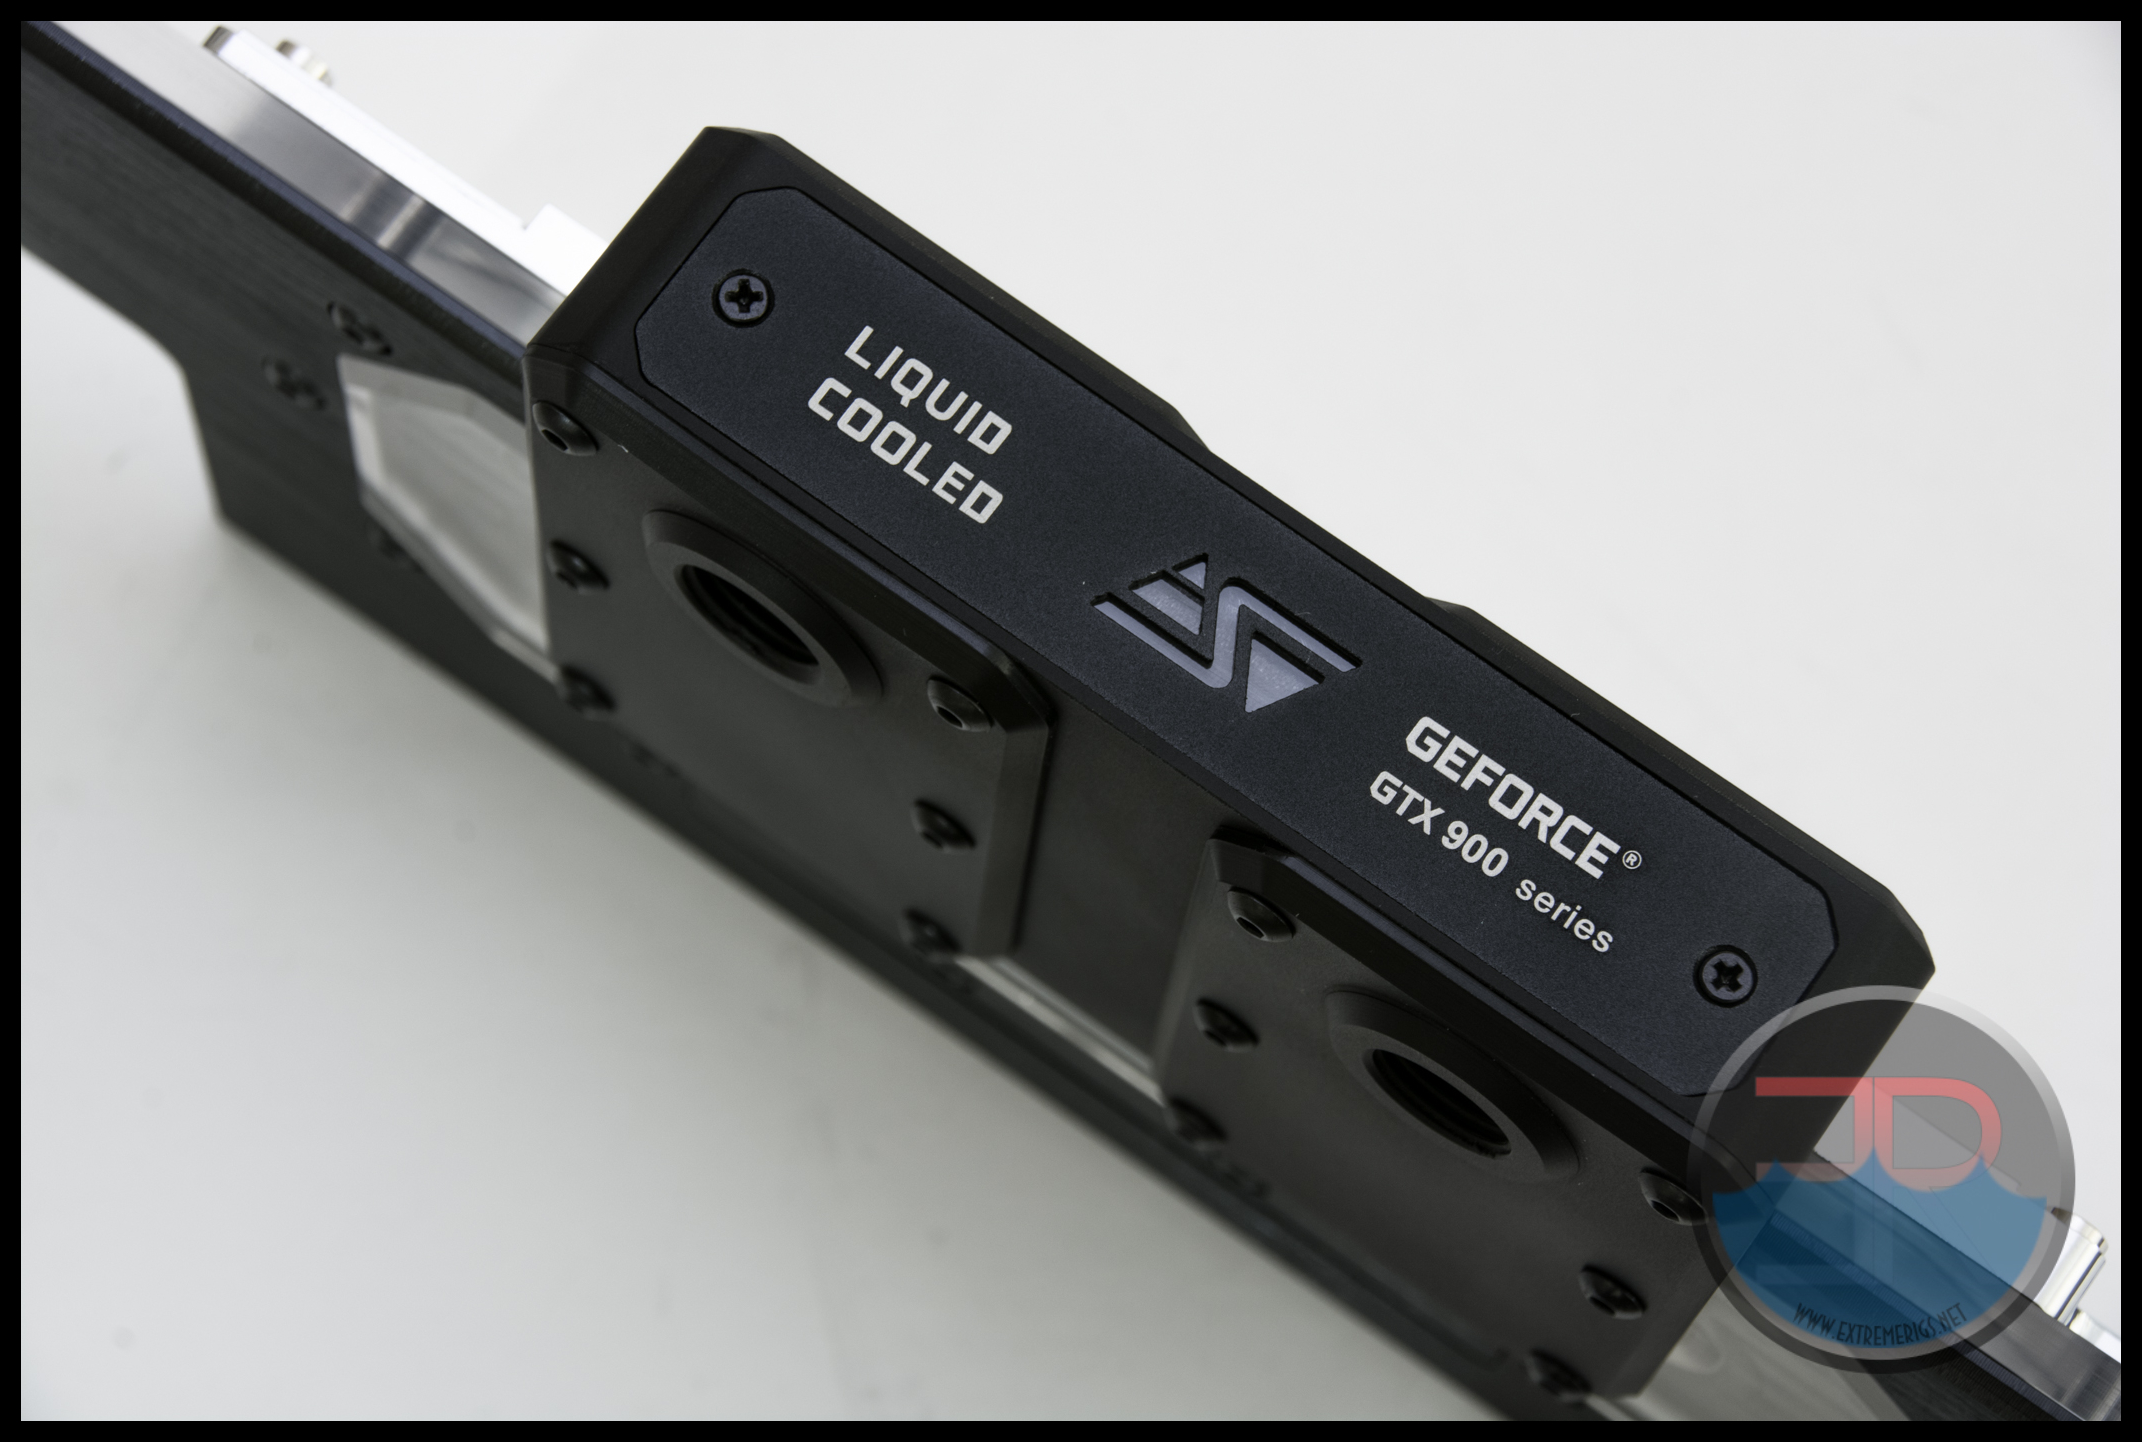
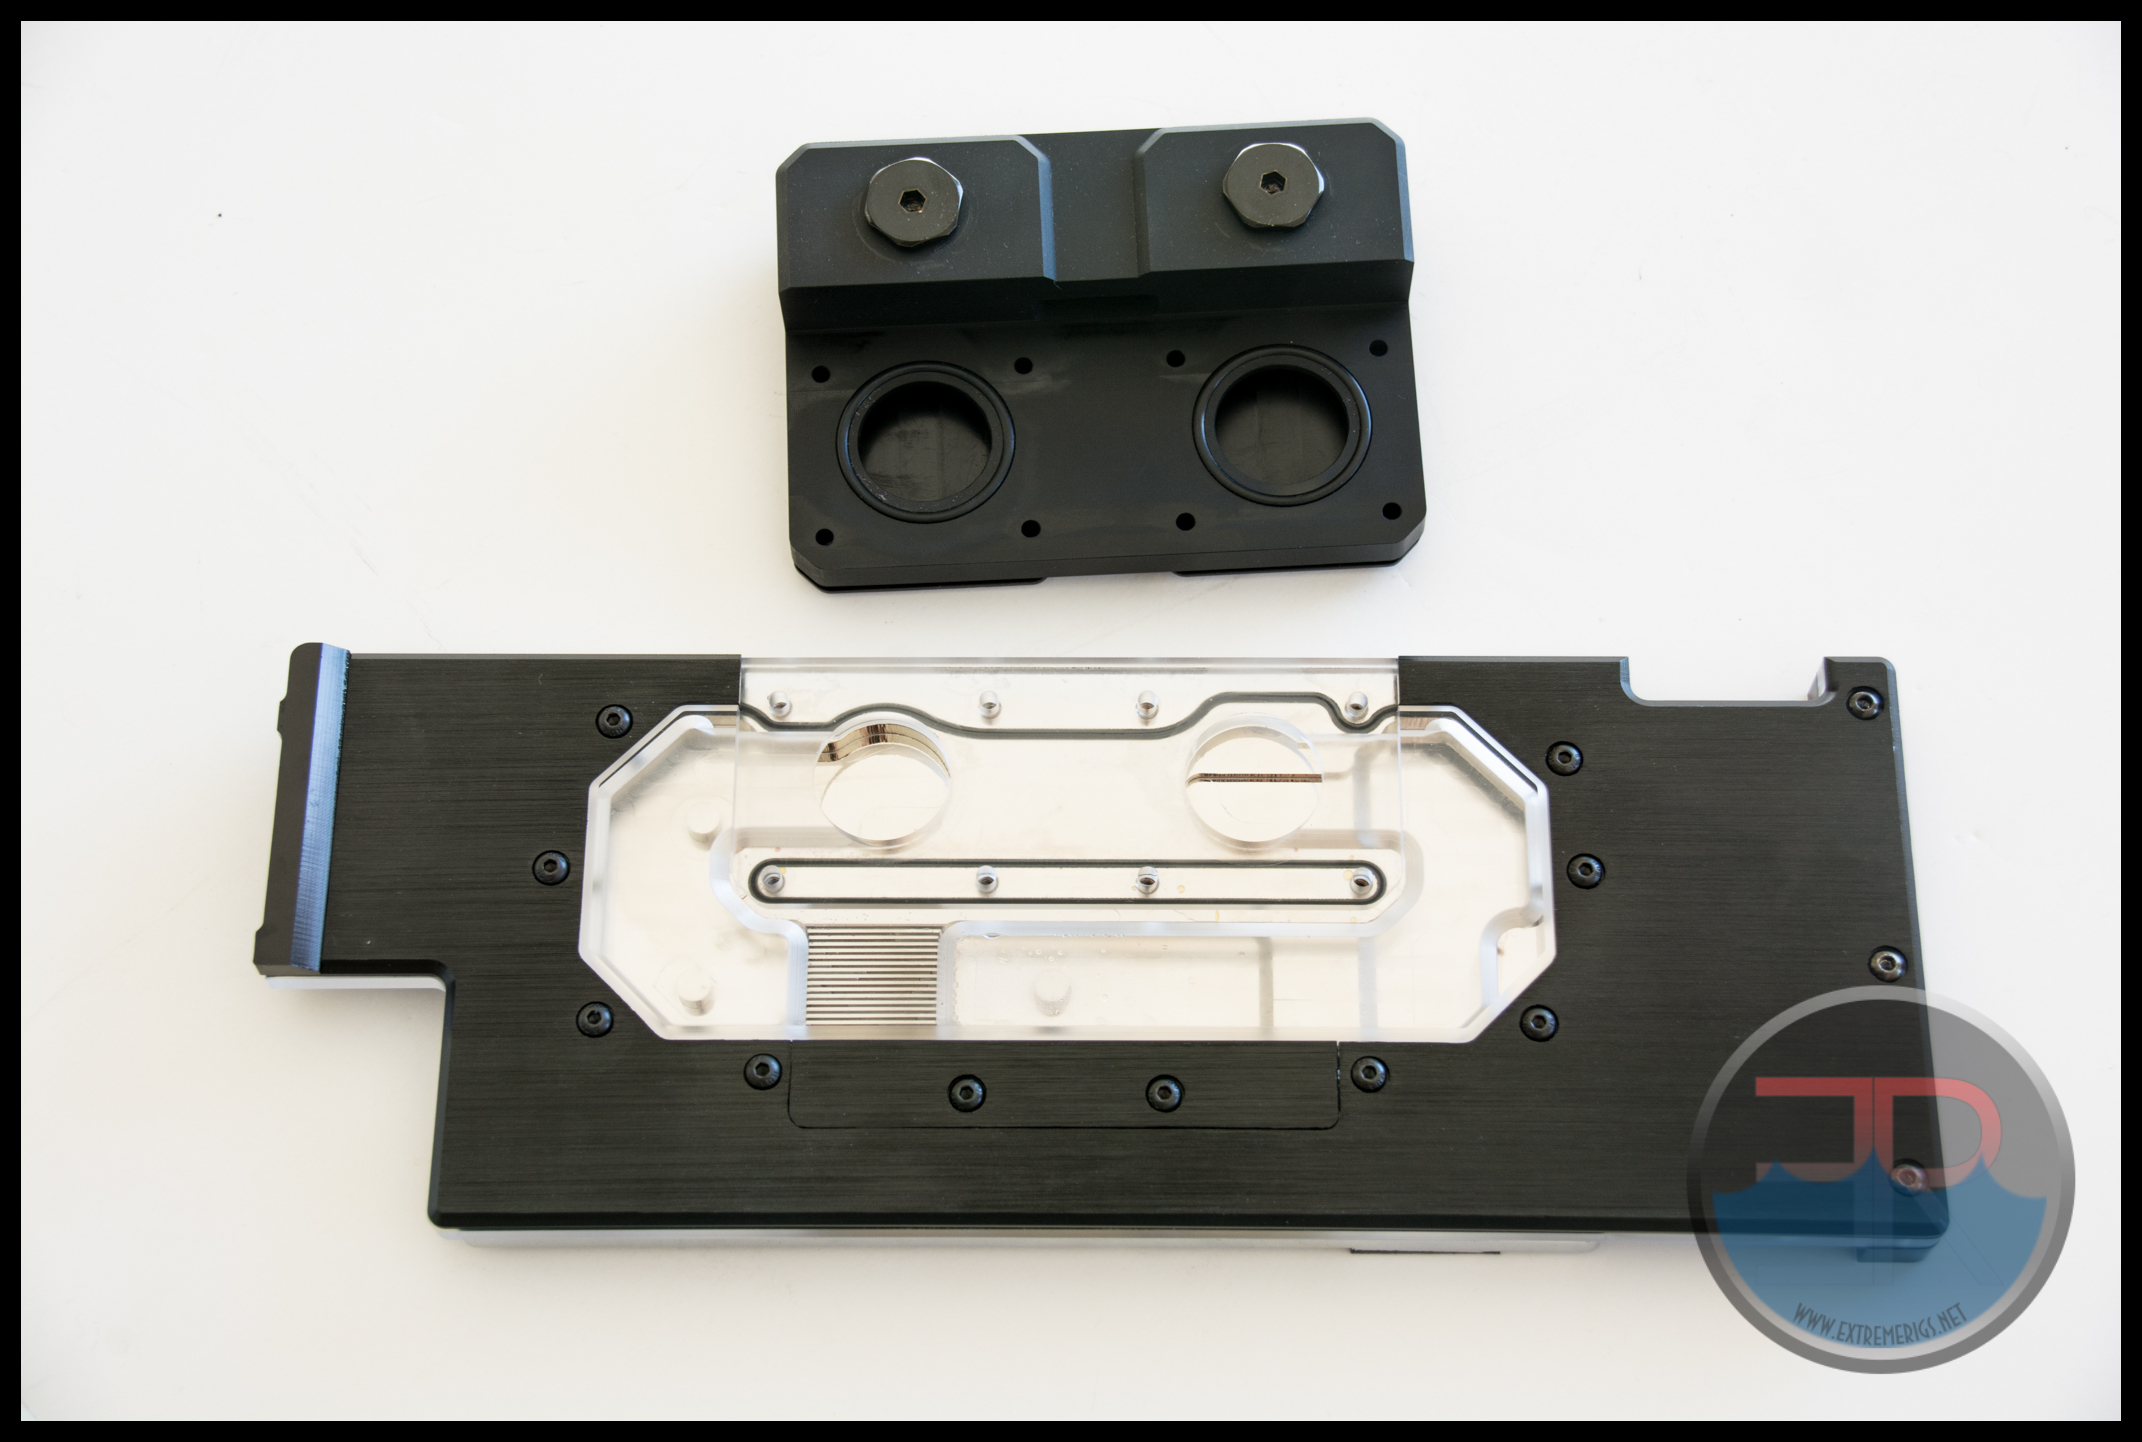
 The copper block is chrome plated. The chunky bridge does at least leave plenty of space for a backlit logo:
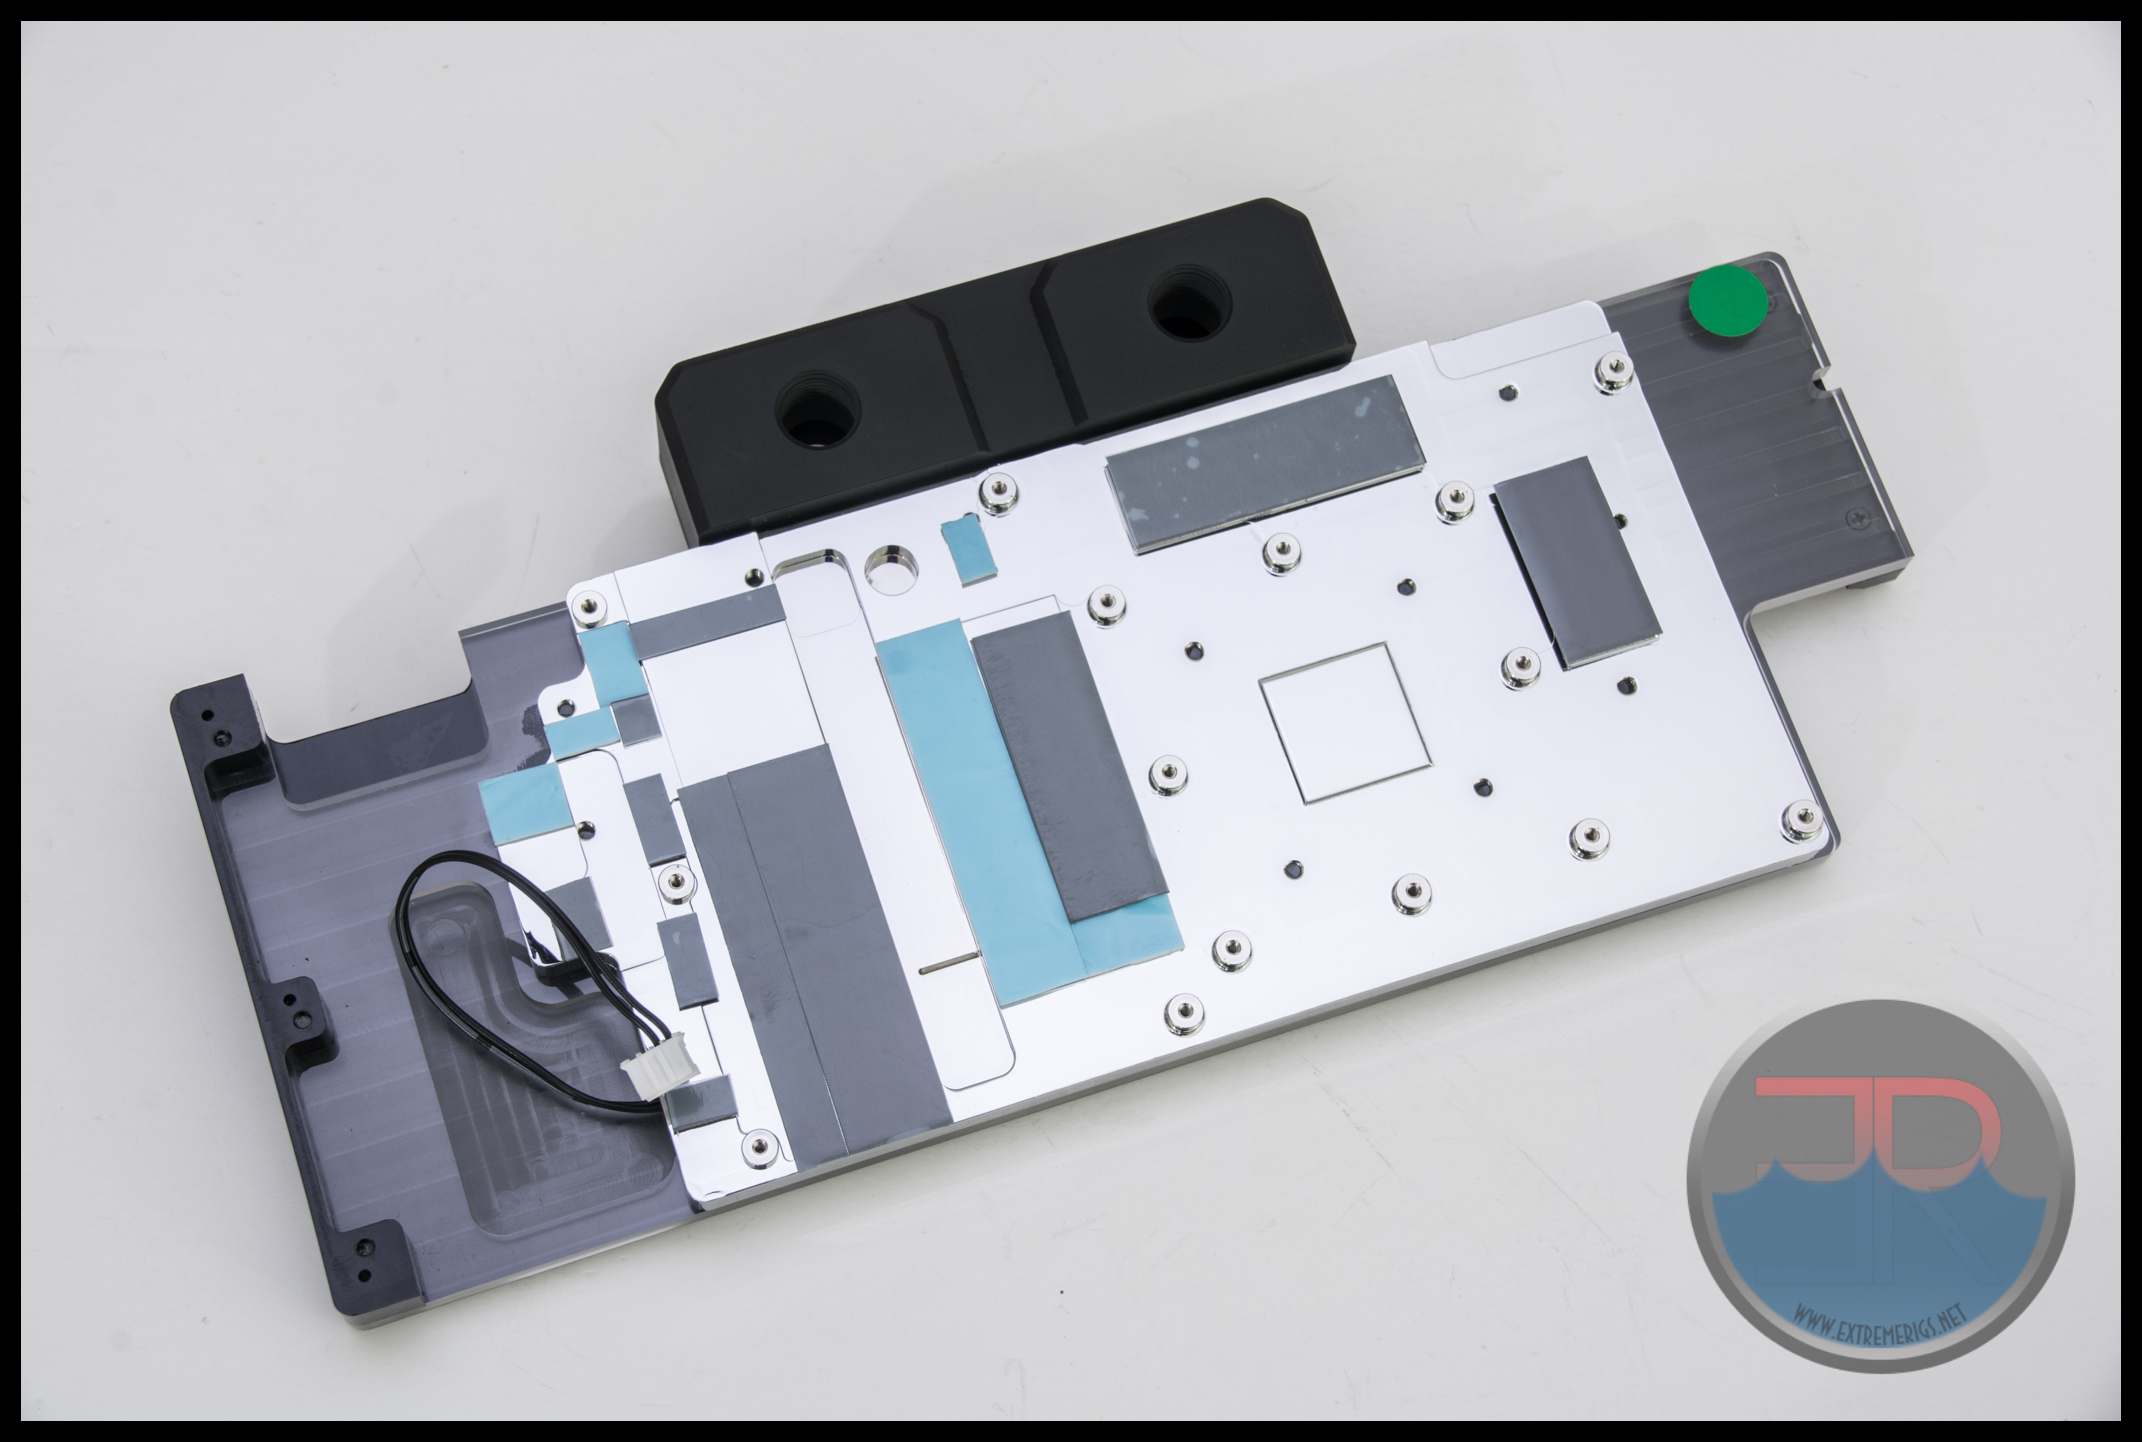
Once installed the PCB is nicely hidden:
There is however no backplate with this block:
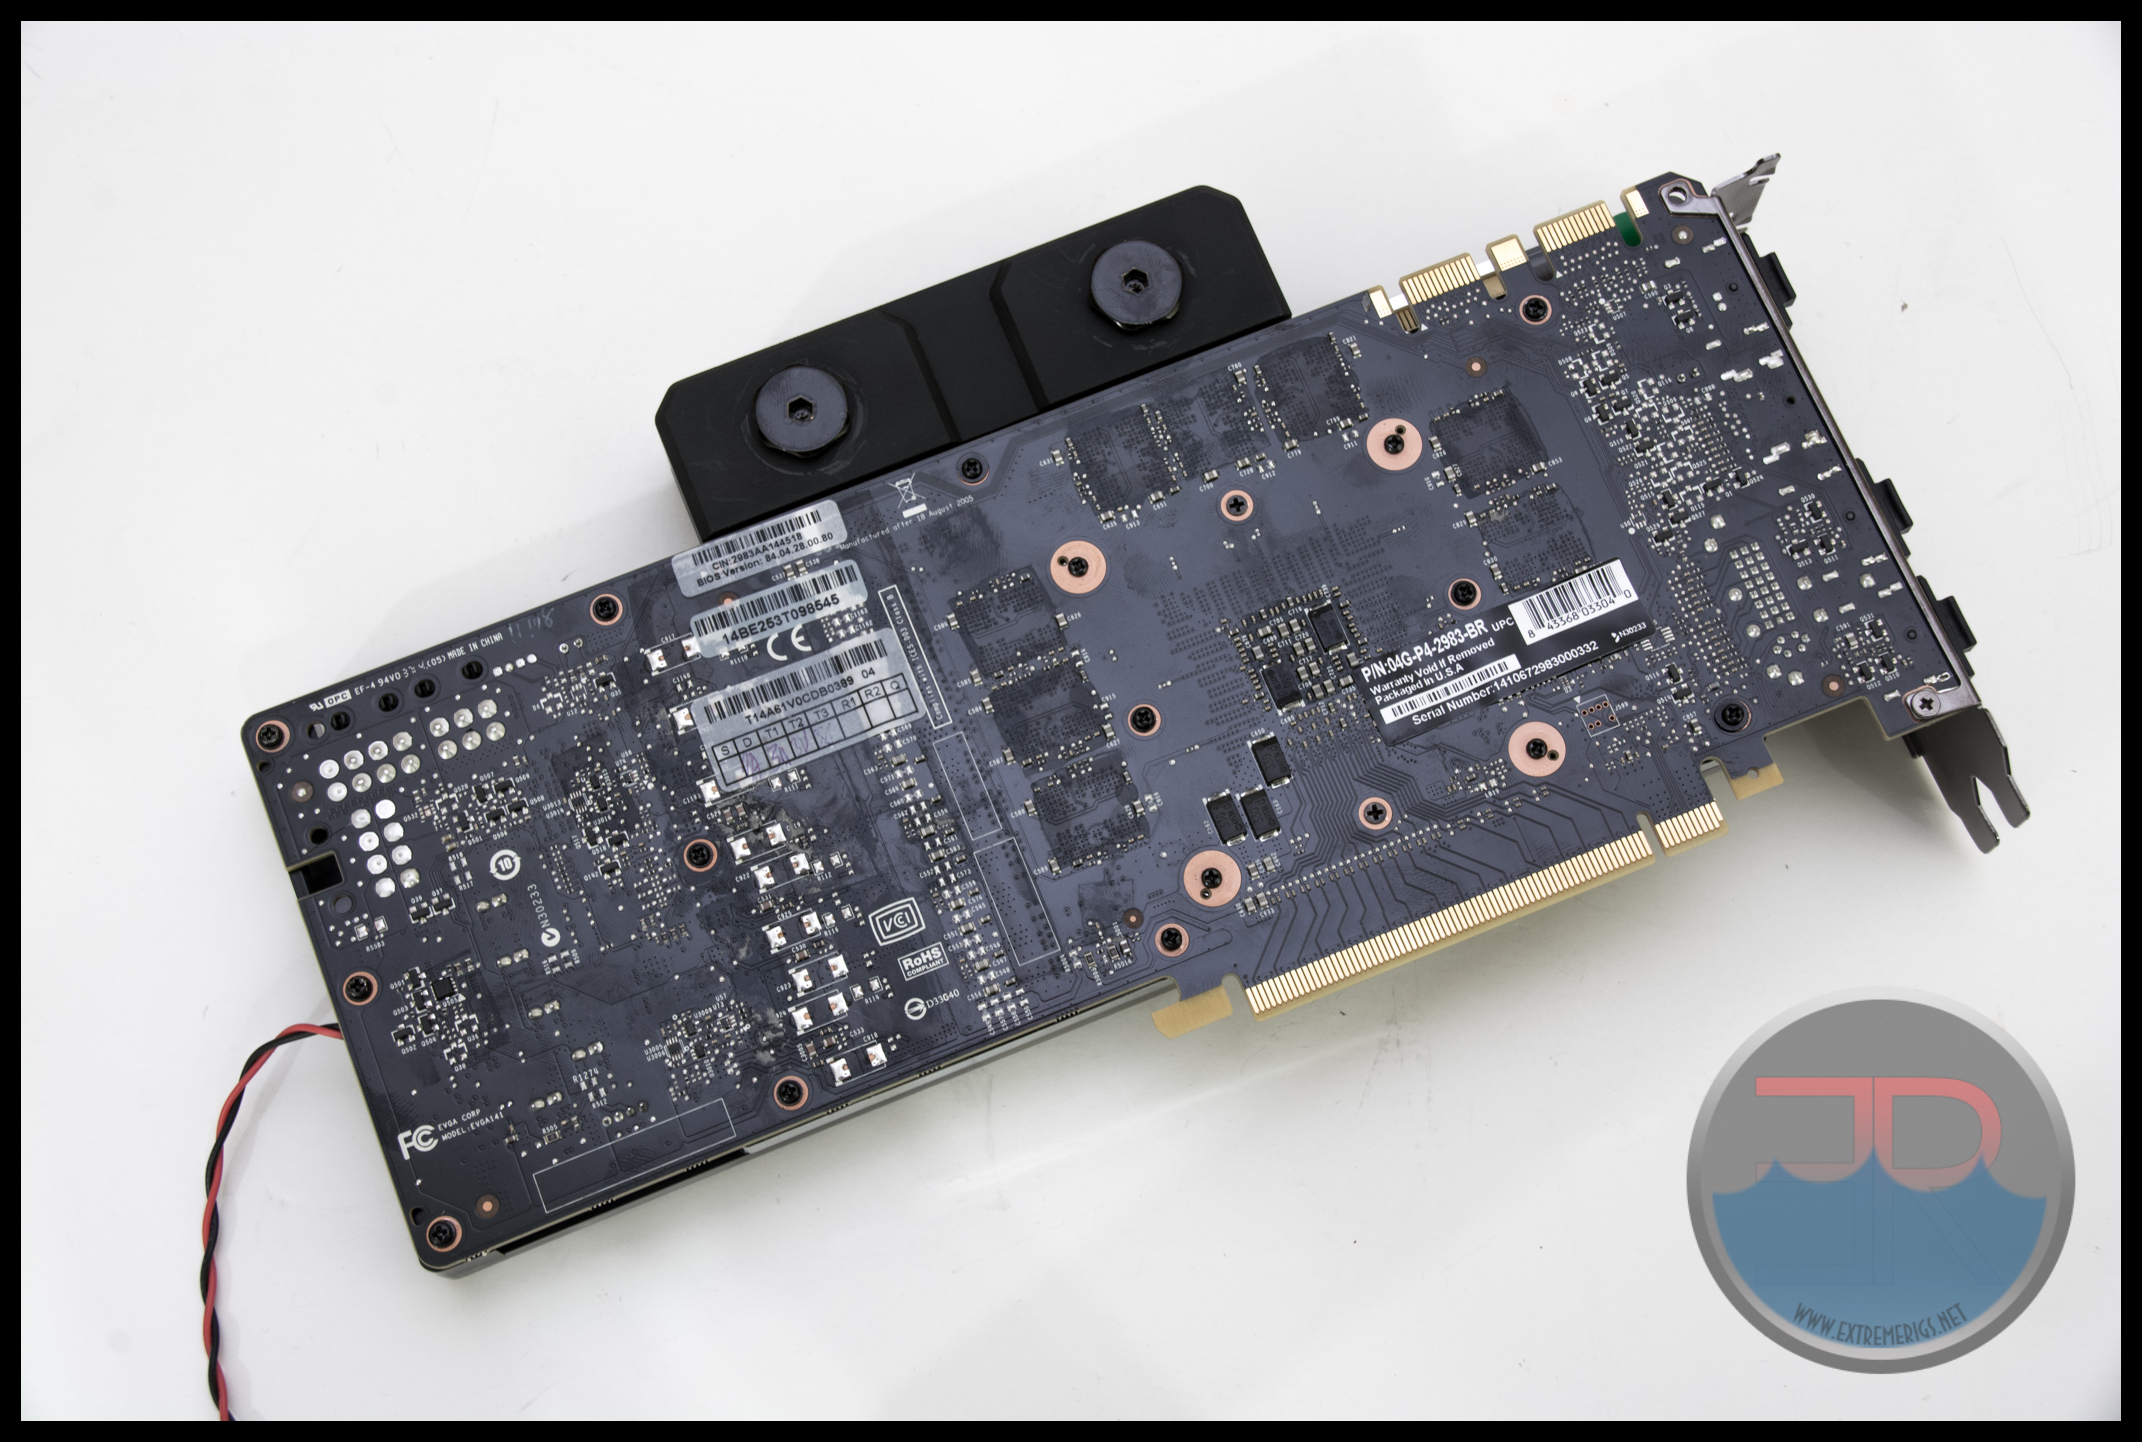 Swiftech have typically included a backplate in the past, however as the reference 980 card comes with a backplate then this shouldn’t be an issue. That is, unless you buy a reference compatible EVGA ACX card that doesn’t come with a backplate (like we did).
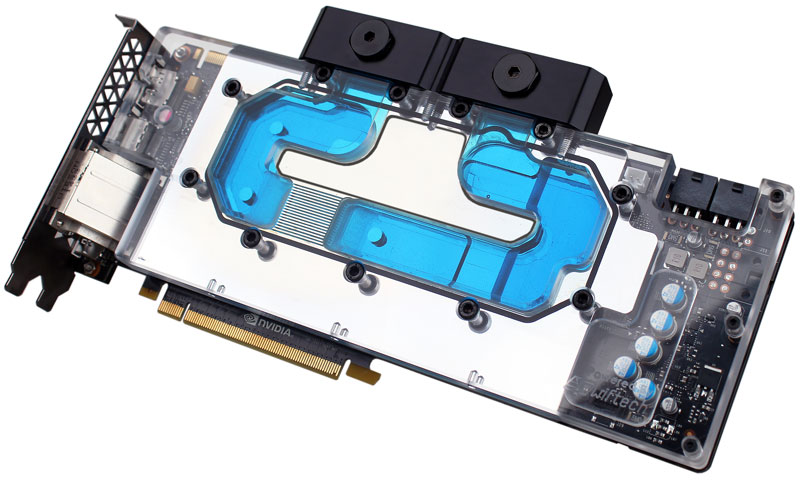
Recently Swiftech also launched an “ECO” version of the block. The cooling is the same, but the block uses a full plexi look instead:
Swiftech is one of the few companies to use all 8 of the screw holes around the GPU. This can provide a more equal clamping force around the GPU core. This iteration does not use a sprung back mount for the GPU core to equalize pressure on the GPU mount. This is a shame it was one of Swiftech’s competitive advantages in prior roundups.
One thing that hasn’t changed though are the choice of screws. Most blocks come with one or two types of screw. While things have improved from Swiftech we still see a variety of screws to install:
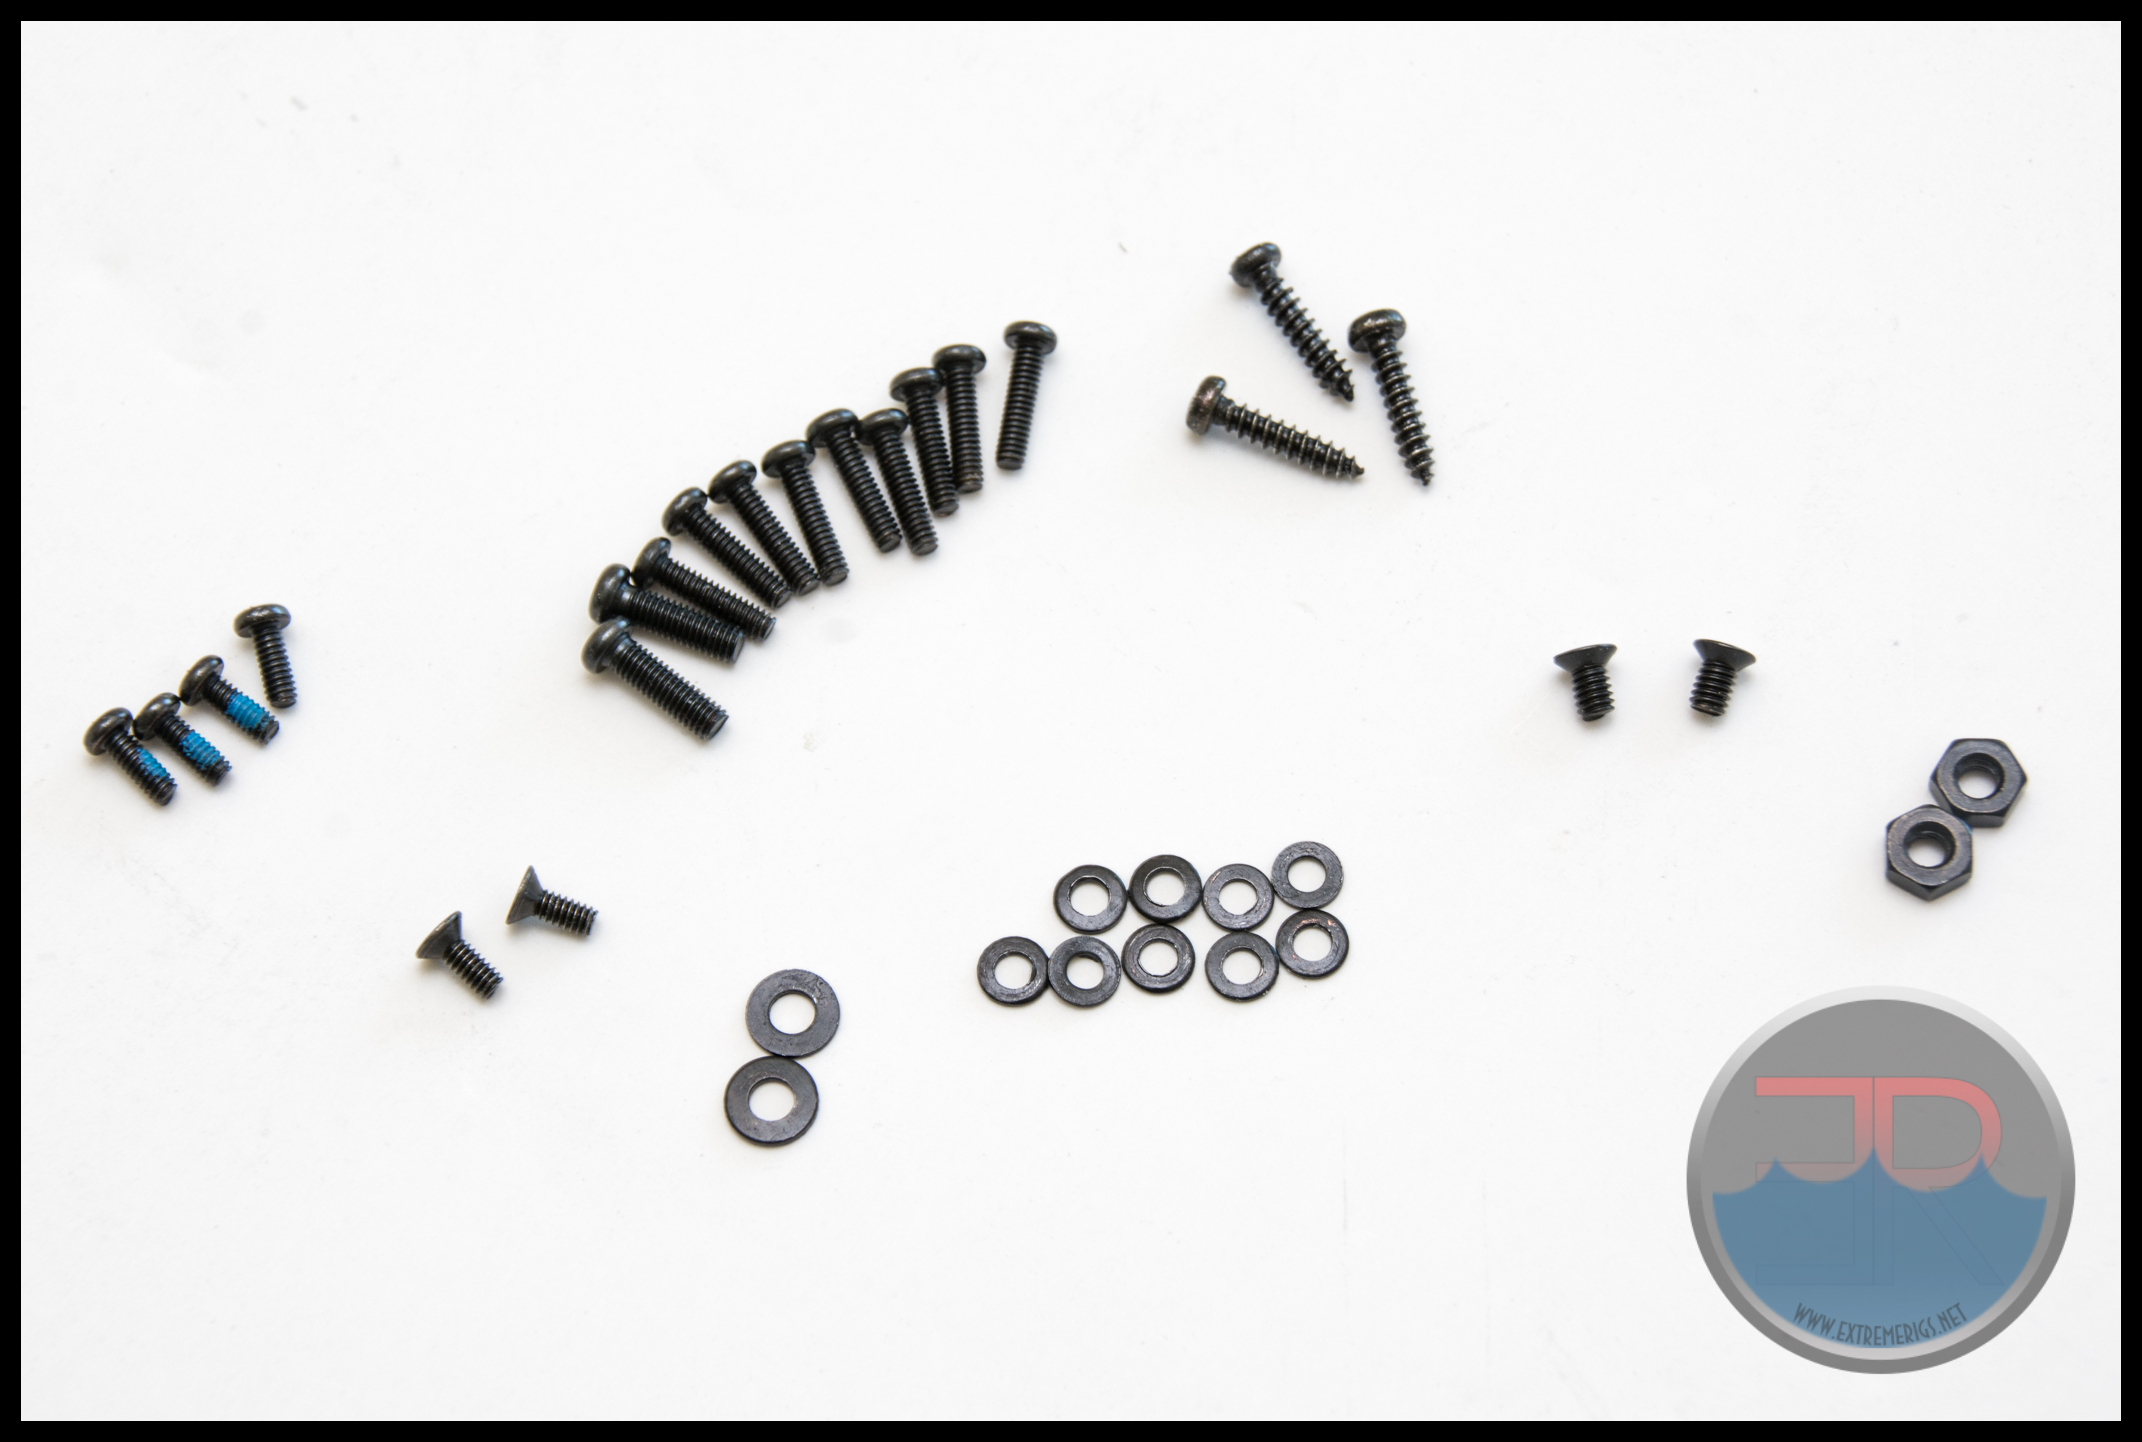
Not only are there 6 different types of screw and 2 types of washer, but the washers did not line up with the instructions:
Screws (as labelled by instructions):
(2) M2 x 5 Philips Flat head (sic, we would have labelled these as countersunk personally)
(2) M2,5 x4 (sic, we would have labelled these as countersunk personally)
(4) M2x5 Philips Pan Head
(9) M2x8
(2) M2.5×8
(3) M2,2×9
Washers:
(9) Split washers for M2x8 – 9 flat washers instead
(3) Flat washers for M2,2×9 – Missing
(2) Flat washers for M2,5×8 – Supplied
It amazes me that there are so many different types of screws and incidentally no spares. This is not the first time that Swiftech has done this either. Some companies use only one type of screw. Some even use two or three when necessary. Six however is really unusual and bound to cause confusion and is quite simply unnecessary. Why do we have to use M2.5×8 and M2x8? Could they not have been made the same size? Why are the countersunk screws different lengths and widths? It’s supremely frustrating that despite feedback that this is a bad idea Swiftech continue to do the same thing over and over again. In addition these screws had tiny heads that meant they are liable to strip if you attempt to get high mounting pressure.
Disassembly first requires removing the bridge – 8/12 screws on the bridge are required to do this:
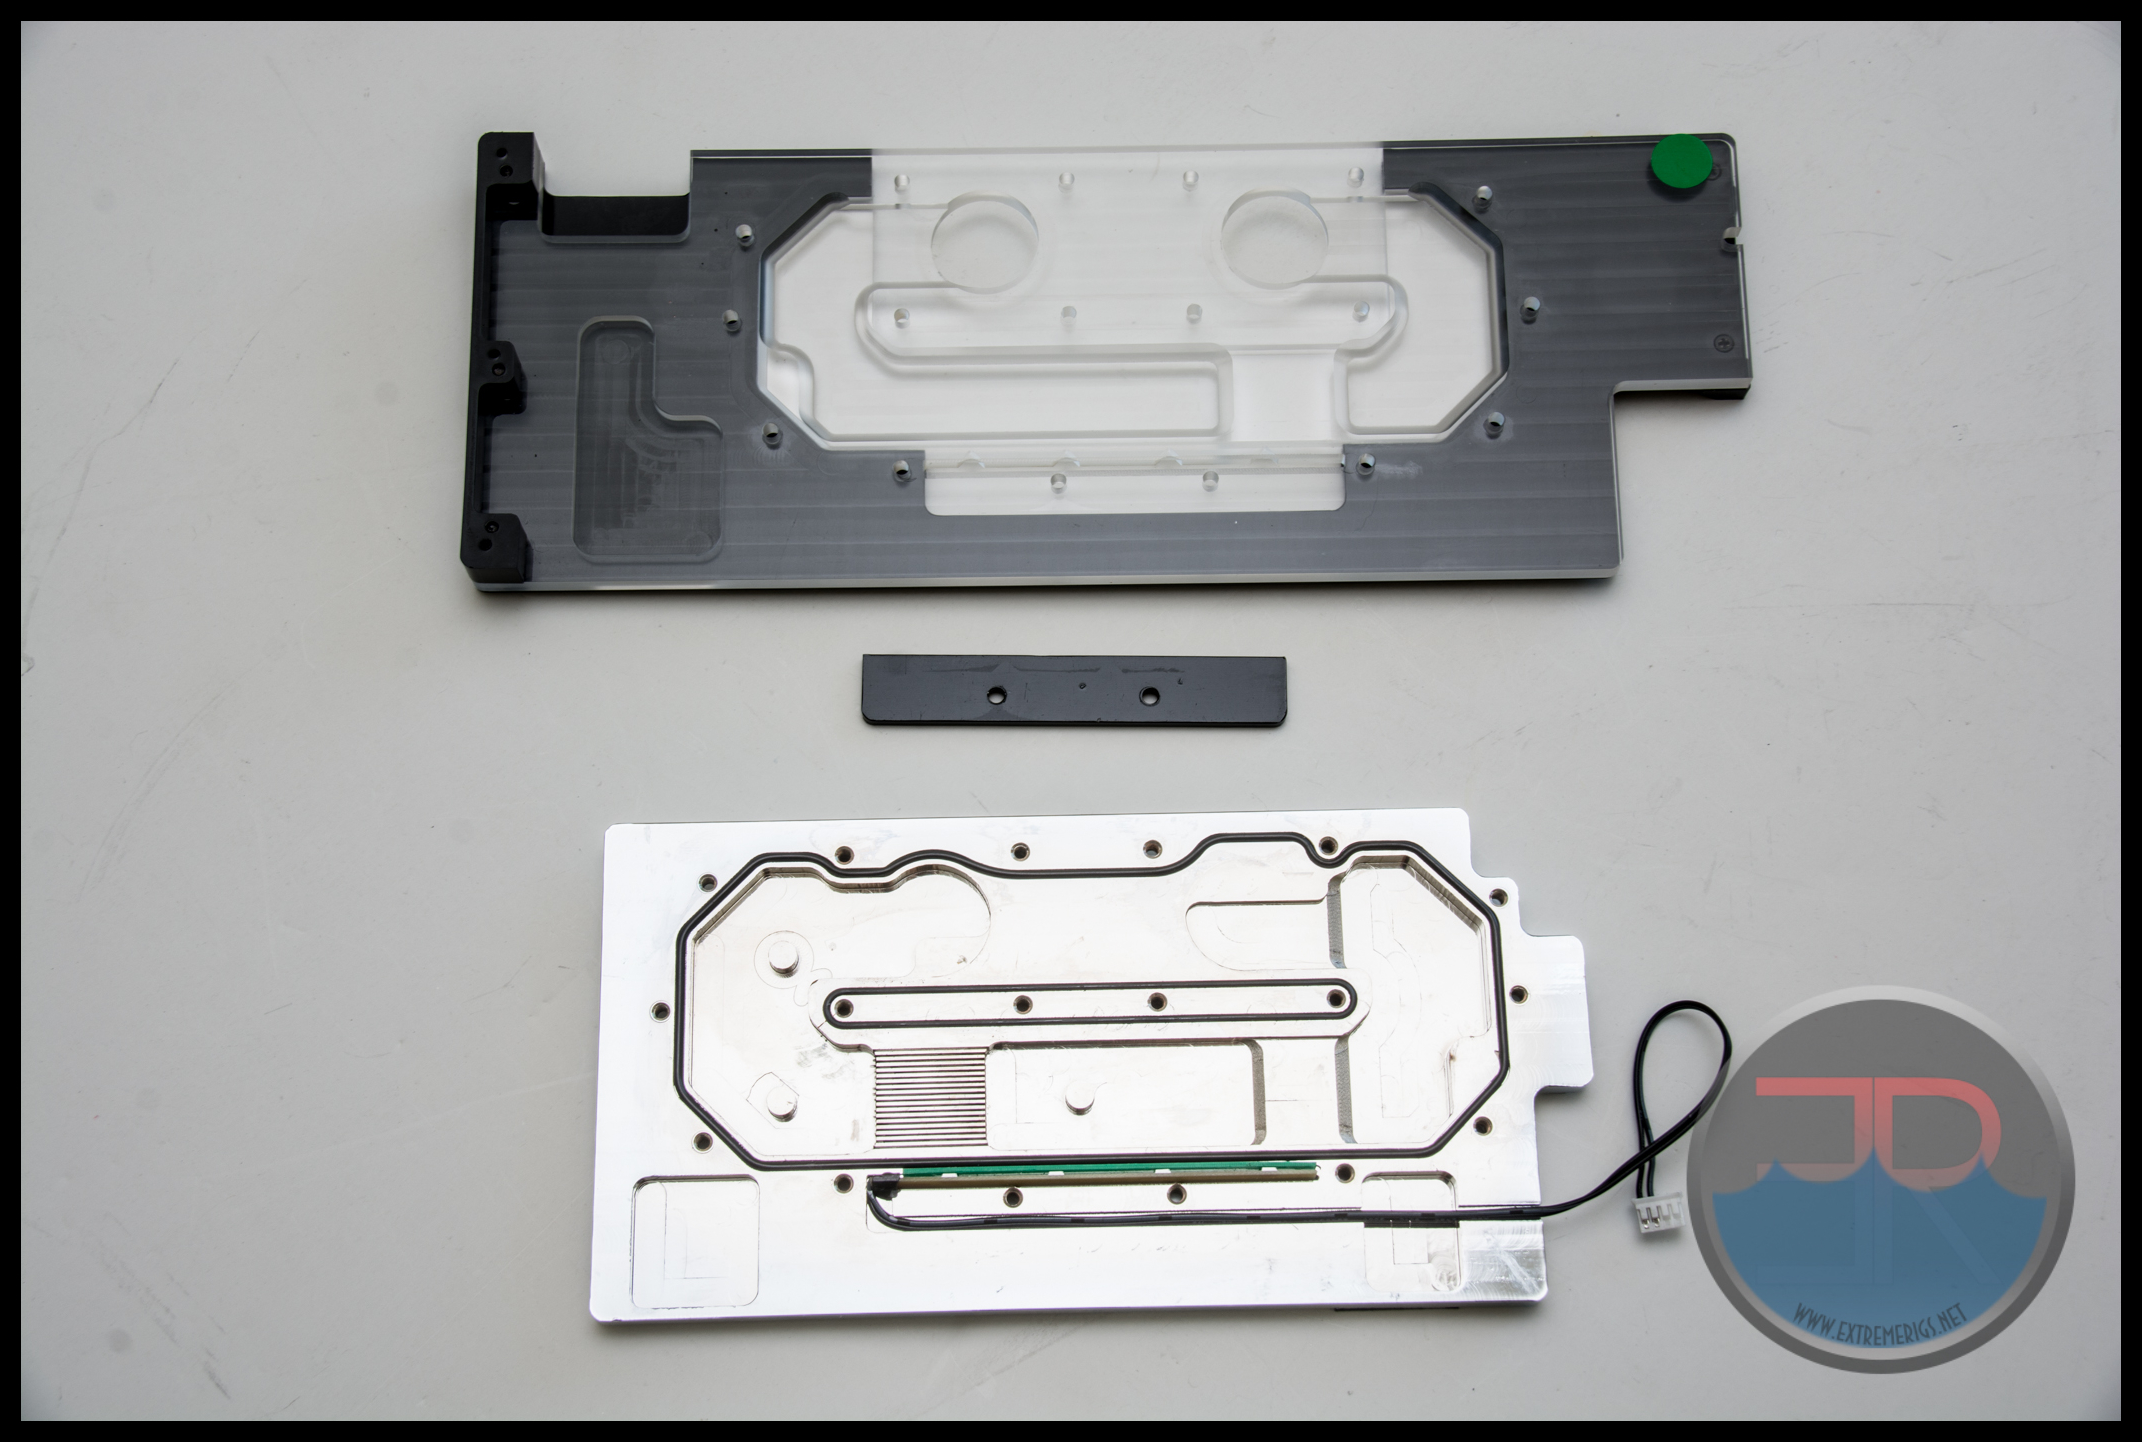
 The remaining screws around the window must then be removed which also opens up the hidden LED panel:
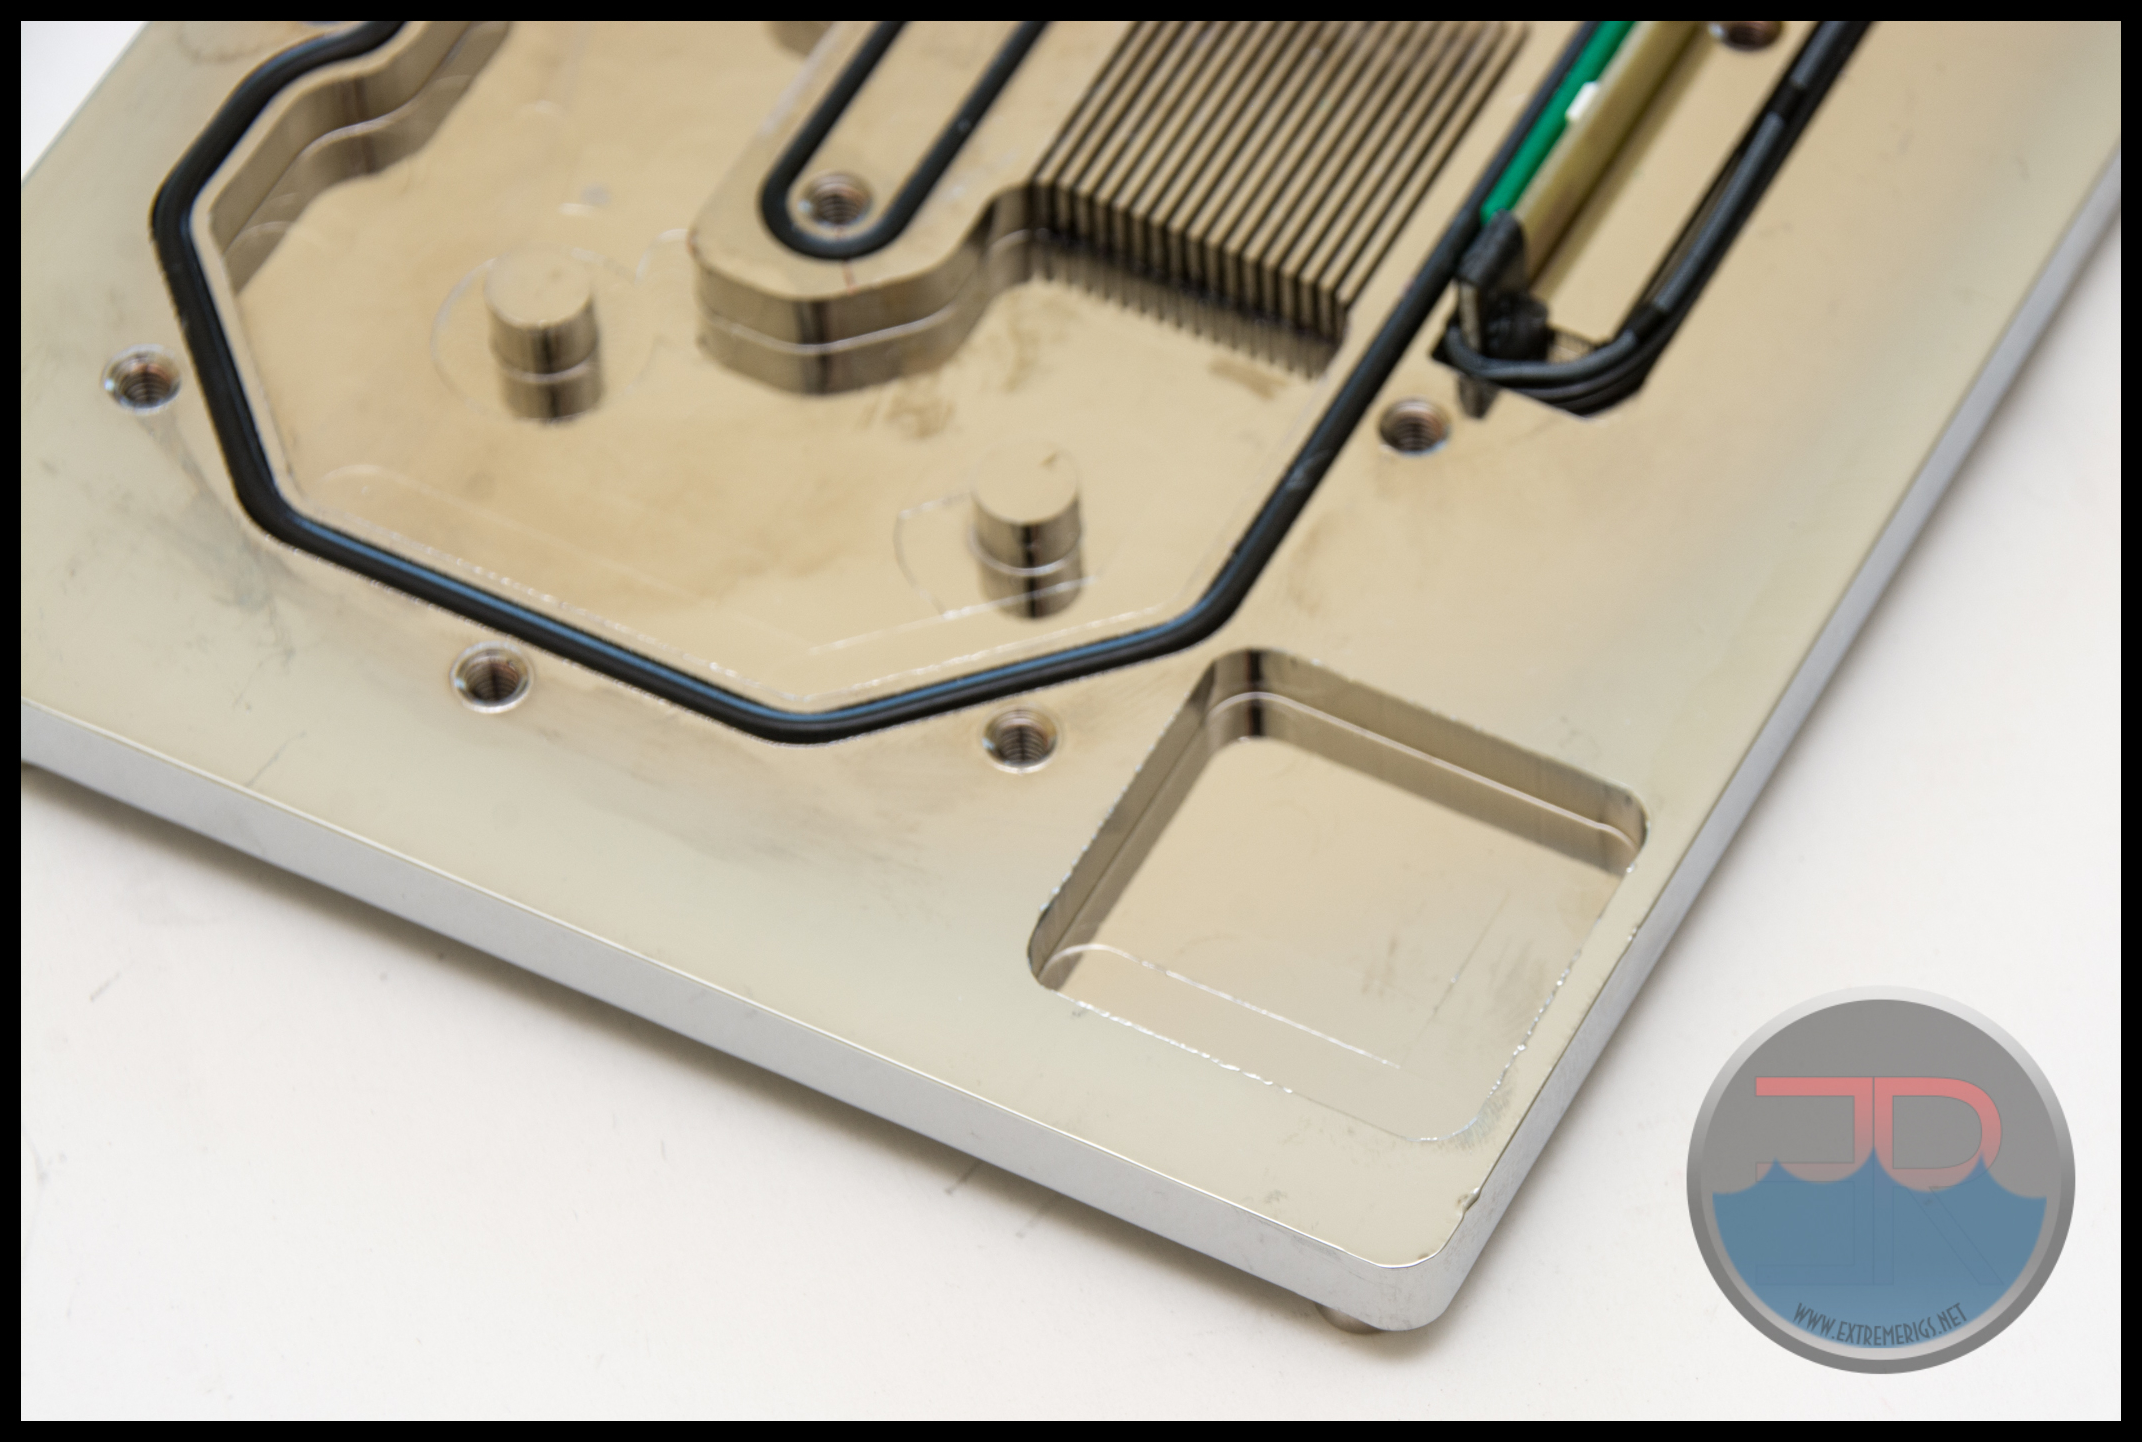
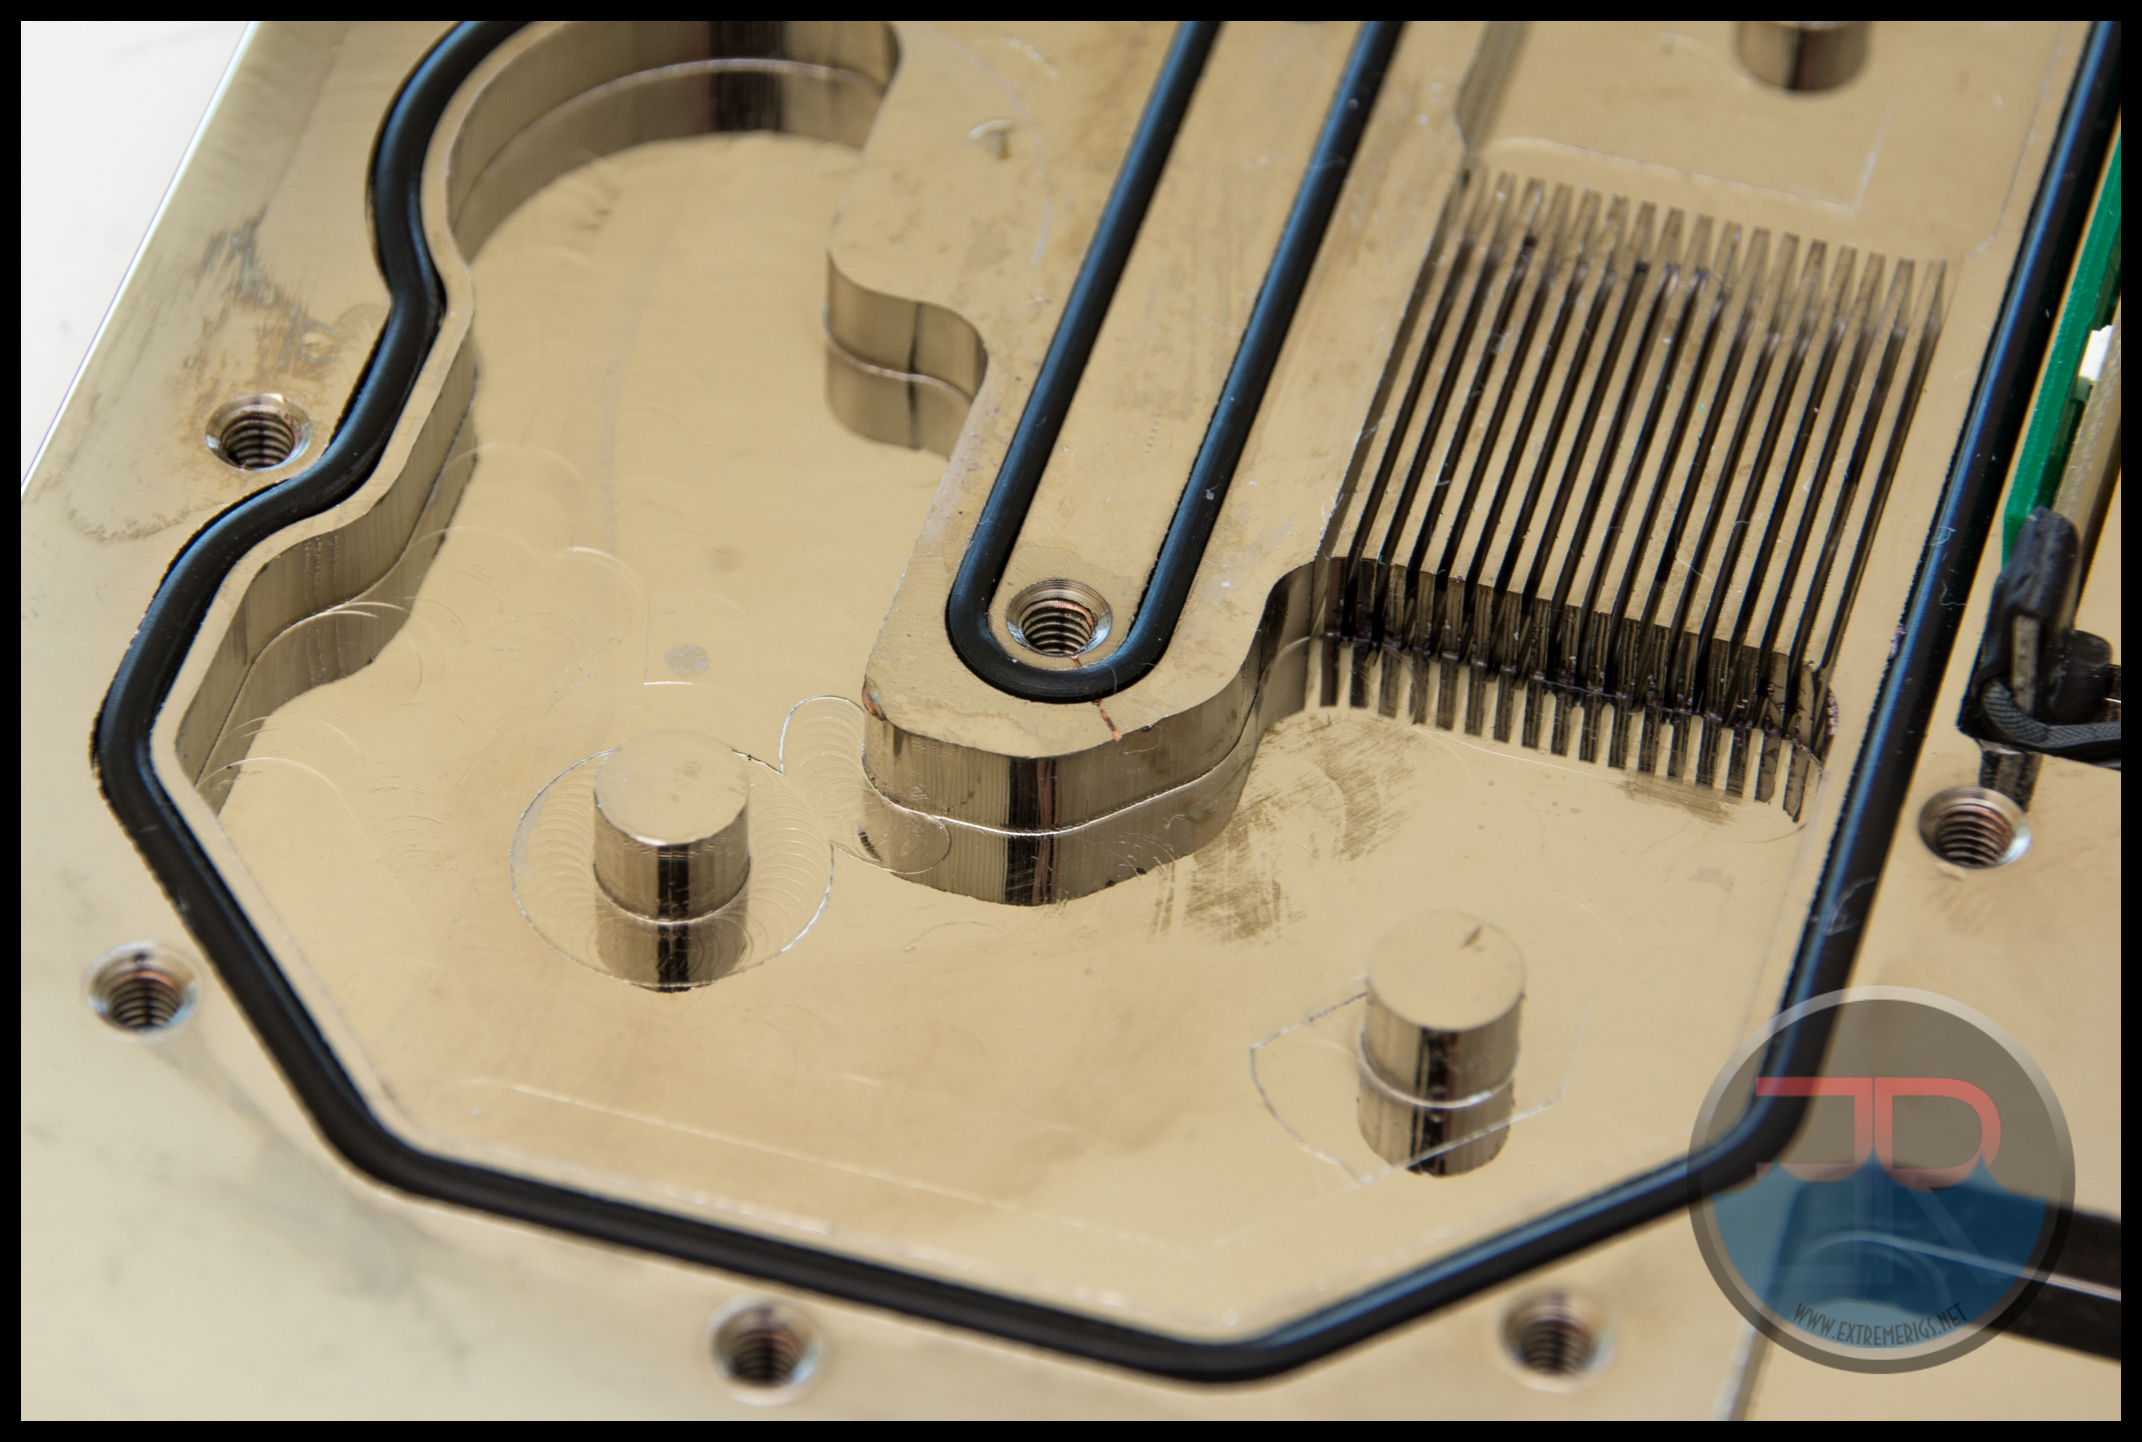
 There’s some curious machining outside of the main “block” on the copper that we don’t really understand:
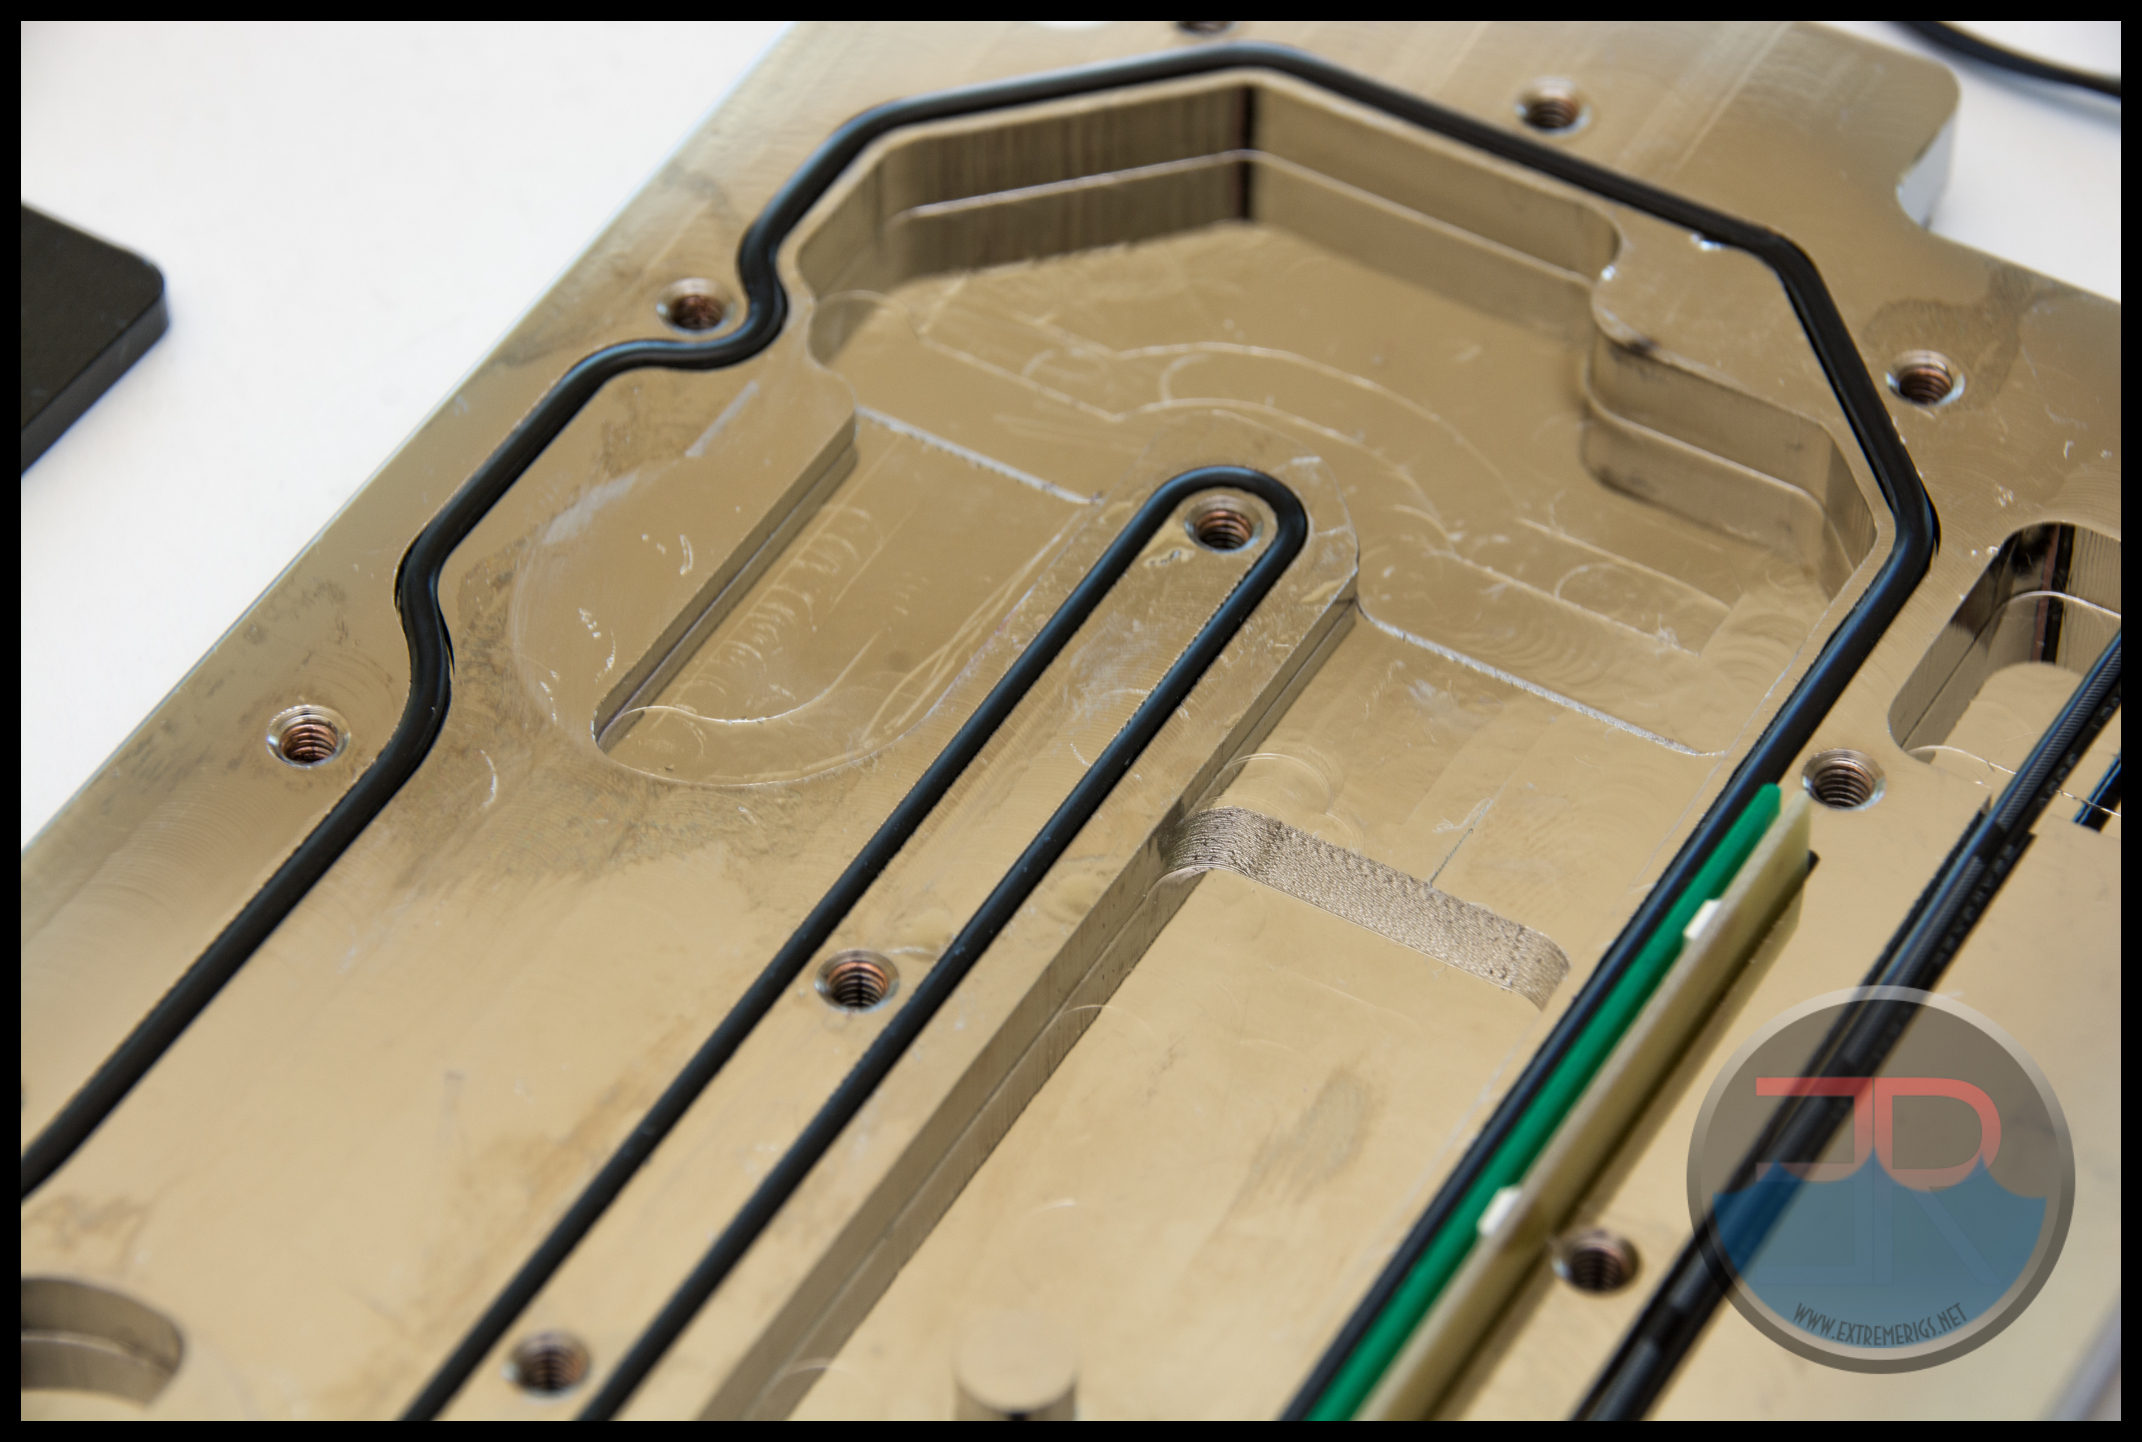
 The machining is also fairly rough on the edges of the cuts:
 While the chrome plating is not quite a uniform color with more “yellow” patches in the center. There was also damage to the block after plating that showed copper. This would be a weak point for plating flake to start if an anti corrosive isn’t used:
Onwards to testing!


[…] Swiftech Komodo-NV-GTX9 […]
Comments are closed.