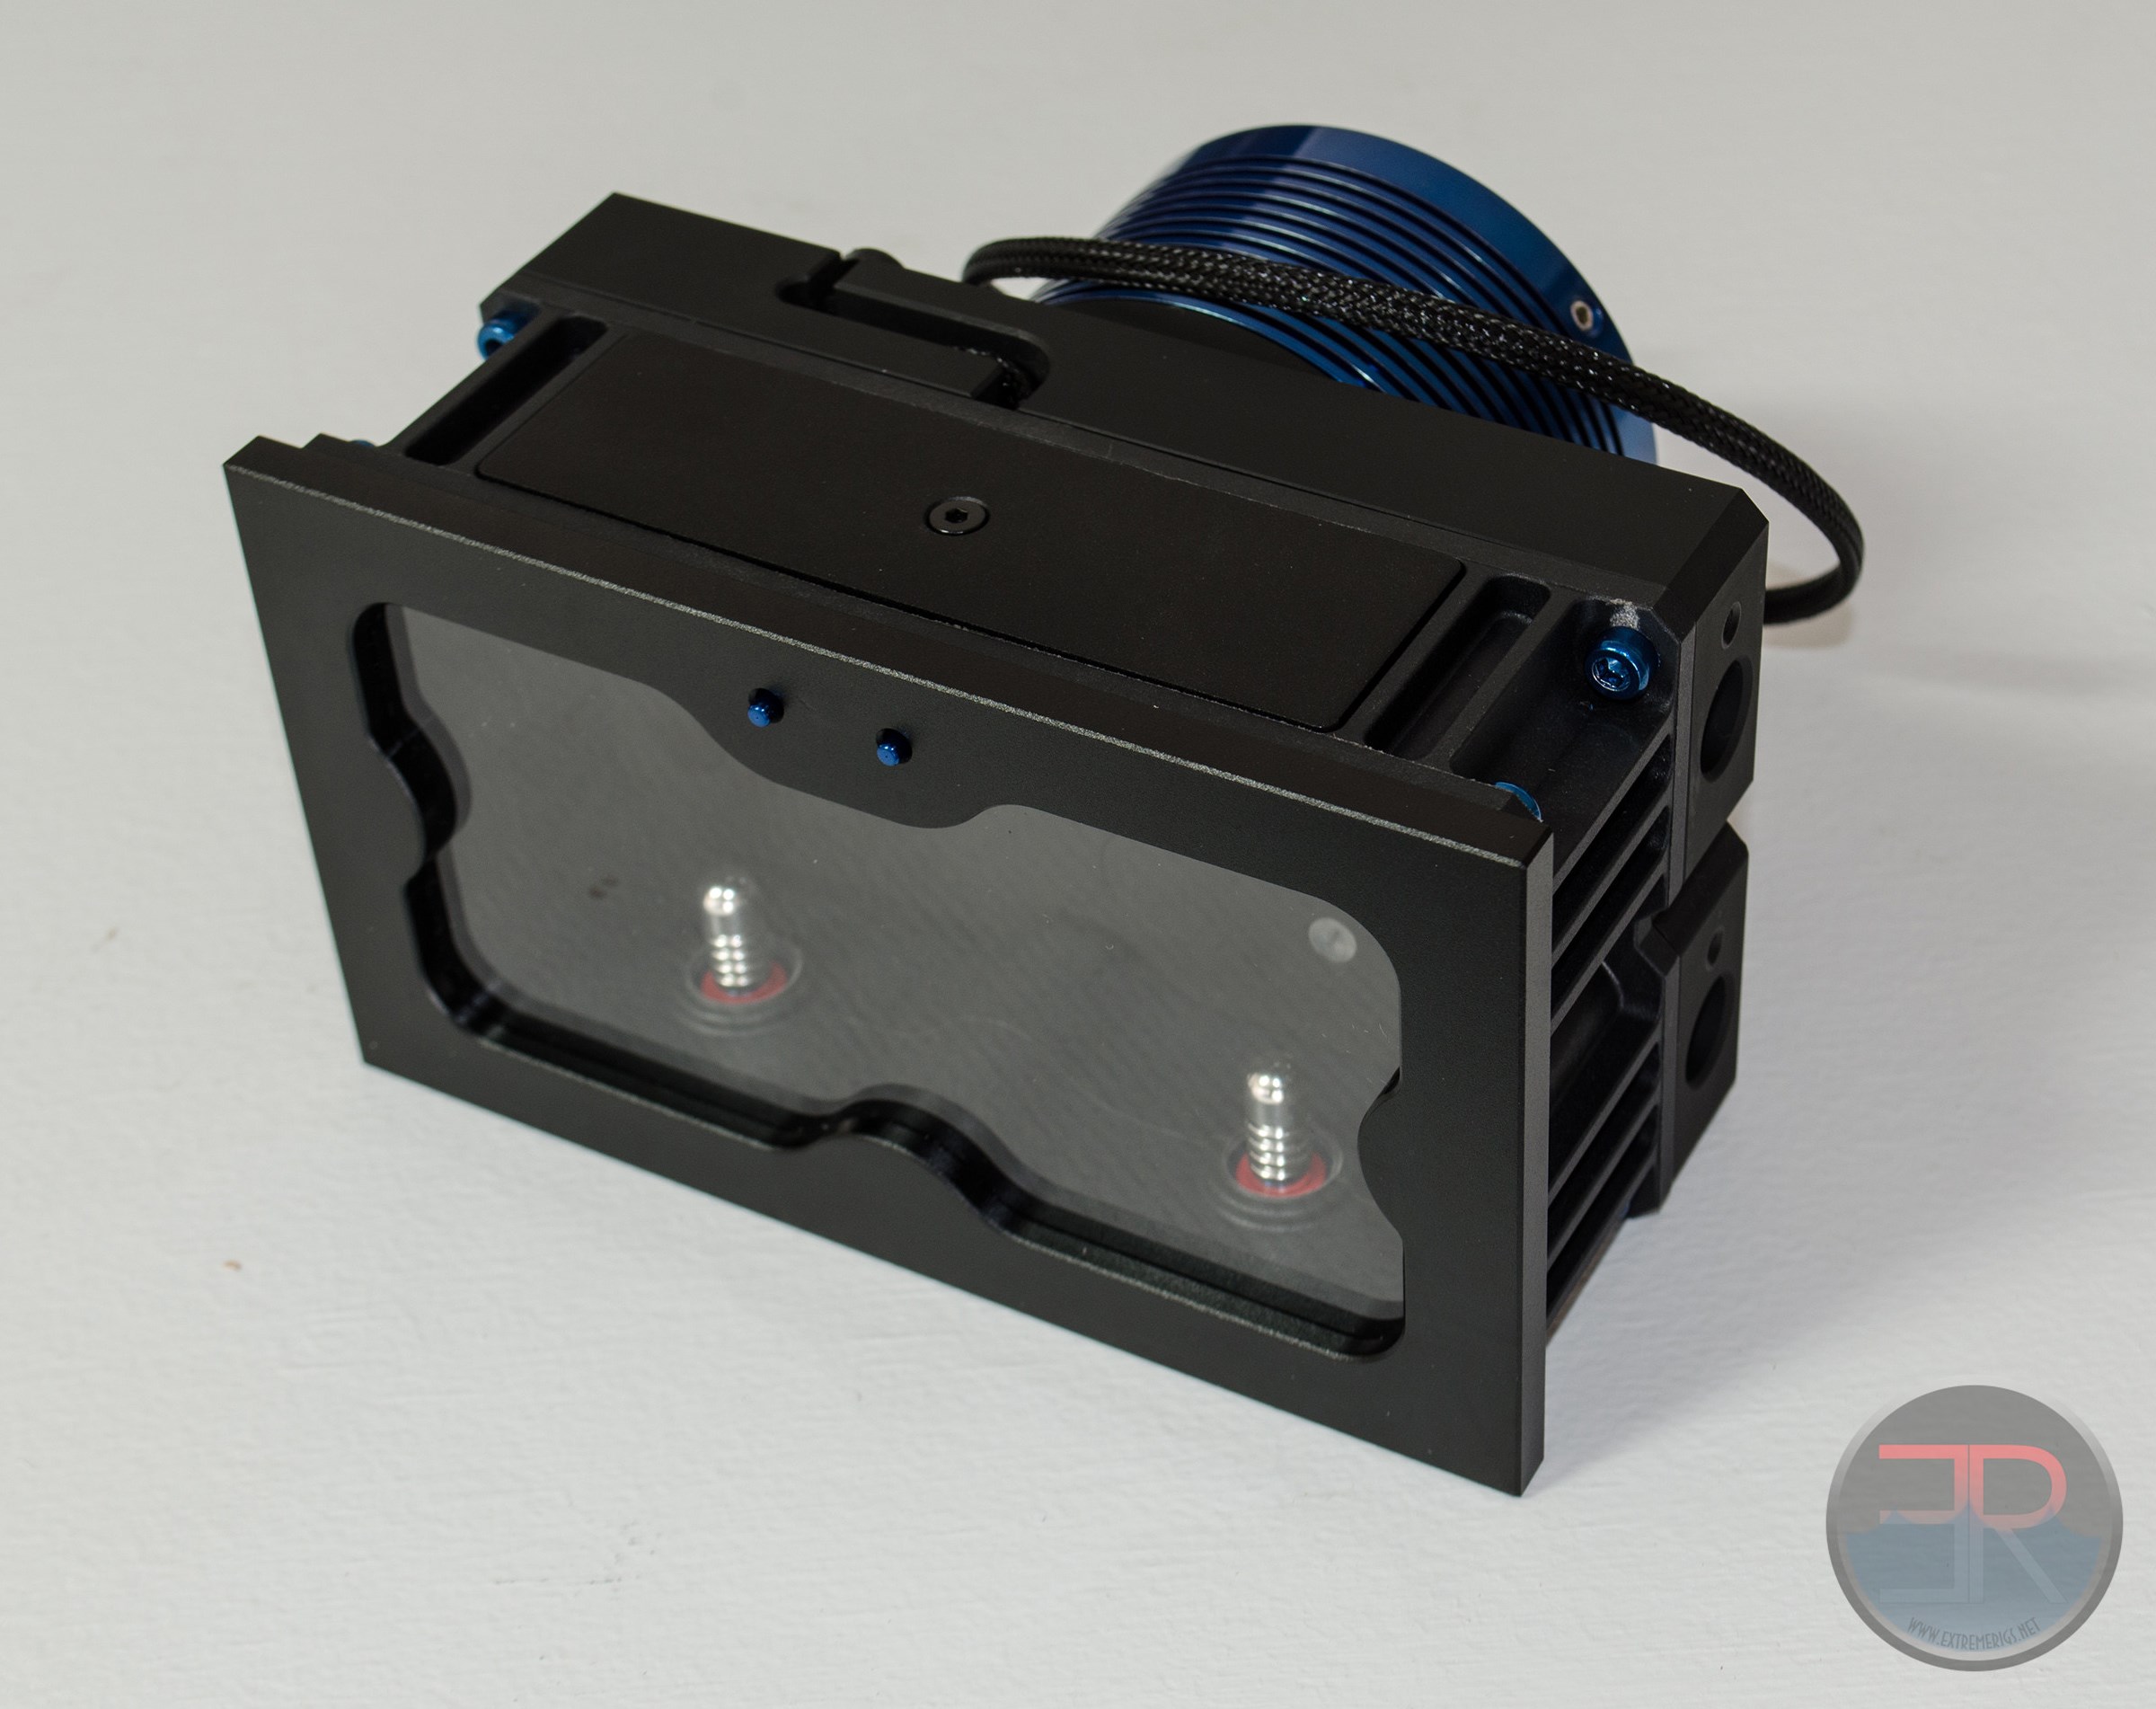
This is the second edition of the Monsoon Dual Bay Reservoir that comes in multiple flavors each with a different (though interchangable) backplate. The different versions are a plain reservoir only version, a D5 pump mount version and a DDC pump mount version. The version we review today will be the D5 version in blue.
The box and packaging is nice and the S2 is clearly delineated:
Unpacking the box we see the reservoir itself is protected by thin foam wrapping and then isolated with two plastic bumpers on either end that also serve to house the accessories:
A close look at the accessories shows two types of o-ring to seal the pump, as well as three different allen keys and screws to mount the reservoir to the standard drive bay slots. It’s worth noting that the screws have anti-vibration rubber isolation mounts so that vibration is not transferred to the case chassis.
The reservoir itself is wrapped up nicely. It’s nice to see such attention to detail:
And the detail doesn’t stop there. The front plate is very thick aluminum, while there are cutouts around the fill ports in order to catch spills. Here the unit is upside down and this shows the plate behind mounted in a recess in the base of the unit in which the fancy lighting circuit lives:
The included silver G 1/4 stop fittings are also visible. These double as fill ports and having two fill ports is useful because one can be used to fill, while the other can let air escape as the coolant flows. Of course the silver fittings must come into contact with the coolant so it’s recommended that the reservoir is kept very close to full. It’s worth noting that the plan was to only include the silver plugs at launch and they may not be included forever.
At the back of the unit is the pump housing. This consists of two parts – the screw on cylinder and an end cap. The screw on cylinder has a very fine thread that contrasts to the Laing style thread. The thread is so fine that the user must be careful when screwing the the cylinder on because it’s very easy to not put it on straight and it won’t take much to strip the thread on the acetal.
After removing the pump housing it’s much easier to see the layout of the rear panel. There are four ports on the rear – towards the top side there is an input and an output, and towards the bottom side there is also an input and an output (which are sealed off with stop fittings). The recommendation is to always use the lower output ports if you are only using a single loop. For dual loops all four ports can be used with the single pump. This is nice, but a somewhat rare situation – normally dual loops use separate pumps and reservoirs.
The sleeved molex connector is used to power the LED board. It’s nice to see the use of a black sleeve and a black molex. Attention to detail FTW!
It’s also possible to see the smoothness of the rear material. Everything about this reservoir feels high quality. It’s also often a tactile difference that is hard to show in photos but imagine the interior of a Aston Martin vs a Kia. Even blindfolded you’d know the difference.
Examining the volute we see a fairly plain flat style that is unlike the higher performance “cone” style volutes that seem to perform the best. The two o-rings have slight performance differences as we’ll see, but the black o-ring provides greater security than the red due to it’s greater thickness.
Next up – details on the lighting!


You didnt cover the fact that the pump pickup (like most of the dual bay res’) is in the middle which renders half of the res capacity useless. I was going to get this res before i caught on to that so instead picked up a koolance rp452x2.
P.S love the website, keep it up.
[…] you can really customize your reservoir. Not only that but these are compatible with the existing S2 bay reservoirs that we covered in the D5 version. Here are some examples of what you can […]
Comments are closed.